

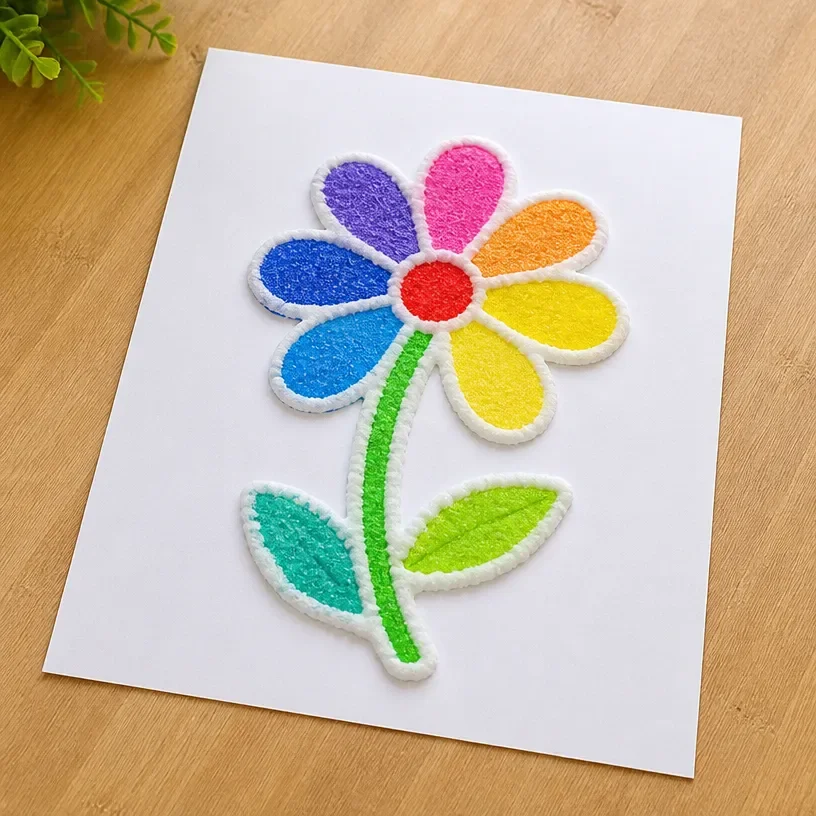
Creating DIY 3D Raised Salt Art invites us into a world of texture, light, and calmness. As we engage in this project, the moment can feel like a gentle pause, a time to slow our thoughts and focus on the tactile sensations at hand. The fine grains of salt slipping through our fingers, the smooth surface of the paper, and the vibrant colors we create all play a role in making this experience not just an art project, but a meditative exercise in creativity and mindfulness. You may also find Diy Bioplastic Suncatchers Step By Step Guide useful.
The Heart Behind This DIY
This DIY 3D Raised Salt Art project resonates with the essence of intentional creativity. As we embark on the process, we are encouraged to breathe deeply and lose ourselves in the sensory elements of the project. The simple act of mixing salt and paint brings forth a flood of memories – the feeling of pleasure derived from humble materials, the joy of creating with our hands, and the satisfaction of watching our efforts take shape. Engaging in this type of activity allows us to quiet our minds, fostering a cozy, grounding atmosphere. You may also find Diy Pipe Cleaner Crystal Heart Tutorial useful.
You may also find Diy Rainbow Leaf Hedgehog Craft Tutorial useful.
A Gentle Look at the Process
Before diving into the materials, it’s essential to envision the journey ahead. This project flows with a rhythm that involves a sweet blend of preparation, creation, and observation. As we gather our supplies and prepare our workspace, the anticipation begins to build. The soft sounds of pouring salt, mixing colors, and the gentle strokes of our tools create a calming ambiance. Each step will become a delightful invitation to explore textures and colors while engaging our senses in a meaningful way.
What You’ll Use to Make DIY 3D Raised Salt Art: Step-by-Step Tutorial
To create your own 3D Raised Salt Art, you’ll need the following materials:
- White glue (school or craft glue)
- Salt (fine or coarse, both work well)
- Watercolor or liquid food coloring
- Thick paper (watercolor paper or cardstock)
- Small paintbrush
- Container for mixing colors
- Optional: glitter for an added sparkle
Gather these supplies, making sure to arrange them in a cozy spot where you can feel settled and focused on your project.
Step-by-Step Directions
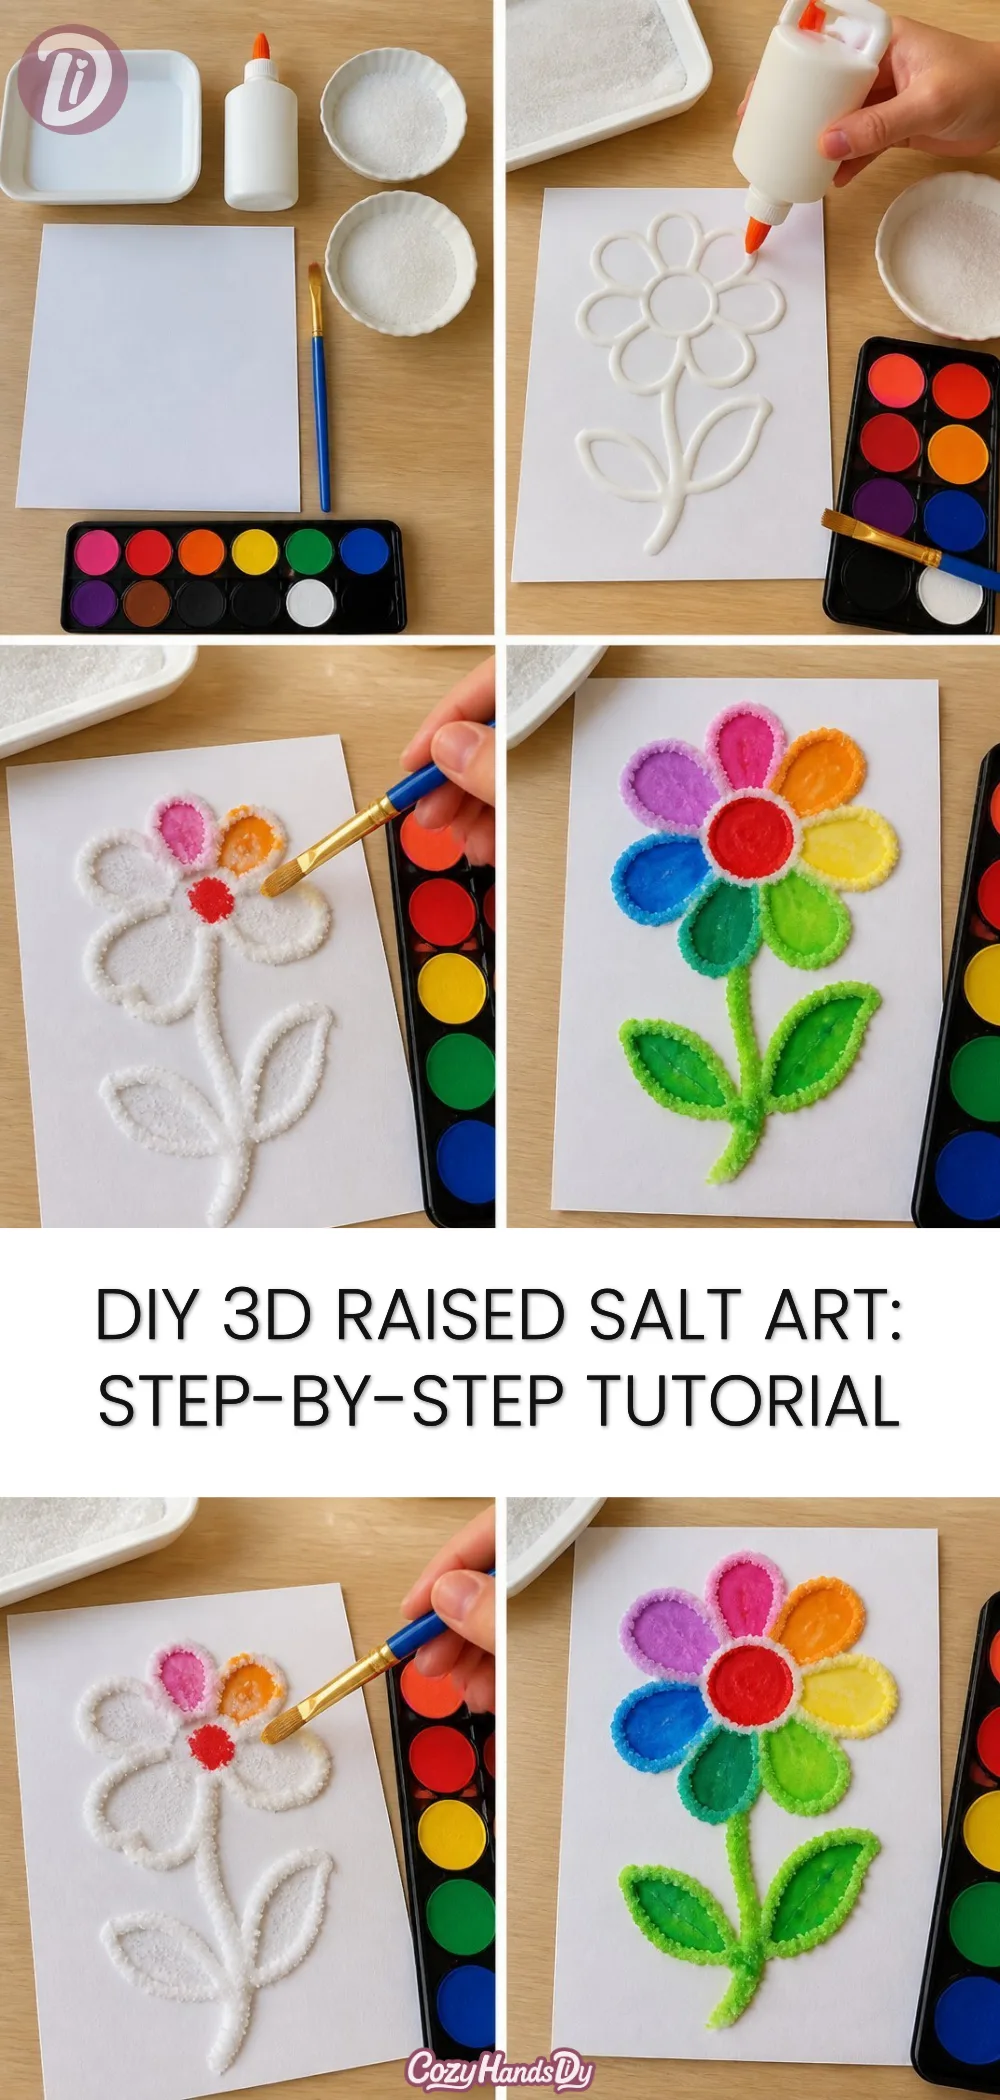
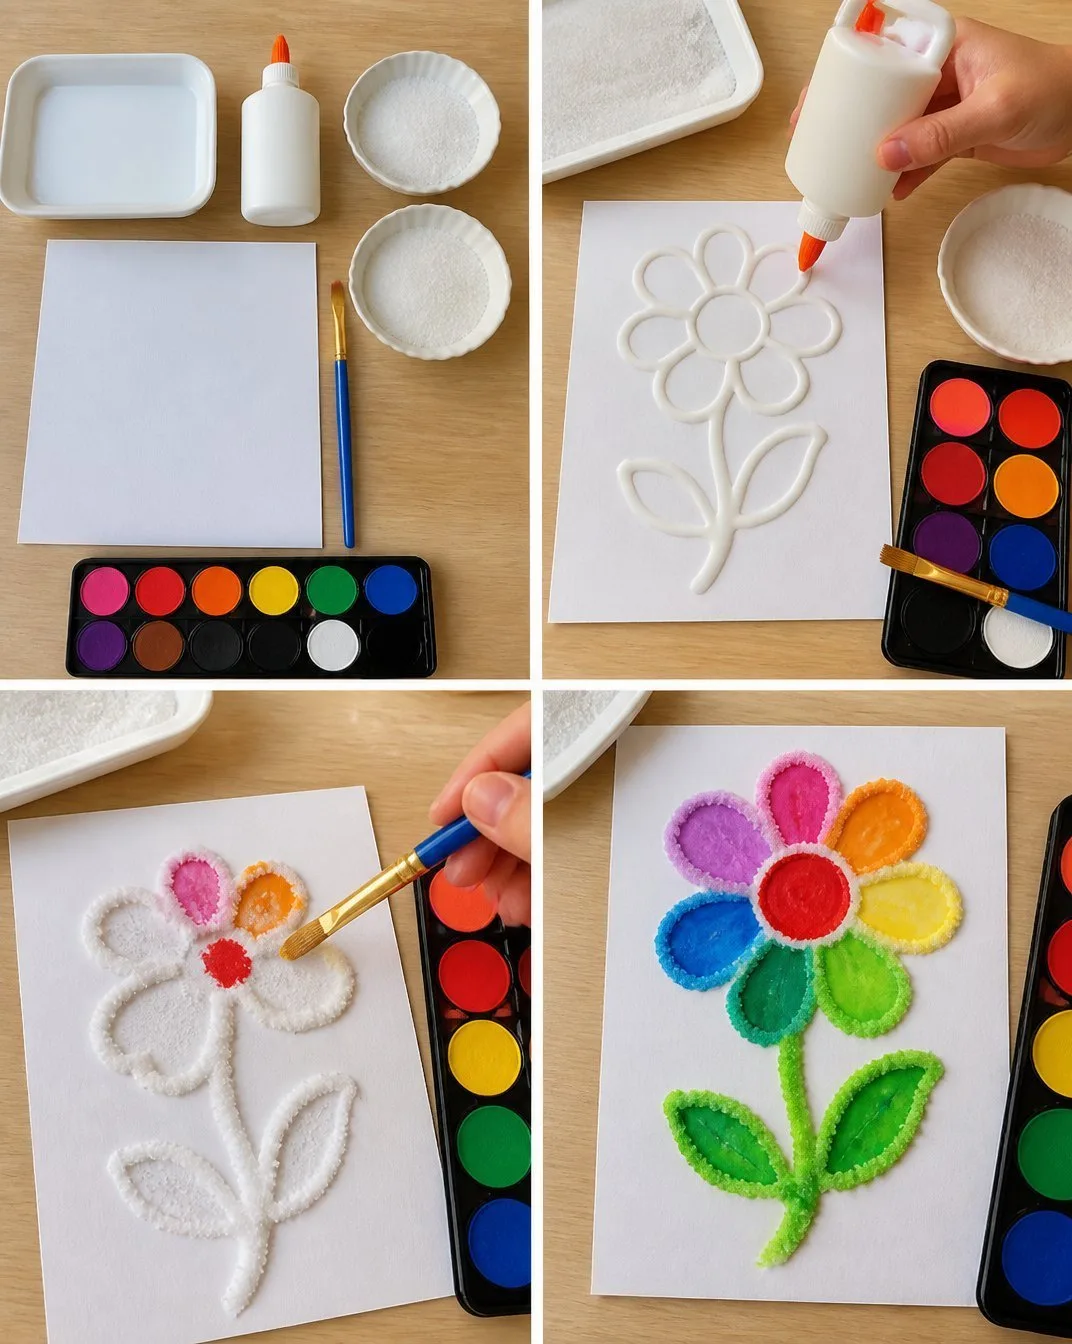
Start by sketching a light outline of your design on the paper with a pencil. Keep it simple, allowing space for the salt to take shape.
Apply a layer of white glue onto your design. Use a brush to ensure it’s even, covering areas generously where you want the salt to stick.
While the glue is still wet, sprinkle salt over the glued areas, allowing it to absorb the adhesive. Keep in mind that the salt will create a textured surface.
Tap off the excess salt gently, ensuring only the glued areas remain covered. You can keep the side of the paper light so it’s easier to handle.
Mix your desired colors in a container using a few drops of water and food coloring. Feel free to create gradients or mix shades. This part can be very satisfying, almost like a therapeutic ritual.
Using the small paintbrush, begin painting over the salt. Watch how the colors interact with the grains, creating a stunning visual effect. Go slow and enjoy the process.
When finished painting, allow your artwork to dry completely. This may take several hours or overnight depending on the humidity and thickness of the glue layer.
Once dry, you can extend your creation with additional decorations or display it as it is. The three-dimensional quality of the salt will catch the light beautifully.
Enjoying the Finished Piece
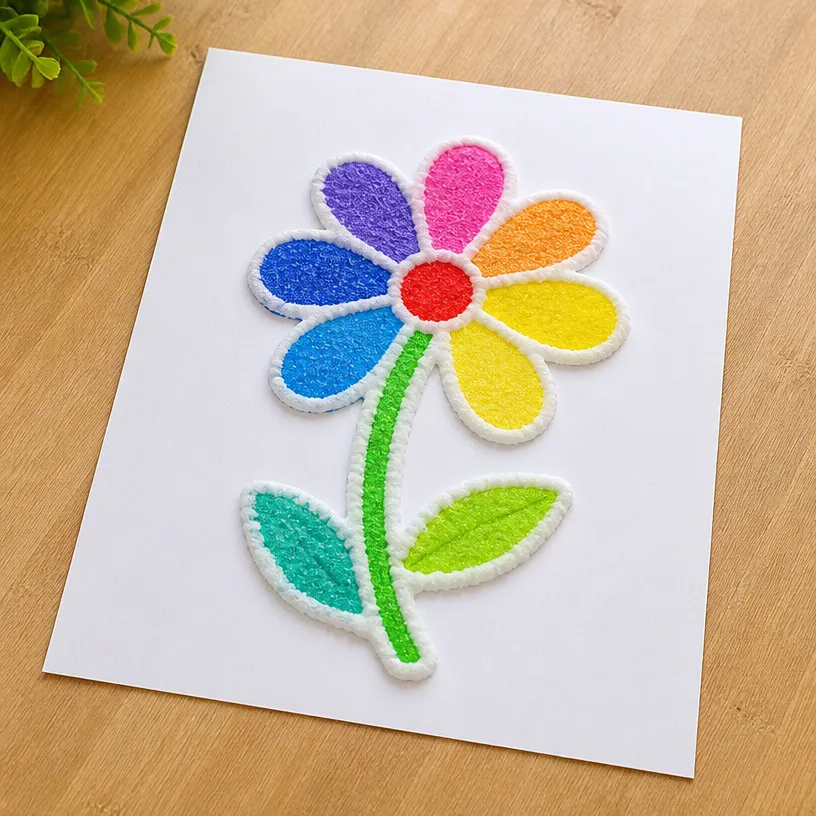
Once your 3D Raised Salt Art is complete, it can be a lovely addition to your home or workspace. The layers of salt shimmer and sparkle under natural light, bringing subtle enchantment to any area. Place it on a shelf, or use it as a part of your calming routines. Whether it’s a centerpiece for a cozy gathering or a personal creation that you treasure, this DIY serves as a reminder of the joy found in the act of making.
How to Store or Reuse DIY 3D Raised Salt Art: Step-by-Step Tutorial
To preserve your artwork, store it in a cool, dry place away from direct sunlight, which can fade the colors. If you want to repurpose the salt art, you can carefully scrape off the paint and salt mixture and start anew. Alternatively, consider using the framework for different scenes throughout the seasons, allowing your creativity to flow continuously.
Gentle Tips & Variations
- If you want to explore textures further, try layering different types of salt to create varied surfaces. Coarse salt can offer a striking dimension.
- Consider incorporating natural materials, such as dried flowers or leaves, alongside your salt art for added organic elements.
- Engage your children in this project by making it a collaborative art session, allowing each person to bring in their unique touch. For children, this could be a beautiful follow-up to projects like DIY flowers salt painting.
- For a twist, you might experiment with glow-in-the-dark paint mixed with salt for a magical effect in darker settings. This way, your salt art can be an exciting feature at night.
FAQs About DIY 3D Raised Salt Art: Step-by-Step Tutorial
Can I use regular table salt instead of coarse salt for my art?
Yes, regular table salt works perfectly. It can create a fine texture that can be just as beautiful.
What if my colors don’t turn out as vibrant?
If your colors seem dull, try adding more food coloring or adjusting your mixture for a stronger tint. Success often lies in trial and experimentation.How long does it take for the glue to dry completely? Typically, it may take a few hours to overnight for the glue to dry, depending on the thickness applied. It’s best to let it dry fully to ensure the salt adheres well.
Can I display this outdoors?
While it’s best to display your art indoors to preserve its colors, if you wish to place it outdoors, consider sealing it with a clear protective finish to protect it from the elements.
Conclusion
Creating DIY 3D Raised Salt Art promotes mindfulness through hands-on activities that engage our senses and imagination. It can be a joyful process, leaving us with a sense of accomplishment and peace. For further inspiration on salt art techniques, explore this engaging resource on making salt art with kids, or consider a delightful project like the rainbow watercolor raised salt paint shamrock. Embrace the joy of crafting and allow your creativity to flow freely.
PrintDIY 3D Raised Salt Art
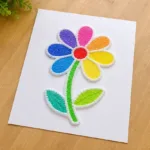
Engage in the meditative art of creating 3D Raised Salt Art with simple materials, fostering mindfulness and creativity.
- Prep Time: 10 minutes
- Cook Time: 0 minutes
- Total Time: 120 minutes
- Yield: 1 art piece
- Category: Craft
- Method: DIY Crafting
- Cuisine: N/A
- Diet: N/A
Ingredients
- White glue (school or craft glue)
- Salt (fine or coarse)
- Watercolor or liquid food coloring
- Thick paper (watercolor paper or cardstock)
- Small paintbrush
- Container for mixing colors
- Optional: glitter for an added sparkle
Instructions
- Start by sketching a light outline of your design on the paper with a pencil.
- Apply a layer of white glue onto your design.
- While the glue is still wet, sprinkle salt over the glued areas.
- Tap off the excess salt gently.
- Mix your desired colors in a container using water and food coloring.
- Using the small paintbrush, begin painting over the salt.
- When finished painting, allow your artwork to dry completely.
- Once dry, you can extend your creation with additional decorations or display it as it is.
Notes
For varied textures, try layering different types of salt. Engage children by making this a collaborative art session.
5 thoughts on “DIY 3D Raised Salt Art: Step-by-Step Tutorial”