

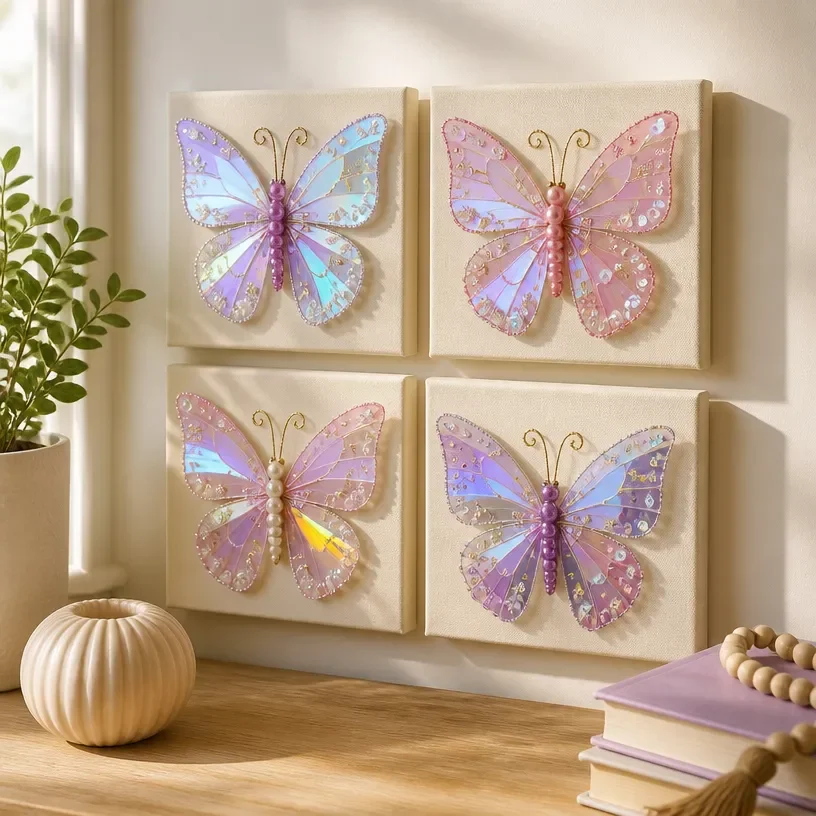
Creating art can become a quiet sanctuary for your mind, a space where colors blend and shapes come to life. The process of making DIY Shimmer Butterfly Wall Art from CDs invites you to slow down and explore the textures and lights that come alive as you create. Feeling the soft film of a CD under your fingers gives rise to a sensory experience, allowing you to express creativity in a relaxed atmosphere. You may also find Cd Butterfly Wall Art Shimmer Diy useful.
Why Make This DIY Shimmer Butterfly Wall Art from CDs
The beauty of crafting is rooted in the emotional connection we establish with the materials. Making your own DIY Shimmer Butterfly Wall Art from CDs can stir joy as you transform something once considered obsolete into a shimmering piece of art. This project encourages mindfulness as you engage in a hands-on experience, focusing solely on the tactile elements of your work. Whether you hang it in your living space or gift it to someone special, this artwork serves as a gentle reminder of the peace found in creative expression. You may also find Diy Rainbow Pencil Shavings Butterfly Art useful.
You may also find Diy 3D Raised Salt Art Step By Step Tutorial useful.
A Gentle Look at the Process
Creating this charming butterfly art piece is a slow and meditative process, filled with layers of reflection and movement. As you engage each step, consider how the materials feel in your hands, the sounds of scissors gliding through paper, and the sight of light dancing through the colorful shimmers. It unfolds smoothly, allowing you to immerse yourself in both the journey and the final product. You may also find Diy Bioplastic Suncatchers Natures Window Art 2 useful.
Materials You’ll Need
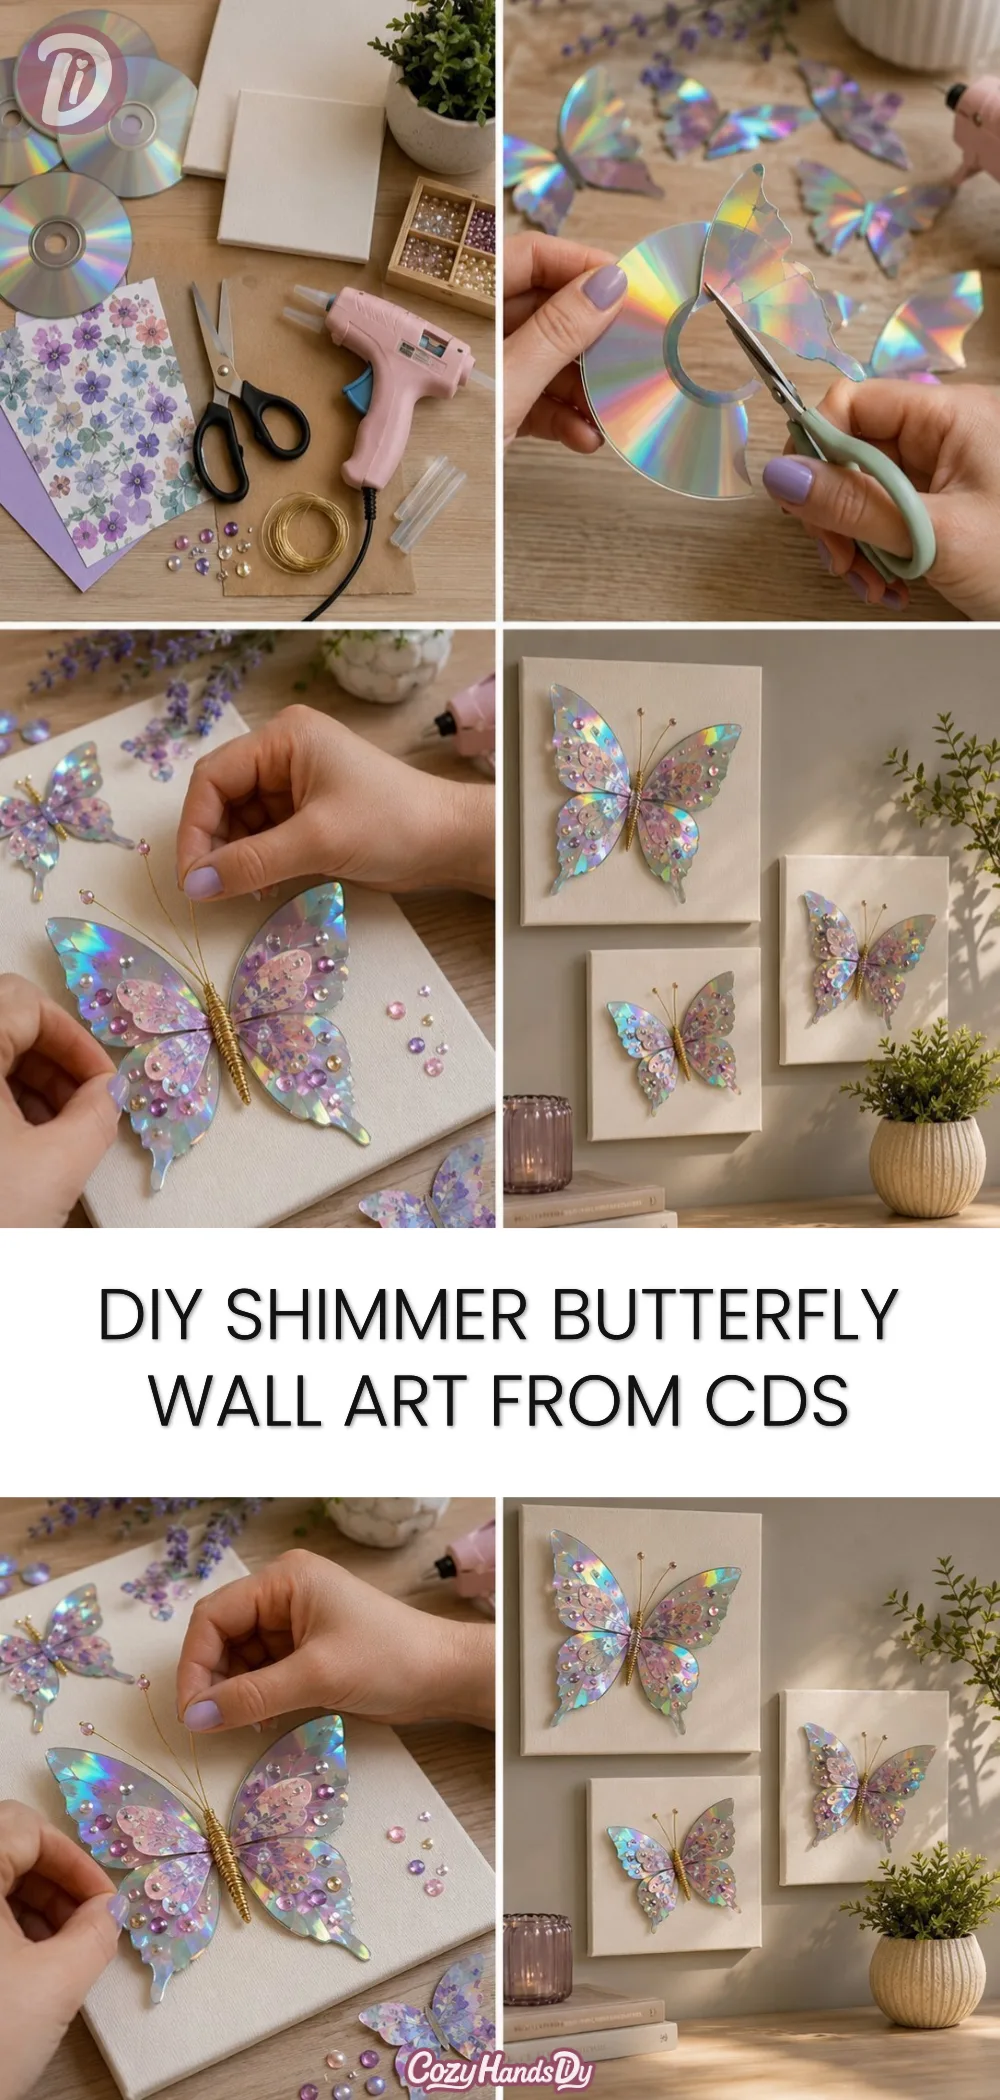
Gathering your materials can be an enjoyable experience in itself. Here’s what you will need:
- Old CDs
- Craft scissors
- Acrylic paint (preferably shimmering colors)
- Paintbrushes (for different strokes)
- Paper or cardboard (for the butterfly base)
- Glue (a strong adhesive works best)
- Optional: decorative items like glitter, beads, or other embellishments
These supplies are mostly easy to find, making it accessible for everyone. You might even have some of them lying around, waiting for a new purpose.
Step-by-Step Directions
Start by choosing your CDs and clean them gently if necessary. The shine of the surface will be the heart of your butterfly’s shimmer.
Use your craft scissors to carefully cut the CDs into butterfly shapes. You can sketch the outline with a permanent marker if that helps you achieve your desired look.
Once the shapes are cut out, select your paints. Applying the shimmering acrylic paint with a brush can create beautiful gradients or patterns, so feel free to experiment as you go.
Allow the painted CDs to dry completely, and take your time during this stage. Watching paint dry can be a calming moment to pause and reflect.
While the CDs dry, prepare your butterfly base. Cut a piece of paper or cardboard to a suitable size for your display.
When everything is dry, glue the butterfly shapes onto your base, layering them for depth if desired. This can attractively enhance the effect of the shimmer.
Add any additional embellishments you wish, like small gems or beads, for a personal touch. Engage with the visual and tactile aspects as you place them on your piece.
Once everything is secured and dried, find a lovely spot to display your new artwork. Consider adding it to your workspace, a cozy nook, or your child’s room for that extra bit of warmth.
Enjoying the Finished Piece
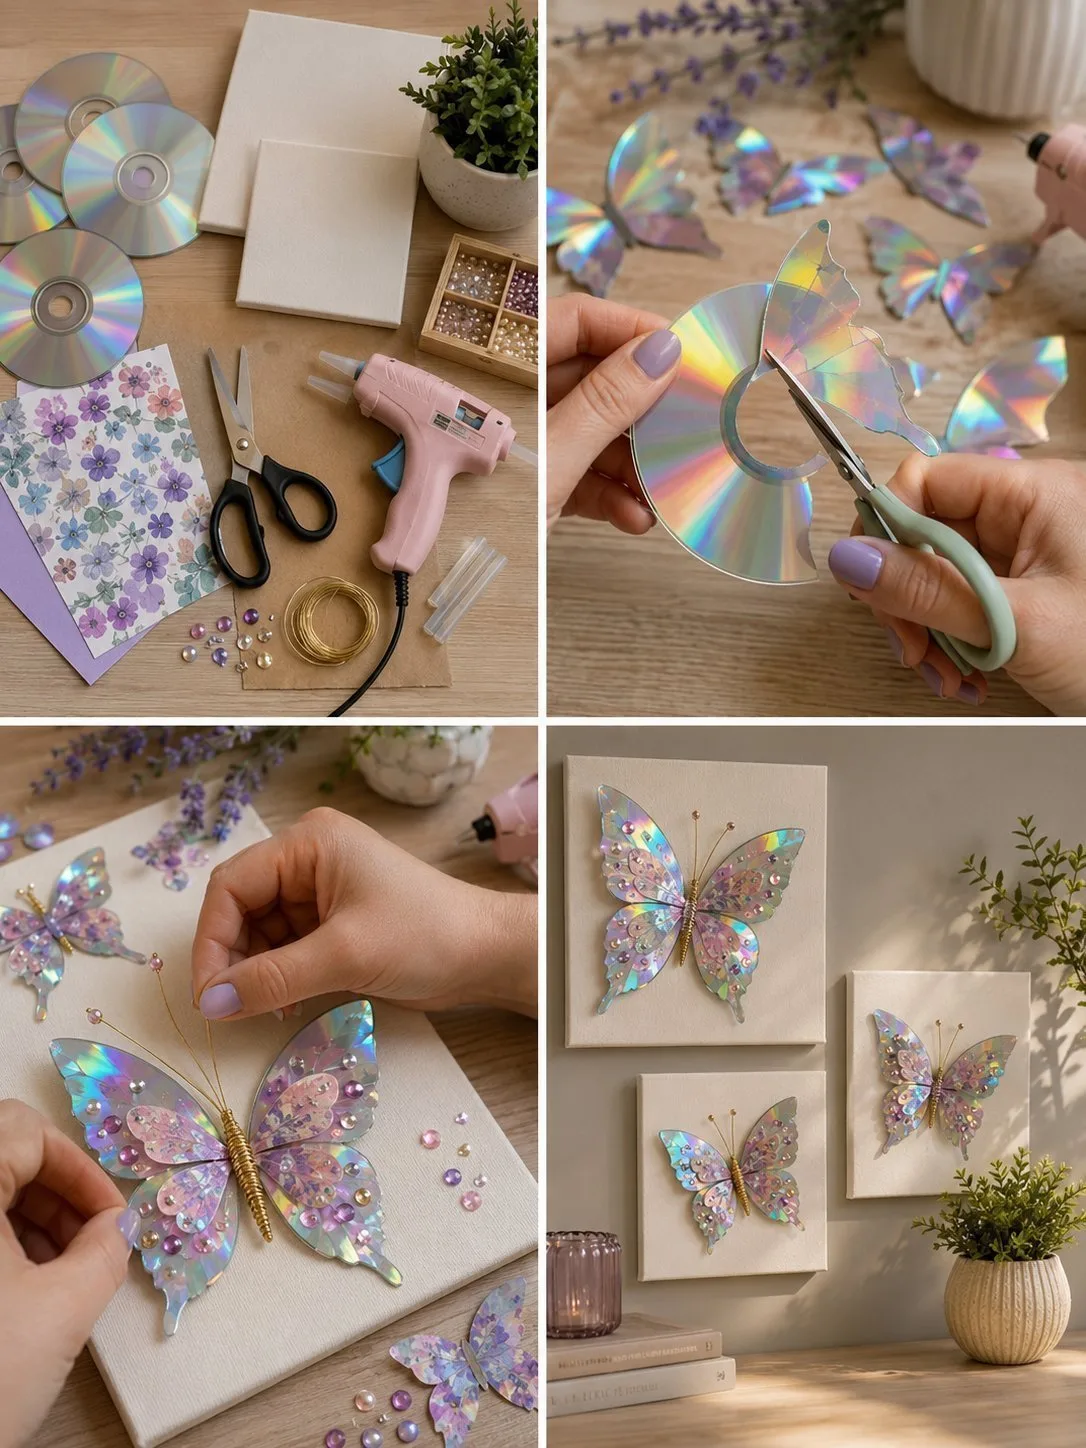
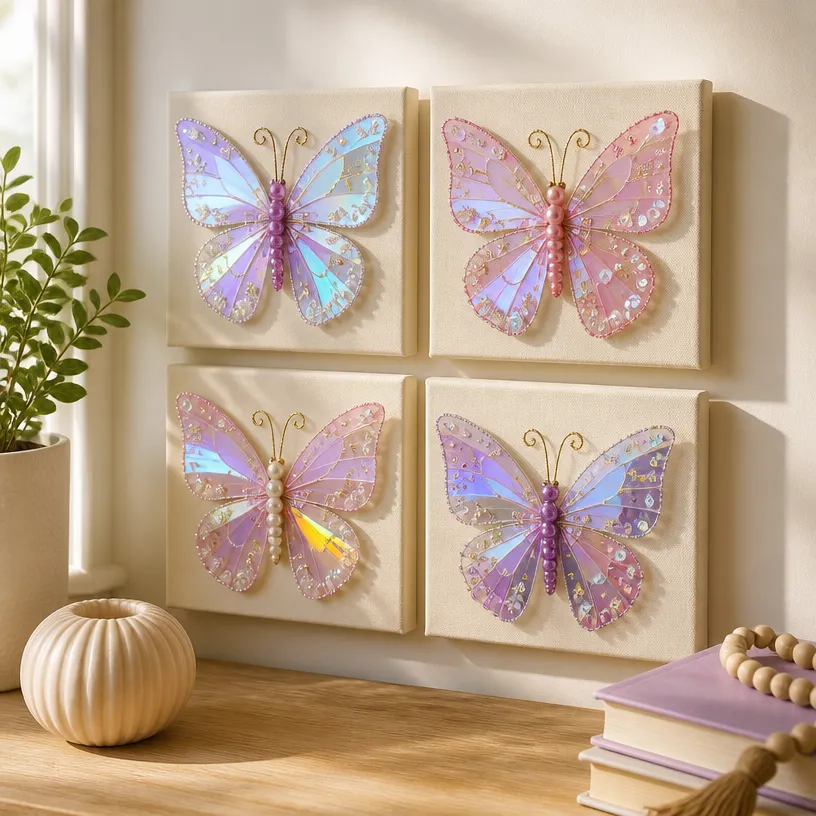
The DIY Shimmer Butterfly Wall Art can play a delightful role in your daily life. Hang it by a window where it can catch sunlight, casting intricate patterns across the room. This transforms your space into a dynamic visual display that changes with the light, reminding you of the joy and creativity you poured into making it. It can also serve as a lovely focal point during quiet reflection or as a boost of bright energy when friends visit.
How to Store or Reuse DIY Shimmer Butterfly Wall Art from CDs
If you ever decide to take down or store your artwork, keeping it safe is straightforward. Wrap it in soft cloth or place it in a box with padding to prevent scratches or damage. Alternatively, if you’re feeling particularly creative, you can reuse the materials for future projects, allowing your imagination to soar anew without the constraints of the ordinary.
Gentle Tips & Variations
Consider using different shapes or sizes for the butterflies to create a whimsical display. Diverse dimensions can evoke a sense of joy as they flutter visually together.
Try incorporating natural elements such as pressed flowers or leaves into your CDs before sealing them. This gives a unique organic touch to your artwork, enhancing both texture and visual intrigue.
Experiment with layering CDs of varying colors to create depth. This may help your butterfly art take on a delightful three-dimensional quality.
For a different kind of shimmer, try using metallic paint or foil. This will offer an exciting twist to the light play on your finished pieces.
FAQs About DIY Shimmer Butterfly Wall Art from CDs
Can I use different types of paint for this project?
Yes, you can use any paint that adheres to the CD surface. However, acrylic paint is preferable due to its vibrant color and durability.
What if I don’t have old CDs?
If you don’t have CDs available, you could use any shiny, reflective material. Be creative with what you have, such as old DVDs or any type of plastic that can be safely cut.
How long does this project take to finish?
It depends on your pace, but generally, you can complete the project within a couple of hours, especially if you take breaks for the paint to dry.
Conclusion
Engaging in DIY projects like creating Shimmer Butterfly Wall Art not only allows you to express your creativity but also connects you to the calming, sensory-rich experience of making. Crafting can provide an opportunity to reflect and find peace in the act of creation. If you wish to explore more ideas for using old CDs, check out 17 DIY CD Craft Ideas That Transform Old Tech Into Viral Aesthetic. Additionally, if you’re looking for some butterfly decoration options, you might enjoy browsing 60 Pcs 3D Iridescent Silver Butterfly Wall Stickers Decals to enhance your home décor with added charm. Each project you choose will deepen your connection to your creative journey.
PrintDIY Shimmer Butterfly Wall Art from CDs
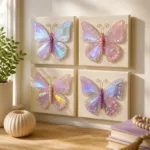
Transform old CDs into beautiful, shimmering butterfly wall art through a meditative crafting process.
- Prep Time: 30 minutes
- Cook Time: 0 minutes
- Total Time: 120 minutes
- Yield: 1 artwork
- Category: Craft
- Method: Crafting
Ingredients
- Old CDs
- Craft scissors
- Acrylic paint (preferably shimmering colors)
- Paintbrushes (for different strokes)
- Paper or cardboard (for the butterfly base)
- Glue (a strong adhesive)
- Optional: decorative items like glitter, beads, or other embellishments
Instructions
- Start by choosing your CDs and clean them gently if necessary.
- Use your craft scissors to carefully cut the CDs into butterfly shapes.
- Once the shapes are cut out, select your paints.
- Allow the painted CDs to dry completely.
- While the CDs dry, prepare your butterfly base by cutting a piece of paper or cardboard.
- When everything is dry, glue the butterfly shapes onto your base.
- Add any additional embellishments you wish for a personal touch.
- Once everything is secured and dried, find a lovely spot to display your new artwork.
Notes
Consider using different shapes or sizes for varied visual interest. Try incorporating natural elements or experimenting with layering colors.