

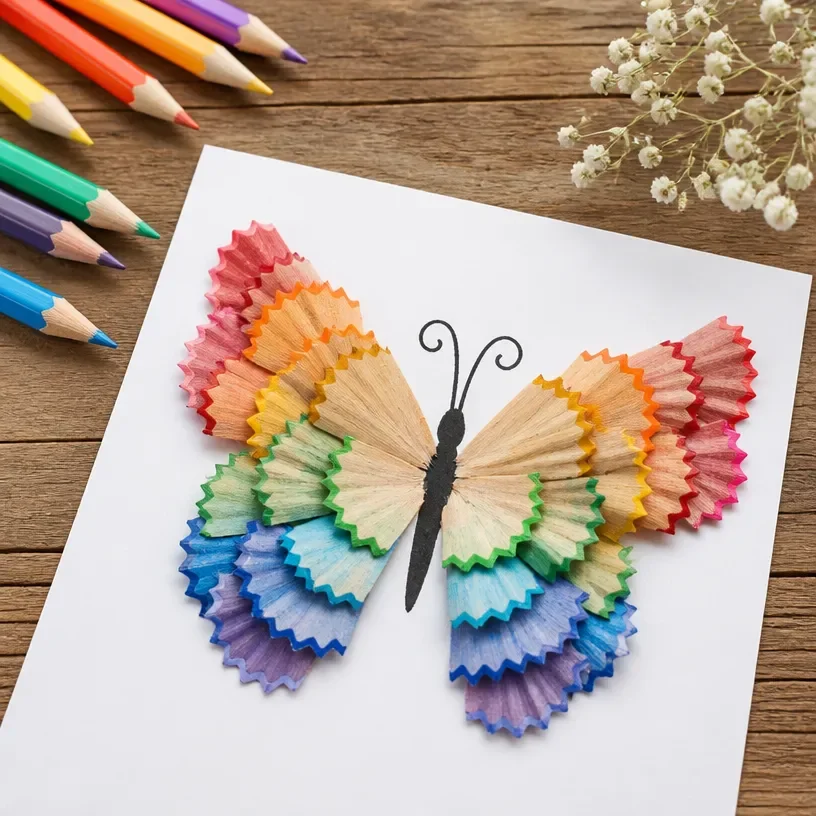
Creating art with our hands often feels like a soulful dance with colors, shapes, and materials. When we take the time to pause and engage with the world through crafting, as in the case of DIY Rainbow Pencil Shavings Butterfly Art, we find a cozy warmth enveloping us. The gentle, warm touch of pencil shavings, with their pastel hues mingling together, evokes a sense of calm that is hard to match. It is within such simple, tactile experiences that we discover the joys of creation and self-expression. You may also find Cd Butterfly Wall Art Shimmer Diy useful.
The Heart Behind This DIY
Engaging in DIY projects like Rainbow Pencil Shavings Butterfly Art brings us a unique opportunity for mindfulness. As we immerse ourselves in the process, we focus on the present moment. The light touch of shavings gliding through our fingers, the soft sounds of cutting and gluing, and the subtle aroma of wood and stationery invite tranquility into our space. By creating this cheerful butterfly art, we embrace a sense of purpose while nurturing our creativity and honing our fine motor skills. It becomes not just a project, but a soothing ritual that invites us to slow down and find joy in the process of making. You may also find Cute Rainbow Panda Toilet Roll Pencil Cup Art useful.
You may also find Diy Rainbow Apple Pencil Wreath For Teachers useful.
A Gentle Look at the Process
The beautiful thing about making this butterfly art is that it allows us to flow naturally with our materials. As you gather your pencil shavings, you will feel the different textures and the way they catch the light. There’s a satisfying rhythm to peeling those colorful layers off the pencils, a gentle sound that accompanies each little curl of wood that falls away. Pasting them onto paper turns into a meditative movement, inviting both focus and imagination. This project connects us through sights and sounds, letting our creative energy unfold softly, guiding us from start to finish. You may also find Rainbow Pencil Shaving Fall Tree Art useful.
Materials You’ll Need
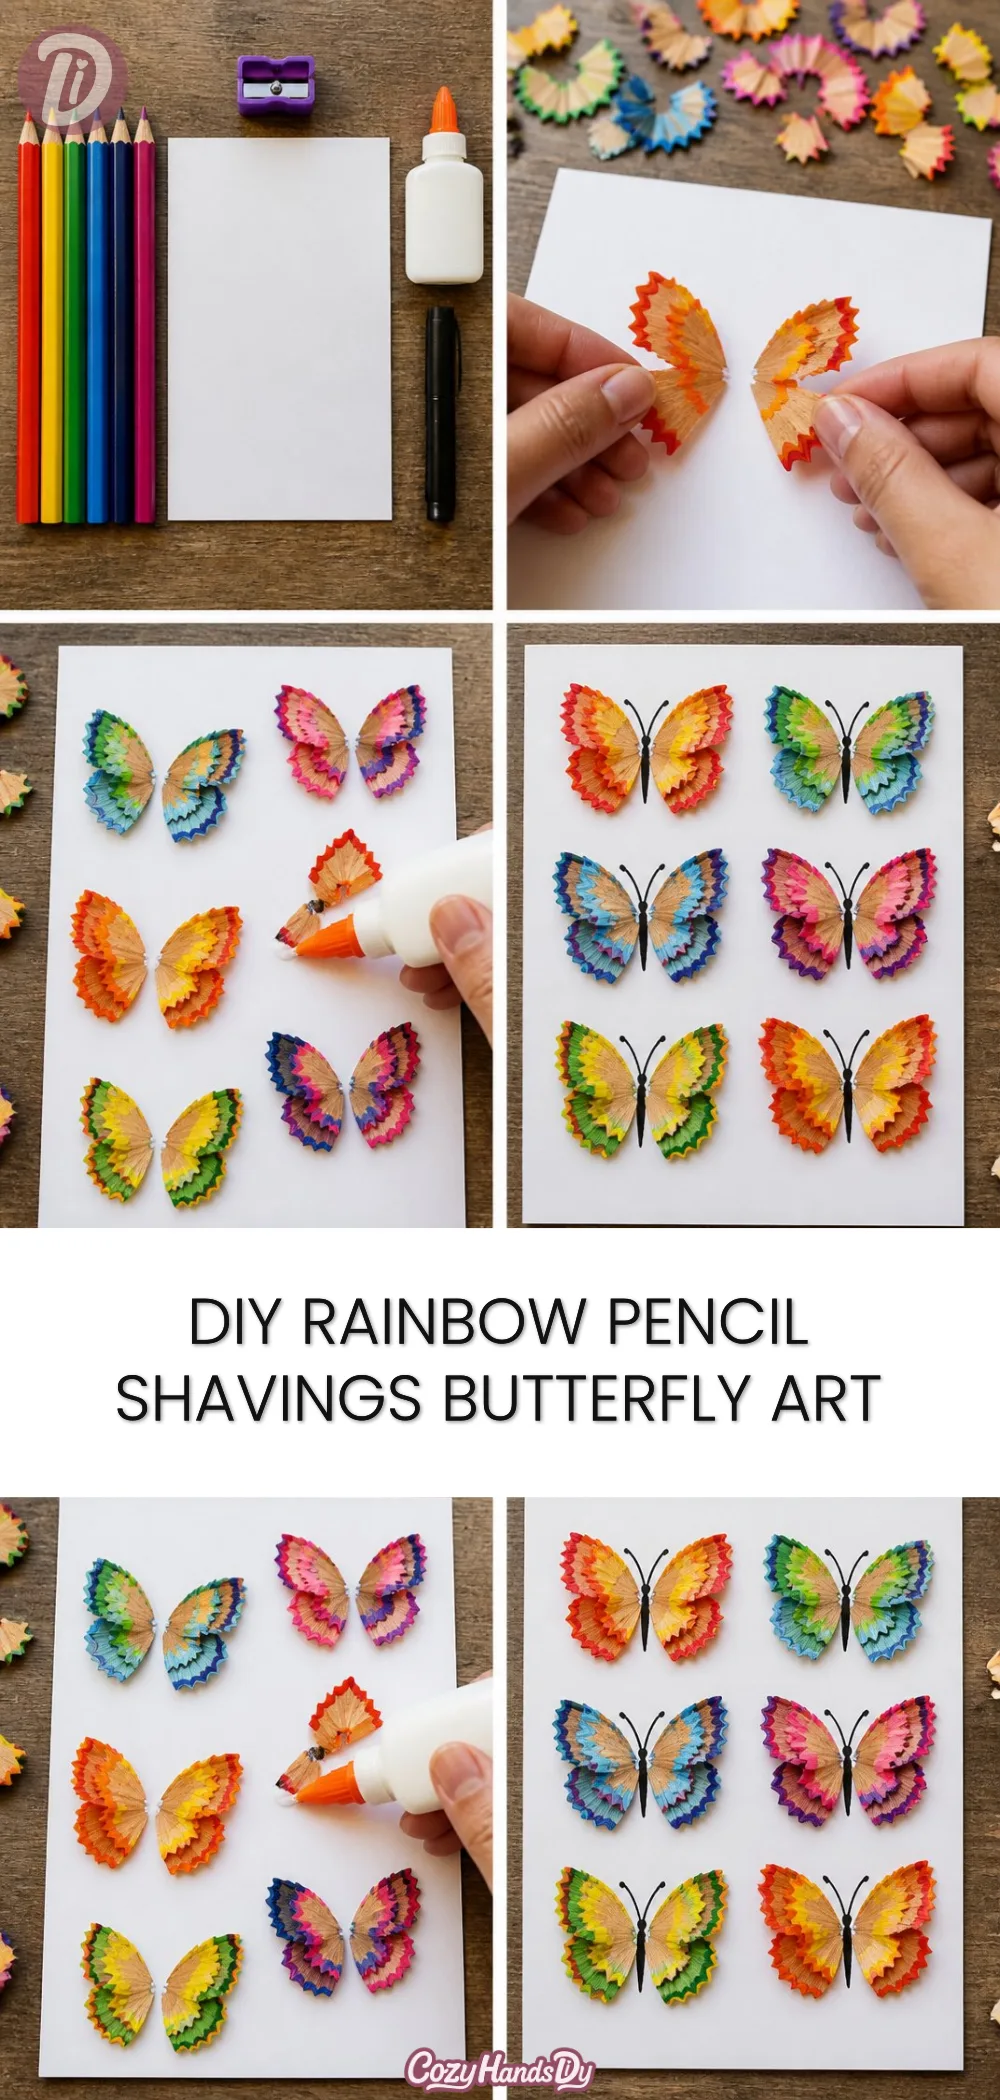
To create your DIY Rainbow Pencil Shavings Butterfly Art, gather these simple supplies:
- Colored pencils (various colors)
- Sharpener to create shavings
- Glue (pva glue works well)
- Paper or cardstock (for the butterfly shape)
- Scissors
- Optional: markers or paints for added detail
These materials are typically easy to find around the home or at local craft stores. The flexibility in colors allows for personal expression, ensuring that each creation feels unique.
Step-by-Step Directions
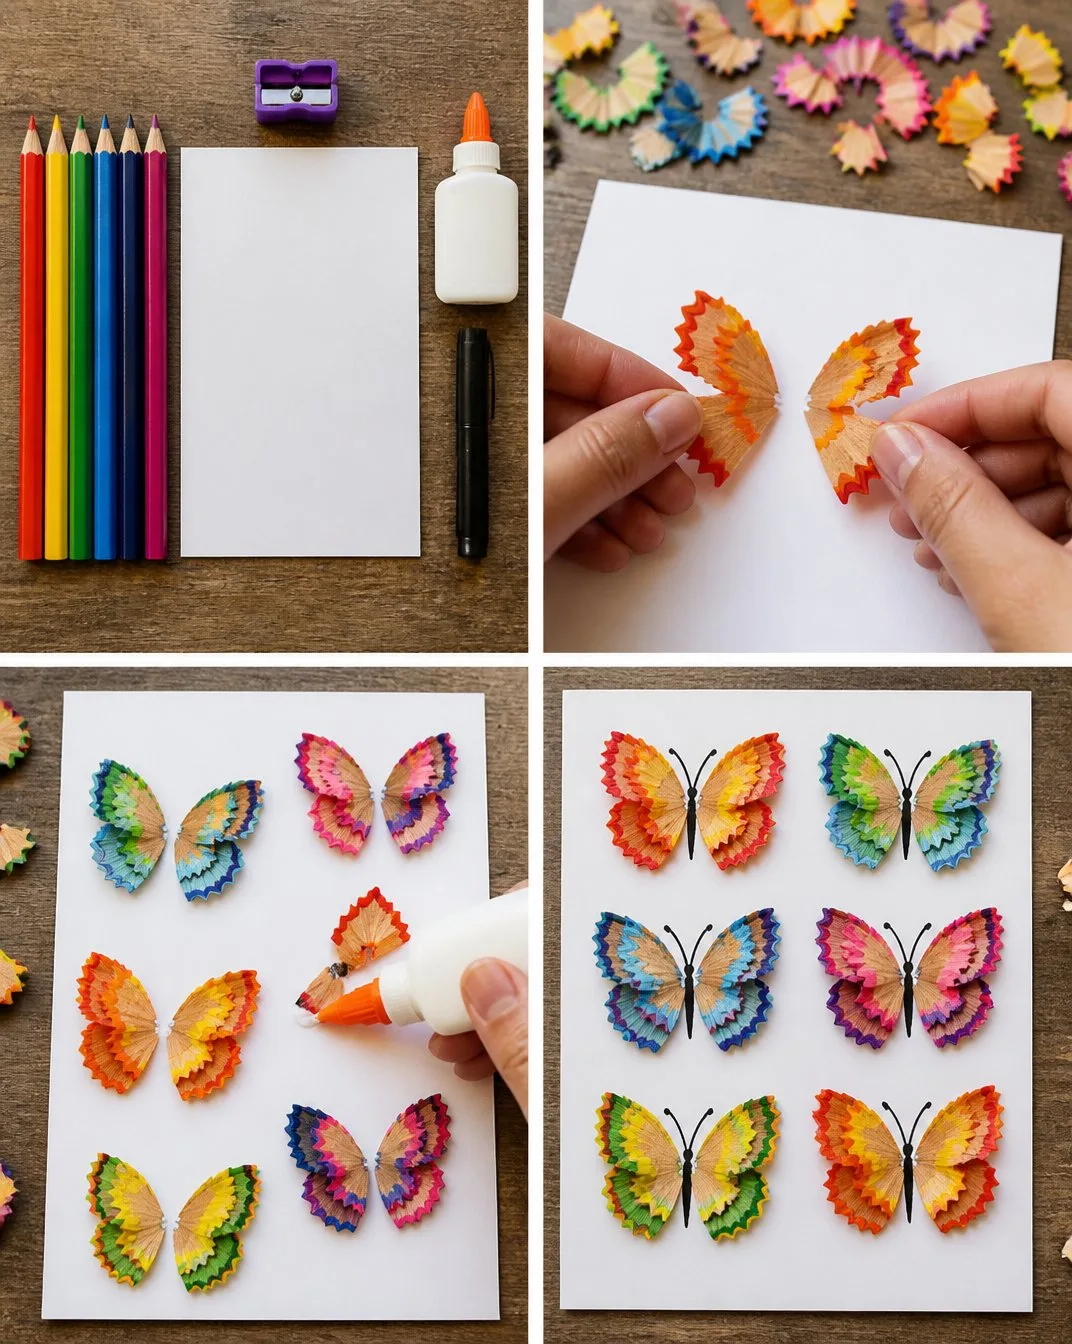
Start by sharpening your colored pencils to create a variety of colorful shavings. Enjoy the process of watching the shavings tumble out as you keep sharpening each pencil.
Once you have a nice collection of pencil shavings, choose a piece of paper or cardstock on which you’ll create your butterfly.
Gently draw or outline the shape of a butterfly on the paper. Feel free to use markers or a light pencil first, making sure it reflects your style.
Begin applying glue to sections of your butterfly shape. Take your time to spread the glue smoothly across the outline.
Carefully place the pencil shavings onto the glued areas. Enjoy the soothing act of arranging them, allowing your creativity to guide the placement for a beautiful blend of colors.
Once you’ve filled the butterfly with shavings, leave it to dry completely before displaying it. The anticipation of seeing your creation come to life will make the experience even more delightful.
Enjoying the Finished Piece
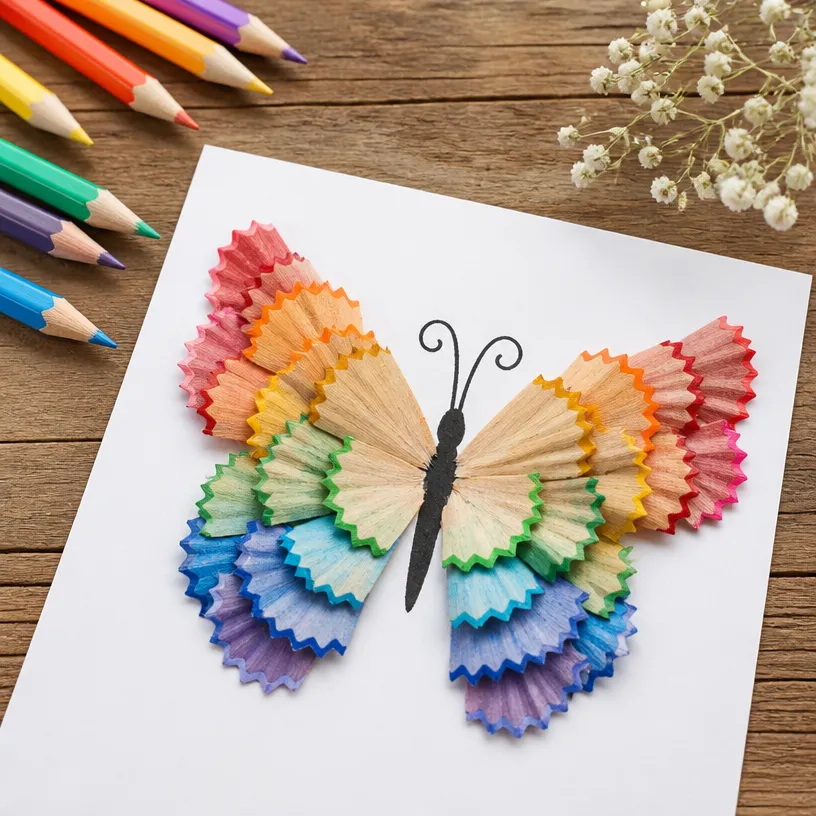
Once your butterfly art has dried, it can be a cheerful addition to your space. You might choose to hang it on the wall or place it on a shelf as a reminder of the creative time you spent creating it. It can bring a splash of color and joy into your environment, making it a wonderful centerpiece during cozy gatherings or quiet moments of reflection. Each glance at your art can transport you back to the peaceful experience of making it.
How to Store or Reuse DIY Rainbow Pencil Shavings Butterfly Art
When it comes to preserving your artwork, consider placing your butterfly in a frame to keep it safe from dust and wear. If you haven’t glued it down yet, storing the pencil shavings art in a shadow box can help maintain its delicate elements. If ever you feel like changing things up, you can gently peel off the shavings from the original piece and repurpose them for another craft, making this DIY not only beautiful but also resourceful.
Gentle Tips & Variations
- Add Texture: Consider using different materials alongside pencil shavings, such as sprinkles or glitter, to enhance the visual texture of your butterfly.
- Mix It Up: Instead of just using shavings from colored pencils, experiment with crayon shavings for a different feel and a new color palette.
- Create a Series: Why stop at one butterfly? Craft several in different sizes or colors to make a beautiful gallery wall in your home.
- Personal Touches: Use your favorite quotes or sayings around the butterfly to create a personalized message that reflects your feelings or creative journey.
FAQs About DIY Rainbow Pencil Shavings Butterfly Art
Can I use any kind of pencil for this project?
Yes, colored pencils work best, but you can also experiment with crayons for different textures and colors.
How long does the glue take to dry?
Typically, it will take a few hours to dry completely, but it’s best to leave it overnight to ensure it holds well.
What if I don’t have all the materials?
Feel free to substitute with what you have. For example, you can use construction paper instead of cardstock.
Conclusion
Creating art can blend joy and mindfulness into our lives, especially in cozy projects like creating Rainbow Pencil Shavings Butterfly Art. These gentle moments of creativity are a beautiful escape, providing both a colorful outlet and a source of satisfaction. For more inspiring ideas on similar crafts, consider exploring rainbow marbled butterfly pasta art or dive into fun and easy crafts for kids that embrace creativity. May each project you undertake wrap you in a comforting embrace of creativity and tranquility.
PrintDIY Rainbow Pencil Shavings Butterfly Art
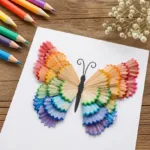
Create a beautiful and colorful butterfly art piece using pencil shavings in a mindful and engaging DIY project.
- Prep Time: 15 minutes
- Cook Time: 0 minutes
- Total Time: 15 minutes
- Yield: 1 butterfly art piece
- Category: Crafts
- Method: Crafting
- Cuisine: N/A
- Diet: N/A
Ingredients
- Colored pencils (various colors)
- Sharpener to create shavings
- Glue (PVA glue works well)
- Paper or cardstock (for the butterfly shape)
- Scissors
- Optional: markers or paints for added detail
Instructions
- Start by sharpening your colored pencils to create a variety of colorful shavings.
- Once you have a nice collection of pencil shavings, choose a piece of paper or cardstock for the butterfly.
- Gently draw or outline the shape of a butterfly on the paper.
- Begin applying glue to sections of your butterfly shape.
- Carefully place the pencil shavings onto the glued areas as desired.
- Once you’ve filled the butterfly, leave it to dry completely before displaying it.
Notes
Consider framing your artwork for preservation. You can also reuse the shavings for another project if necessary.