

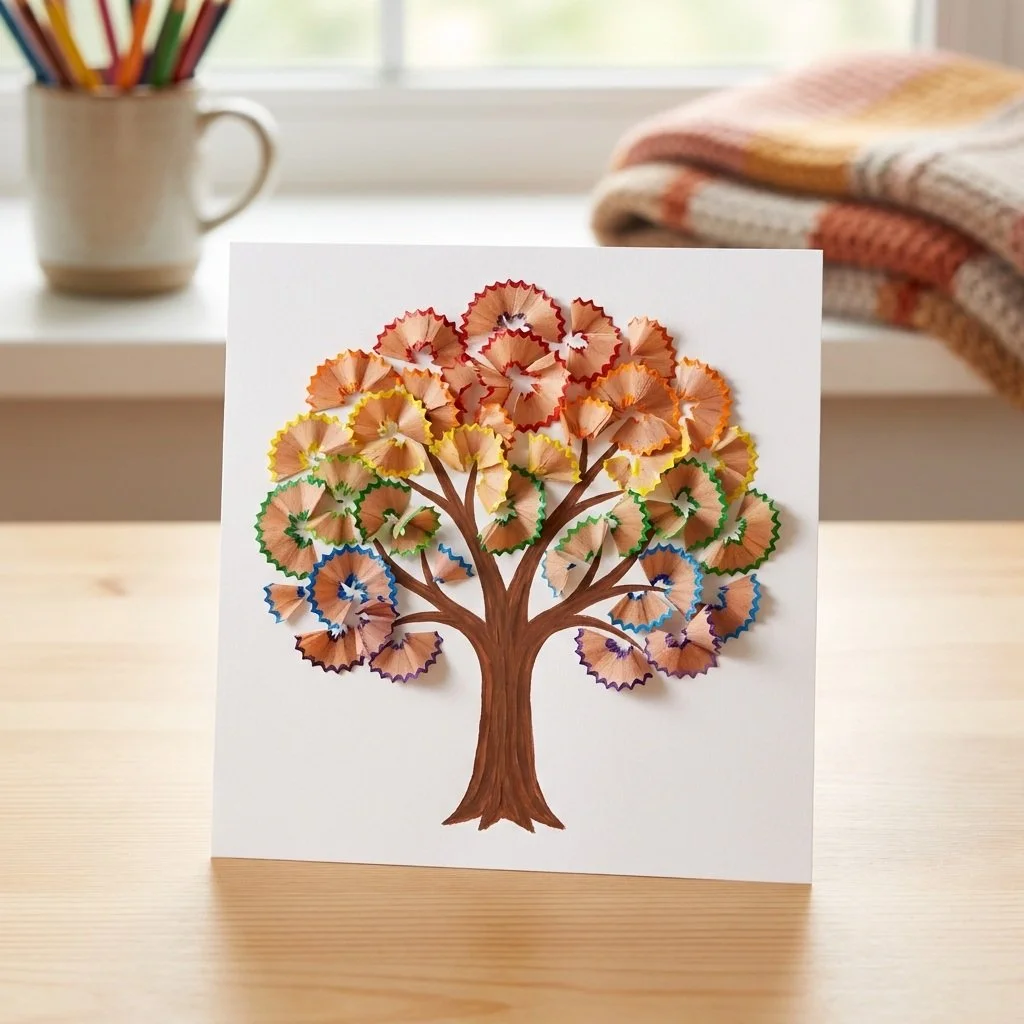
The gentle sound of a pencil sharply shaving away, mixed with the soft crackle of vibrant colors, brings a sense of calm and creativity. This peace envelops you as you prepare to create a Rainbow Pencil-Shaving Fall Tree Art masterpiece. Each shaving, rich with color, invites mindfulness into your space. It’s more than just making art; it feels like an intimate dance between your hands and the materials, grounding you in the moment. You may also find Broken Crayons Glowing Rainbow Flowers Recycle Art Supplies useful.
The Heart Behind This DIY
Creating Rainbow Pencil-Shaving Fall Tree Art is a nurturing experience that encourages you to slow down and immerse yourself in the process. As the colors swirl and blend, you’re not simply crafting; you’re exploring your own feelings and thoughts. This art form allows you to focus on the textures and sounds around you, creating a cozy atmosphere filled with intention. The beauty of this project lies in its simplicity, which fosters creativity without overwhelming you. Every shaving holds a memory, a connection to the act of making something joyful. You may also find Rainbow Crayon Haunted House Art useful.
A Gentle Look at the Process
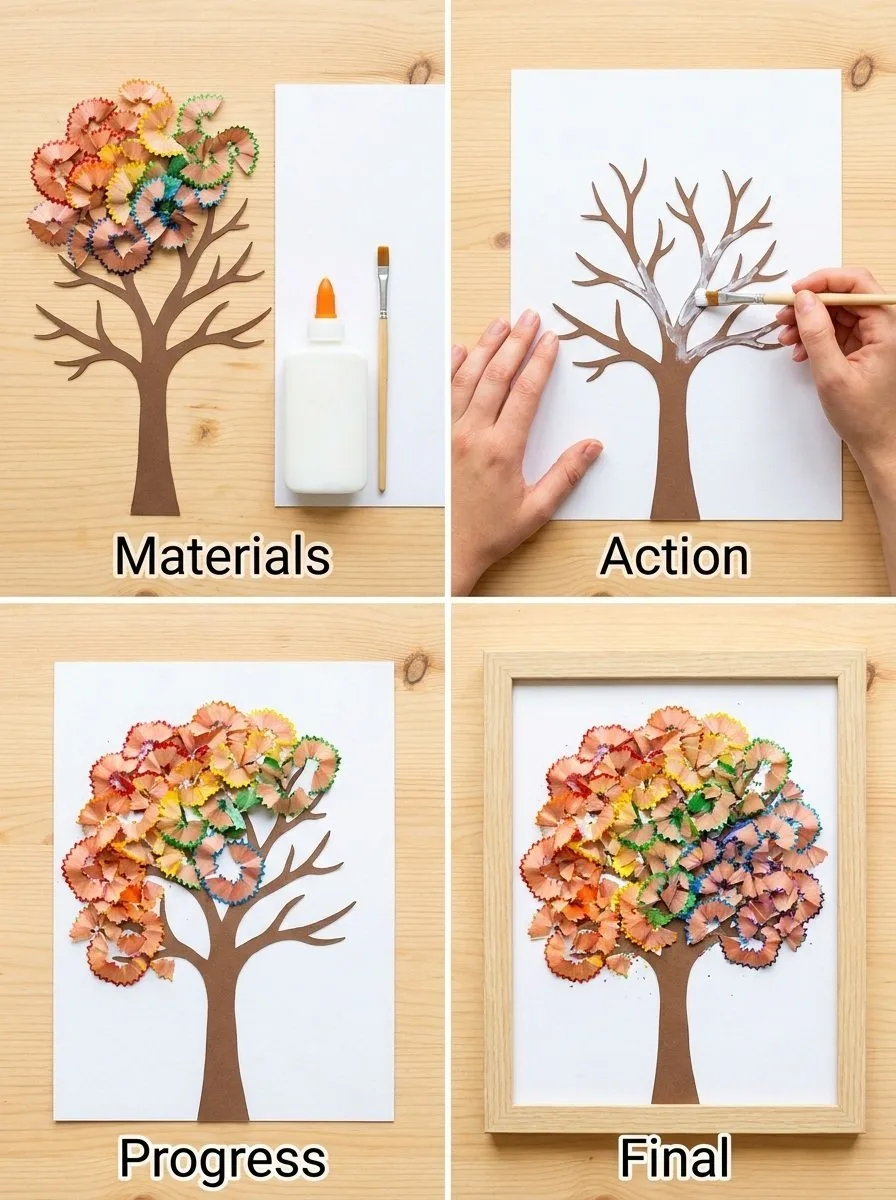
Before you dive into creating, visualize the peaceful rhythm of the process. Imagine the quiet rustle of pencil shavings falling, the smooth surface of each shade blending together, and the warm glow of colors coming to life. The act of combining these elements becomes an intentional practice of presence. You’ll soon see how the experience of making the Rainbow Pencil-Shaving Fall Tree Art flows naturally, much like the colors that emerge in a brilliant dance. You may also find Rainbow Crystal Haunted Tree Cozy useful.
Materials You’ll Need
Gathering your materials is a comforting part of the journey. Here’s what you’ll need for your Rainbow Pencil-Shaving Fall Tree Art: You may also find Rainbow Crystal Heart useful.
- Various colored pencils (the brighter, the better)
- A sharpener (manual or electric)
- Thick card stock or canvas (easy to find at most stores)
- Glue stick or liquid glue
- Scissors (for any necessary cutting)
- Optional: glitter or sequins for added flair
These items are simple to source, allowing you to focus on the act of creation itself.
Step-by-Step Directions
- Begin by sharpening your colored pencils, letting the shavings fall onto a clean workspace. Enjoy the soft sound as the colors emerge.
- Gather the colorful shavings into small groups according to their shades or colors, inviting a visual rainbow to form before you.
- Take your card stock or canvas and decide on the layout for your tree. A gentle outline can guide you, though freehanding can bring a charming spontaneity.
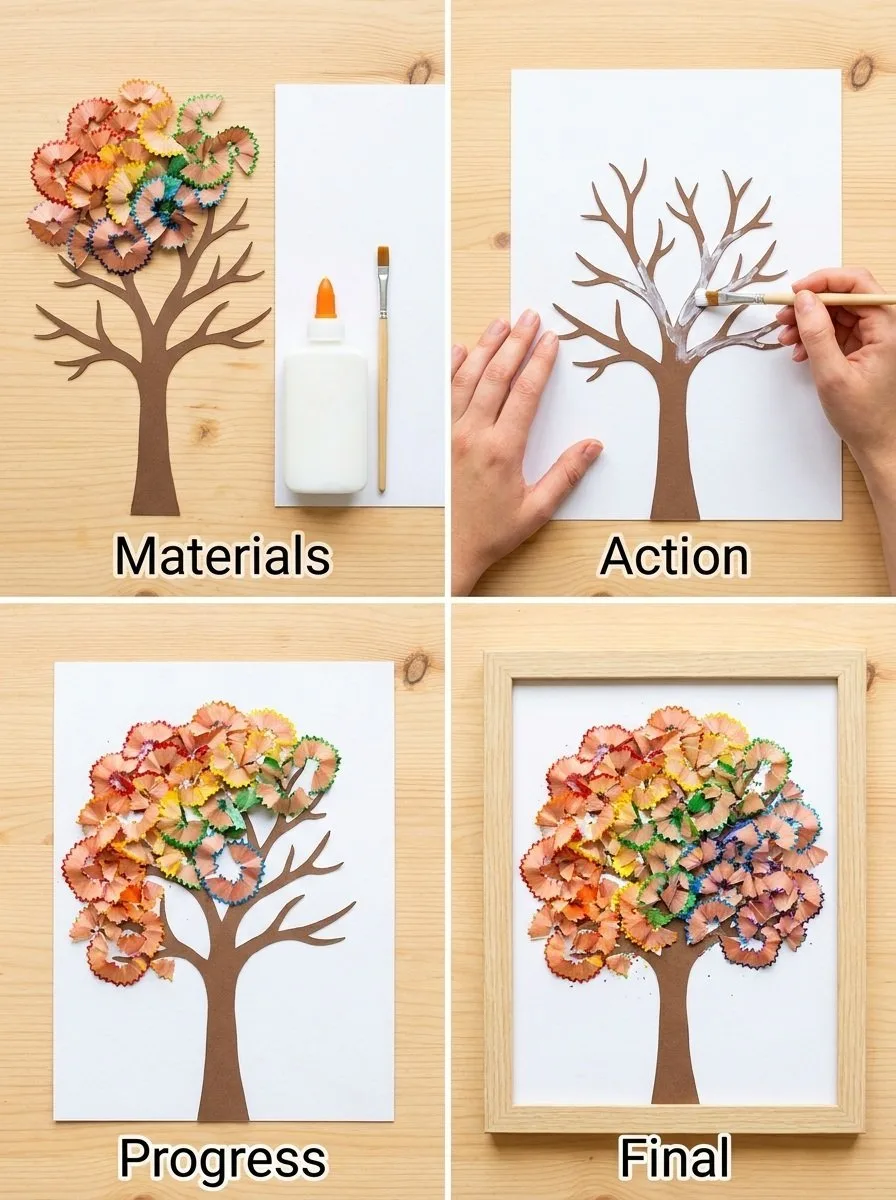
- Apply glue to the outline of your tree, and start placing the pencil shavings onto the adhesive. Notice how they create a unique texture and depth.
- Continue layering the colors until your tree is beautifully full. Experiment with placement, feeling free to adjust the shavings as you go.
- For a touch of sparkle, consider adding glitter or sequins to the shavings before they dry. The extra dimension enhances the feeling of fall magic.
- Allow your creation to dry completely before displaying it proudly.
Enjoying the Finished Piece
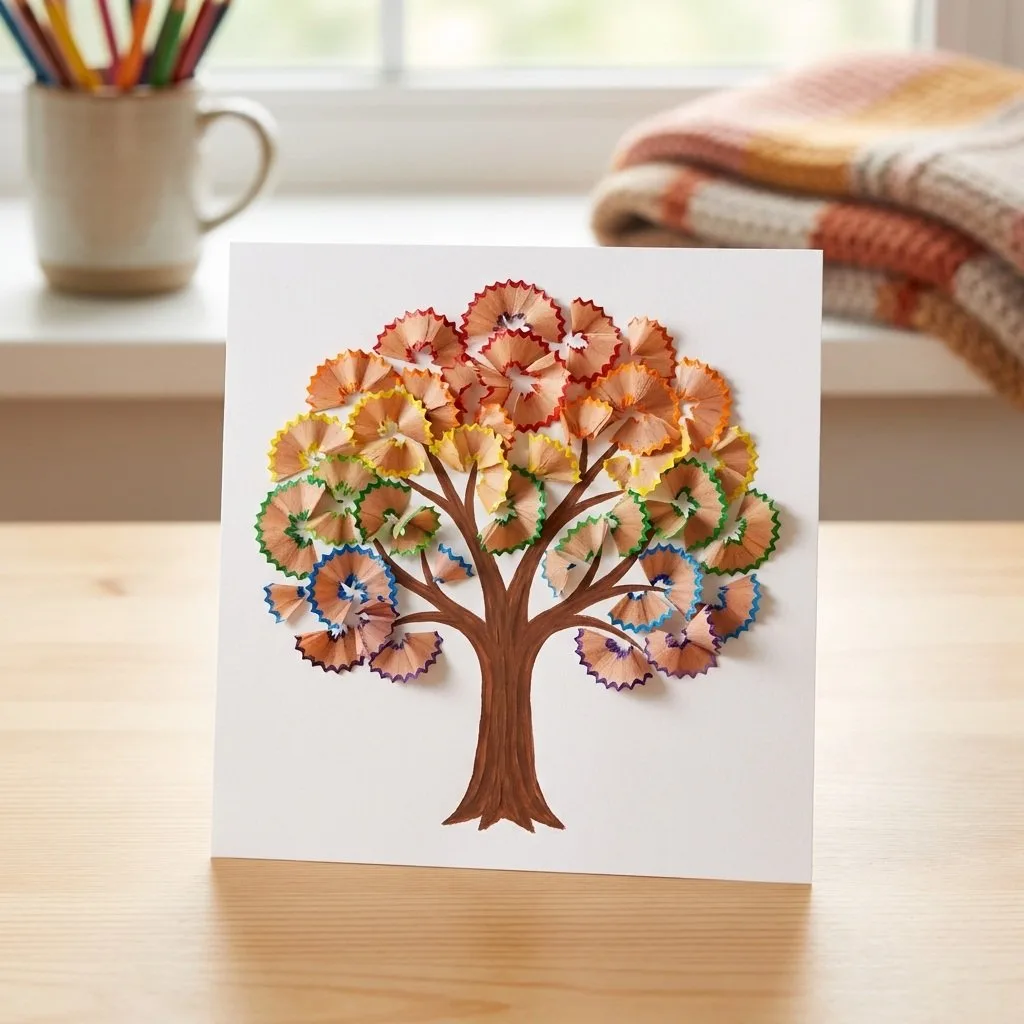
Once your Rainbow Pencil-Shaving Fall Tree Art has dried, it’s time to appreciate the beauty of your creation. Hang it in a cozy corner of your home, or gift it to someone who can cherish the love and intention behind it. This art piece serves not only as a vibrant decoration but also as a reminder of the joy found in mindful making. Every glance at your tree can evoke the peaceful moments spent crafting it, enriching your everyday space.
Keeping It for Later
To ensure your Rainbow Pencil-Shaving Fall Tree Art lasts, handle it with care. Store your artwork in a cool and dry place away from direct sunlight, as this can cause the colors to fade over time. If you ever wish to recreate the experience, consider saving the shavings from another project for future use.
Gentle Tips & Variations
- Invite your loved ones to join you in this process. Making it a shared experience can deepen connections and result in multiple pieces of art.
- There’s no limitation on color; let the seasons guide your palette. Bright, vibrant hues for summer, and warm, earthy tones for fall can change the mood of your artwork.
- Use various backgrounds like patterned papers or textured fabrics for a unique spin on your tree.
- Consider layering different art forms. Use your Rainbow Pencil-Shaving Fall Tree Art as a base and add drawings or doodles around it for added depth.
FAQs About Rainbow Pencil-Shaving Fall Tree Art
What if I only have a few colored pencils?
You can still create stunning artwork. Limit your color palette to what you have on hand, using shades creatively to build depth and interest.
Can I use the shavings from other colored projects?
Absolutely! Mixing different colors can yield beautiful results, and reusing shavings adds another layer of creativity to your piece.
How do I secure the shavings if they seem loose?
If you notice any loose shavings after drying, a light layer of spray adhesive can help keep them in place, ensuring your artwork remains intact.
What else can I do with the shavings?
Your colorful shavings can also be used in other projects like homemade cards or as fillers in clear ornaments, enhancing joy in various crafts.
Is this a good project for children?
Yes, this project can be delightful for children! Just supervise them during the use of scissors and glue, allowing them to enjoy and express their creativity.
Conclusion
Creating art is not just about the end result; it’s about the journey and the mindful choices we make along the way. As you lose yourself in the process of making Rainbow Pencil-Shaving Fall Tree Art, you cultivate a space for reflection and calm. If you’re looking for more creative ideas, explore the delightful Back-to-School Pencil Shaving Garland or enjoy the whimsical charm of Rainbow Marbled Butterfly Pasta Art.
PrintRainbow Pencil-Shaving Fall Tree Art
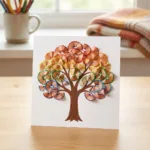
Create a vibrant Rainbow Pencil-Shaving Fall Tree Art masterpiece using colorful pencil shavings for a mindful crafting experience.
- Prep Time: 15 minutes
- Cook Time: 0 minutes
- Total Time: 15 minutes
- Yield: 1 art piece
- Category: Craft
- Method: Crafting
- Cuisine: N/A
- Diet: N/A
Ingredients
- Various colored pencils (the brighter, the better)
- A sharpener (manual or electric)
- Thick card stock or canvas
- Glue stick or liquid glue
- Scissors
- Optional: glitter or sequins for added flair
Instructions
- Begin by sharpening your colored pencils, letting the shavings fall onto a clean workspace.
- Gather the colorful shavings into small groups according to their shades or colors.
- Take your card stock or canvas and decide on the layout for your tree.
- Apply glue to the outline of your tree, and start placing the pencil shavings onto the adhesive.
- Continue layering the colors until your tree is beautifully full.
- For a touch of sparkle, consider adding glitter or sequins to the shavings before they dry.
- Allow your creation to dry completely before displaying it proudly.
Notes
Store your artwork in a cool and dry place away from direct sunlight to preserve the colors.