

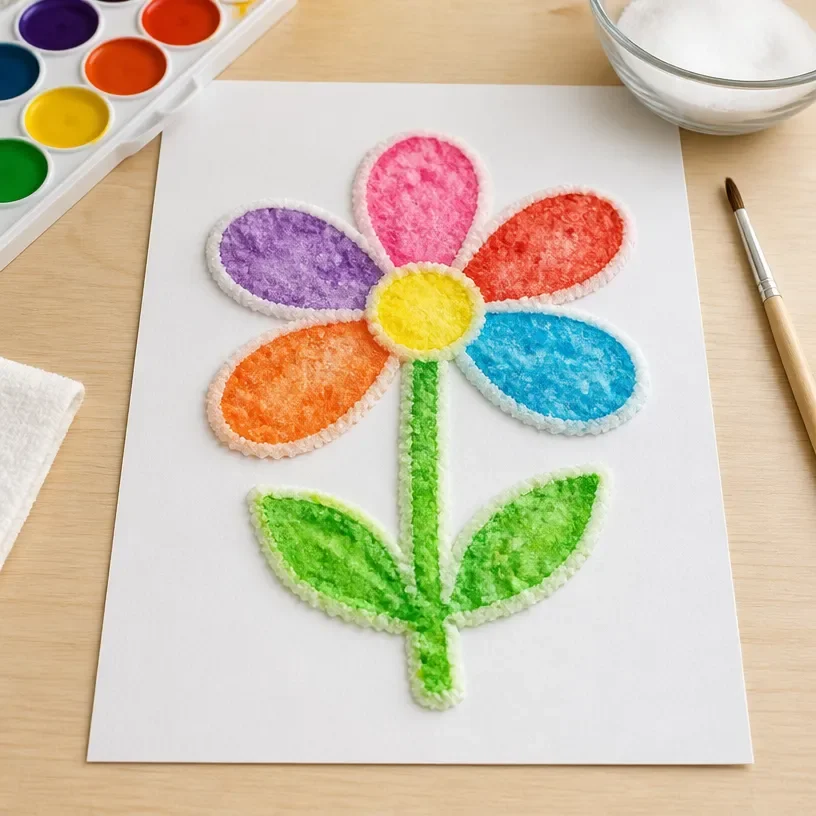
The gentle brush of fingertips against a soft surface can evoke a feeling of warmth and calm as one engages with art. This is especially true when creating 3D raised salt art, a fascinating blend of texture, light, and personal creativity. The act of layering grains of salt and paint can transform a simple moment into a soothing experience, allowing our thoughts to slow. Through this 3D Raised Salt Art Tutorial, you’ll find a gateway into a space of mindful creation, ready to ground you in the present.
The Heart Behind This DIY
Art has a way of beckoning us to slow down and breathe in the process rather than just the outcome. In creating 3D raised salt art, you find joy in layering textures, blending colors, and letting your imagination unfold gently. The focus on tactile interactions encourages a peaceful mindset that embraces creativity. As you navigate the careful movement of materials, your mind releases tension, culminating in a calming experience that rejuvenates your spirit. You may also find Diy Pipe Cleaner Crystal Heart Tutorial useful.
You may also find Epsom Salt Window Frost Art useful.
A Gentle Look at the Process
As you prepare to embark on this artistic journey, notice the soft rustle of materials gathering around you. You’ll experience the peaceful rhythm of pouring salt and the satisfying squish of glue under your fingertips. This process is less about perfection and more about enjoying every moment. Every action, from drawing your design to sprinkling salt, is an invitation to immerse yourself in a sensory-rich experience that celebrates both the messiness and beauty of creation.
Materials You’ll Need
To bring your 3D raised salt art project to life, gather these simple supplies:
- White glue (like school glue)
- Salt (granulated or coarse)
- Food coloring or watercolor paints
- Thick paper or a sturdy canvas
- Paintbrushes (different sizes)
- A tray or surface for easy cleanup
- Optional: glitter or other embellishments for added texture
Most of these materials are easy to find in craft stores or even at home. Feel free to substitute or adjust elements as you see fit!
Step-by-Step Directions
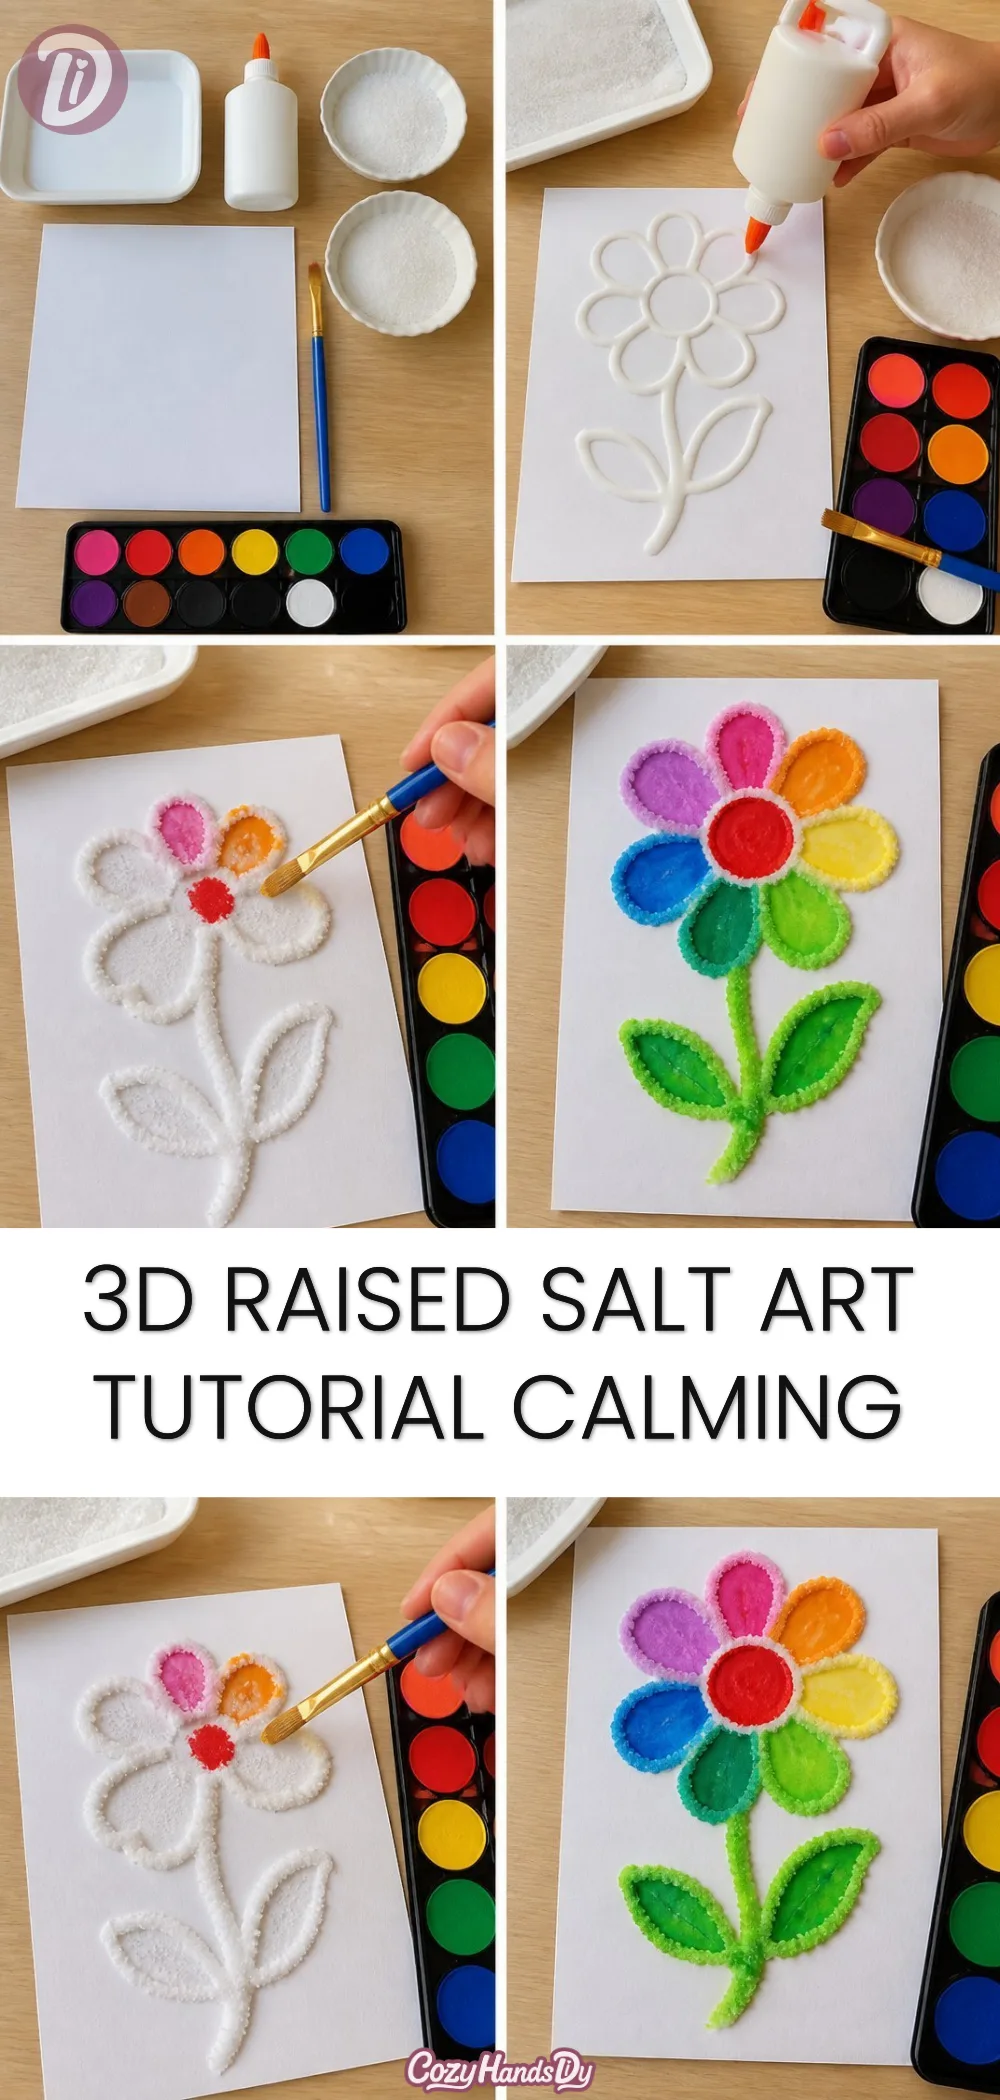
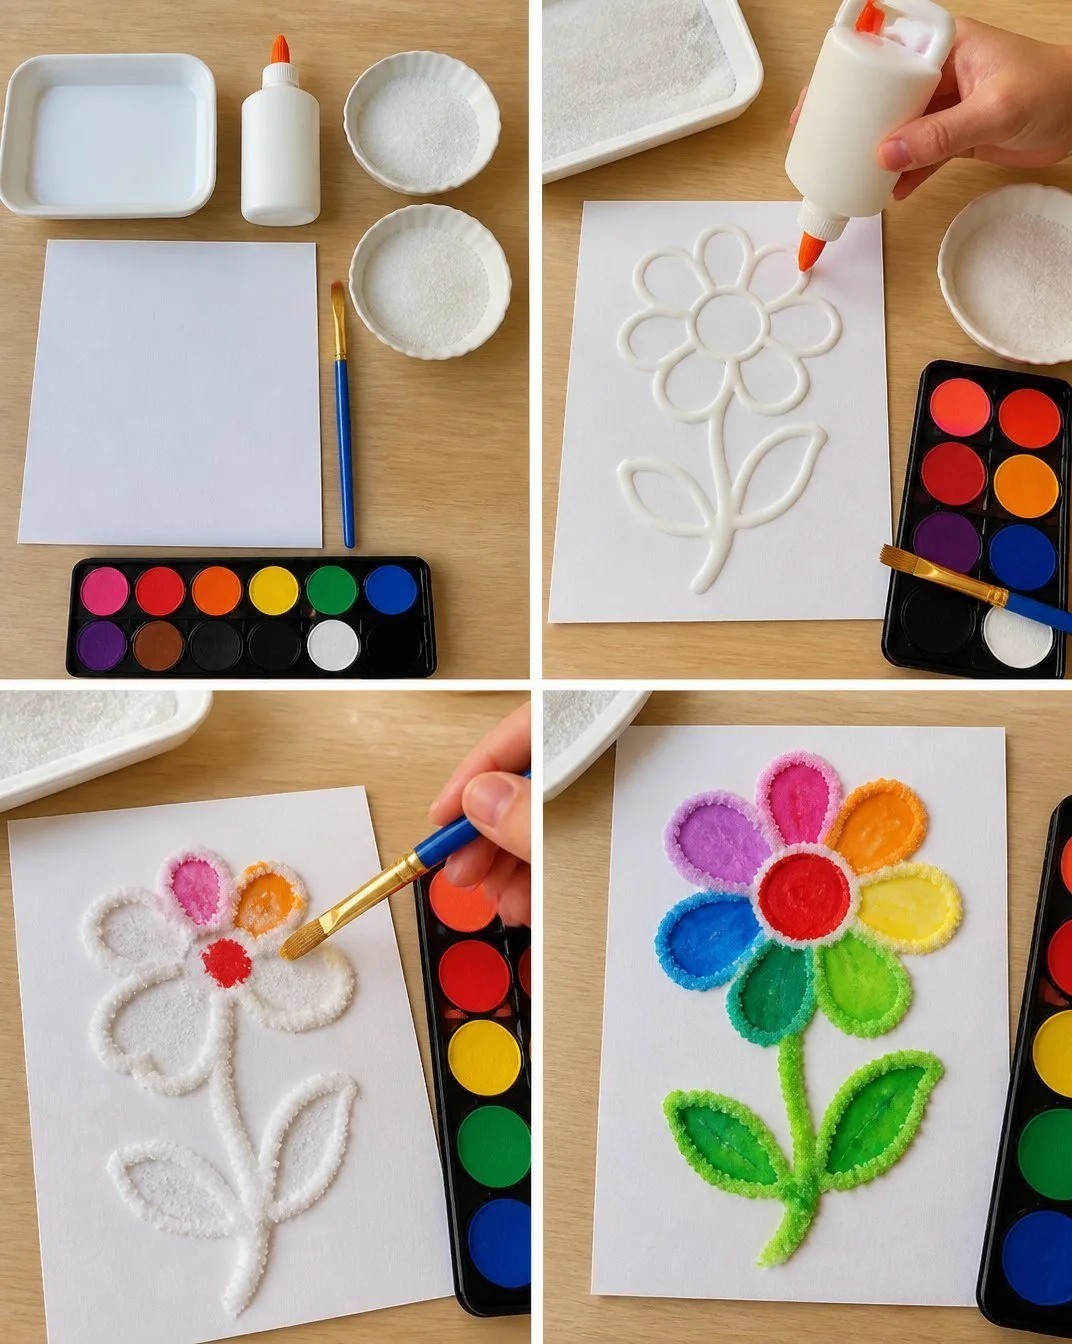
Begin by sketching your desired design lightly on the paper or canvas. Let this be a soft outline that guides your project.
Once satisfied, use white glue to trace over your design, taking your time to enjoy the flow of the glue. This will act as the base for your salt.
While the glue is still wet, generously sprinkle salt over the area you just glued. Allow the salt to absorb the glue and embrace the texture.
Carefully shake off the excess salt, revealing the raised texture beneath, and set your artwork aside to dry for a few hours.
After the glue and salt combination has dried, use watercolors or food coloring to gently paint the raised areas and around the design.
Enjoy watching the colors blend as they meet the salt texture and create soft, flowing edges.
For extra sparkle, consider adding glitter over the wet paint.
Allow your piece to dry completely before displaying it in a favorite spot.
Using 3D Raised Salt Art Tutorial in Everyday Life
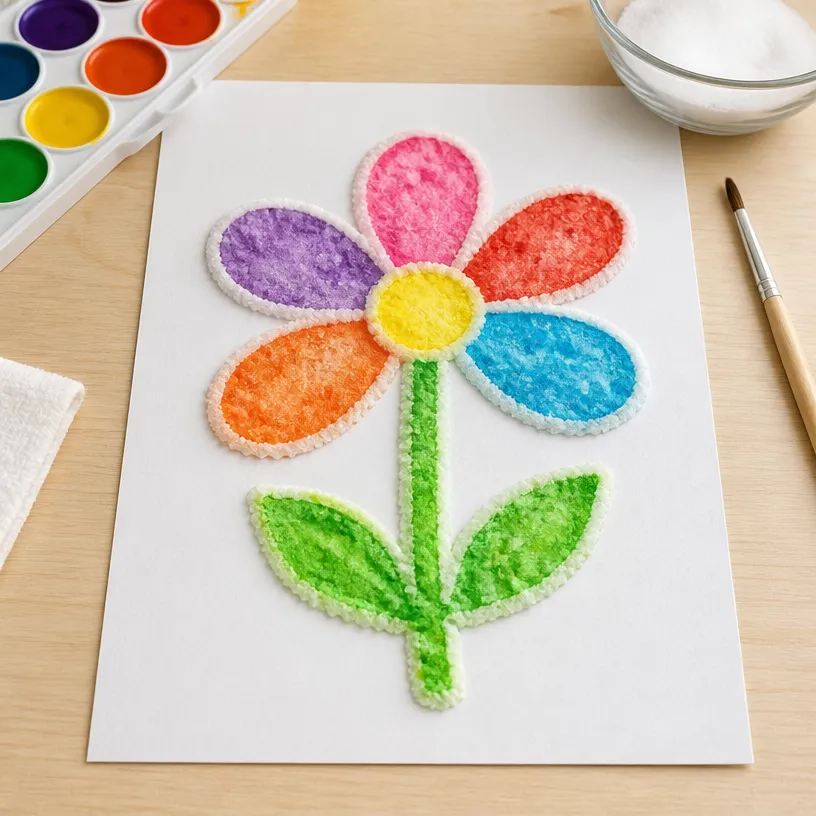
The finished artwork can brighten any space, bringing a sense of calm and creativity into your environment. You might place it on a shelf, hang it on a wall, or gift it to someone special. Each piece serves as a gentle reminder of the time spent creating, offering a quiet moment of beauty amid the hustle of daily life.
How to Store or Reuse 3D Raised Salt Art Tutorial
To ensure your art piece lasts, keep it in a dry area away from direct sunlight. If desired, you might consider framing it under glass to protect the surface. Alternatively, if you’re looking to create again, the process can be repeated by reusing similar techniques with different color schemes or designs.
Gentle Tips & Variations
- Embrace experimenting with colors and textures. Perhaps you want to try mixing salt with different mediums.
- Try unusual colors or seasonal themes to personalize your artwork further.
- Incorporate natural elements, such as small leaves or flower petals, for a different layered effect.
- Consider creating a series of smaller pieces to display together, inviting a rich conversation through varied designs.
FAQs About 3D Raised Salt Art Tutorial
What if I don’t have salt?
You can substitute sand or sugar for texture, though the effects may vary in appearance.
How long does the project take?
Allow a few hours for the initial layer to dry completely and then an additional few hours for the painting to set.
Do I have to use food coloring?
Not at all! Feel free to use any type of paint or dye you have on hand; just make sure to have fun with it.
Can kids join in the fun?
Absolutely! Just ensure that supervision and mess-management are part of the process.
Will the colors fade over time?
While it is possible, proper storage can help preserve the vibrancy of your materials.
Conclusion
Creating 3D raised salt art offers a serene way to express your creativity while providing a calming experience. With materials easily found and a process that emphasizes mindfulness, anyone can create art that speaks to their heart. If you’re looking for more inspiration, consider exploring the Epsom salt window frost art tutorial or check out unique methods like the 3D jellyfish watercolor texture techniques. Embrace your creativity and enjoy the comforting journey of making!