

As the sunlight filters softly through the window, glistening on a smooth surface, a sense of peace settles in. The quiet anticipation of creating something beautiful invites a gentle rhythm to each moment. This is the essence of DIY Flowers Salt Painting for Kids. The process embraces the simple joy of color, texture, and the soothing qualities of working with our hands. It offers an inviting way to bond, reflect, and explore creativity together.
The Heart Behind This DIY

Crafting can be a journey of mindfulness, where each stroke and sprinkle becomes a moment of calm. DIY Flowers Salt Painting for Kids encourages a deep connection with materials and ourselves. The tactile sensations of salt, glue, and watercolors engage our senses, grounding us in the present.
The act of mixing, pouring, and painting provides a gentle rhythm that lulls the mind into a state of tranquility. This art form offers not just a visual experience but a chance to delve into the soothing flow of creation. As you engage in this project, you become aware of the unique textures and colors, allowing for a sensory exploration that fosters creativity and presence.
When we slow down and immerse ourselves in these moments, we often find clarity and peace. This project unfolds the layers of our thoughts and feelings, allowing them to settle like the grains of salt we use. Each flower created represents a piece of that process, blooming beautifully as a reflection of our journey together.
A Gentle Look at the Process
Creating DIY Flowers Salt Painting unfolds like a story told through color and texture. You start with the gentle scraping sound of salt being poured, followed by the soft stickiness of glue preceding a beautiful floral design. Mixing concentrated colors with water creates a satisfying swirl as it fills the spaces you’ve prepared.
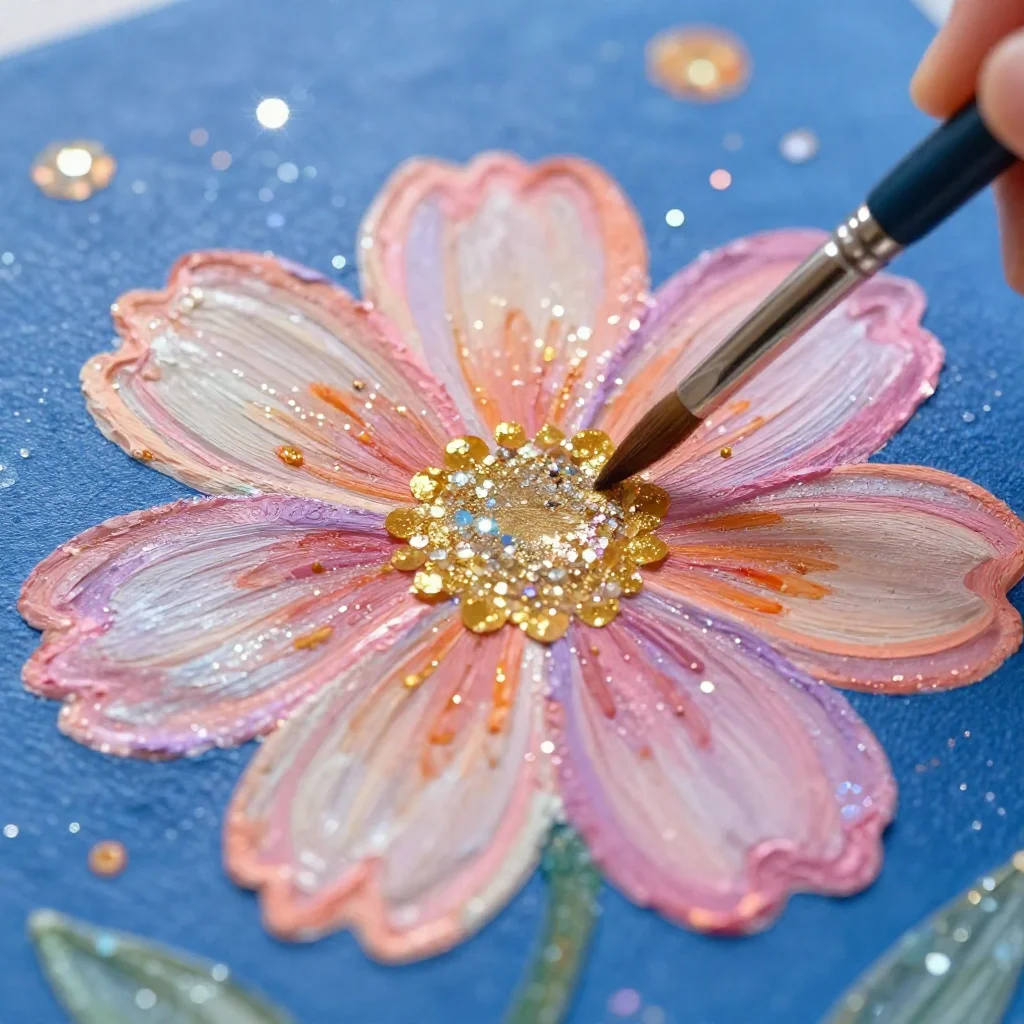
The soft brush strokes glide across the salt, each marking releasing a little more of your idea into the world. The methodical application allows you to focus, letting your thoughts soften and the outside world fade away. Each step invites you to move at a gentle pace, celebrating the quiet power of the creative experience.
Once all is set, and the colors dry, the tangible beauty awaits you—the layers and paths the colors took gently echoing the tender moments spent creating.
Materials You’ll Need
To create this sensory-rich art, gather the following materials:
- White school glue (easy to find)
- Coarse salt (great texture)
- Watercolor paints (choose vibrant colors)
- Paintbrushes (soft bristles work well)
- A sturdy piece of cardstock or heavy paper (to hold the design)
- Small cups or bowls (for mixing paints)
- Optional: pipette or squeeze bottle (for precise paint application)
These materials blend simplicity with sensory delight, making the process accessible and enjoyable.
Step-by-Step Directions

-
Begin by drawing flower outlines on your cardstock. You can use simple shapes, allowing room for creativity.
-
Apply a thin layer of white school glue over your drawn flowers. Watch as it glistens, adding a welcoming shine to your design.
-
While the glue is still wet, gently sprinkle coarse salt over the flower shapes. Move slowly, making sure all the glue is covered.
-
Lightly shake off the excess salt, allowing it to settle back into the bowl or container. This moment brings a sense of satisfaction as you clean your workspace.
-
In small cups, mix your watercolors with a little water. Find the balance that gives you a smooth, flowing watercolor solution.
-
Using a paintbrush or pipette, start adding your watercolor onto the salt. Notice how the colors spread and blend into the salt, creating beautiful patterns.
-
Allow the painting to dry completely. This step requires patience, as the colors transform on the salty canvas.
-
Once dry, your beautiful flower salt paintings are ready to be displayed.
Enjoying the Finished Piece
The flowers you crafted with intention and care now stand as a testament to your shared creativity. These vibrant pieces can find a gentle home on a windowsill or a quiet corner of your home, basking in the natural light. Each painting captures not just the beauty of the colors, but the emotions and moments spent making it.
You can also gift these art pieces to loved ones, a way of sharing the calm and joy you experienced. They remind us to cherish creativity and the special connections we forge, making every display a conversation starter about the simple joys of making.
How to Store or Reuse DIY Flowers Salt Painting for Kids
Caring for your finished paintings ensures they remain vibrant and cherished. Store them in a flat, dry place to avoid any crushing or discoloration. If you’ve made multiple pieces, consider using a portfolio or an art display folder for safekeeping.
You can also engage in conversations around changing seasons or themes by creating new flower designs. This imaginative approach encourages a sense of continuity and renewal in your crafting journey.
Gentle Tips & Variations

As you explore this DIY further, here are a few gentle invitations to make it your own:
-
Experiment with different shapes and sizes of flowers. Nature is full of inspiration, so look around for ideas.
-
Try adding other materials like glitter or beads to your salt painting for added texture.
-
Consider using different colors and blending techniques to create ombre effects within the flowers.
-
Use this technique with other seasonal themes. Think about leaves in fall or snowflakes in winter.
Each little step toward personalization enriches the process, encouraging you to discover new forms of creativity.
FAQs About DIY Flowers Salt Painting for Kids
Q: Can I use regular table salt instead of coarse salt?
A: While coarse salt offers more texture, regular table salt works too. Just remember that the finer grains may not create the same visual effect.
Q: How long does it take for the paintings to dry?
A: Drying time varies based on humidity and thickness of the glue. It’s best to let them sit for at least a few hours or overnight.
Q: Can I use other colors besides watercolors?
A: Watercolors are ideal because they spread easily on salt. However, you can experiment with liquid water-based paints, but keep an eye on how they interact with salt.
Q: What if my kids want to use more than one color?
A: Encouraging multiple colors enhances creativity. They can layer colors or blend them for a unique look.
Q: Is this project suitable for all ages?
A: While this project is child-friendly, it’s also enjoyable for adults. Everyone can find peace and joy in creating together.
Conclusion
Creating DIY Flowers Salt Painting for Kids invites a beautiful blend of simplicity and sensory exploration. As you work through the gentle process of making, each step provides a chance to connect deeply with the materials and with those around you. It encourages mindfulness and creativity, allowing your mind to settle while your hands glide through delightful textures.
If you want to dive deeper into the art of salt painting, you can find inspiration and tips from other dedicated creators. Check out this informative piece on salt painting process art for kids, or explore this engaging salt painting flowers art project. Allow each moment of creation to resonate with peace and the beauty of being present.
PrintDIY Flowers Salt Painting for Kids

A creative and sensory-rich DIY project for kids that combines color, texture, and mindfulness through salt painting.
- Prep Time: 10 minutes
- Cook Time: 0 minutes
- Total Time: 10 minutes
- Yield: Multiple paintings
- Category: Craft
- Method: Crafting
- Cuisine: N/A
- Diet: N/A
Ingredients
- White school glue
- Coarse salt
- Watercolor paints
- Paintbrushes
- Cardstock or heavy paper
- Small cups or bowls
- Optional: pipette or squeeze bottle
Instructions
- Begin by drawing flower outlines on your cardstock.
- Apply a thin layer of white school glue over your drawn flowers.
- While the glue is still wet, gently sprinkle coarse salt over the flower shapes.
- Lightly shake off the excess salt.
- In small cups, mix your watercolors with a little water.
- Using a paintbrush or pipette, start adding your watercolor onto the salt.
- Allow the painting to dry completely.
- Once dry, your beautiful flower salt paintings are ready to be displayed.
Notes
Store finished paintings in a flat, dry place. Be creative with colors and shapes and explore seasonal themes.