

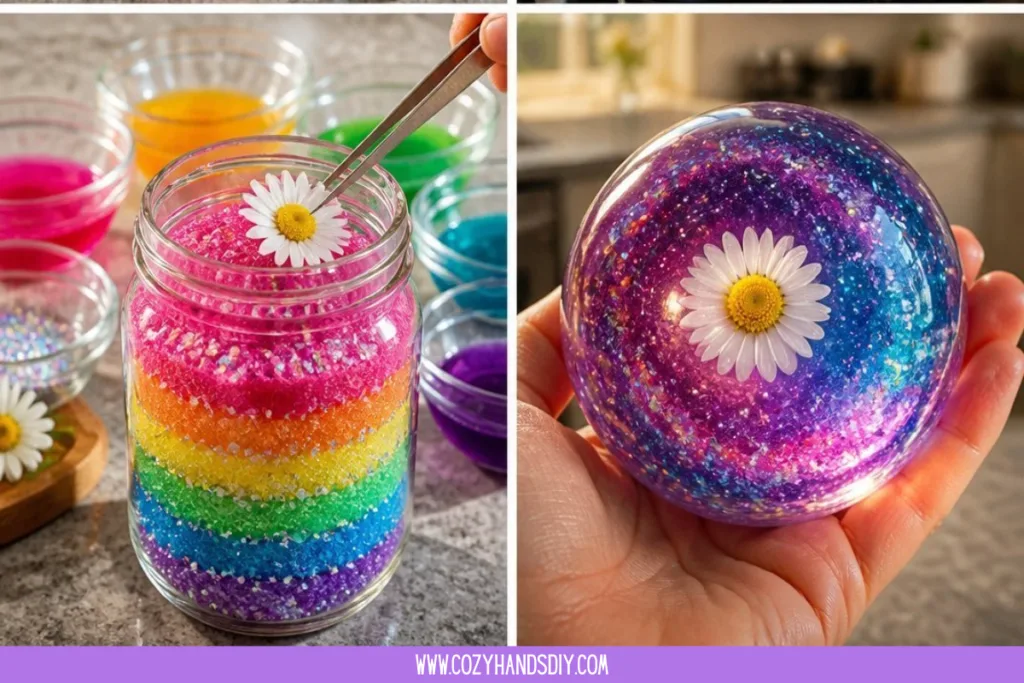
Creating Rainbow Sugar Crystal Magic invites you into a world of soft textures and vibrant colors. As you carefully combine ingredients, the gentle sounds of stirring and the sight of colors merging can be effortlessly meditative. This process becomes not just about the end product, but also about the joy of making and the calm it instills. You’re about to embark on a creative journey that nurtures the senses and brings a sense of peace and accomplishment. You may also find Growing Rainbow Sugar Crystal Eruption Recip useful.
The Heart Behind This DIY
Rainbow Sugar Crystal Magic connects you with the simple joys of making something beautiful. This craft allows you to slow down and focus, immersing yourself in a world of color and texture. As the sugar crystals form, they reflect light, like tiny jewels catching your eye. Each step in this project invites mindfulness, encouraging you to feel the materials and savor each moment of creation. Engaging with this DIY can bring a sense of warmth and coziness, making it a delightful addition to your creative routine. You may also find Magic Sugar Crystal Ball useful.
A Gentle Look at the Process
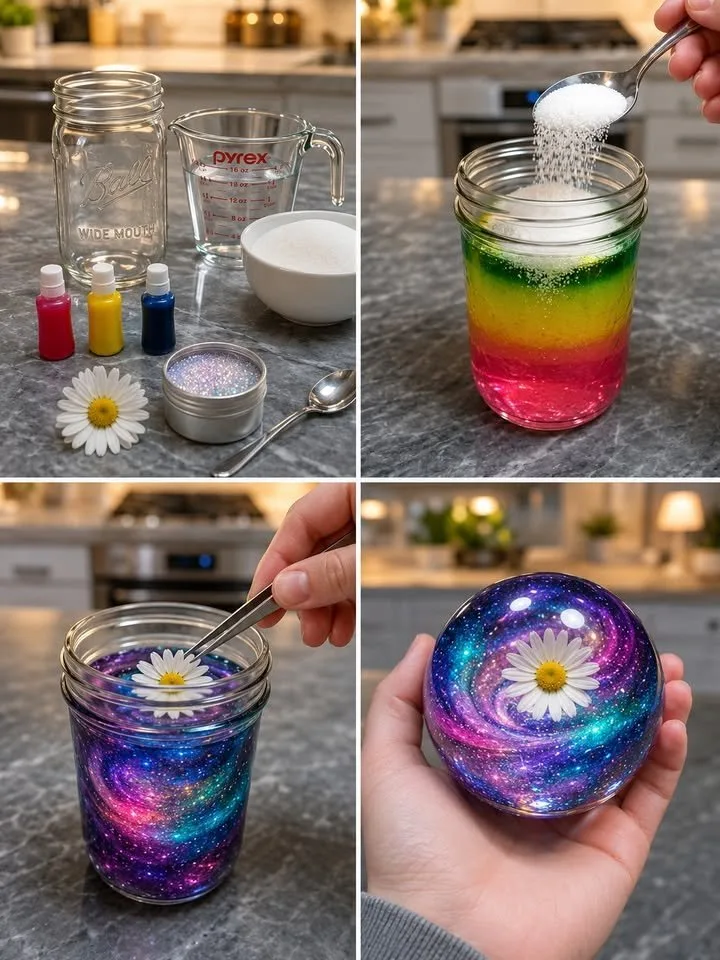
The journey of creating Rainbow Sugar Crystal Magic flows gently from one step to the next. You’ll start by gathering your materials and feel the soft granules of sugar between your fingers. As you mix in warm water, the sound of dissolving granules becomes soothing. Pouring vibrant colors into your mixture provides a visual delight, evoking feelings of joy and wonder. Throughout the process, the rhythm of your movements and the colors blooming are calming and revitalizing. You may also find Rainbow Sugar Crystal Eruption useful.
Materials You’ll Need
- Granulated sugar
- Water
- Food coloring (various colors)
- Wooden skewers or sticks (to hold the crystals)
- Clean glass jars or cups (for growing the crystals)
- A saucepan (to heat the water)
- A spoon (for stirring)
- Optional: flavoring extracts (for added scent)
Gathering your materials can be an enjoyable part of the process, as the vibrant colors and textures encourage a sense of anticipation for what you’ll create.
Step-by-Step Directions
- Begin by heating one cup of water in a saucepan until it simmers gently. Be careful not to boil it.
- Gradually stir in three cups of granulated sugar until it fully dissolves. The solution should appear clear.
- Once dissolved, divide the solution into separate bowls and add a few drops of different food colorings to each. Mix gently to distribute the colors.
- Place your wooden skewers in the glass jars or cups, ensuring they do not touch the sides.
- Pour the colored sugar solutions into the jars, filling them nearly to the top.
- Allow them to sit undisturbed in a warm, dry place. After a few hours, you will notice crystals beginning to form.
- Wait several days, checking in on the progress and marveling at the growing crystals.
Enjoying the Finished Piece
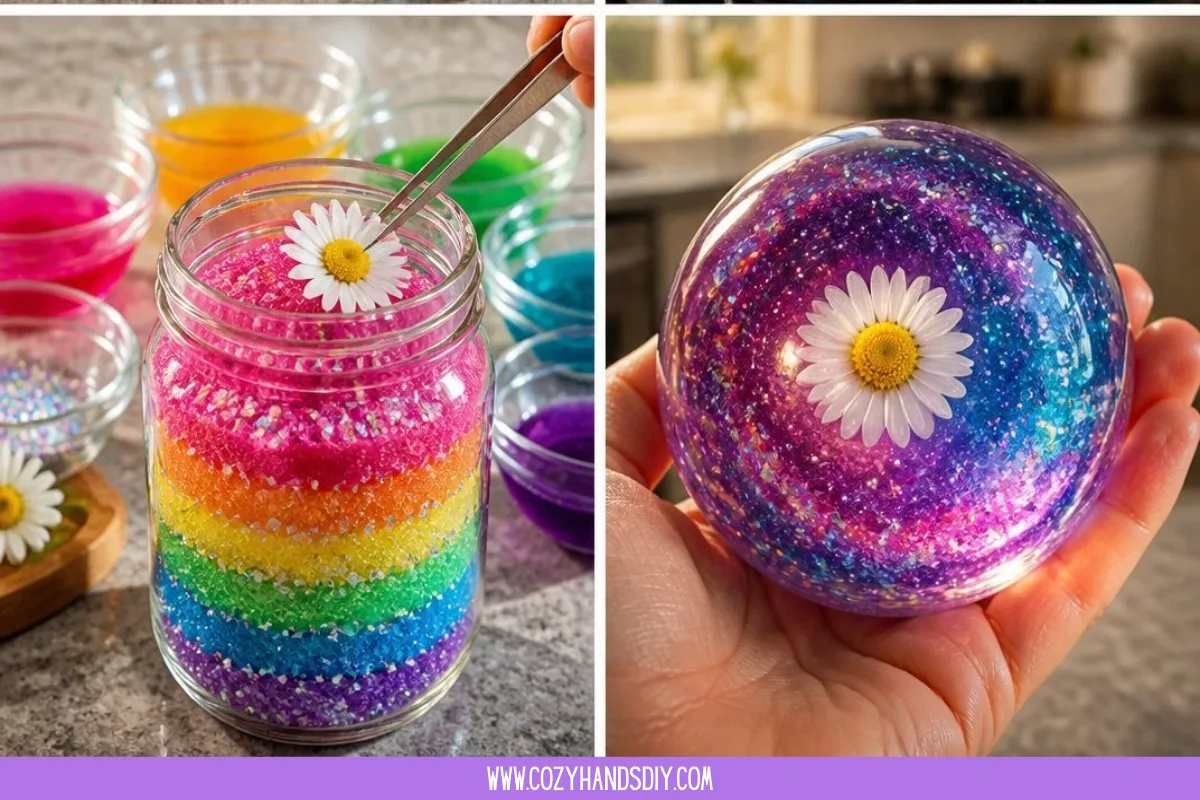
Once your Rainbow Sugar Crystals are ready, the joy continues as you display them in your home or gift them to friends. You can showcase them in sunny spots where they catch light, creating shimmering reflections. Their vibrant colors can bring a cheerful atmosphere to any space. Incorporating these crystals into your daily life fosters a sense of wonder, reminding you of the beauty of simple creations.
How to Store or Reuse Rainbow Sugar Crystal Magic
To maintain the beauty of your sugar crystal creations, store them in a cool, dry place. Avoid exposing them to moisture, as this can cause them to dissolve. If you wish to reuse them in future crafts or activities, carefully scrape them off sticks and place them in an airtight container. This way, the magic can be enjoyed again, bringing forth new opportunities for creativity.
Gentle Tips & Variations
- Experiment with different colors and combinations; layering colors can create mesmerizing effects.
- Try adding flavoring extracts like vanilla or almond for a delightful scent that enhances the sensory experience.
- Consider using larger jars for bigger crystal formations, turning them into beautiful centerpieces.
- If you’d like to create your own sugar crystal art, think about making shapes or using cookie cutters to guide your crystal growth.
FAQs About Rainbow Sugar Crystal Magic
Can I use other types of liquids instead of water?
While plain water is recommended, you can use flavored liquids to create unique scents and tastes in your crystals. Just ensure they are clear and won’t interfere with the crystallization process.
How long does it take for the crystals to form?
Typically, you will see initial growth in a few hours, but for the best results, allow your crystals to grow for 3 to 7 days.
Can I eat the sugar crystals?
Yes, the sugar crystals can be edible! However, ensure that any flavorings or colorings used are food-safe, especially if you plan to gift them.
Conclusion
Creating Rainbow Sugar Crystal Magic not only results in beautiful crystals but also supports a peaceful, mindful process. If you want to explore more fun crystal projects, consider checking out some unique recipe options. For additional inspiration on similar sensory activities, take a look at the Cookie Run Wiki for whimsical ideas that spark imagination. In this crafting journey, both the process and the resulting creations invite you to savor every moment and appreciate the art of making.
PrintRainbow Sugar Crystal Magic
A delightful DIY project that guides you in creating beautiful rainbow sugar crystals while enjoying a meditative crafting experience.
- Prep Time: 10 minutes
- Cook Time: 10 minutes
- Total Time: 7 days for crystal growth
- Yield: Varies by jar size
- Category: Craft
- Method: DIY Crafting
- Cuisine: N/A
- Diet: N/A
Ingredients
- 3 cups granulated sugar
- 1 cup water
- Food coloring (various colors)
- Wooden skewers or sticks
- Clean glass jars or cups
- A saucepan
- A spoon
- Optional: flavoring extracts
Instructions
- Begin by heating one cup of water in a saucepan until it simmers gently.
- Gradually stir in three cups of granulated sugar until it fully dissolves.
- Once dissolved, divide the solution into separate bowls and add a few drops of different food colorings.
- Place your wooden skewers in the glass jars or cups, ensuring they do not touch the sides.
- Pour the colored sugar solutions into the jars, filling them nearly to the top.
- Allow them to sit undisturbed in a warm, dry place.
- Wait several days, checking in on the progress and marveling at the growing crystals.
Notes
Store crystals in a cool, dry place to maintain their beauty. Avoid moisture to prevent dissolving.