

The sugar shimmers in the glass like tiny winter stars as steam rises and the kitchen fills with a warm, sweet scent. I cup the bowl and feel the gentle wobble as the liquid cools, and I listen to the soft clink of the spoon. Making a Magic Sugar Crystal Ball invites slow attention to texture, temperature, and the small, steady changes that unfold when sugar and patience meet.
Why Magic Sugar Crystal Ball Feels Comforting to Create

This project asks you to be present with a process that unfolds slowly and quietly. The crystals grow one by one, like tiny gifts, and the round, glassy shape of the ball holds a delicate world of sparkle. The tactile moments matter: the warmth of the sugar syrup, the smoothness of chilled glass, the faint whisper of crystals forming. These sensory details calm the mind and ground the hands.
I make a Magic Sugar Crystal Ball when I want to slow down without losing curiosity. The rhythm of stirring, the waiting, and the eventual reveal create a gentle arc of attention. You watch, you listen, and you return to check on growth. That slow return to practice offers a simple, meditative loop. It does not demand perfection. It rewards care.
The finished piece brings small, everyday comfort. Place the ball near a window and sunlight traces a fine network of prismatic faces across a table. It sits well with a cup of tea and quiet music, or it becomes a soft focal point on a shelf. The making and the keeping both soothe.
I have included a practical reference to a close technique in the introduction for those who like glassy play, and you can explore a related approach in this crystal clear bubble ball tutorial crystal clear bubble ball tutorial.
The Flow of Making Magic Sugar Crystal Ball
Before you gather your jars and sugar, imagine the movement you will return to again and again. First you heat and dissolve, and the syrup sings in a copper or stainless steel pan. You pour and cool, feeling the weight of warm glass and the patient lightness of waiting. You check under soft light and see crystals beginning like frost at the edge.
The process uses familiar cues: the smooth glide of sugar into water, the gentle rise of steam, the stubborn clarity of a fully dissolved syrup. You work in small stages and rest between them. That gives your hands and eyes time to notice shifts in color, in scent, and in texture. This project leans toward slow rhythms rather than quick results.
If you enjoy playful textures, you might like the creative bounce and rhythm found in the magic marble bounce balls project, which explores a different kind of hands-on flow magic marble bounce balls.
Materials You’ll Need
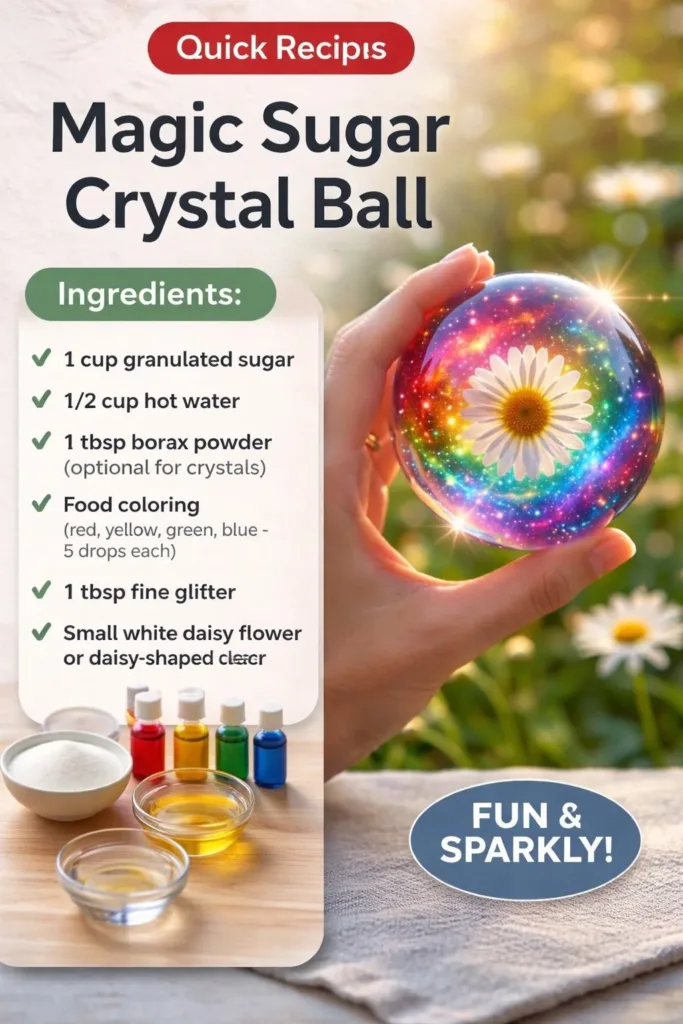
- Granulated sugar, a large amount for a dense, clear crystal (easy to find)
- Water, clean and room temperature
- A heavy-bottomed saucepan for even heating (recommended for safety)
- A candy thermometer or an accurate kitchen thermometer (helps control temperature)
- Clear glass or plastic spheres or small round molds (optional: glass gives the most sparkle)
- Wooden skewers or string to seed crystal formation (string is easy to handle)
- A spoon or spatula for stirring
- A measuring cup and scale if you like precision
- A heatproof bowl or jar to hold the syrup as it cools
- Food-safe glue or a small clamp if attaching a seeded string to the sphere
- A small funnel or steady hand for filling the sphere
- A mesh or fine strainer to remove impurities (optional)
- Protective gloves and a towel for handling hot containers (safety first)
- A quiet, dry space to set the spheres and wait for growth (no drafts)
For more ideas about sugar crystal bases and colorful effects, you may find the rainbow sugar crystal eruption guides helpful as inspiration easy rainbow sugar crystal eruption recipe.
SECTION 5 — STEP-BY-STEP DIRECTIONS:
-
Prepare your workspace and tools.
Set a clean, dry work area. Lay a towel to catch spills. Place your sphere or mold where you can pour comfortably. Wear gloves if you prefer. -
Measure water and sugar.
Use one cup of water for every two cups of sugar as a starting point. Weighing is helpful if you want repeatable results. This ratio gives a supersaturated solution that encourages crystal growth. -
Heat gently while stirring.
Combine water and half the sugar in the pan and warm slowly. Stir until the sugar dissolves and the liquid looks clear and steady. Notice the gentle steam and the scent of warming sugar. -
Add the remaining sugar gradually.
Keep the heat low to medium. Add the rest of the sugar in small scoops while stirring. The solution will thicken and become syrupy. Use the thermometer to aim for a gentle holding temperature around 115 to 120 degrees Celsius if you are aiming for a thicker syrup; lower temperatures still form crystals but may take longer. -
Remove from heat and skim.
As the syrup cools just slightly, skim away any foam or stray crystals on the surface with a spoon. A clear surface helps the interior crystal growth stay clean and glassy. -
Seed your string or skewer.
Tie a short length of string around a wooden skewer or use a skewer on its own. Dip the string briefly into the syrup or roll it in a small amount of sugar. This seeding creates a rough place for crystals to begin forming. -
Fill the sphere or mold carefully.
Use a funnel or steady pour to fill the glass sphere with the warm syrup. Leave a small opening so you can lower the seeded string or skewer into the center. The warm weight of the syrup feels dense and smooth in the glass. -
Place the seed in the center.
Lower the seeded string or skewer so it hangs in the center without touching the sides. Balance the skewer across the top of the sphere or clamp a string gently in place. The seed anchors the crystals and guides growth toward the center. -
Cool and wait in a quiet spot.
Set the filled sphere somewhere still and dry. Close windows to avoid drafts. Listen for small settling sounds as the syrup cools. Check daily for tiny, glittering points of crystal. -
Observe growth and be patient.
Crystal growth often begins along the string or near the walls. You will see tiny facets spread outward like frost. Resist moving the sphere too often. The best growth comes from stillness. -
Finish and gentle dry.
When crystals reach the size you like, remove the skewer or string slowly and let the opening dry. If you used a mold, you may need to carefully unclip or separate it. Pat with a soft cloth and let the piece dry in a calm space. -
Seal if you wish and display.
If you plan to keep the crystal ball in a place with minor humidity, consider sealing the opening with food-safe glue or a small cork. This step helps keep the interior dry and stable.
Using Magic Sugar Crystal Ball in Everyday Life


The finished Magic Sugar Crystal Ball fits gently into calm corners. I place mine on a wooden coaster by a reading lamp where it catches warm, indirect light. The subtle reflections feel like a moving map of quiet energy.
Use it as a contemplative object during a short breathing break. Look at the surface, feel the cool glass between your palms, and notice the tiny planes of crystal catching the room light. You can also tuck a small note or dried flower inside before sealing for a personal touch.
This piece works well as a seasonal accent, particularly in cooler months when its glint feels like captured frost. It also pairs with other sensory pieces: a jar of dried lavender, a soft knit throw, or a bowl of smooth stones. If you want to build a small collection, place each ball where it receives a different light angle and watch how the sparkle changes.
If you enjoy watching crystals erupt and change, you might compare growth stages with the growing rainbow sugar crystal eruption recipe to see how different environments influence texture and form growing rainbow sugar crystal eruption recipe.
Keeping It for Later
To store your Magic Sugar Crystal Ball, choose a cool, dry place with gentle light. Avoid humid bathrooms or very warm windowsills, which can soften the sugar crystals over time. Wrap the piece in soft cloth if you store it in a box to prevent dust and accidental knocks.
If you sealed the opening, the crystal ball will resist humidity for longer. If you notice any dulling or tiny melt spots, gently dry the area by placing the ball in a dry room for a day or two. Avoid heating it directly to speed drying. For long-term display, rotate the piece occasionally so one side does not stay in intense sunlight and risk slow discoloration.
If you want to reuse the glass sphere for another experiment, carefully soften any adhesive in warm, soapy water and rinse thoroughly. Glass handles cleaning well, but handle it gently to avoid chips. Store spare seeds and string in a labeled envelope so you can return to the project months later without hunting for bits.
Gentle Tips & Variations
-
Invite color softly. Add a few drops of natural food coloring at the end of heating for a faint tint. Start with a single drop and stir in slowly. Color presence can change how light travels through the crystals and keeps the piece calm rather than bold.
-
Try different seed materials. A thin wooden stick creates a different growth pattern than cotton string. Cotton grabs more sugar and often encourages denser crystal clusters. Experiment in small practice jars before committing to a glass sphere.
-
Work with smaller batches first. Make a tiny testing cup to observe growth before you fill a large mold. That way you watch how timing, room temperature, and humidity affect crystal shape. This practice builds quiet confidence.
-
Use natural scents sparingly. A little dried lavender or orange peel in the display tray can give a subtle sensory layer without interfering with crystal formation. Keep scented items outside the sphere, not inside the syrup.
-
Keep a journal of times and temperatures. Note warm days versus cool days and how they affect growth speed. Over time, this gentle record becomes a helpful map of what conditions produce the forms you love.
FAQs About Magic Sugar Crystal Ball
Q: How long will it take for crystals to grow?
A: You will usually see small crystals within two or three days, and fuller growth over one to two weeks. Growth speed depends on temperature, humidity, and how saturated your syrup became. Cooler rooms often slow growth, giving more delicate forms.
Q: Is the crystal ball fragile?
A: The glass or plastic sphere itself will feel sturdy, but the sugar crystals inside break easily if jostled. Handle with care, and place the ball where it will not be bumped. If you plan to keep it in a high-traffic area, choose a low shelf or enclosed display box.
Q: Can children help with this project?
A: Children thrive on sensory parts like stirring and watching growth. Always supervise around hot syrup and glass. Let kids measure and stir under guidance and assign the cooler tasks like sealing and display. Their participation makes the process cozier and full of wonder.
Q: What if my syrup crystallizes too early?
A: Early crystallization often means stray crystals or dust initiated growth outside your seed. You can strain your syrup before pouring, and avoid stirring after the syrup cools too far. If crystallization does begin too early, consider using the mixture in a test jar to learn and try again with a fresher batch.
Q: Can I eat the crystals?
A: This project uses food ingredients, but we do not recommend eating crystals formed and kept in a display sphere. They can gather dust and may contact non-food-safe adhesives. If you want edible sugar crystals for consumption, make them in clean, food-safe jars and label them for eating only.
A Quiet Closing Thought
Sit with the finished ball for a moment and breathe. Notice how the light shifts across its surface and how small, steady attention turned simple ingredients into a delicate object. Making this Magic Sugar Crystal Ball teaches patience and the quiet reward of slow creativity. The next time you seek calm, return to the ritual of stirring, pouring, and waiting. Each quiet step becomes part of a gentle practice that lives as much in your hands as in the finished piece.
Conclusion
For visual inspiration and a step-by-step video approach that complements this calming method, I recommend the Magical Crystal Ball Craft with Video from Sugar, Spice and Glitter Magical Crystal Ball Craft with Video. If you like to understand the science more technically and want a deeper dive into crystal behavior and measurements, consider Mike’s breakdown which offers a technical perspective on test methods and detailed visuals Mike’s breakdown of The A1C Test.
Thank you for making gently and slowly. I hope the process brings you a soft kind of wonder, and that the ball becomes a small, steady companion in your calm routines.
PrintMagic Sugar Crystal Ball

A calming project that invites patience and attention as you create beautiful sugar crystal spheres.
- Prep Time: 15 minutes
- Cook Time: 30 minutes
- Total Time: 45 minutes
- Yield: 1 sugar crystal ball
- Category: Craft
- Method: Syrup preparation
- Cuisine: N/A
- Diet: N/A
Ingredients
- Granulated sugar
- Water (1 cup for every 2 cups of sugar)
- A heavy-bottomed saucepan
- A candy thermometer
- Clear glass or plastic spheres or molds
- Wooden skewers or string
- A spoon or spatula
- A measuring cup
- A heatproof bowl or jar
- Food-safe glue or a small clamp
- A funnel or steady hand for filling
- A mesh or fine strainer
- Protective gloves and towel
Instructions
- Prepare your workspace and tools.
- Measure water and sugar.
- Heat gently while stirring.
- Add the remaining sugar gradually.
- Remove from heat and skim.
- Seed your string or skewer.
- Fill the sphere or mold carefully.
- Place the seed in the center.
- Cool and wait in a quiet spot.
- Observe growth and be patient.
- Finish and gently dry.
- Seal if you wish and display.
Notes
Handle the glass carefully, especially when there are sugar crystals inside.