

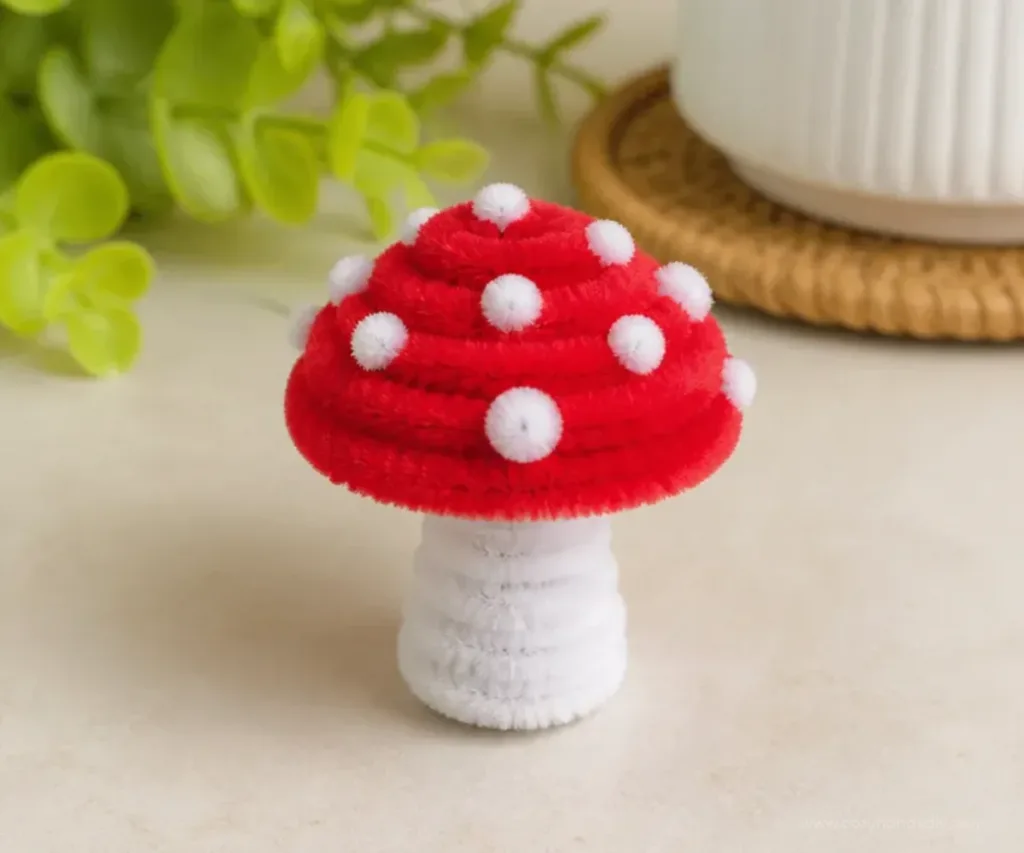
When you settle into a cozy corner, perhaps with a soft blanket draped over your lap, and you begin to create something small, you might notice how time seems to slow down. The act of making mini mushrooms from clay invites you to pause and appreciate the tactile experience. Each squeeze and roll of the material transports you into a meditative space, where the outside world fades away and you are left with quiet creation. In this calm, sensory-focused moment, the simple joy of crafting comes alive. You may also find 3D Raised Salt Art Tutorial Calming useful.
Why Make This Mini Mushroom tutorial
Creating mini mushrooms serves more than just a decorative purpose; it encourages introspection and presents an opportunity to nurture creativity in a comforting way. As you work on this project, you’re likely to find that focusing on the texture of the clay and the delicate shapes of the mushrooms allows your mind to quieten. Engaging with this tactile art form can cultivate presence and mindfulness, drawing you into each moment of creation. You may also find 3D Raised Salt Art Tutorial useful.
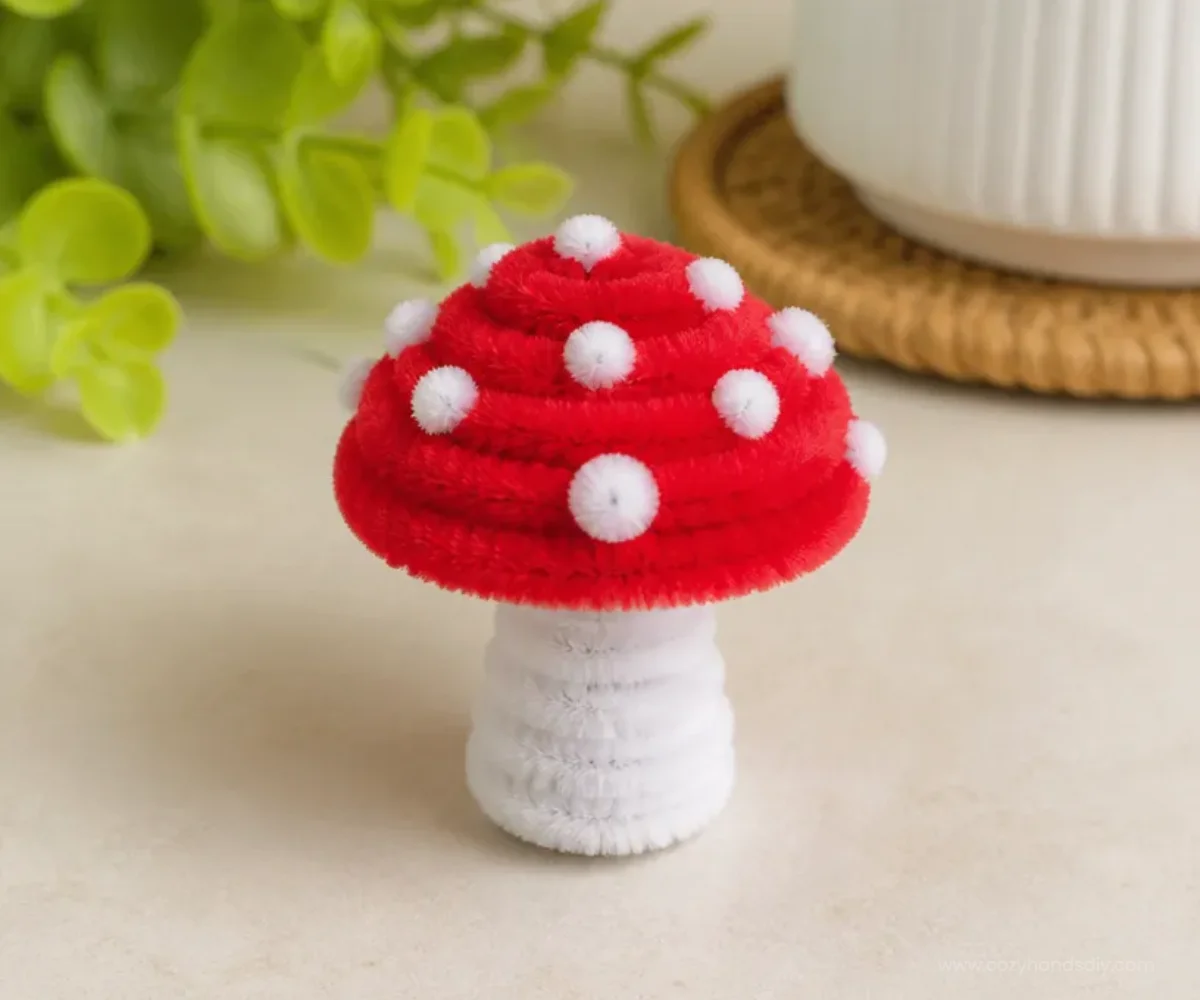
You may also find Create Scalloped Bowl Air Dry Clay Tutorial useful.
A Gentle Look at the Process
The process of making mini mushrooms unfolds gently. You’ll start by gathering materials and arranging your workspace, creating a serene environment. As you knead the clay, feel its cool, soft texture in your hands, and listen to the subtle sounds of shaping and molding. Visualize the delightful forms you will create, allowing your imagination to flow alongside your hands as you work. You may also find Diy 3D Raised Salt Art Step By Step Tutorial useful.
Materials You’ll Need
- Air-dry clay (easy to find and use)
- Acrylic paint (optional for detailing)
- Paintbrushes (soft and smooth for application)
- Craft knife (for cutting)
- Silicone mold (optional, for added detail)
Step-by-Step Directions
Begin by taking a small piece of air-dry clay. Warm it in your hands until it becomes pliable and soft.
Roll the clay into a ball, then shape it into a teardrop to form the mushroom cap. Gently flatten the top to create a rounded appearance.
For the stem, take another piece of clay, roll it into a log shape, and taper the ends slightly.
Attach the stem to the cap by pressing them gently together. Secure the join by smoothing the edges with your fingers.
Use a craft knife to etch patterns onto the cap for texture this mimics the natural spots found on some mushrooms.
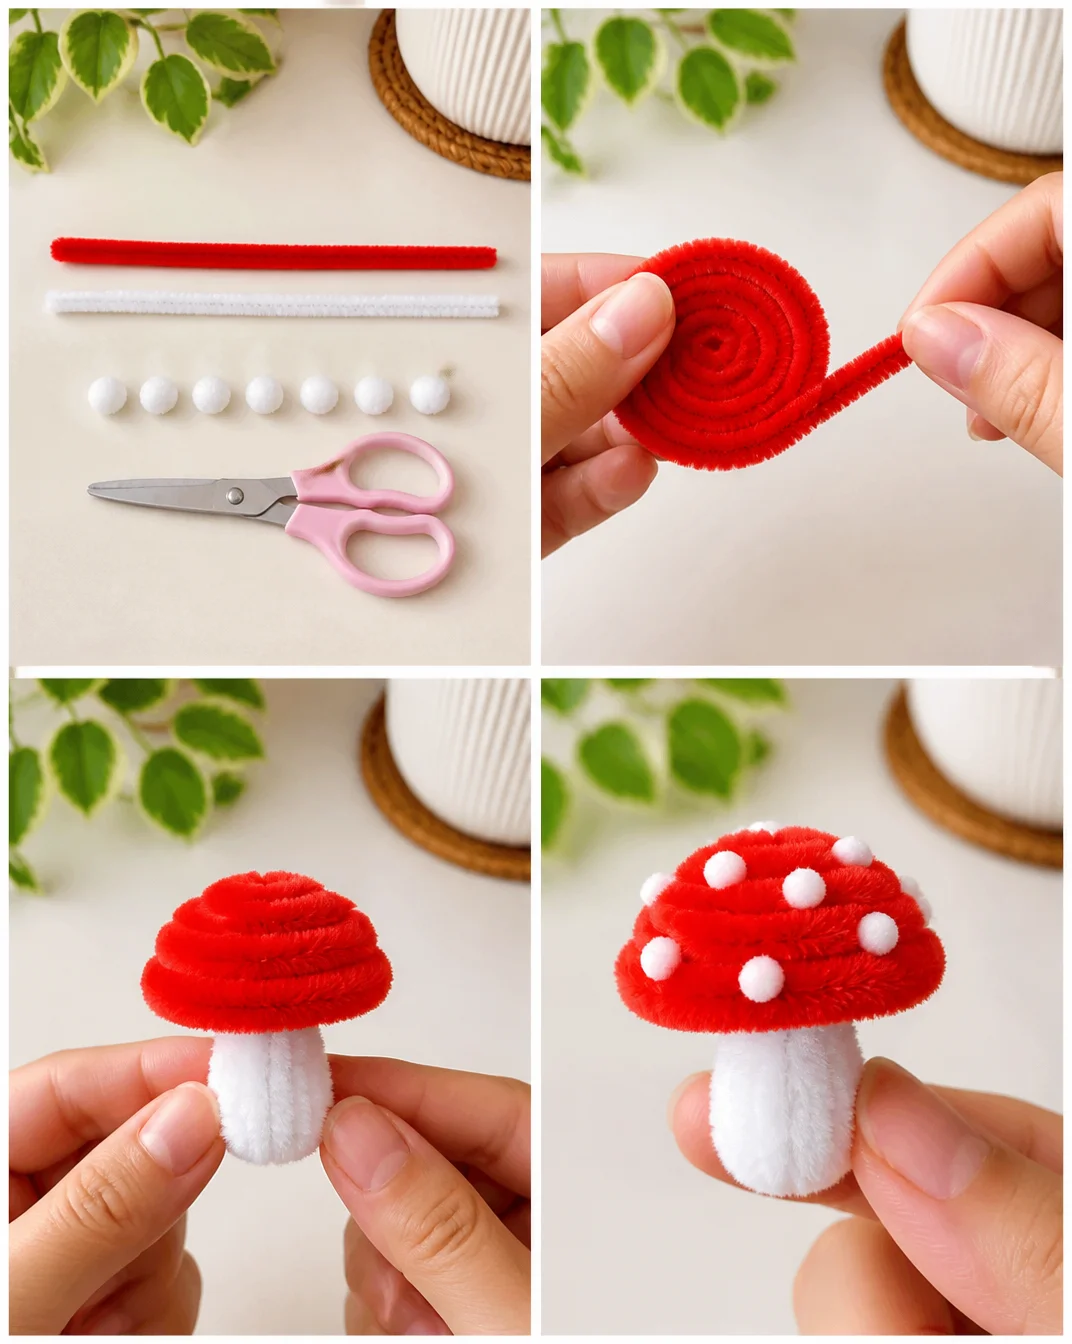
If you have a silicone mold, you can press a small piece of clay into it to create an intricate design for added detail.
Allow your mini mushrooms to dry fully, following the air-dry clay’s instructions.
Once dry, you may choose to paint your mushrooms. This step enhances their charm and lets you add your personal touch.
Enjoying the Finished Piece
Once complete, these mini mushrooms can brighten up your space in various ways. Arrange them in a small terrarium to bring a touch of nature indoors. They also make delightful gifts for friends, offering a handmade piece of art that captures the heart and effort you poured into the creation. Each time you glance at them, you’ll be reminded of the peaceful moments spent crafting.
How to Store or Reuse Mini Mushroom tutorial
If you wish to keep your mini mushrooms safe, store them in a cool, dry place away from sunlight to prevent any fading or wear. If you ever decide to revisit the project, the ideas for colors and styles may spark fresh inspiration. Their durability means you can enjoy them for years, but should you want to rework the design, remember that air-dry clay allows for gentle reshaping as long as it hasn’t fully set.
Gentle Tips & Variations
- Consider experimenting with adding glitter or beads to the mushrooms for a whimsical touch.
- You might also try using natural colors for a more earthy look.
- If you want a whole garden, create a variety of shapes and sizes to mimic a diverse mushroom patch.
- Invite family or friends to join, turning the project into a comforting shared experience.
FAQs About Mini Mushroom tutorial
What type of clay is best for making mini mushrooms?
Air-dry clay is ideal as it is easy to use and sets without the need for baking, allowing for more flexibility in your designs.
Can I paint my mini mushrooms?
Yes, painting is encouraged! It allows you to customize your mushrooms and add character. Use acrylic paints for a vibrant result that dries quickly.
How long does it take for the clay to dry?
Typically, air-dry clay takes about 24 hours to fully dry, depending on the thickness of your creations.
What if my mushrooms break?
Don’t fret air-dry clay can often be mended with more clay or a bit of glue.
Can I make mini mushrooms with kids?
Definitely! This project is a fun and easy way for kids to explore their creativity while also developing fine motor skills.
Conclusion
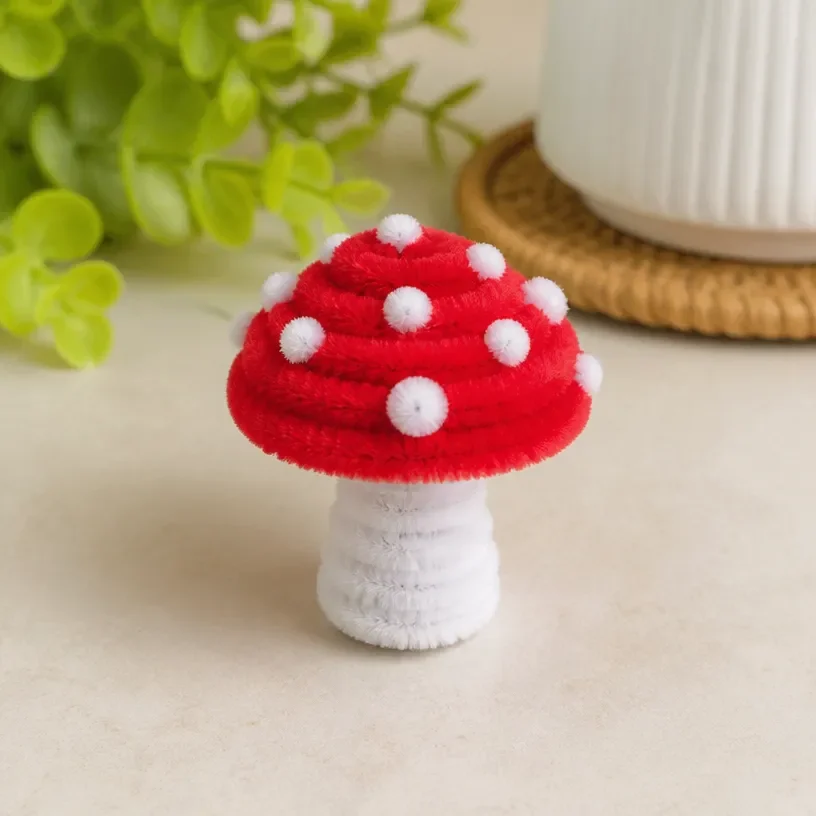
In shaping these mini mushrooms, you engage in a soothing journey that celebrates creativity. Embrace the time spent crafting, allowing every sculpted detail to reflect your unique touch. As you enjoy your completed creations, consider other inspired projects like Quilling Paper Mushrooms or the whimsical Mini Mushroom Bracelet that could complement your crafted ambiance perfectly.
PrintMini Mushroom Craft
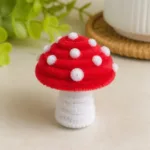
A calming tutorial on how to create adorable mini mushrooms from air-dry clay, perfect for decoration and gifting.
- Prep Time: 15 minutes
- Cook Time: 0 minutes
- Total Time: 24 hours
- Yield: 1 set of mini mushrooms
- Category: Craft
- Method: Crafting
- Cuisine: Art
- Diet: N/A
Ingredients
- Air-dry clay
- Acrylic paint (optional)
- Paintbrushes
- Craft knife
- Silicone mold (optional)
Instructions
- Begin by taking a small piece of air-dry clay. Warm it in your hands until it becomes pliable and soft.
- Roll the clay into a ball, then shape it into a teardrop to form the mushroom cap. Gently flatten the top to create a rounded appearance.
- For the stem, take another piece of clay, roll it into a log shape, and taper the ends slightly.
- Attach the stem to the cap by pressing them gently together. Secure the join by smoothing the edges with your fingers.
- Use a craft knife to etch patterns onto the cap for texture.
- If you have a silicone mold, you can press a small piece of clay into it for added detail.
- Allow your mini mushrooms to dry fully, following the air-dry clay’s instructions.
- Once dry, you may choose to paint your mushrooms.
Notes
Store your mini mushrooms in a cool, dry place away from sunlight to prevent fading. Enjoy the process and let your creativity flow!