

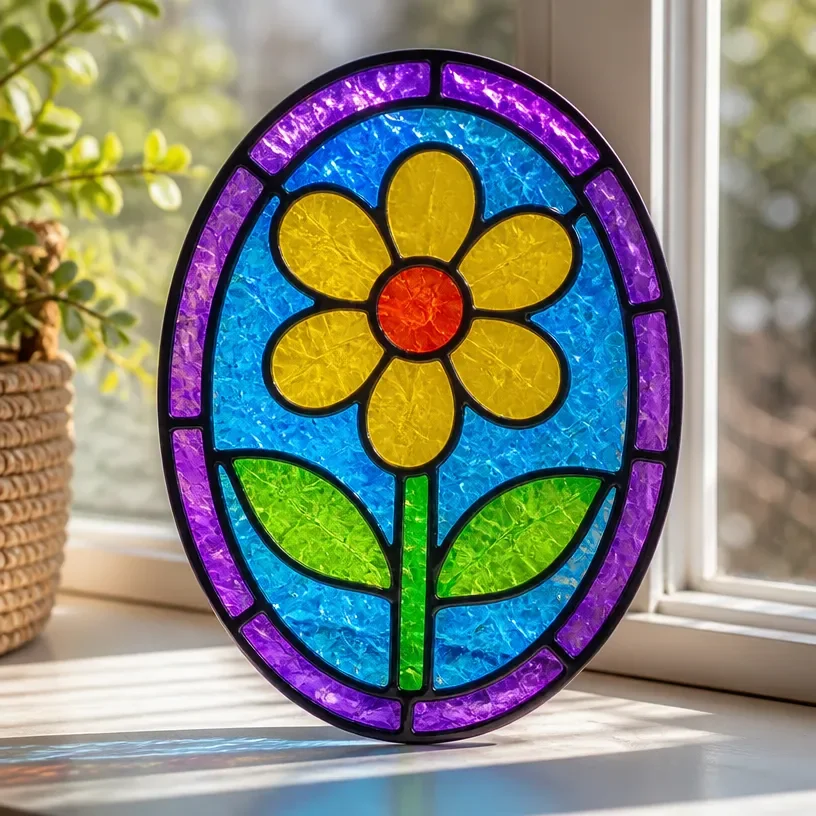
Faux stained glass window art offers a gentle embrace of light and color, transforming the ordinary into something extraordinary. As sunlight filters through the translucent designs, it casts beautiful reflections that dance across your space. This project not only beautifies your home but serves as a calming presence in your surroundings, inviting creativity and mindfulness. Each step engages your senses, creating a cozy atmosphere as you breathe life into your artistic vision. For a delightful experience, you may want to explore how stained glass glue can enhance your project.
Why Make This Faux Stained Glass Window Art
Creating faux stained glass window art connects you to a soothing process that encourages mindfulness. As you choose colors and shapes, you’re not just crafting; you’re entering a meditative state. This project helps you slow down and focus on each gentle movement. The textures of the materials and the way light interacts with your creation create a tactile experience that touches the soul. Making this art piece provides a sense of achievement and peace, blending creativity with the therapeutic act of creation. You may also find Diy Faux Stained Glass Suncatchers 2 useful.
You may also find Diy Faux Stained Glass Suncatchers useful.
A Gentle Look at the Process
Before you begin crafting your faux stained glass window art, envision the calm rhythm of the process. Gluing, layering, and painting come together like a soft symphony of motion and color. Each application of paint or glue provides a different sensation; the smooth brush glides over the glass-like surface while the scent of glue fills the air, grounding you in the present moment. Moving through the steps feels almost like a dance, allowing your mind to unwind and your heart to open to creativity. You may also find Fake Stained Glass Heart Cozy useful.
Materials You’ll Need
- Transparent plastic sheets or acrylic sheets
- Paint (preferably acrylic or stained glass paint)
- Glue (craft or stained glass glue)
- Brushes (soft and firm for different details)
- Scissors or cutting tools
- Optional: A black outline paint or marker for enhancing designs
- Optional: String or clips if you wish to hang your piece
These materials are easy to find and can often be sourced from your local craft store or online. The colors and textures of the various materials allow for personal expression and customization, making it a joy to gather them.
Step-by-Step Directions
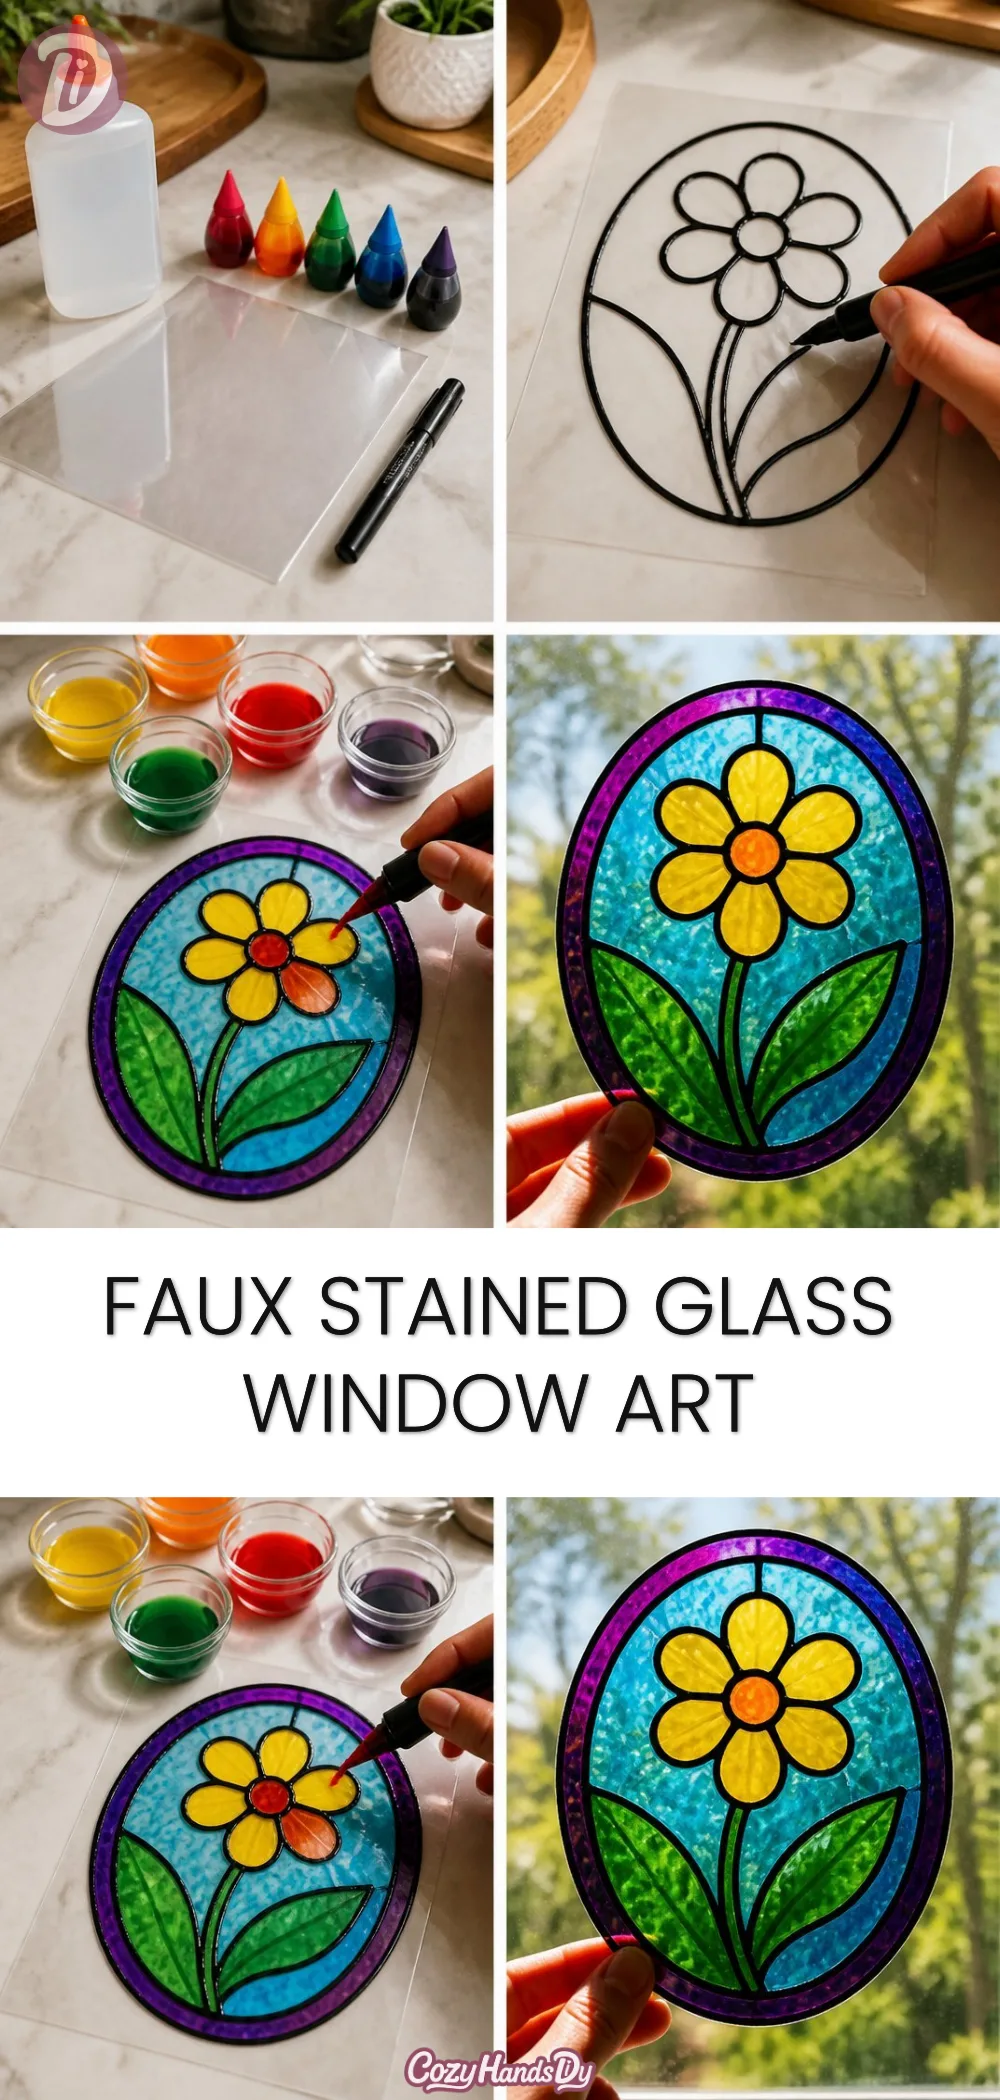
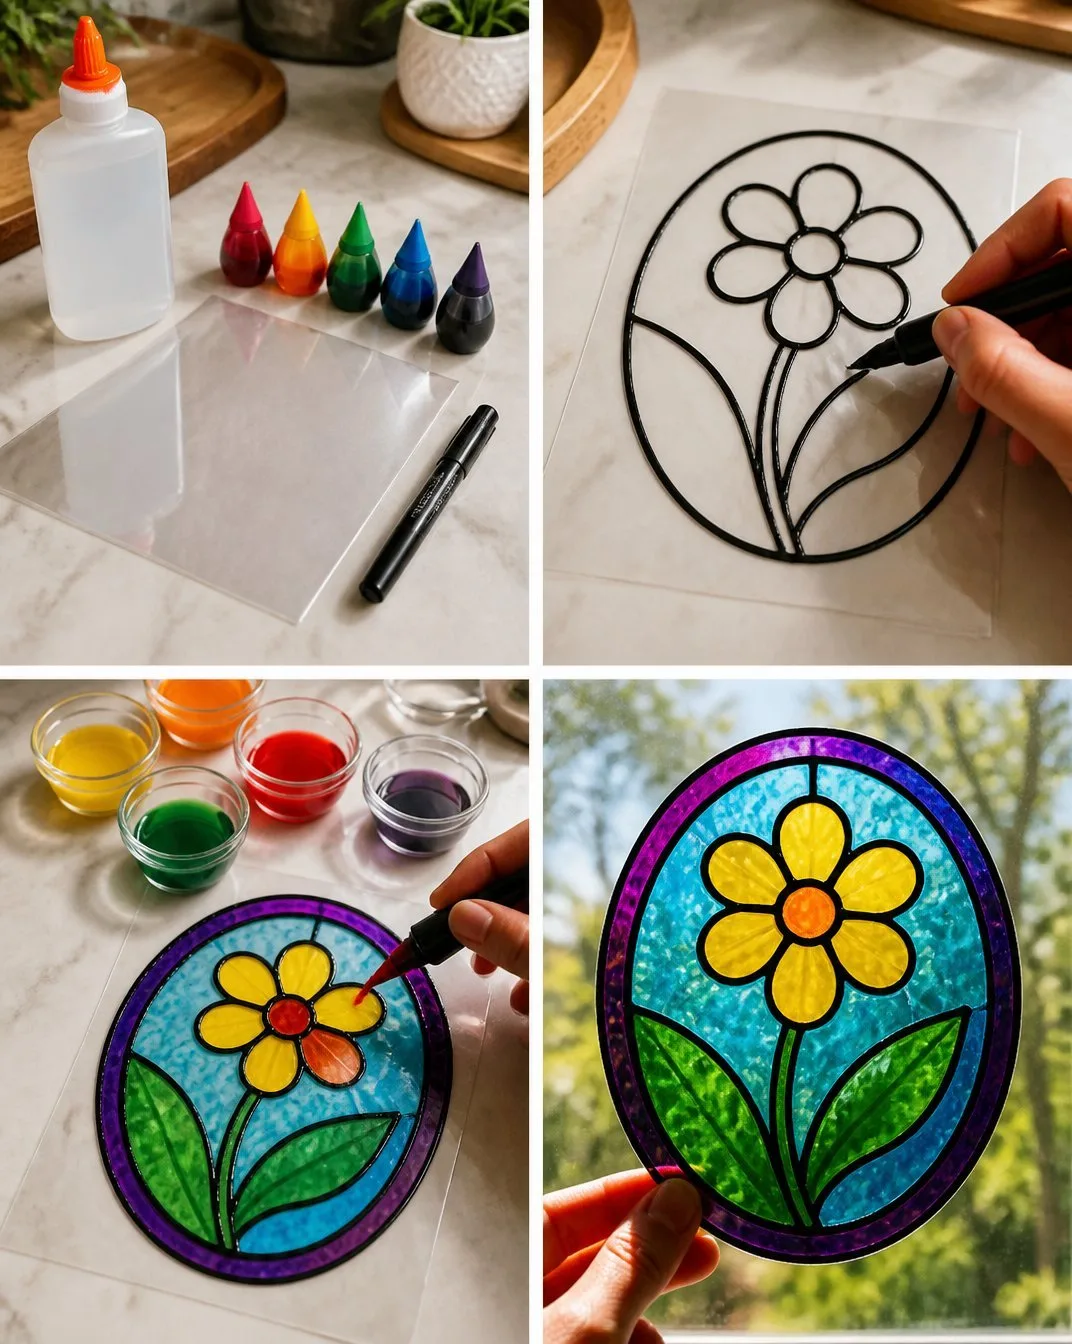
- Prepare Your Workspace: Lay down protective covering to keep your surfaces safe. Create a calm environment where you feel inspired to work.
- Sketch Your Design: Use a pencil to lightly sketch your desired design on the plastic sheet. Think of shapes that resonate with you, like flowers or abstract patterns.
- Outline with Glue: Apply glue along the edges of your design. This step gives the illusion of a traditional stained glass outline. Take your time, allowing the glue to create smooth lines.
- Paint Your Colors: Once the outline has set, fill in the sections with your chosen paint colors. Let your brush glide gently, mixing hues if desired for depth and interest.
- Let it Dry: Allow your creation to dry completely. This waiting period is a lovely time to reflect on the piece you are creating.
- Cut and Adjust: If needed, cut the plastic sheet to your desired size. You may even want to create multiple pieces to display together.
- Display Your Artwork: Once fully dry and trimmed, find a window where light will illuminate your art piece beautifully. You can secure it with string, tape, or clips.
Enjoying the Finished Piece
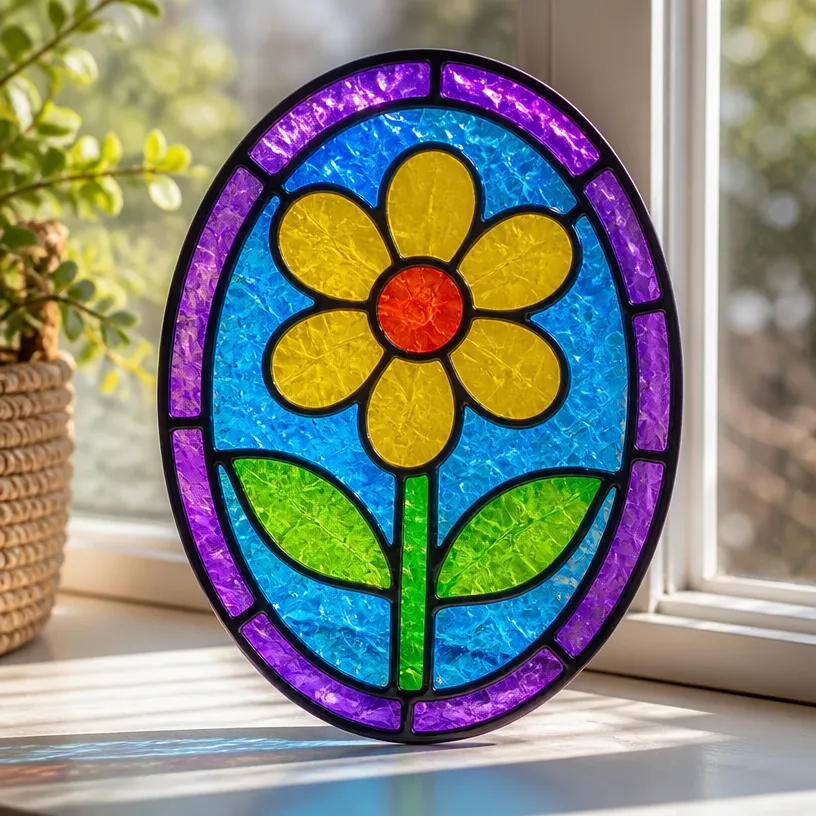
Once your faux stained glass window art is completed, it transforms an ordinary space. Place it in a well-lit area where the sun’s rays can interact with your colors, casting gentle rainbows or soft hues across your room. You can change its position based on the time of day, allowing for a dynamic decor element that evolves with the light. This art piece can become a focal point in a cozy reading nook or a serene backdrop in your meditation space.
Keeping It for Later
To ensure longevity, store your faux stained glass creations in a cool, dry place. If you move or change decorations, handle them with care to prevent cracks or scratches. These pieces can be reused for seasonal decorations, bringing a fresh, vibrant feel to your home as the year unfolds.
Gentle Tips & Variations
- Consider combining colors and layering different styles for more texture.
- You might experiment with using different mediums, like textured gel or inks, to add depth.
- If you love experimenting, try making smaller pieces that can be grouped together for a stunning display.
FAQs About Faux Stained Glass Window Art
What kind of paint is best for faux stained glass?
Acrylic paint is a popular choice, as it dries clear and mimics the look of stained glass very well. Look for transparent colors to get the best effect.
Can I use this technique on any surface?
Yes, while plastic sheets work well, you can also apply similar techniques on windows or glass bottles, expanding your creative possibilities.
How do I clean my artwork without damaging it?
Wipe gently with a soft, damp cloth. Avoid harsh cleaners, as they can dull the colors or damage the finishes.
Conclusion
Embracing the process of creating faux stained glass window art allows for a moment of calm and creativity in your day. This DIY journey encourages you to explore your artistic side while producing something beautiful for your home. For additional inspiration, you might find these resources helpful: explore a range of options for faux stained glass on Amazon and learn more about techniques to enhance your creations with this guide on making faux stained glass with acrylic paint and glue. Embrace your creativity, and let each stroke of color fulfill your cozy intentions.
PrintFaux Stained Glass Window Art
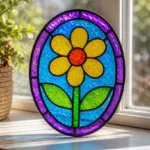
Create beautiful faux stained glass window art to add a splash of color and light to your space. This meditative DIY project enhances mindfulness and creativity.
- Prep Time: 15 minutes
- Cook Time: 0 minutes
- Total Time: 15 minutes
- Yield: 1 art piece
- Category: Craft
- Method: Crafting
Ingredients
- Transparent plastic sheets or acrylic sheets
- Paint (preferably acrylic or stained glass paint)
- Glue (craft or stained glass glue)
- Brushes (soft and firm for different details)
- Scissors or cutting tools
- Optional: A black outline paint or marker for enhancing designs
- Optional: String or clips if you wish to hang your piece
Instructions
- Prepare your workspace: Lay down protective covering to keep your surfaces safe.
- Sketch your design: Use a pencil to lightly sketch your desired design on the plastic sheet.
- Outline with glue: Apply glue along the edges of your design for a stained glass effect.
- Paint your colors: Fill in the sections with your chosen paint colors.
- Let it dry: Allow your creation to dry completely.
- Cut and adjust: If needed, cut the plastic sheet to your desired size.
- Display your artwork: Place it in a window to allow light to illuminate your art piece.
Notes
Store your creations in a cool, dry place to ensure longevity. Handle with care to prevent cracks or scratches.