

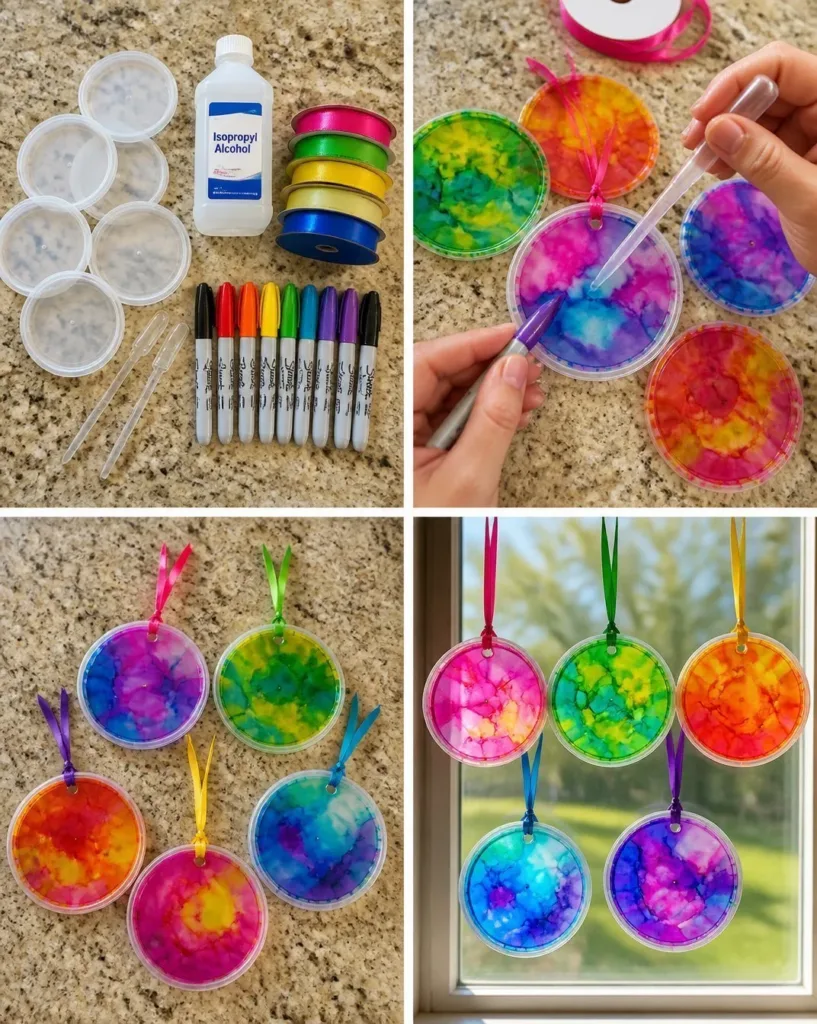
Imagine the soft light filtering through a beautifully crafted suncatcher, casting vibrant hues across your living space. The process of making DIY Faux Stained Glass Suncatchers unfolds like a gentle ritual, inviting you to slow down and embrace the meditative qualities of creativity. As you work with your hands, the materials begin to transform into something exquisite, filling your heart with warmth and satisfaction. Engaging in this project allows you to connect not just with what you’re creating, but also with a timeless tradition of crafting that brings comfort and serenity. You may also find Stained Glass Suncatchers useful.
Why Make This DIY Faux Stained Glass Suncatchers
Creating DIY Faux Stained Glass Suncatchers offers more than just a way to beautify your home; it serves as a pathway to mindfulness. The delicate play of colors and light fosters an ambiance that can uplift your mood and calm your mind. Each step in the process invites you to focus on the present moment how the textures feel under your fingertips, the sounds of cut materials, and the captivating visuals as they come together. This project is an invitation to celebrate the peaceful act of making and to cherish the beauty that emerges from your own hands. Making these suncatchers can indeed become a practice of self-care and creativity, allowing you to slow down and reconnect with your surroundings and yourself. 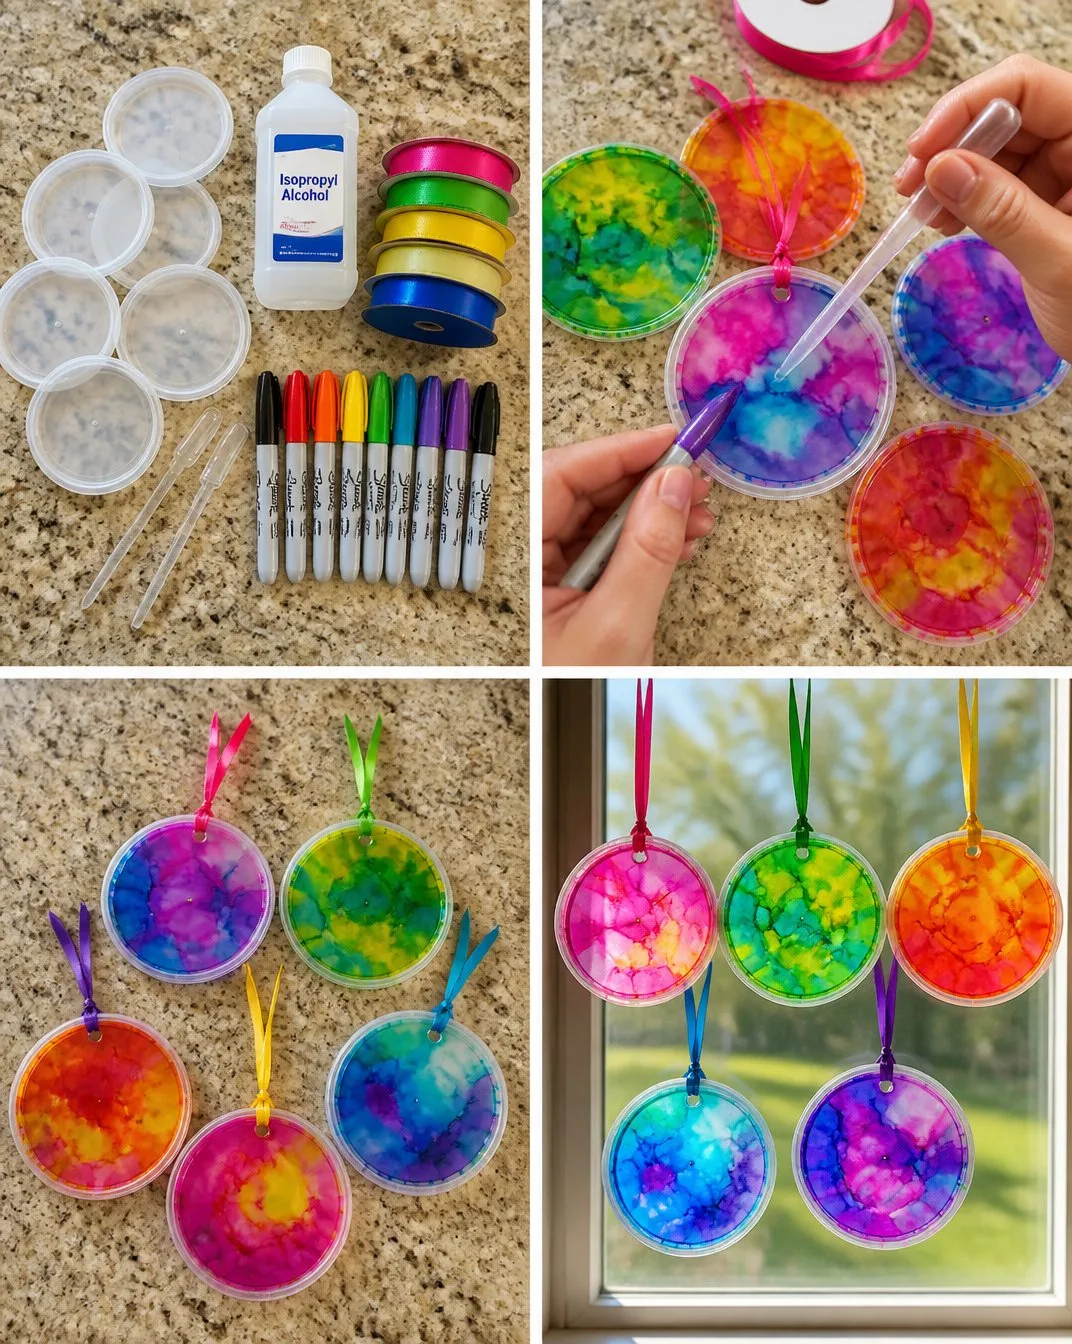
You may also find Brighten Your Home Stained Glass Lantern useful.
A Gentle Look at the Process
Embarking on the journey of making DIY Faux Stained Glass Suncatchers opens a world of sensory exploration. You can visualize the rhythm of cutting and assembling, along with the anticipation of seeing your design come to life. The gentle clinking of your tools, the soft brush strokes on the materials, and the vibrant color palette are all part of a harmonious experience. This blend of visual and tactile elements not only makes the act of creating soothing but also encourages a delightful flow, allowing each movement to be deliberate and mindful. You may also find Colorful Diy Bioplastic Suncatchers Recipe useful.
Materials You’ll Need
Gathering materials for your DIY project can be an enjoyable part of the process. Here are the supplies you’ll need: You may also find Diy Biodegradable Bioplastic Suncatchers 2 useful.
- Clear acrylic sheets (easy to find at craft stores)
- Permanent markers in various colors
- Black stained glass marker or paint (optional but effective for outlines)
- Scissors or a craft knife (handle with care)
- Suction cups (for hanging)
- A gentle spirit for creativity
Each of these materials will contribute to the beauty of your project and should be available at a local craft store or online. Embrace the excitement of selecting colors that resonate with you, making the experience even more personal.
Step-by-Step Directions
Prepare Your Workspace: Find a calm corner with good lighting where you can move freely. Lay down a protective sheet to keep your area clean.
Plan Your Design: Use a pencil to sketch out your design on a piece of paper. Think about shapes and patterns that speak to you.
Transfer Your Design: Place the acrylic sheet over your sketch. With your permanent markers, trace the outline of your design directly onto the acrylic.
Add Color: Fill in the sections with your chosen colors. Mix and blend them to create variations for a more natural look.
Outline with Black: If you opt for the black marker or paint, go back and outline your colored sections. This adds depth and mimics traditional stained glass.
Cure Your Creation: Allow your suncatcher to dry completely according to the manufacturer’s guidelines, ensuring the vibrant colors set well.
Attach Suction Cups: Once dried, attach your suction cups to the top corners of the suncatcher. These will hold it in place when hung.
Display Your Suncatcher: Choose a spot where sunlight can shine through it. Enjoy the beautiful effect it casts into your space.
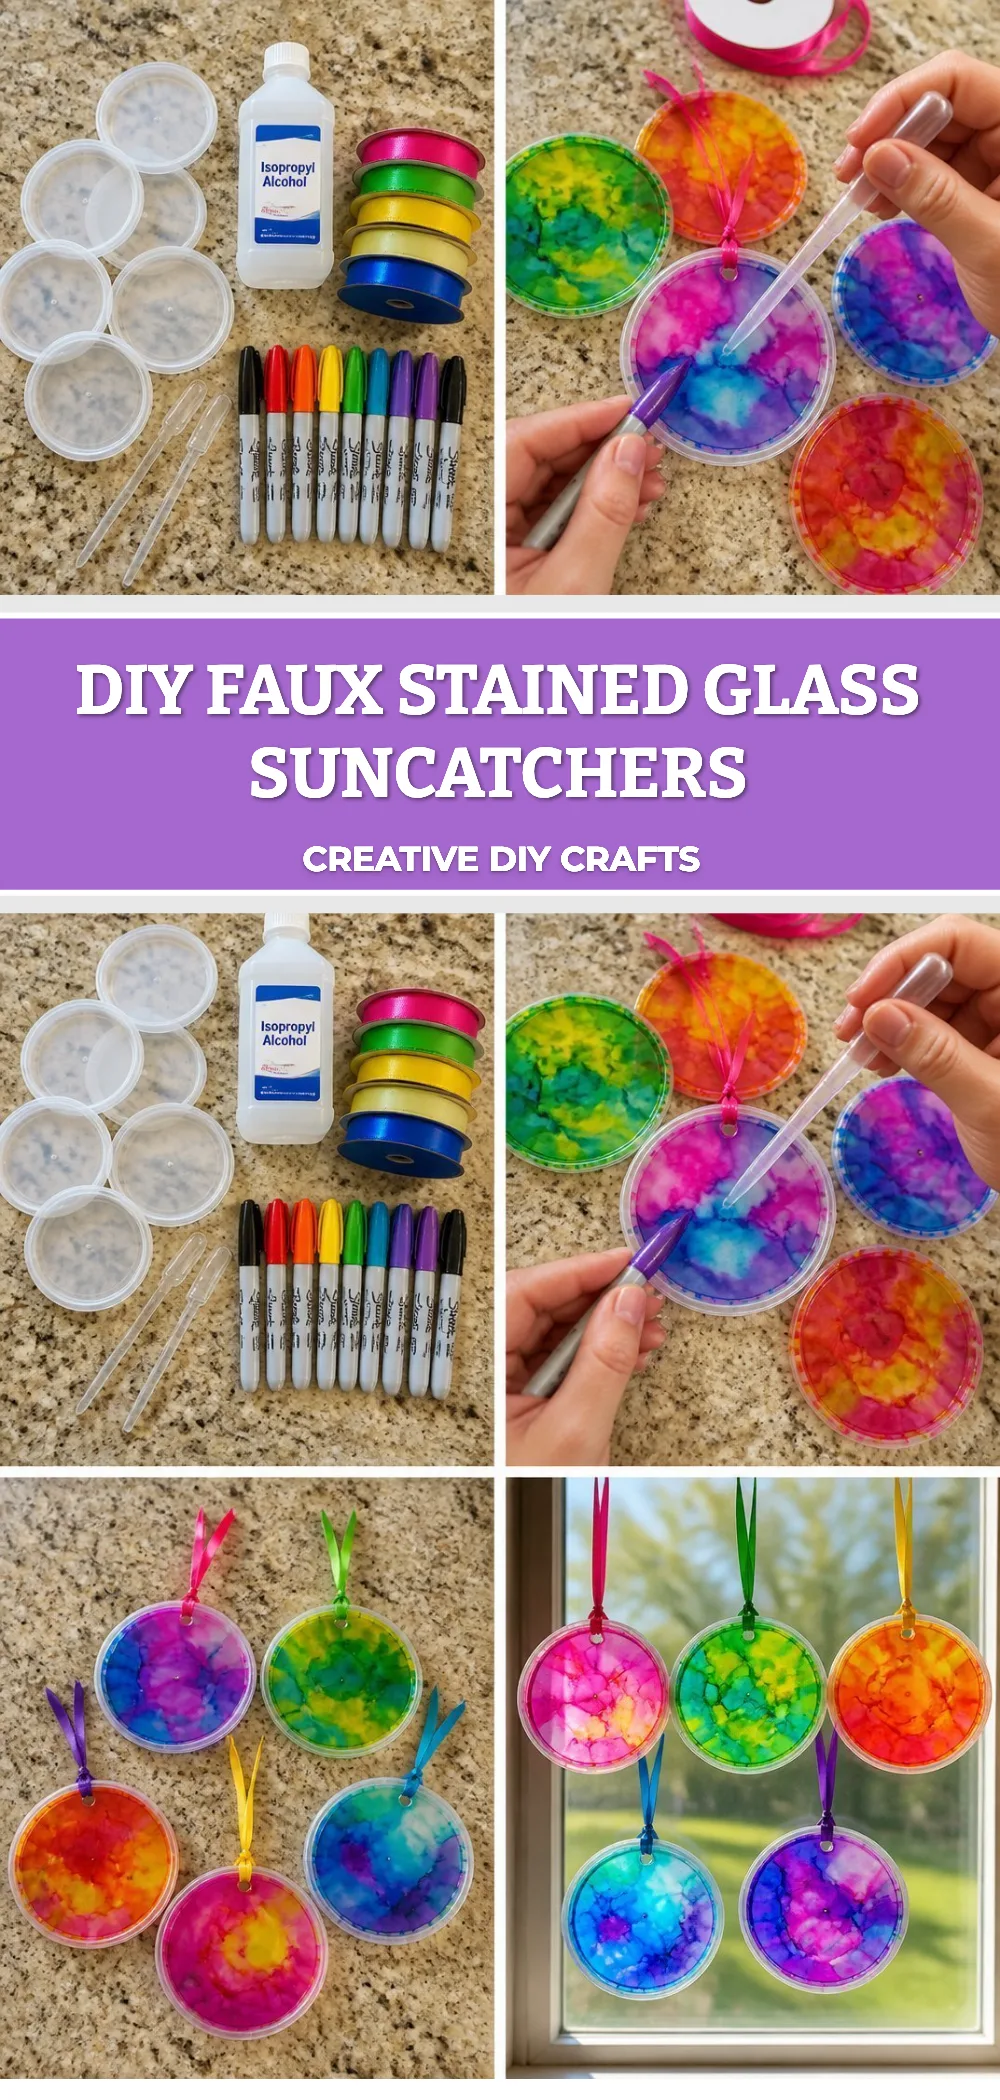
Enjoying the Finished Piece
The joy of your DIY Faux Stained Glass Suncatcher doesn’t end with its creation. Once displayed, it becomes a focal point of light and color, infusing your environment with warmth. You might hang it by a window, allowing the sunlight to filter through and create dancing patterns on your walls. This gentle interaction with your surroundings brings a sense of cheer and tranquility into everyday life. Each glance at your suncatcher can evoke feelings of accomplishment and peace, reminding you of the tranquil moments spent creating.
How to Store or Reuse DIY Faux Stained Glass Suncatchers
When it comes to caring for your beautiful creation, gentle maintenance ensures it lasts. If you need to remove your suncatcher from its spot, ensure you do so carefully to avoid scratches. Store it in a protective case or wrap it softly in a cloth when not in use. Over time, if you feel inspired, you can even take it apart to redesign or refresh its look, allowing for continued creativity and innovation in your crafting journey.
Small Ways to Make It Your Own
As you progress through creating your suncatcher, feel invited to add personal touches:
- Experiment with Shapes: Try various forms like hearts, stars, or abstract designs to match your style.
- Mix Techniques: Consider incorporating real leaves or flowers encased between layers of acrylic for a natural touch.
- Color Palettes: Use seasonal colors to reflect the changing themes of the year, from vibrant spring hues to muted autumn shades.
- Layering: Add multiple pieces of varying sizes to create a dynamic display that plays with light differently.
Each variation offers a unique expression of your creativity, allowing you to explore and experiment with each project.
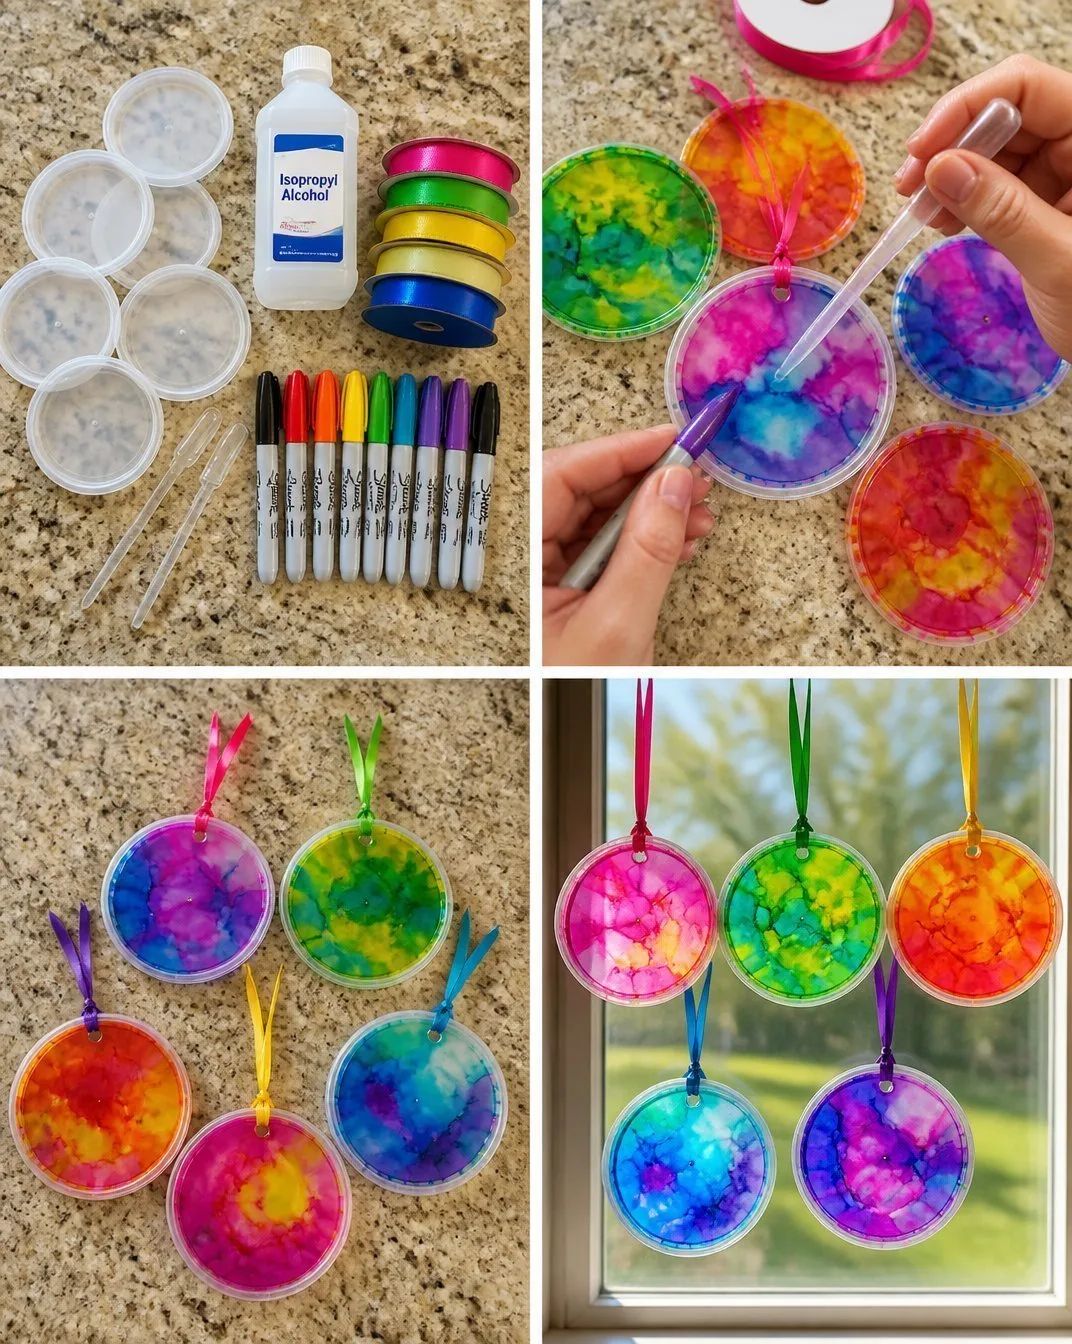
FAQs About DIY Faux Stained Glass Suncatchers
What types of markers work best for this project?
Permanent markers are ideal as they provide strong color saturation and durability. Oil-based markers can also work well for bright, vivid shades.
Can I use other materials aside from acrylic?
Yes! While acrylic sheets are common, you might explore using glass or even plastic film for a lightweight option. Just ensure they are suitable for painting.
How long does it take for the suncatcher to dry?
Drying times depend on the materials used, but generally allowing it to sit for several hours or overnight gives the best results for a sturdy finish.
Conclusion
Creating DIY Faux Stained Glass Suncatchers is not just about the final product; it’s about the journey of crafting and discovering joy in the process. Embrace the tactile experience with an open heart. If you’re interested in expanding your crafting skills, you might explore how to make Faux Stained Glass with Acrylic Paint and Glue. Additionally, for a structured approach, check out a Beginner’s Guide to Faux Stained Glass Sun Catchers. Enjoy the journey and the piece you create, letting it be a living symbol of mindfulness and creativity in your home.
PrintDIY Faux Stained Glass Suncatchers
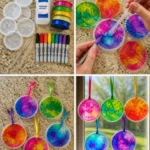
A calming and creative project to make beautiful faux stained glass suncatchers that enhance your living space with vibrant colors and light.
- Prep Time: 10 minutes
- Cook Time: 120 minutes
- Total Time: 130 minutes
- Yield: 1 suncatcher
- Category: Craft
- Method: Crafting
- Cuisine: N/A
- Diet: N/A
Ingredients
- Clear acrylic sheets
- Permanent markers in various colors
- Black stained glass marker or paint (optional)
- Scissors or craft knife
- Suction cups
- A gentle spirit for creativity
Instructions
- Prepare your workspace: Find a calm corner with good lighting and lay down a protective sheet.
- Plan your design: Sketch your design on paper considering shapes and patterns.
- Transfer your design: Place the acrylic sheet over the sketch and trace the outline with permanent markers.
- Add color: Fill in sections with your chosen colors and blend them.
- Outline with black: Use black marker or paint to outline colored sections.
- Cure your creation: Allow to dry completely as per manufacturer’s guidelines.
- Attach suction cups: Once dried, attach suction cups to hold the suncatcher in place.
- Display your suncatcher: Choose a sunny spot and enjoy the effect.
Notes
Handle scissors or craft knives carefully while working. Embrace personal touches to make your suncatcher unique.
2 thoughts on “DIY Faux Stained Glass Suncatchers”