

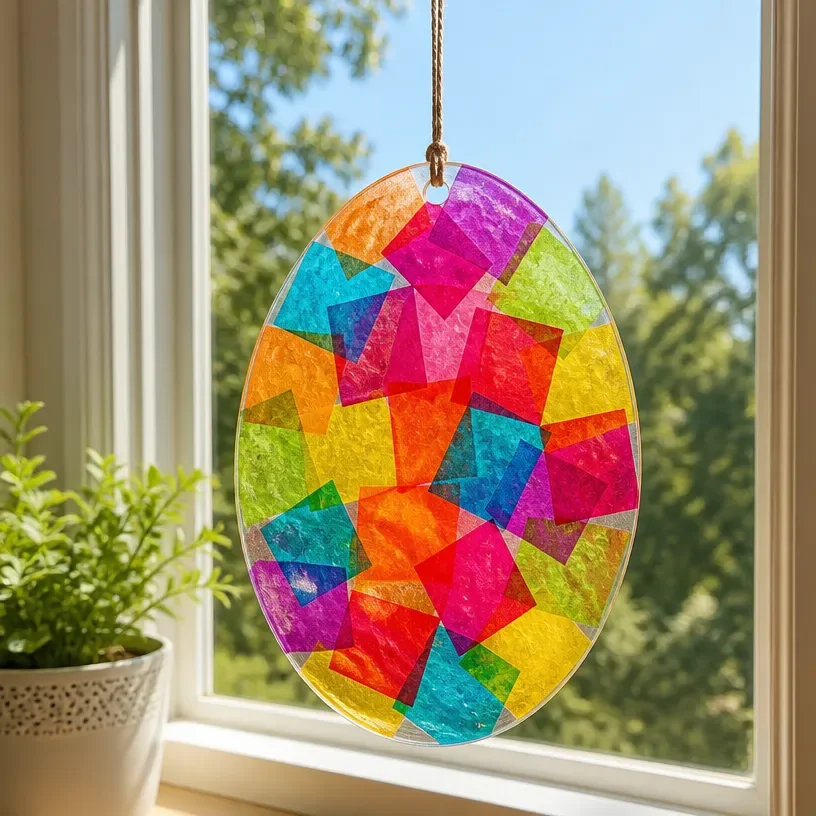
Creating a Fake Stained-Glass Window Suncatcher is a delightful way to brighten your space with color and warmth. As you see the sun’s rays filter through your creation, casting vivid reflections around the room, you can’t help but feel a sense of calm. The soft interplay of light and color evokes a touch of magic, reminiscent of sunlit memories. Engaging with this project will not only bring joy to your surroundings but also provide a gentle crafting experience. You may also find Diy Bioplastic Suncatchers Natures Window Art 2 useful.
Why Make This Fake Stained-Glass Window Suncatcher
The act of creating a Fake Stained-Glass Window Suncatcher is more than a pleasant pastime; it invites you into a cozy moment of mindfulness. This DIY project encourages you to slow down and focus on the textures and colors of your materials. Each step is an opportunity to engage your senses, from the smoothness of the paintbrush gliding over the surface to the vibrant hues coming to life. The process fosters reflection, allowing you to enjoy each moment of creativity without the pressures of the outside world. As you craft, you are reminded to inhale peace and exhale stress, fostering a sense of tranquility that resonates throughout your home. You may also find Diy Bioplastic Suncatchers Natures Window Art useful.
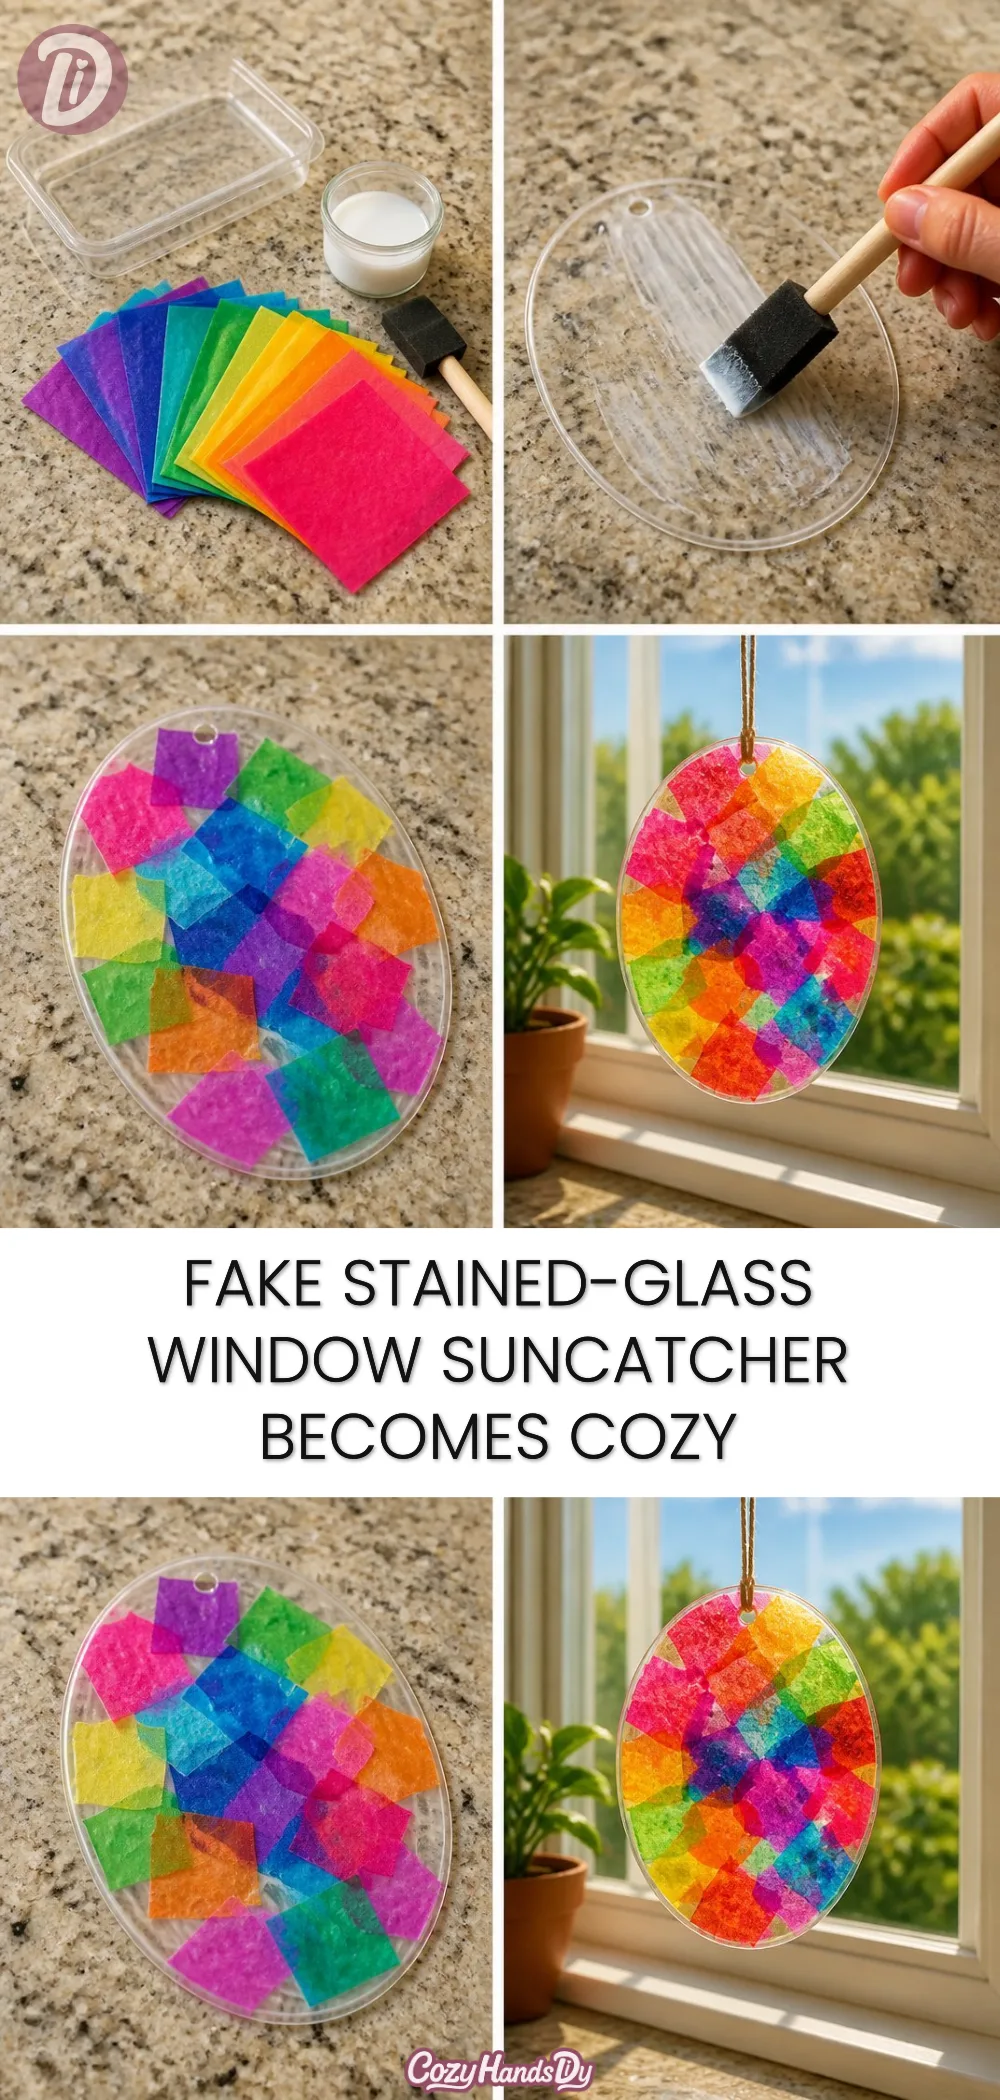
You may also find Diy Faux Stained Glass Suncatchers 2 useful.
A Gentle Look at the Process
Before you dive into making your suncatcher, let’s take a moment to appreciate the flow of this activity. The process unfolds gently, beginning with gathering your materials and imagining the colors that will dance in your window. As you prepare, the sound of paint gliding over the surface and the subtle scent of the materials will create a calm atmosphere, inviting inspiration. Each phase of creating your suncatcher gives you time to feel the textures, breathe deeply, and enjoy the rhythm of your actions.
Materials You’ll Need
Gathering the right materials sets the foundation for your creative journey. Here’s what you will need:
- Clear plastic sheets or a transparency film (easy to find)
- Acrylic paints in various colors (choose soft shades for a calming effect)
- Paintbrushes in different sizes (to create details and broad strokes)
- Black outline paint or a permanent marker (for defined patterns)
- Scissors (to cut your suncatcher)
- Tape or string (for hanging)
Feel free to experiment with colors and shapes. The ideas can flow from your imagination rather than strict guidelines.
Step-by-Step Directions
Start by sketching your desired design on a piece of paper. This helps visualize your suncatcher.
Once your sketch is ready, place the clear plastic sheet over it, securing it with tape. This holds the sheet in place as you work.
Using black outline paint or a permanent marker, carefully trace over your design on the plastic sheet. This will create a striking contrast for the colors you’ll apply next.
Allow the black outline to dry completely before moving on to adding color. This ensures clean edges.
Use your paintbrush to fill in the sections of your design with acrylic paints. Enjoy the way the colors blend and look against the light.
Let the paint dry fully before gently peeling the plastic sheet off the paper beneath.
Once dry, carefully cut out your suncatcher along the outline you previously created.
Finally, use tape or string to hang your suncatcher in a window where it can catch the sun, and enjoy the beautiful colors that light up your space.
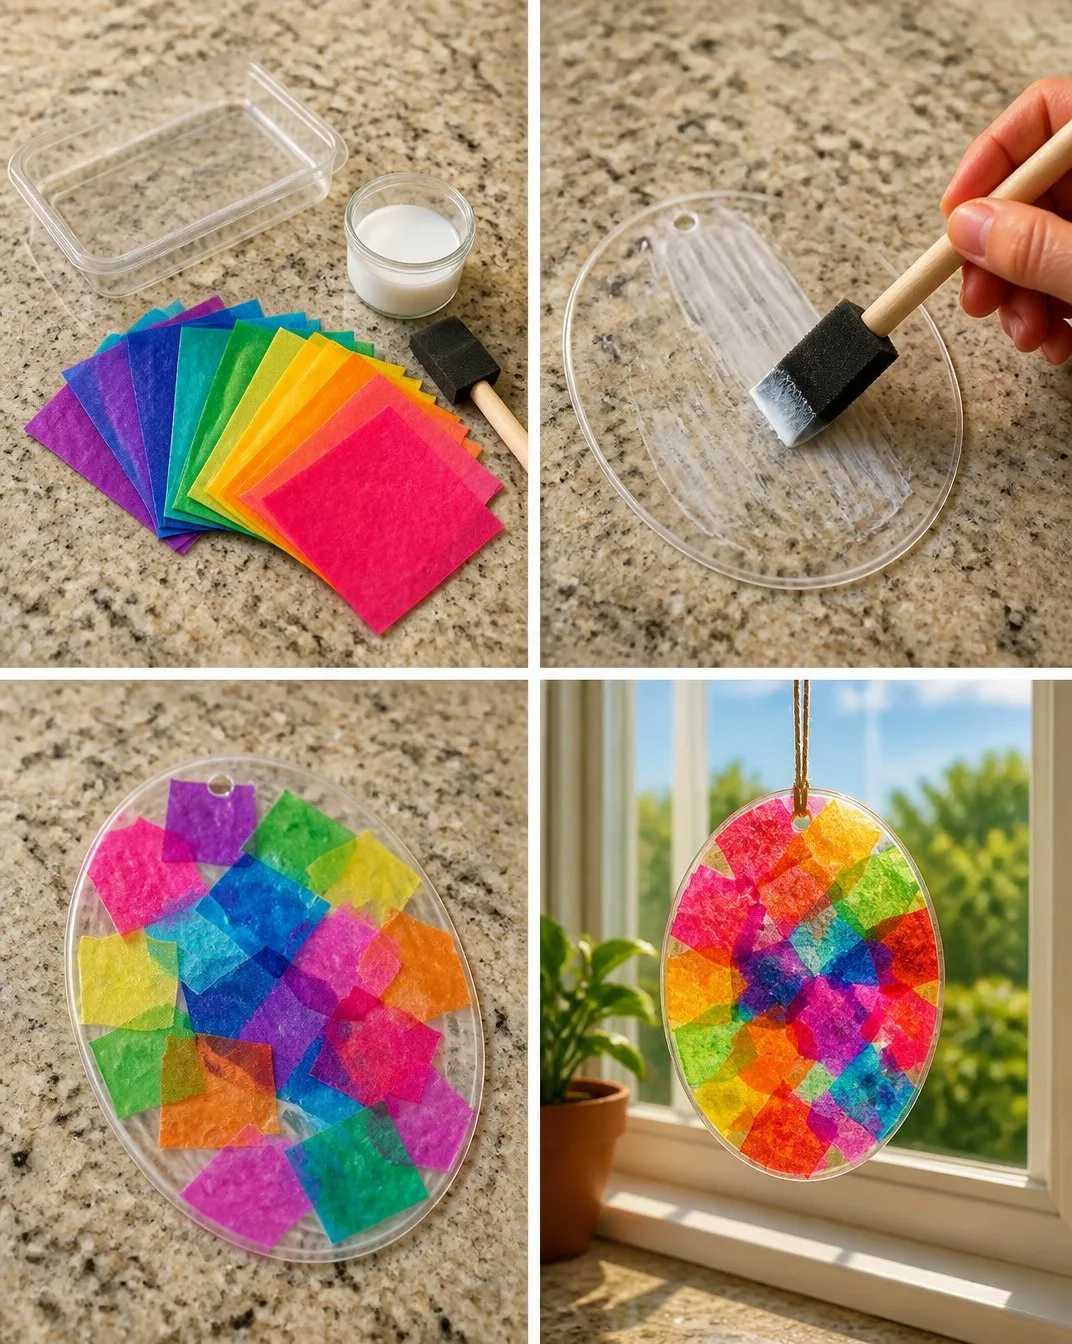
Enjoying the Finished Piece
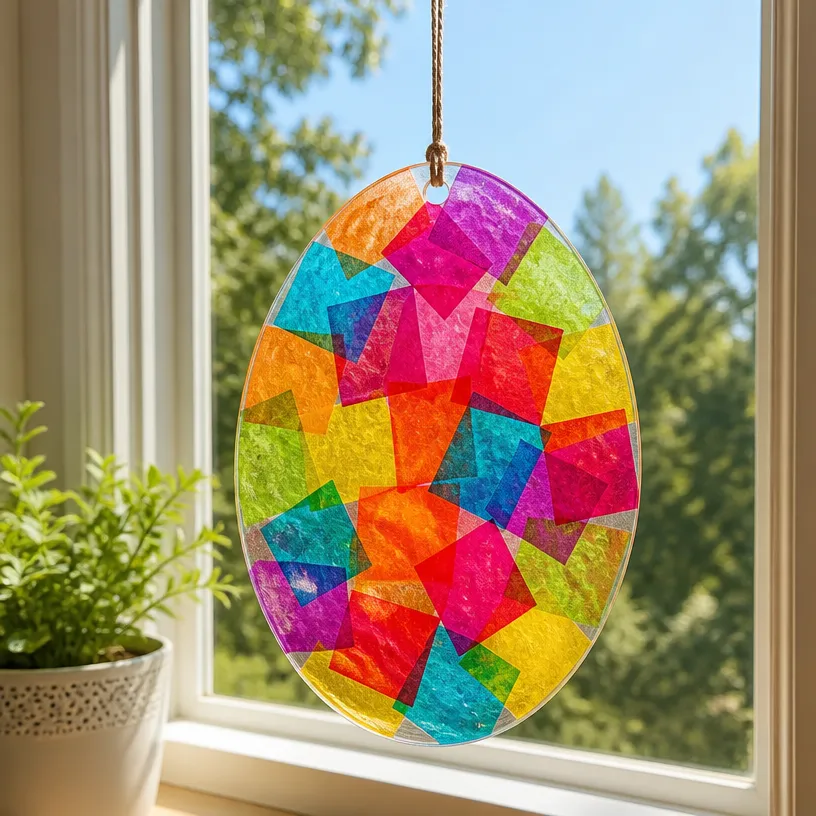
Now that you’ve crafted your Fake Stained-Glass Window Suncatcher, consider how it can enhance your home. Hanging it in a window allows sunlight to filter through, casting colorful reflections around your room. This addition brightens the atmosphere, adding warmth and joy to daily routines. It’s not just a piece of art; it becomes a part of your living space, a gentle reminder of the creativity and calm you nurtured throughout the making process.
Keeping It for Later
Taking care of your suncatcher is easy. To keep its vibrant colors vibrant, gently wipe the surface with a soft, damp cloth. Be sure to avoid any harsh chemicals that could dull the paints. When not in use, store it in a safe place away from direct sunlight to prevent fading, ensuring it lasts for years to come. Feel free to display it seasonally or during special occasions, as it brings a unique charm to any display.
Gentle Tips & Variations
- Consider adding different textures to your design, such as the use of a sponge to create background effects with paint.
- Experiment with color layering; letting layers dry slightly before adding another can create depth and interest.
- Try using different outlines, such as using colored outline paints for more vivid designs.
- If you want to create a theme, look into making different suncatchers, like colorful rainbow suncatchers or bioplastic suncatchers with nature-inspired designs for a unique seasonal display.
FAQs About Fake Stained-Glass Window Suncatcher
What if I don’t have acrylic paint?
You can use any non-toxic paint available to you, although acrylic gives the best effect for light transmission.
How long will my suncatcher last?
With proper care, your suncatcher can last a long time. Just keep it away from direct sun when it is not in use to minimize fading.
Can I make this project with children?
Absolutely! This is a wonderful activity to share. Just ensure that an adult supervises any steps involving scissors or paint.
What colors work best for a calming effect?
Soft pastels or muted tones tend to provide a soothing ambiance. However, choose based on your personal taste and the mood you wish to create.
Conclusion
Creating your Fake Stained-Glass Window Suncatcher is more than just a craft it’s a pause to engage with your creativity and mindfulness. As you let your colored artwork catch the light, you invite a sense of peace and joy into your space. For more ideas about bringing color and light into your life, consider exploring the stained glass window hangings available, or delve deeper into art creation with the Beginner’s Guide to Faux Stained Glass Sun Catchers with Laser Cut Wood. Take your time to enjoy the process and let your creativity flow.
PrintFake Stained-Glass Window Suncatcher
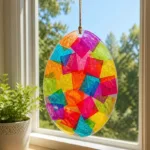
A delightful DIY project to create a vibrant suncatcher that brightens your space.
- Prep Time: 10 minutes
- Cook Time: 60 minutes
- Total Time: 70 minutes
- Yield: 1 suncatcher
- Category: Craft
- Method: DIY Crafting
- Cuisine: N/A
- Diet: N/A
Ingredients
- Clear plastic sheets or transparency film
- Acrylic paints in various colors
- Paintbrushes in different sizes
- Black outline paint or permanent marker
- Scissors
- Tape or string
Instructions
- Start by sketching your desired design on a piece of paper.
- Once your sketch is ready, place the clear plastic sheet over it, securing it with tape.
- Using black outline paint or a permanent marker, carefully trace over your design on the plastic sheet.
- Allow the black outline to dry completely before moving on to adding color.
- Use your paintbrush to fill in the sections of your design with acrylic paints.
- Let the paint dry fully before gently peeling the plastic sheet off the paper beneath.
- Once dry, carefully cut out your suncatcher along the outline you previously created.
- Finally, use tape or string to hang your suncatcher in a window where it can catch the sun.
Notes
To keep colors vibrant, gently wipe with a soft, damp cloth and avoid harsh chemicals.