

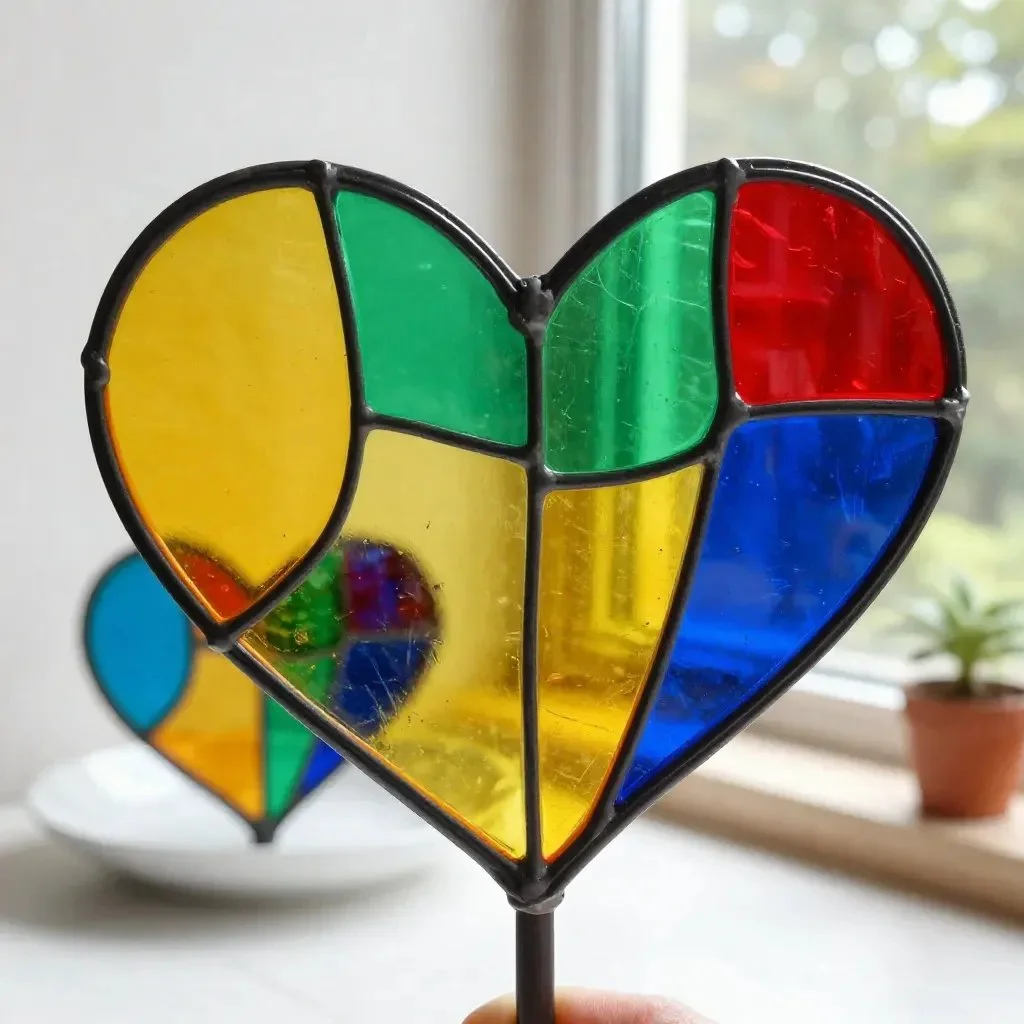
A soft light filters through the window, casting gentle patterns across the space. You catch a glimpse of the colors dancing as the sun touches something familiar yet enchanting – a fake stained glass heart. This DIY project beckons you to slow down, inviting tactile interaction and creative expression. As you embark on this crafting adventure, you will find that each step is as meaningful as the finished piece itself, creating a calming experience that uplifts both spirit and space. To further enhance your enjoyment, consider exploring stained glass glue hearts, which can add intricate design elements to your creations.
Why Make This Fake Stained Glass Heart
Creating a fake stained glass heart is more than just a project; it’s an invitation to reflect and relax. The process of crafting engages your senses, allowing you to immerse yourself in the texture of materials, the gentle sounds of cutting and gluing, and the vibrant colors that come to life. This project encourages mindfulness, drawing your focus away from the hustle and bustle of everyday life. Sitting quietly with your materials, you begin to feel the peace that crafting brings. The warmth of your hands as they work and the satisfaction of producing something beautiful instill a sense of accomplishment. It’s a comforting reminder of the joy found in the simple act of creation. You may also find Fake Stained Glass Lanterns Cozy Glow useful.
A Gentle Look at the Process
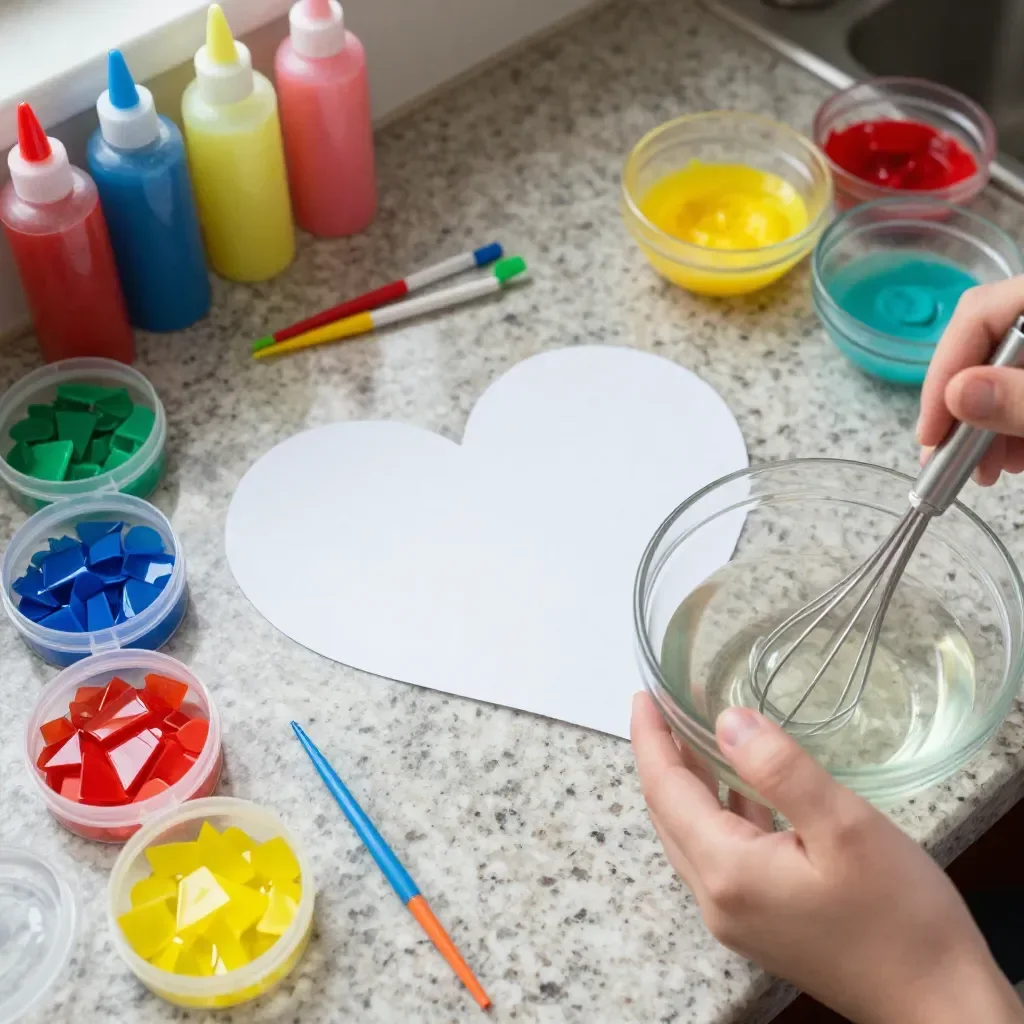
As you prepare to assemble your fake stained glass heart, take a moment to breathe deeply and center yourself. Crafting should feel like a soothing rhythm, moving through each task with intention. Feel the textures of your materials; the smoothness of paper, the softness of glue. Engage your senses and allow the task to unfold naturally. There is a fluidity in the process, a dance between you and your supplies. This project not only results in a lovely decorative piece but also in a peaceful experience that draws you deeper into the moment. You may also find Brighten Your Home Stained Glass Lantern useful.
Materials You’ll Need
Gathering your materials can be a joyful part of your crafting journey. Here’s a list of what you will need to create your fake stained glass heart: You may also find Cornstarch Glass Floral Hearts And Flowers 2 useful.
- Colored tissue paper or transparent plastic sheets (easy to find at craft stores)
- Scissors (for smooth cutting)
- Mod Podge or craft glue (you can also make your own glue)
- A heart template (to guide your design)
- A sturdy base (like card stock or cardboard)
- Brushes or sponges (for applying glue)
Each item may hold an opportunity for recycling and reusing; consider incorporating materials you already have. The softer the textures, the more delightfully calming your project will feel.
Step-by-Step Directions
- Prepare Your Template: Find or create a heart template. Place it on a sturdy base and trace around it. Feel the pencil glide smoothly across the surface.
- Cut Out the Heart: Using scissors, carefully cut along the lines of your template. The soft sound of paper cutting can be meditative.
- Tear the Tissue Paper: Instead of cutting, tear your colored tissue paper into small pieces. This method adds a unique texture, and the gentle ripping sound can be soothing.
- Apply Glue: With a brush or sponge, spread a thin layer of glue over a small area of your base. The glue’s cool consistency feels satisfying against your fingers.
- Place Tissue Paper: Begin placing the torn pieces of tissue paper onto the glued area. The colors will blend and create a beautiful mosaic feel. Take your time to enjoy this color play.
- Continue Layering: Work on small sections at a time, applying glue and placing paper until your heart is fully covered. The process invites you to savor every moment.
- Let It Dry: Once completed, allow your heart to dry completely. The anticipation builds as you watch the colors transform under the light.
- Display Your Art: Once dry, find a special place to display your fake stained glass heart. Let the light shine through and fill your space with warmth.
Enjoying the Finished Piece
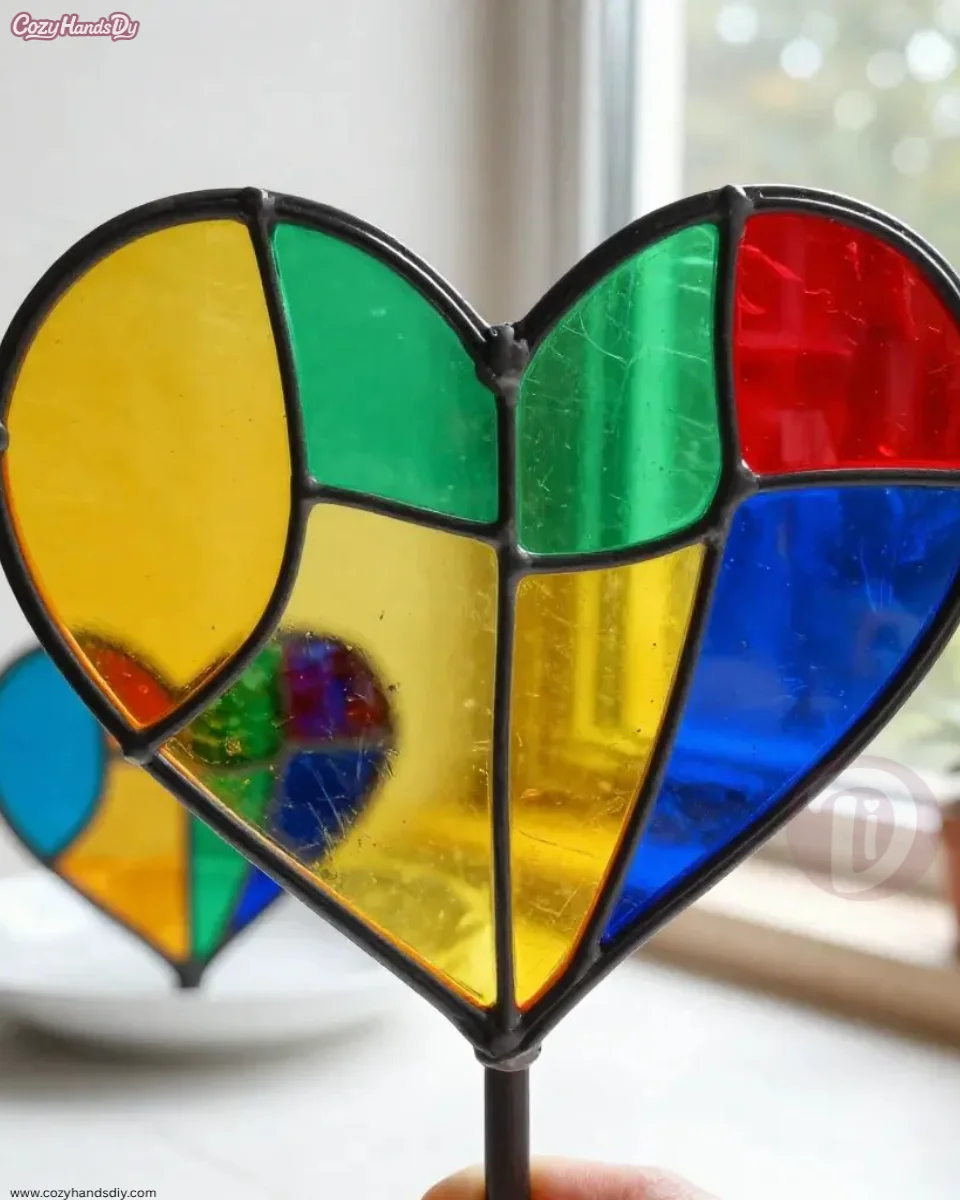
The joy of your fake stained glass heart extends beyond just crafting. Once complete, it becomes a centerpiece in your home, radiating warmth and color. You might choose to hang it in a window where sunlight will dance through, illuminating its beauty. Alternatively, it could serve as a reminder on a shelf, a token of the time you invested in creating something lovely. Each glance at your heart can take you back to that soothing crafting session, grounding you and evoking joy.
Caring for Your Finished DIY
Proper care ensures that your creation lasts and continues to bring joy into your life. Store your fake stained glass heart in a safe place, avoiding direct sunlight for extended periods to preserve its vibrant colors. If it collects dust, gently wipe it with a soft, dry cloth. Should you want a fresh perspective, consider changing its display location every season, allowing it to bring new warmth and color to various spaces.
Gentle Tips & Variations
Embrace the opportunity to make this project uniquely yours with these gentle invitations:
- Experiment with Color: Try using different colors or patterns in your tissue. Each variation will create a distinct feel.
- Layering Techniques: Consider layering different sheets of tissue for more depth. A soft shine may arise from this technique.
- Seasonal Designs: As seasons change, create themed hearts, like warm tones for autumn or bright shades for spring.
- Add Personal Touches: Incorporate small embellishments, like beads or glitter for a more vibrant flair.
- Share the Joy: Engage friends or family in making their own hearts, turning the crafting session into a delightful gathering.
FAQs About Fake Stained Glass Heart
What types of paper can I use for this project?
While colored tissue paper works wonderfully, you can also use transparent plastic sheets or even scrap paper for a more textured look.
Can I modify the shape of the heart?
Absolutely! Feel free to create different shapes or sizes of hearts to suit your style or decor.
How long will my fake stained glass heart last?
With proper care, your heart can last for many seasons. Just be mindful of keeping it away from direct sunlight for long periods.
Can I use this technique for other decorations?
Yes! This method is versatile. Try making lanterns or other shapes following the same steps.
Is this project suitable for children?
Yes, with supervision, children can enjoy creating their own fake stained glass heart. Just ensure safe cutting practices are followed.
Conclusion
Creating a fake stained glass heart offers more than a decorative piece; it brings a sense of calm and achievement. With each layer and color, you create not just art, but a moment of mindfulness. If you’re looking to further explore similar projects, you might find inspiration in the concept of Faux Stained Glass Paper Hearts – KinderArt or delve into the delightful craft of a Faux Leaded Glass Heart – Easy Crafting – A Crafty Mix. Allow your creativity to flow, and enjoy these peaceful moments of creation.
PrintFake Stained Glass Heart
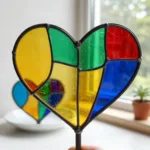
Create a beautiful fake stained glass heart that adds vibrancy and warmth to your space while encouraging mindfulness and creative expression.
- Prep Time: 10 minutes
- Cook Time: 30 minutes
- Total Time: 40 minutes
- Yield: 1 fake stained glass heart
- Category: Craft
- Method: Crafting
- Diet: N/A
Ingredients
- Colored tissue paper or transparent plastic sheets
- Scissors
- Mod Podge or craft glue
- A heart template
- A sturdy base (like card stock or cardboard)
- Brushes or sponges
Instructions
- Prepare your template by tracing a heart shape on sturdy card stock.
- Cut out the heart carefully with scissors.
- Tear colored tissue paper into small pieces for texture.
- Apply a thin layer of glue on a section of the base.
- Place the torn pieces of tissue paper onto the glued area.
- Continue layering until the heart is fully covered.
- Let it dry completely to allow the colors to set.
- Display your heart in a light-filled area.
Notes
Consider incorporating recycled materials and experiment with colors or patterns to make the project uniquely yours.
1 thought on “Fake Stained Glass Heart Becomes Cozy”