

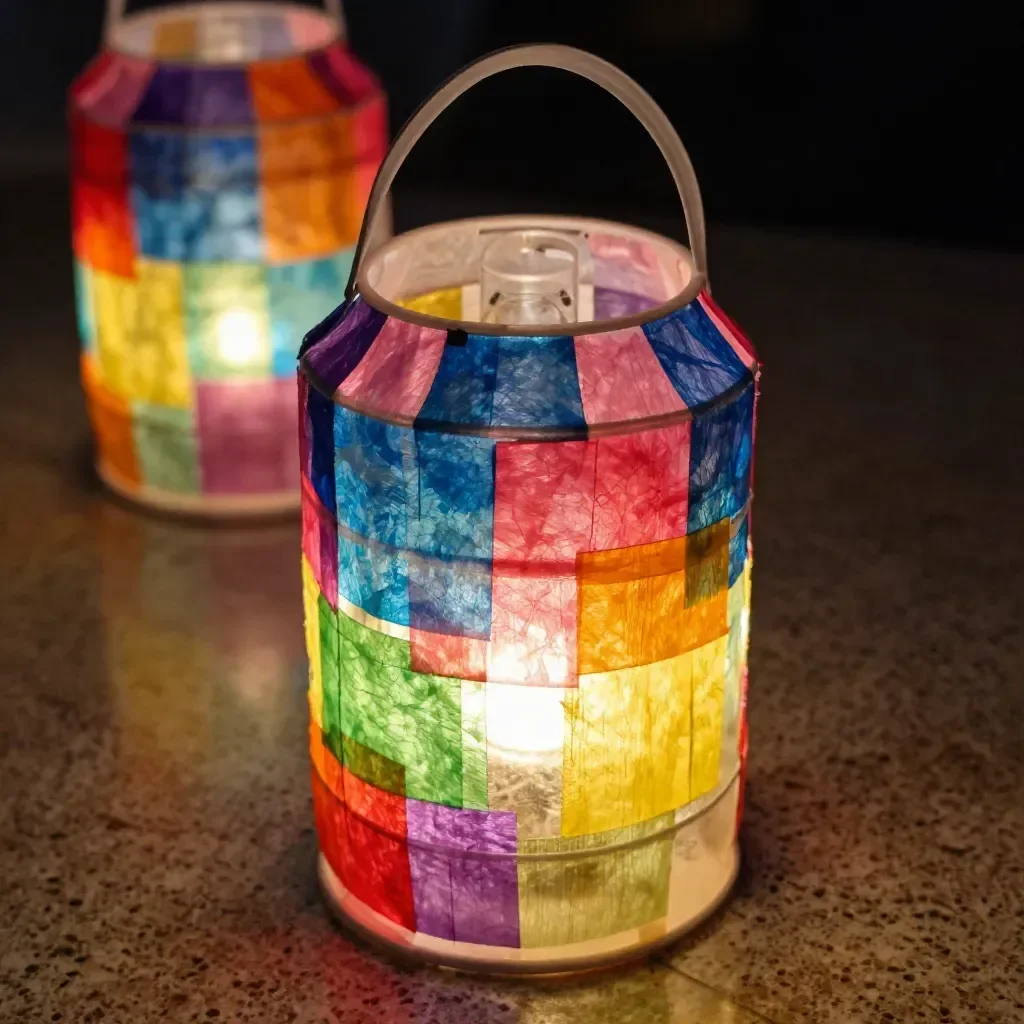
The soft glow of lantern light, filtered through colors that dance and shimmer, invites a moment of peace into your space. Creating fake stained-glass lanterns captures this essence perfectly, transforming everyday materials into a radiant centerpiece. As you embark on this project, you dip your hands into soft textures, feeling the gentle brush of each layer bring life to your design. The process is not only visually rewarding but also soothing, wrapping you in warmth as you breathe life into each creation. You may also find Pink Glow Fairy Lanterns useful.
Why Make This Fake Stained-Glass Lanterns
Crafting fake stained-glass lanterns offers a moment to slow down and engage your senses. The experience wraps around you like a soft blanket, inviting mindfulness into your day. Working with colors, shapes, and light encourages a gentle focus on the present. The satisfaction of seeing your lantern emerge, one piece at a time, connects you with a deeper sense of accomplishment. Plus, this project is perfect for making your space feel more inviting, bringing a cozy glow to corners often overlooked. To see how this project can brighten your home even further, check out this wonderful guide on brightening your home with stained glass lanterns.
A Gentle Look at the Process
Before you begin making your fake stained-glass lanterns, take a moment to envision the journey ahead. Picture the smooth caress of colored films as you cut them into beautiful shapes. Listen to the soft sounds of scissors snipping, and the gentle patter of glue as you secure each piece in place. As you work, the room fills with the anticipation of light filtering through your creations. This rhythm of making brings a peace that lingers long after the lanterns are finished. You may also find Stained Glass Glue Hearts useful.
Materials You’ll Need
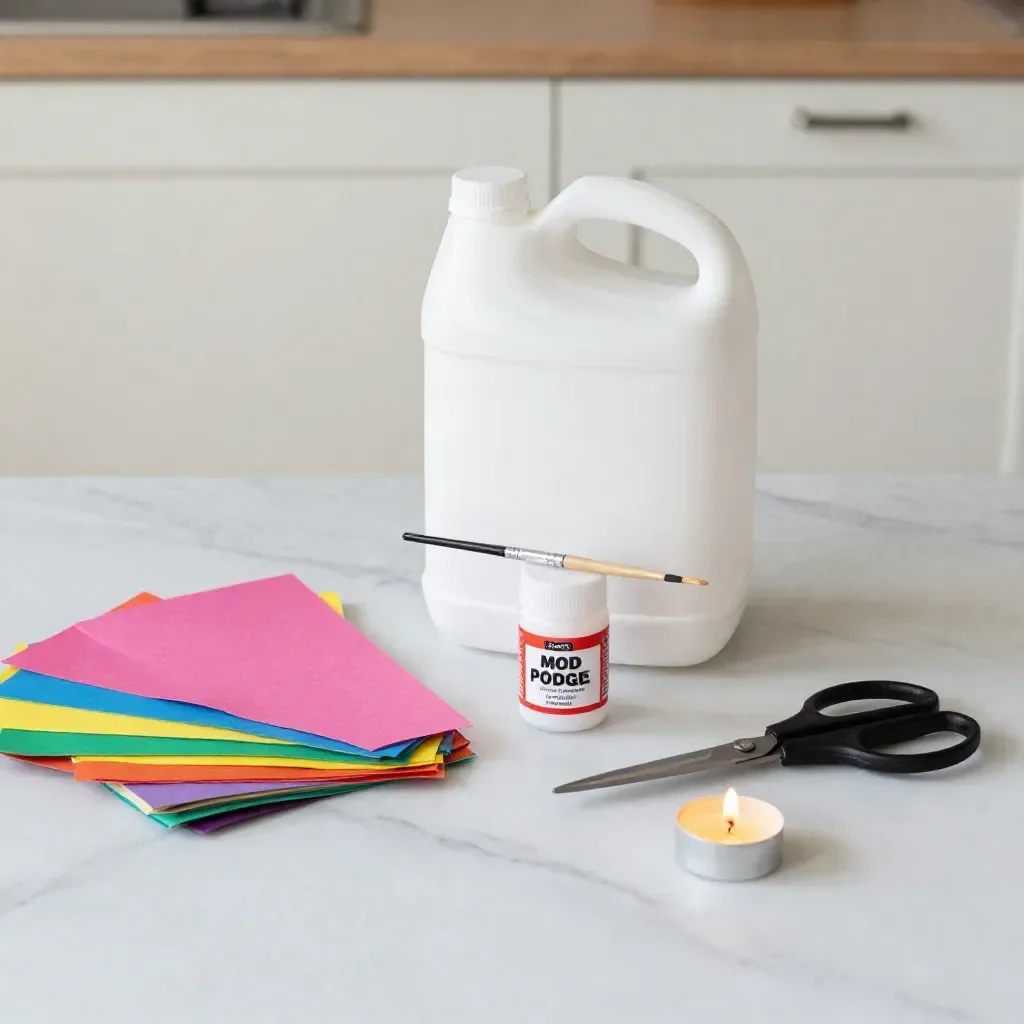
Gathering the materials for your lanterns can be as enjoyable as the crafting itself. Here is what you will need:
- Clear plastic sheets or transparency film (easy to find at craft stores)
- Scissors (for cutting shapes)
- Craft glue or a specific stained-glass glue recipe
- Colored tissue paper or colored transparent film (think vibrant hues)
- A cardboard base (for the lantern), which can be made from an old box
- Optional: LED tea lights for a safe, warm glow
Step-by-Step Directions
Prepare Your Workspace: Clear a flat surface that invites creativity. Lay down newspaper or a protective sheet to catch any spills.
Cut Your Shapes: Using scissors, carefully cut a variety of shapes from your colored film or tissue paper. Let the textures and colors inspire your designs.
Create the Lantern Frame: Cut your cardboard into a rectangle that will serve as the base of your lantern. Ensure it’s sturdy enough to hold the light.
Apply Glue: Using your stained-glass glue, apply a thin layer on the cardboard base. Arrange your colored shapes on the glue, overlapping slightly for a fuller effect.
Layer It Up: Continue adding shapes, applying glue as needed. Remember to remove any excess glue for a smooth finish.
Secure the Lantern: Once the shapes are in place, allow the glue to dry completely. The anticipation of seeing your lantern light up is worth the wait.
Add Lighting: Once dried, place an LED tea light inside. The glow will create beautiful reflections through your fake stained glass, enveloping the room in a serene atmosphere.
Display Your Creation: Find a cozy spot for your lantern. As the light shines through, take a moment to enjoy the peaceful ambiance you’ve crafted.
Enjoying the Finished Piece
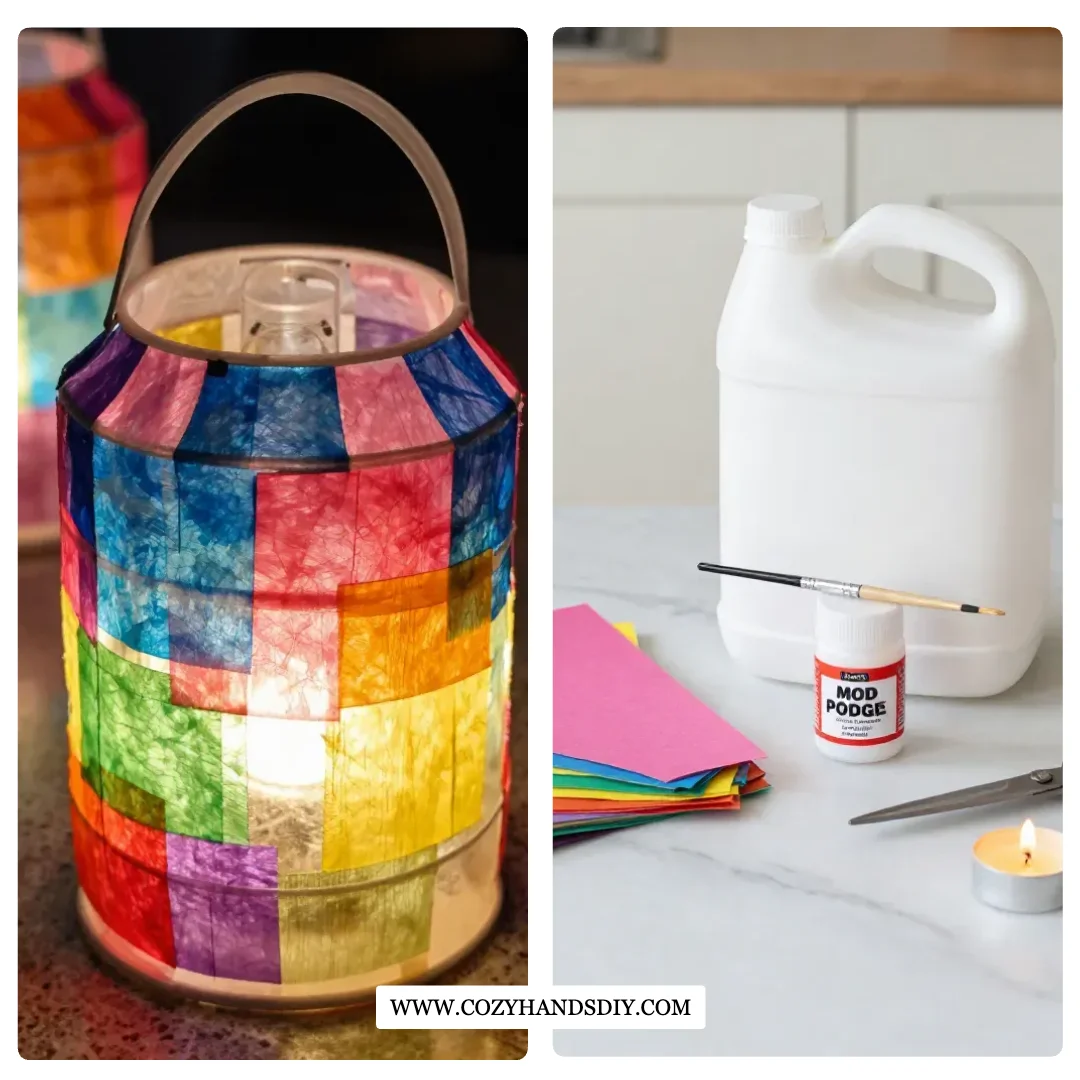
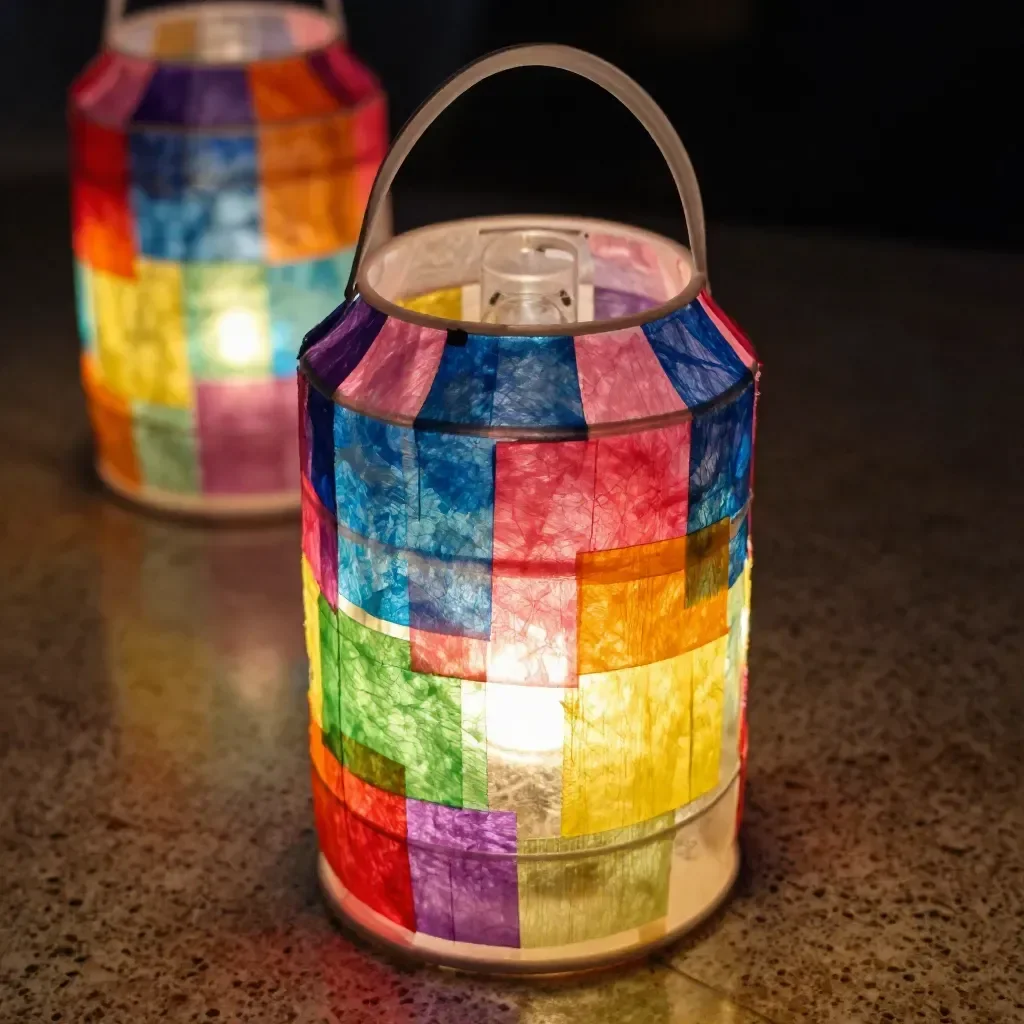
Your finished fake stained-glass lantern can be a charming addition to any space. Set it on a bedside table to create a calming evening atmosphere, or use it as a gentle nightlight in a child’s room. The soft colors playing through the walls can evoke feelings of serenity and inspiration, making any environment feel more welcoming. Consider pairing your lantern with other elements, like soft fabrics or nature-inspired decor, to enhance the cozy vibe of your surroundings.
Keeping It for Later
These lanterns can last for many years with a little care. If you find dust collecting on your lantern, simply use a soft, dry cloth to wipe it down. If you want to change the look with different seasons or holidays, consider using different colored films or shapes to refresh its appearance. Because these lanterns are sturdy, they can be stored safely until you wish to bring them out again, perhaps to share with friends or to inspire new projects.
Gentle Tips & Variations
- Explore texture by incorporating different materials like feathers or sequins alongside your colored films.
- Experiment with shapes. Try not just traditional colors and patterns but also shapes that reflect the themes of seasons or special occasions.
- If you’re working with kids, simplify the design process by using stencils for easier shape cutting.
- Consider involving others in creating a lantern together, enhancing not just the craft but the community around it.
FAQs About Fake Stained-Glass Lanterns
What type of glue should I use?
For best results, use a dedicated stained-glass glue as it dries clear and offers a strong bond for your colored pieces.Can I use regular glass paints instead of colored film? While traditional glass paints are not necessary, you could try using them on a transparent surface for a more artistic look. Just be sure to follow the drying time recommended on the products.
How do I clean my lantern?
Gently dust with a soft cloth to maintain the vibrant colors. Avoid abrasive materials that may scratch the surface.
Conclusion
Creating fake stained-glass lanterns beautifully blends creativity and mindfulness. The gentle process of crafting not only brightens your surroundings but also your spirit. For further inspiration, you might like to explore some additional resources like Mark Montano’s guide to faux stained-glass lanterns or lesson plans from BLICK Art Materials, which can provide more ideas and techniques for your next project found in this helpful article. Enjoy the journey of bringing light and color into your space, one lantern at a time.
PrintFake Stained-Glass Lanterns
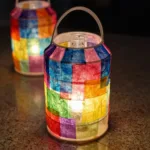
Learn how to create beautiful fake stained-glass lanterns using simple materials for a cozy glow in your space.
- Prep Time: 15 minutes
- Cook Time: 30 minutes
- Total Time: 45 minutes
- Yield: 1 lantern
- Category: Craft
- Method: Crafting
- Cuisine: N/A
- Diet: N/A
Ingredients
- Clear plastic sheets or transparency film
- Scissors
- Craft glue or stained-glass glue
- Colored tissue paper or colored transparent film
- A cardboard base
- Optional: LED tea lights
Instructions
- Prepare Your Workspace: Clear a flat surface and lay down a protective sheet.
- Cut Your Shapes: Cut a variety of shapes from colored film or tissue paper.
- Create the Lantern Frame: Cut the cardboard into a rectangle for the base.
- Apply Glue: Apply a layer of glue on the cardboard base and arrange colored shapes.
- Layer It Up: Continue adding shapes and removing excess glue.
- Secure the Lantern: Allow the glue to dry completely.
- Add Lighting: Place an LED tea light inside once dried.
- Display Your Creation: Find a cozy spot for your lantern and enjoy the ambiance.
Notes
These lanterns can last for many years with care. Dust with a soft cloth to maintain their appearance.