

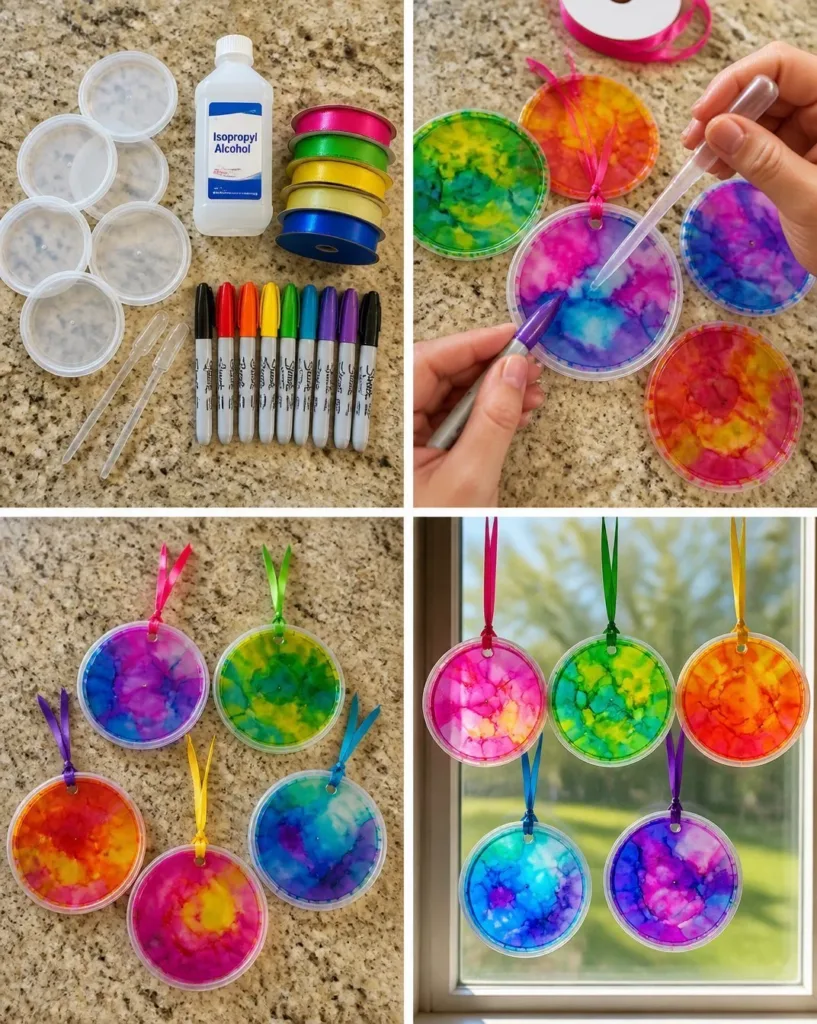
There’s a unique joy in watching sunlight dance through vibrant colors, creating a kaleidoscope of hues that gently brighten your space. The act of crafting DIY Faux Stained Glass Suncatchers invites you to immerse yourself in a sensory experience, where the tactile feel of materials and the colors coming to life can create a calming atmosphere. Engaging in this project allows you to slow down, focus on each detail, and find a beautiful sense of peace in the creative process. You may also find Stained Glass Suncatchers useful.
The Heart Behind This DIY
Creating DIY Faux Stained Glass Suncatchers is not just about making a decorative piece; it’s about embracing a soothing creative ritual. The rhythmic motions involved in this craft help to cultivate mindfulness, allowing your mind to slow down and your spirit to awaken. Each stroke and layer becomes a moment of connection between you and the materials. As you blend colors and shapes, the experience becomes meditative, fostering a sense of presence and calm that can ripple out into your daily life. You may also find Brighten Your Home Stained Glass Lantern useful.
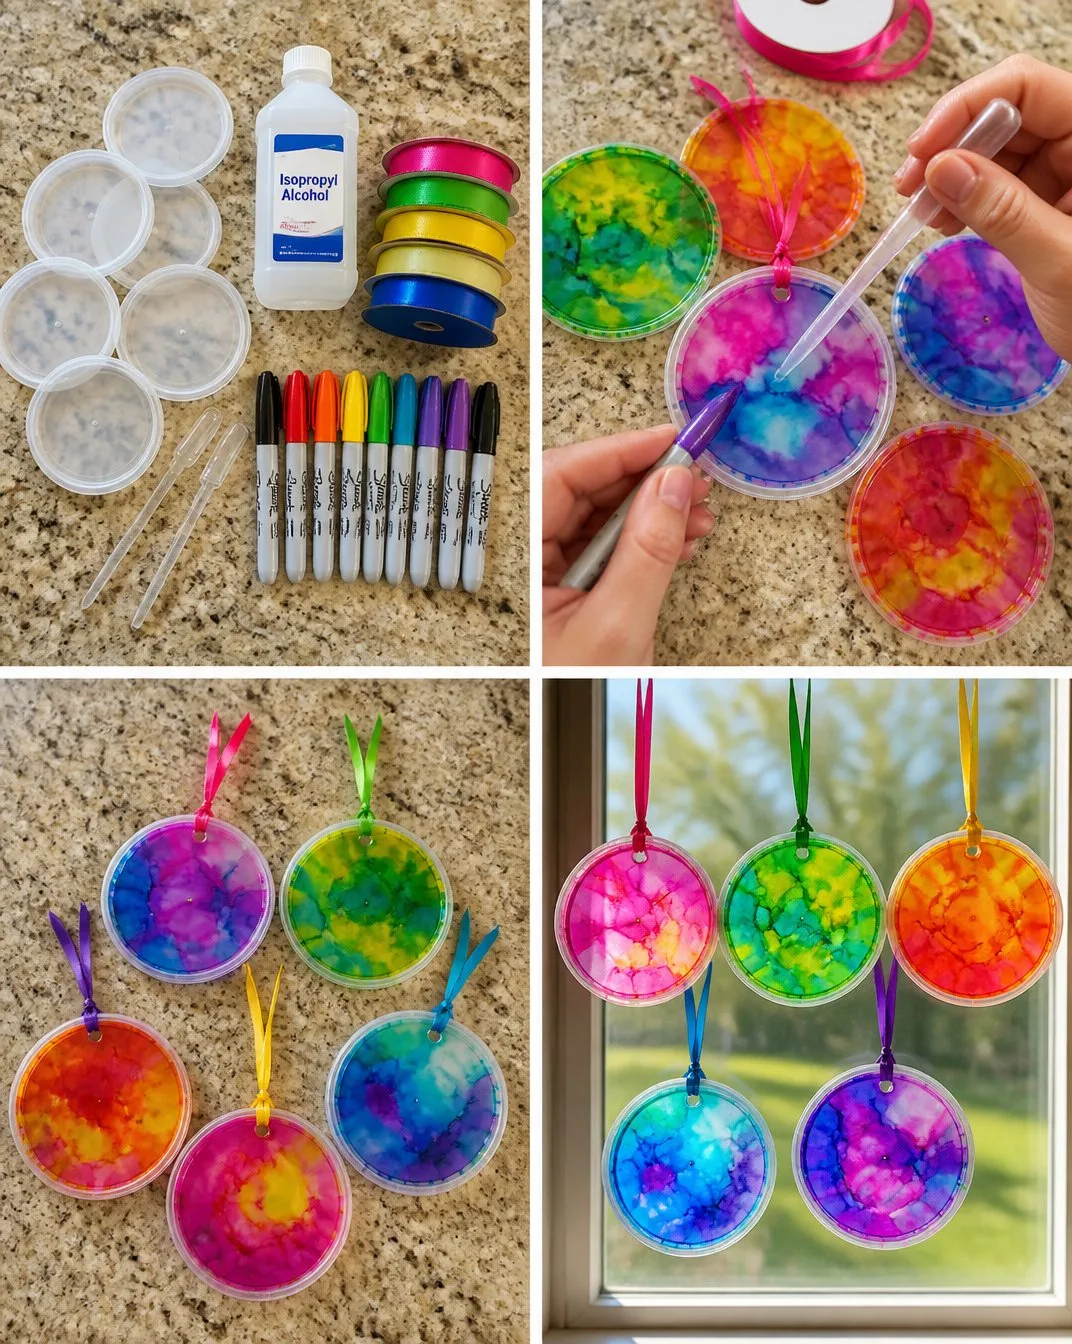
How This DIY Comes Together
Before you begin the delightful journey of making Faux Stained Glass Suncatchers, take a moment to visualize the soothing process. You’ll enjoy the smooth texture of the materials as you work, hear the gentle sounds of your tools, and watch as colors flow and blend together. With each step, you’ll feel a deepening connection to your creation, a physical manifestation of your unique inspiration that captures light in a tender embrace. The process is as rewarding as the final product, encouraging you to savor every moment. You may also find Colorful Diy Bioplastic Suncatchers Recipe useful.
Materials You’ll Need
Gathering the materials for your DIY Faux Stained Glass Suncatchers sets the stage for your creative journey. Here’s a calm list of what you will need: You may also find Diy Biodegradable Bioplastic Suncatchers 2 useful.
- Clear plastic sheets (easy to find at craft stores)
- Acrylic paints (choose vibrant colors or pastels)
- Paintbrushes (soft bristle for smooth application)
- Black paint or marker (for outlines)
- Adhesive (craft glue or a glue gun works well)
- Scissors (for cutting your designs)
- Templates (optional, for guiding your designs)
Step-by-Step Directions
Prepare Your Workspace
Clear a flat surface where you can spread out your materials. Lay down a protective cover to keep everything tidy.Select or Create Your Design
Choose a simple design you’d like to create, or draw your own on paper. This could be a flower, a geometric shape, or even an abstract pattern.Transfer Your Design
If using templates, place them under the clear plastic sheet. Carefully trace your design with a pencil.Outline with Black Paint
Using a fine brush, outline your sketched design with black paint. This step adds definition and will resemble the lead lines in traditional stained glass.Fill in with Color
Now, using your selection of acrylic paints, fill in your design with color. Enjoy the fluid nature of the paint as you create lovely blends.Let It Dry
Allow your piece to dry thoroughly. Depending on the thickness of the paint, this may take a few hours.Trim the Edges
Once dry, use scissors to carefully cut around your design. Leave a small border if you’d like to create a frame effect.Display Your Suncatcher
Finally, decide how you want to hang your suncatcher. You can either attach it to a window using suction cups or string it with twine and display it in your home.
Using DIY Faux Stained Glass Suncatchers in Everyday Life
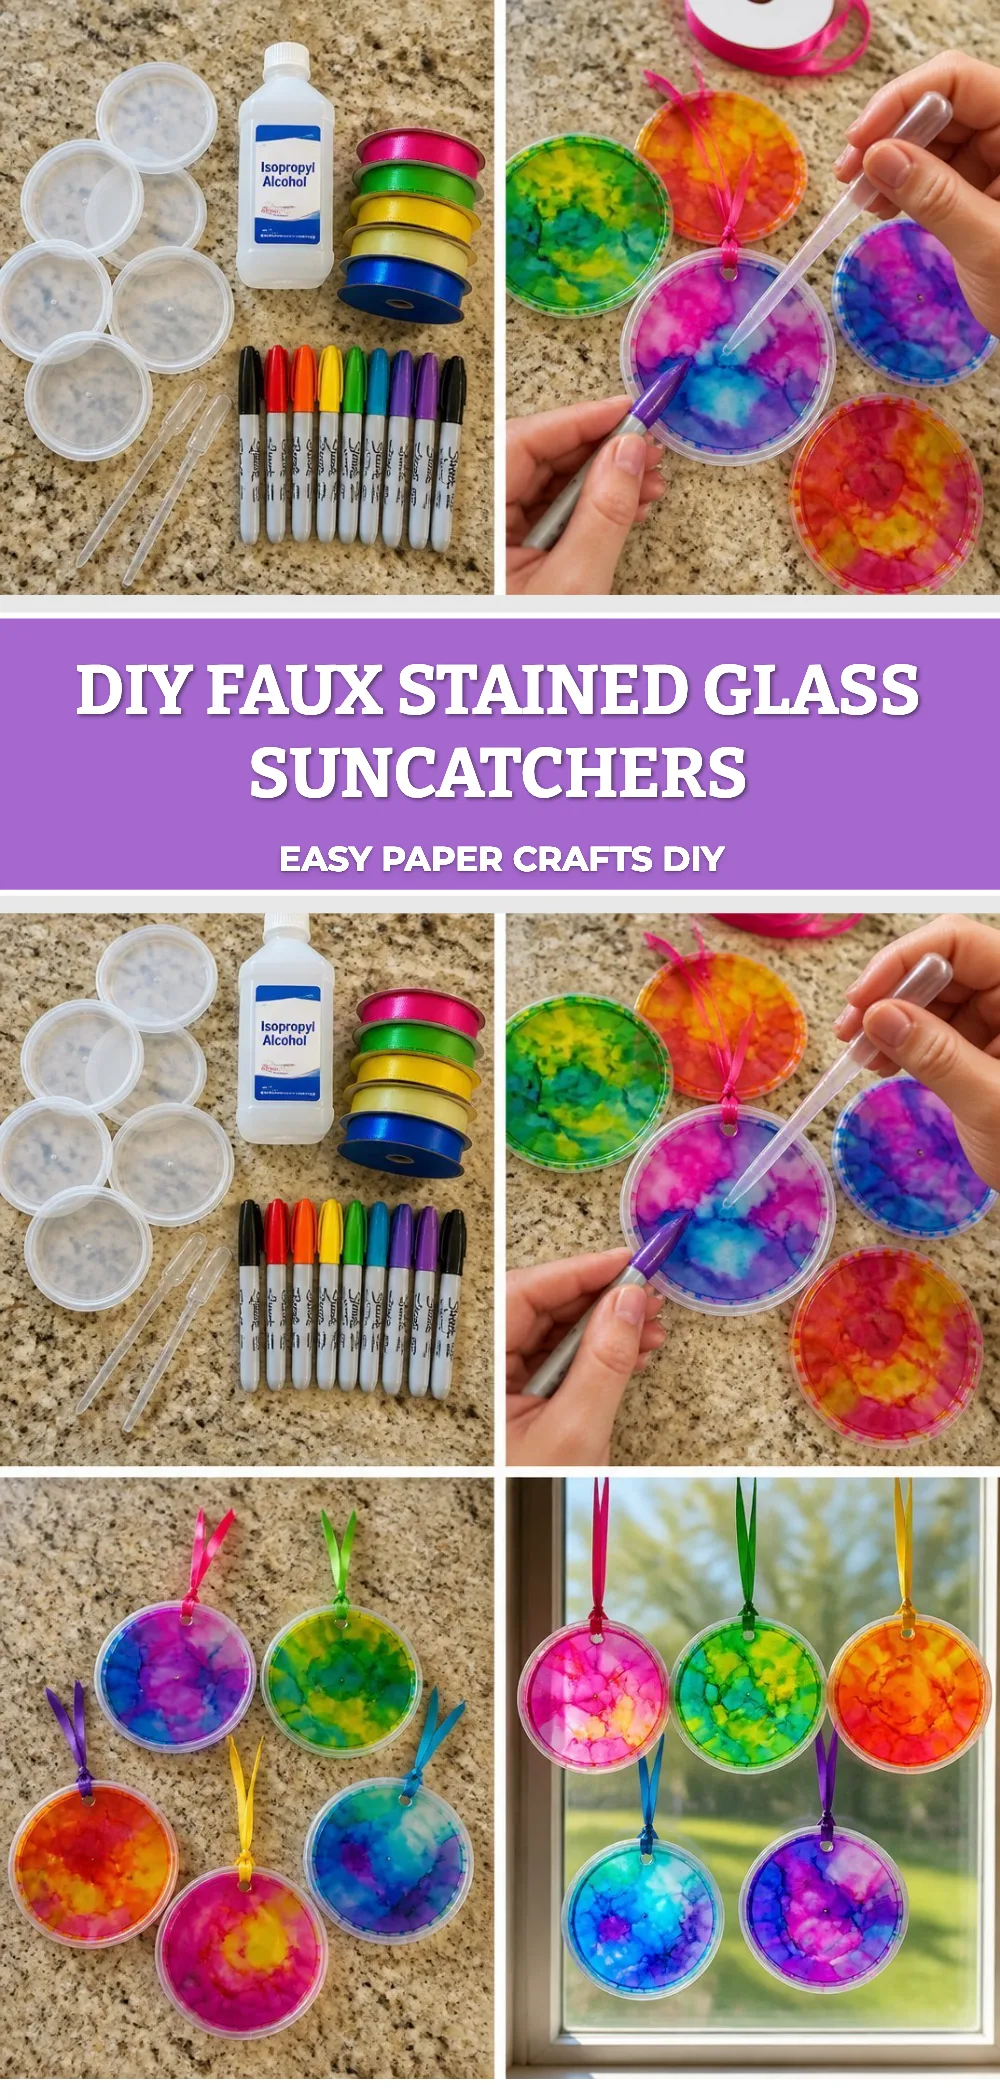
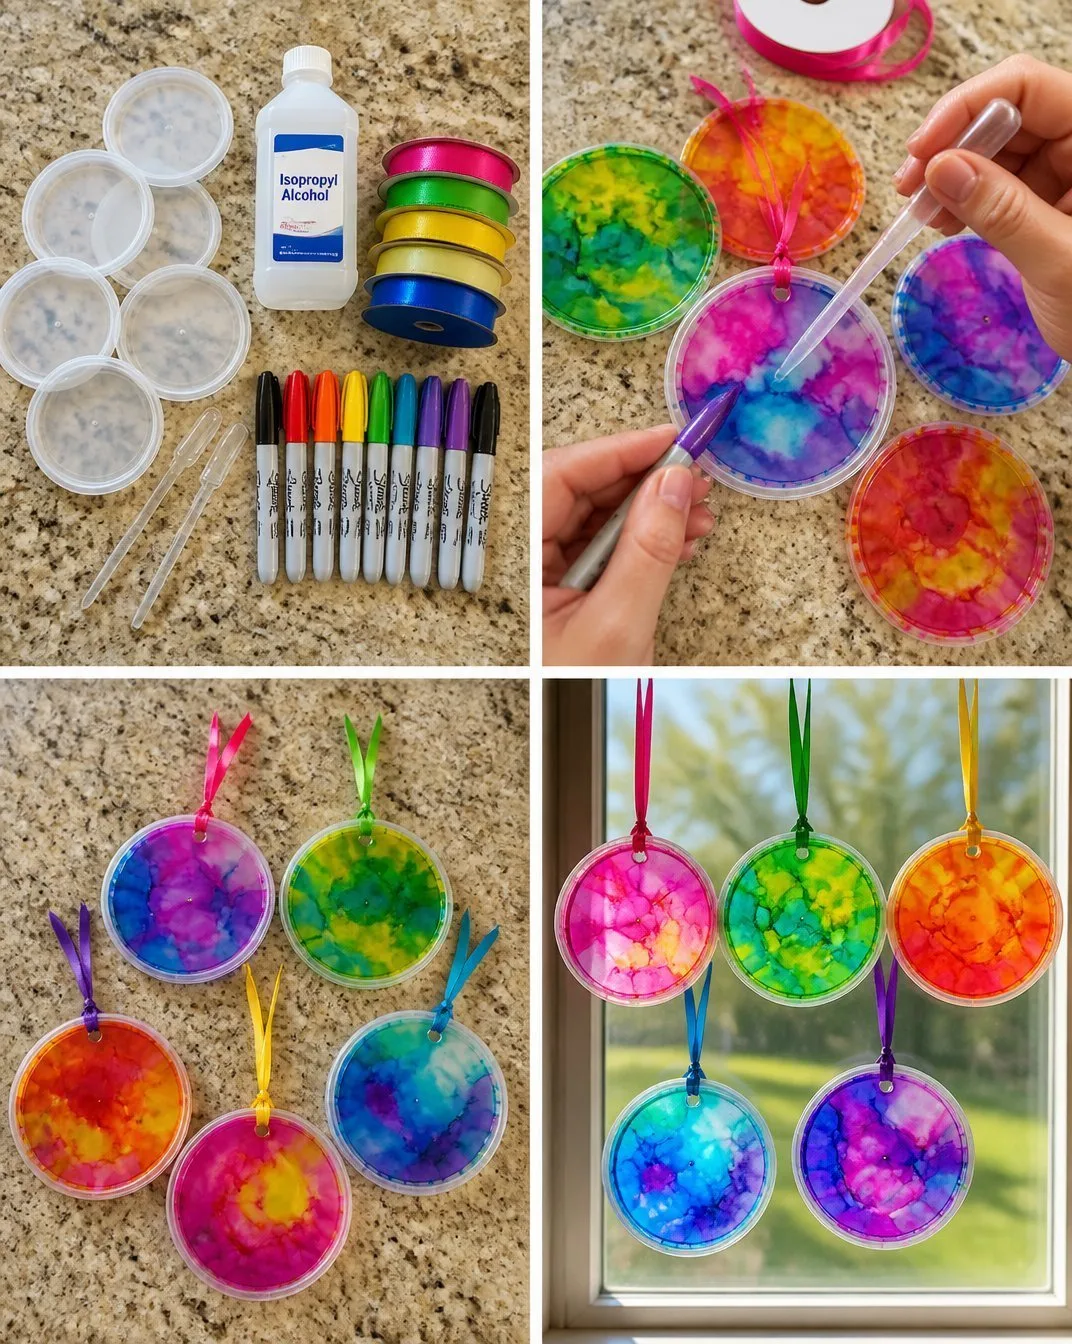
Once completed, your DIY Faux Stained Glass Suncatcher becomes an enchanting focal point in your home. Hang it in a sunlit window to catch the light and watch as it transforms ordinary rays into colorful reflections that dance across your walls. You might choose to create several pieces in different sizes or colors, turning your window into a cheerful gallery that brings life and warmth to your living space.
How to Store or Reuse DIY Faux Stained Glass Suncatchers
When not in use, store your suncatchers in a safe place to avoid scratches or damage. Consider keeping them in a padded box or wrapping them in soft fabric. Should you wish to refresh your decor, these lovely pieces can be easily re-hung in different spaces, adapting your environment without requiring new materials.
Gentle Tips & Variations
Experiment with Colors
Don’t be afraid to blend colors for unique patterns. Each suncatcher can be distinct and reflective of your mood.Incorporate Different Patterns
Try geometric shapes, floral designs, or abstract art. The world of faux stained glass is broad and rich for exploration.Use Other Textures
Consider using other materials like glitter or textured paints for added depth and interest.Involve Others
Invite friends or family to join you. Sharing this calming process can deepen connections and foster creativity.Consider Seasonal Themes
Craft suncatchers that suit the season pastels for spring, warm tones for autumn. It’s a fun way to celebrate the year’s rhythms.
FAQs About DIY Faux Stained Glass Suncatchers
What kind of paint should I use?
Acrylic paints are ideal for this project, as they adhere well to plastic and provide vibrant colors.
Can I use other materials instead of plastic sheets?
While plastic sheets are preferable, you can experiment with other clear materials, just ensure they’re sturdy enough to hold your design.
How long should I let my suncatcher dry?
Generally, a few hours is sufficient, but it’s best to check that all paint is fully dry before handling or displaying your piece.
Conclusion
Creating DIY Faux Stained Glass Suncatchers is not just about the final product. It’s a nourishing experience that allows you to explore creativity at a gentle pace. As your suncatcher catches the light, it becomes a symbol of the quiet moments spent fostering creativity and mindfulness in your life. For further inspiration or techniques for crafting, you might explore how to make faux stained glass with acrylic paint and glue or delve into this beginner’s guide to faux stained glass sun catchers with laser-cut wood. May your crafting journey fill your space with color and light.
PrintDIY Faux Stained Glass Suncatchers
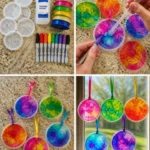
Craft vibrant and decorative faux stained glass suncatchers that brighten your home while providing a soothing creative experience.
- Prep Time: 15 minutes
- Cook Time: 0 minutes
- Total Time: 240 minutes
- Yield: 1 suncatcher
- Category: Crafts
- Method: Crafting
- Cuisine: N/A
- Diet: N/A
Ingredients
- Clear plastic sheets
- Acrylic paints
- Paintbrushes
- Black paint or marker
- Adhesive
- Scissors
- Templates (optional)
Instructions
- Prepare your workspace by clearing a flat surface and laying down a protective cover.
- Select or create your design, either choosing a simple pattern or drawing your own.
- Transfer your design onto the clear plastic by tracing with a pencil.
- Outline your design with black paint using a fine brush for definition.
- Fill in the design with acrylic paints, enjoying the blending of colors.
- Let your piece dry thoroughly for a few hours.
- Trim around your design with scissors, leaving a small border if desired.
- Display your suncatcher by attaching it to a window with suction cups or stringing it with twine.
Notes
Feel free to experiment with colors, patterns, and materials to create unique suncatchers.
1 thought on “DIY Faux Stained Glass Suncatchers”