

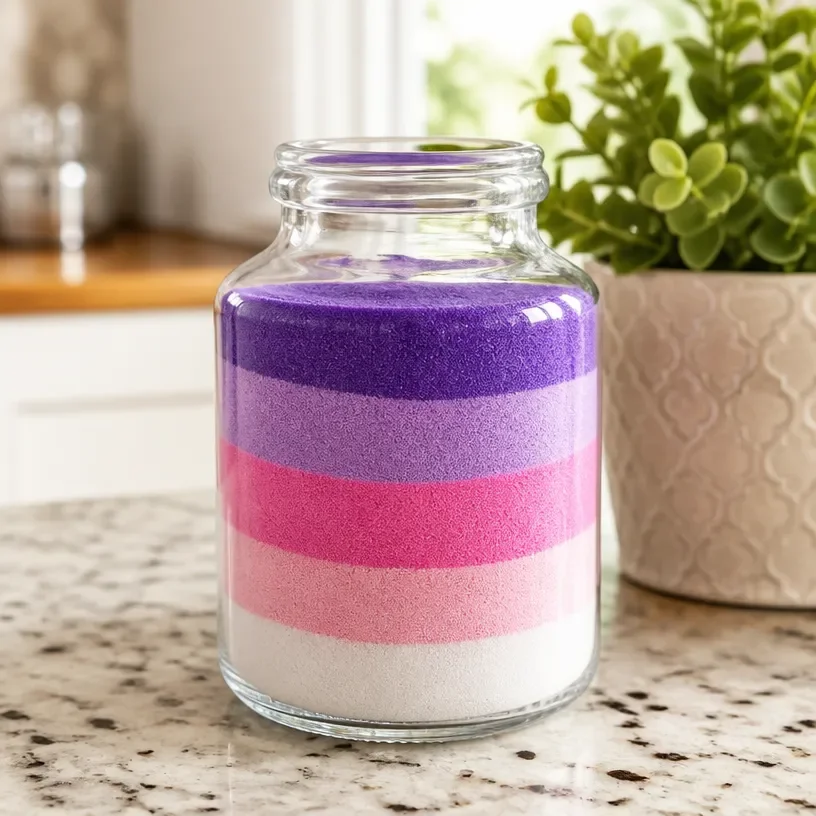
A gentle breeze brushes against your skin as you sit down, materials in hand, ready to create a little sanctuary with your own two hands. The soft sound of sand sifting through glass brings a wave of tranquility, transporting your thoughts to serene beaches and sunlit afternoons. This moment unfolds with the DIY Ombre Sand Jar Craft Tutorial, where colors blend like a calm sunset, and each layer of sand becomes a mindful meditation. As you embark on this creative journey, let the experience envelop you, leading to a cozy and heartfelt creation. You may also find Diy Rainbow Leaf Hedgehog Craft Tutorial useful.
Why Make This DIY Ombre Sand Jar Craft Tutorial
Creating an Ombre Sand Jar can be an uplifting experience that engages your senses fully. As you layer different colors of sand, the tactile feeling of the grains rolling between your fingers nurtures a connection with the materials. The visual allure of vibrant hues transitioning from light to dark can ease anxiety, offering a calming effect that gently grounds you in the present. You may also find Rainbow Leaf Hedgehog Craft Easy Diy Tutorial useful.
Crafting allows us to slow down and take a breath amidst a busy life, providing a convenient pathway to mindfulness. Each color in your sand jar tells a story; it embodies the emotions and memories you wish to hold close. This creative act becomes not just a craft, but a form of self-expression and meditation, making it a deeply personal practice that echoes the essence of your journey through creativity. You may also find Clear School Glue Diy Craft Calming useful.
You may also find Colorful Popsicle Stick Haunted Schoolhouse Diy Craft useful.
A Gentle Look at the Process
Before diving into the materials and steps, let’s appreciate the flow of making this DIY project. You will begin by preparing your workspace, which creates a gentle rhythm that sets the stage for creativity. As you select your colors, the anticipation of seeing them blend together adds to the joyful sound of sand slipping from one container to another.
The process invites you to engage fully with each aspect, from choosing colors to layering them carefully in your jar. Allow your imagination to roam free, matching shades as you envision the final piece. The movement feels fluid, the colors dance, and the entire experience flows like a peaceful stream.
Materials You’ll Need
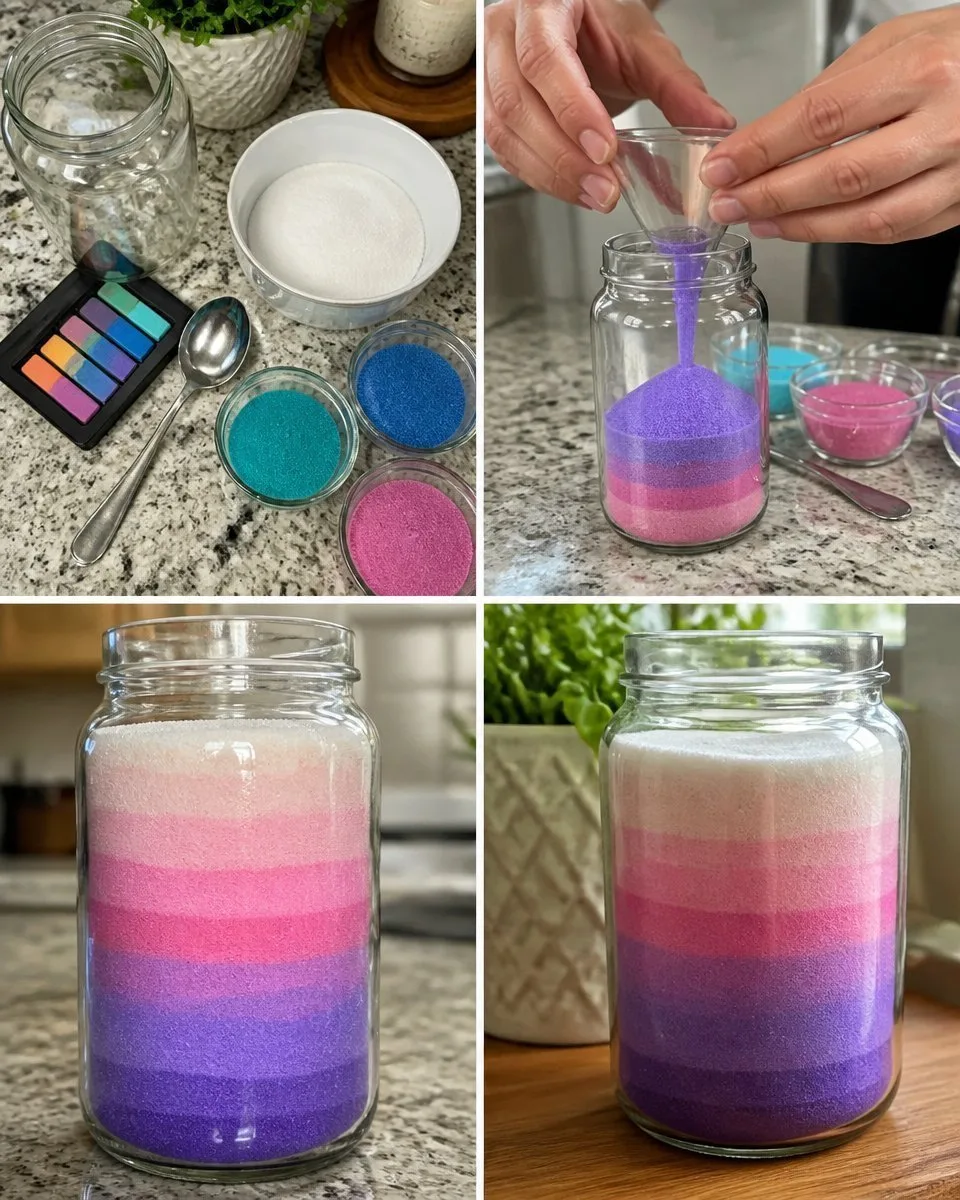
Gathering your materials will enhance the calm journey toward creating your Ombre Sand Jar. Here’s what you’ll need:
- Colored sand (various shades)
- A clear jar or container (glass or plastic)
- A funnel (to aid in layering)
- A stir stick (optional, for mixing sand)
- Additional decorations (like twine or small labels)
Finding colored sand can be fun; it’s available at most craft stores or online, making it easy to explore various shades. Customizing your jar can add a personal touch that resonates with your spirit.
Step-by-Step Directions
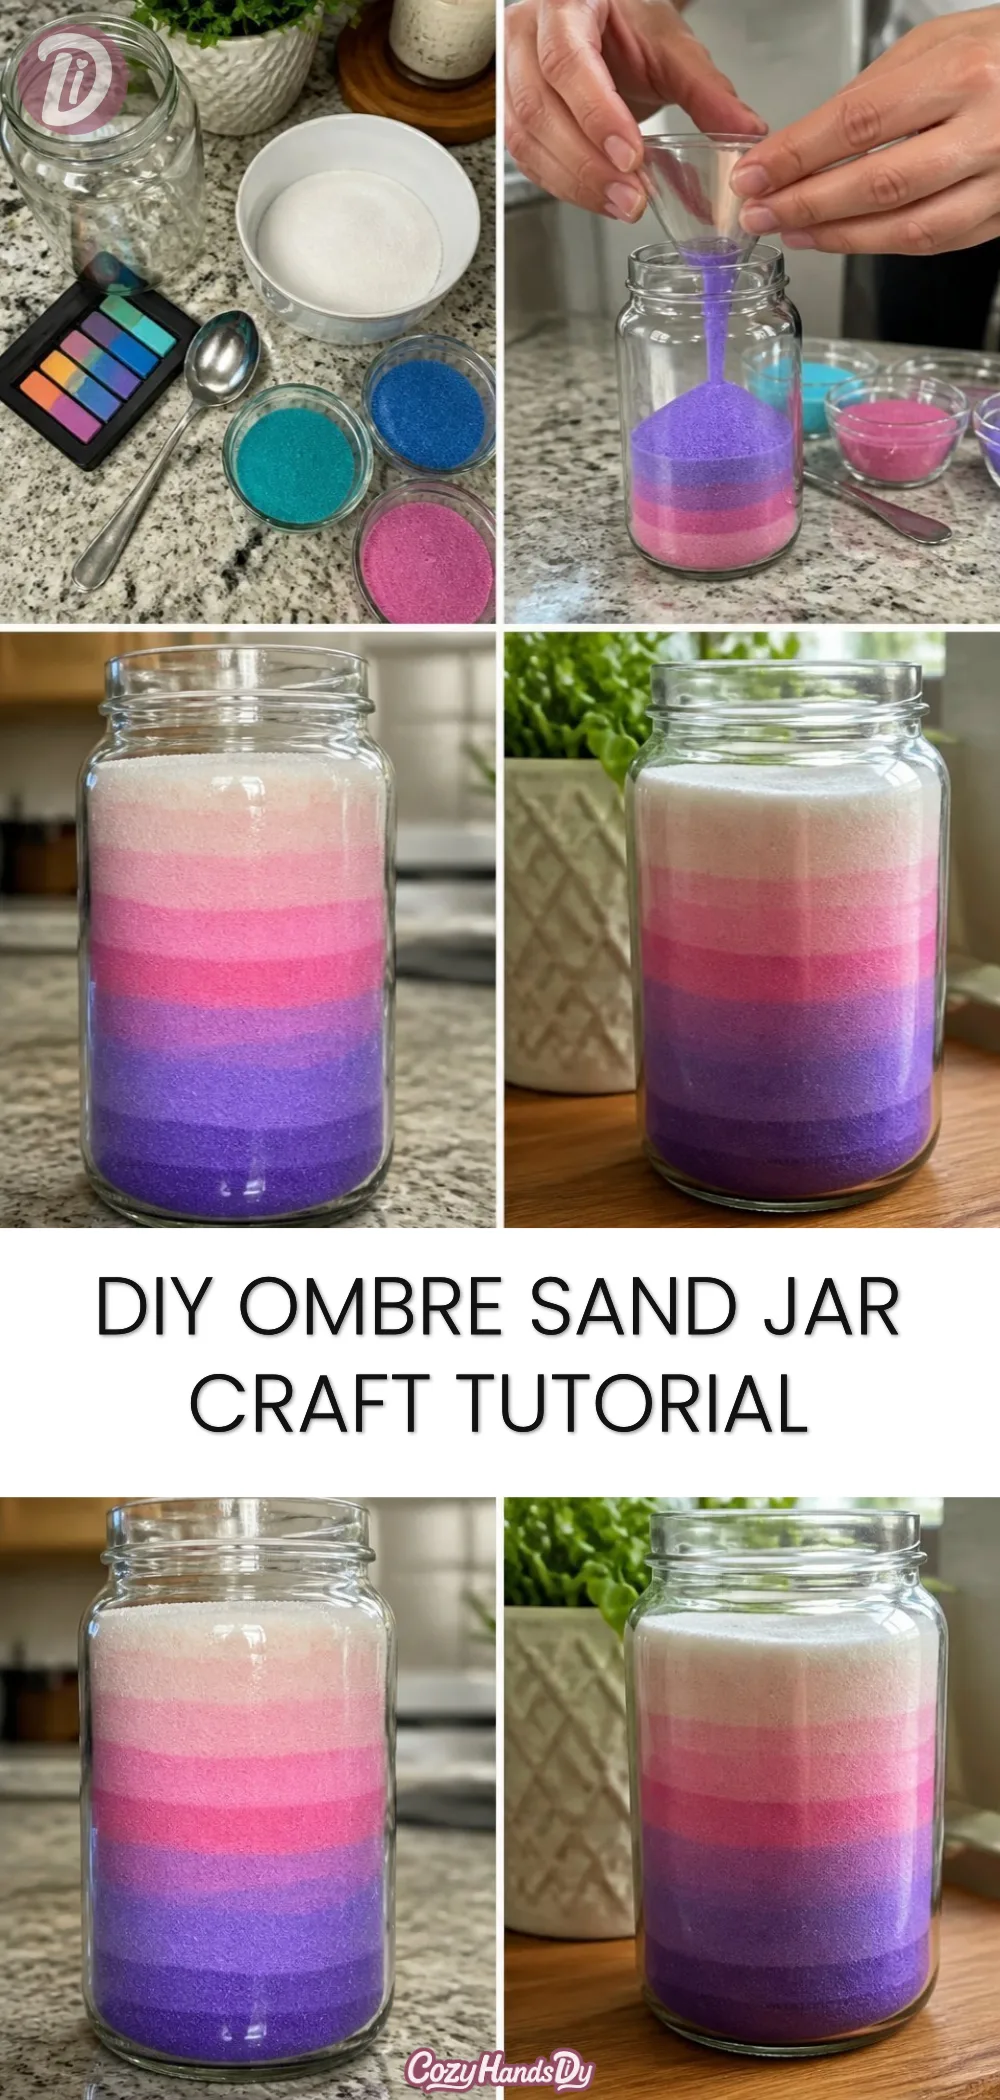
Prepare Your Workspace: Clear a space where you can create without distractions. Lay out all your materials, allowing yourself to feel grounded and organized.
Select Your Colors: Choose the colors of sand that speak to you. Whether soft pastels or deep, vibrant hues, let your intuition guide you in this selection.
Use the Funnel: If you have a funnel, place it into the opening of your jar. This will help keep the sand layers even and avoid spills.
Start Layering: Pour the first layer of sand into your jar through the funnel. Take your time to enjoy the visual transition as you see it fill the jar.
Change Colors: Once you’re happy with the first layer, add the next color. You may want to slightly overlap layers to create a smooth transition between shades.
Repeat the Process: Continue to alternate colors until your jar reaches the desired fullness. Be gentle with the movement to preserve the beauty of each layer.
Finishing Touches: When your jar is full, you can optionally add decorations like twine around the neck or a small label to note its meaning or inspiration.
Enjoy Your Creation: Once you’ve finished, take a moment to reflect on the process and the beautiful piece you’ve created.
Enjoying the Finished Piece
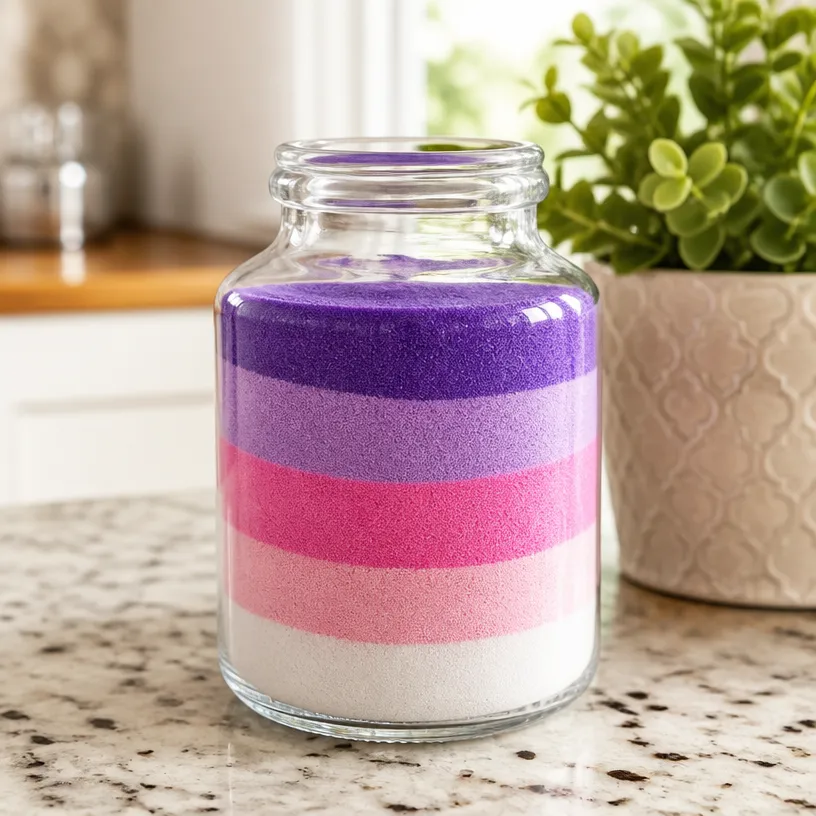
The finished Ombre Sand Jar can brighten your space in various ways. Place it on a windowsill where the sunlight hits, allowing the colors to dance and shimmer. You can incorporate it into your mindfulness routine by focusing on it during moments of meditation, letting the shifting colors guide your thoughts into a state of calm.
Additionally, these jars can be wonderful gifts, sharing the beauty of handmade creations with loved ones. Each jar becomes a testament to your journey and a symbol of the love and mindfulness that went into its creation.
Keeping It for Later
To ensure your Ombre Sand Jar remains vibrant, store it in a cool, dry place, away from direct sunlight for long-lasting color. If you prefer, reuse the sand by simply repurposing the colors for future crafts or swapping layers out to refresh your creation.
Should you want to change the look, consider adding more decorations or changing the location often to keep the environment lively. Keeping your creative spirit alive is part of the joy in crafting.
Gentle Tips & Variations
Play with Textures: Incorporate elements like small pebbles or shells to give your jar an added dimension.
Customize Your Colors: Experiment mixing different colors of sand to create custom shades that resonate personally.
Theme Your Jar: Consider creating jars based on seasonal themes, such as soft pastels for spring or warm hues for autumn.
These tips invite you to explore your creativity even further, making the project uniquely yours.
FAQs About DIY Ombre Sand Jar Craft Tutorial
What type of sand should I use?
Using colored sand specifically made for crafting is best, as it’s designed to layer nicely without clumping.
Can I reuse sand from my jar?
Absolutely! You can carefully pour the sand out and recreate your jar in new colors or designs.
Is there a specific order for the colors?
No set order exists; let your intuition guide you. Choose any combination that feels harmonious to you.
How can I clean the jar if I wish to change the design?
Carefully pour the sand out and wipe the jar with a soft cloth. If needed, use mild soap to remove any residue.
Can children participate in this project?
Yes, this craft can be enjoyable for children with supervision. Allow them to explore color combinations and enjoy the sensory experience.
Conclusion
Creating an Ombre Sand Jar is not just about the final product; it’s a gentle journey that offers a chance to slow down and enjoy the process of crafting. Each layer represents a thoughtful moment, grounding you in the present. As you incorporate your finished piece into daily life, consider exploring more creative ideas, such as painting mason jars or learning how to paint and distress mason jars. May your crafting journey continue to be a source of comfort and joy.
PrintDIY Ombre Sand Jar
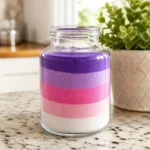
A calming craft tutorial to create a beautiful Ombre Sand Jar, perfect for mindfulness and self-expression.
- Prep Time: 15 minutes
- Cook Time: 0 minutes
- Total Time: 15 minutes
- Yield: 1 jar
- Category: Craft
- Method: Crafting
- Cuisine: N/A
- Diet: N/A
Ingredients
- Colored sand (various shades)
- A clear jar or container (glass or plastic)
- A funnel (to aid in layering)
- A stir stick (optional, for mixing sand)
- Additional decorations (like twine or small labels)
Instructions
- Prepare your workspace: Clear a space where you can create without distractions.
- Select your colors: Choose the colors of sand that speak to you.
- Use the funnel: Place it into the opening of your jar to keep the sand layers even.
- Start layering: Pour the first layer of sand into your jar through the funnel.
- Change colors: Add the next color, slightly overlapping layers.
- Repeat the process until your jar reaches the desired fullness.
- Finishing touches: Add decorations like twine or labels when full.
- Enjoy your creation: Reflect on the process and the beautiful piece you’ve made.
Notes
Store in a cool, dry place to maintain vibrancy. Consider seasonal themes for custom creations.
1 thought on “DIY Ombre Sand Jar Craft Tutorial”