

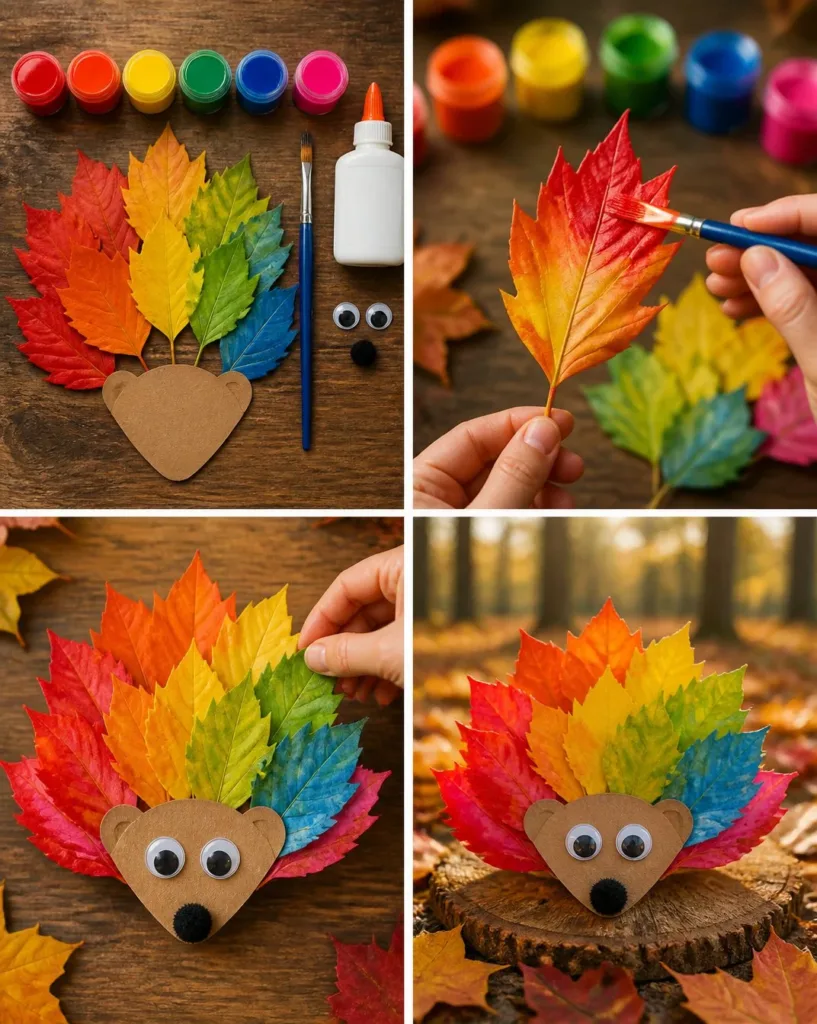
Creating a cozy, tactile experience can be a gentle journey into mindfulness. As you engage with materials that evoke warmth and comfort, the act of crafting becomes a soothing ritual. This is especially true with the DIY Rainbow Leaf Hedgehog Craft Tutorial, where the colors and textures of nature beckon as you create something delightful. The soft rustle of paper leaves and the gentle squish of glue under your fingertips brings moments of calm, allowing you to immerse yourself in a sensory haven. You may also find Clear School Glue Diy Craft Calming useful.
The Heart Behind This DIY
This DIY project serves as more than just a creative outlet; it invites you into a space of serenity and reflection. The act of making the hedgehog, with its vivid rainbow leaves, encourages focus and presence. Each element reflects not just vibrant colors but joyful memories of nature’s beauty, fostering a deeper connection with your surroundings. The rhythmic process soothes the mind, much like the creation of simple yet beautiful crafts like butterfly crafts that also inspire calm reflection.
A Gentle Look at the Process
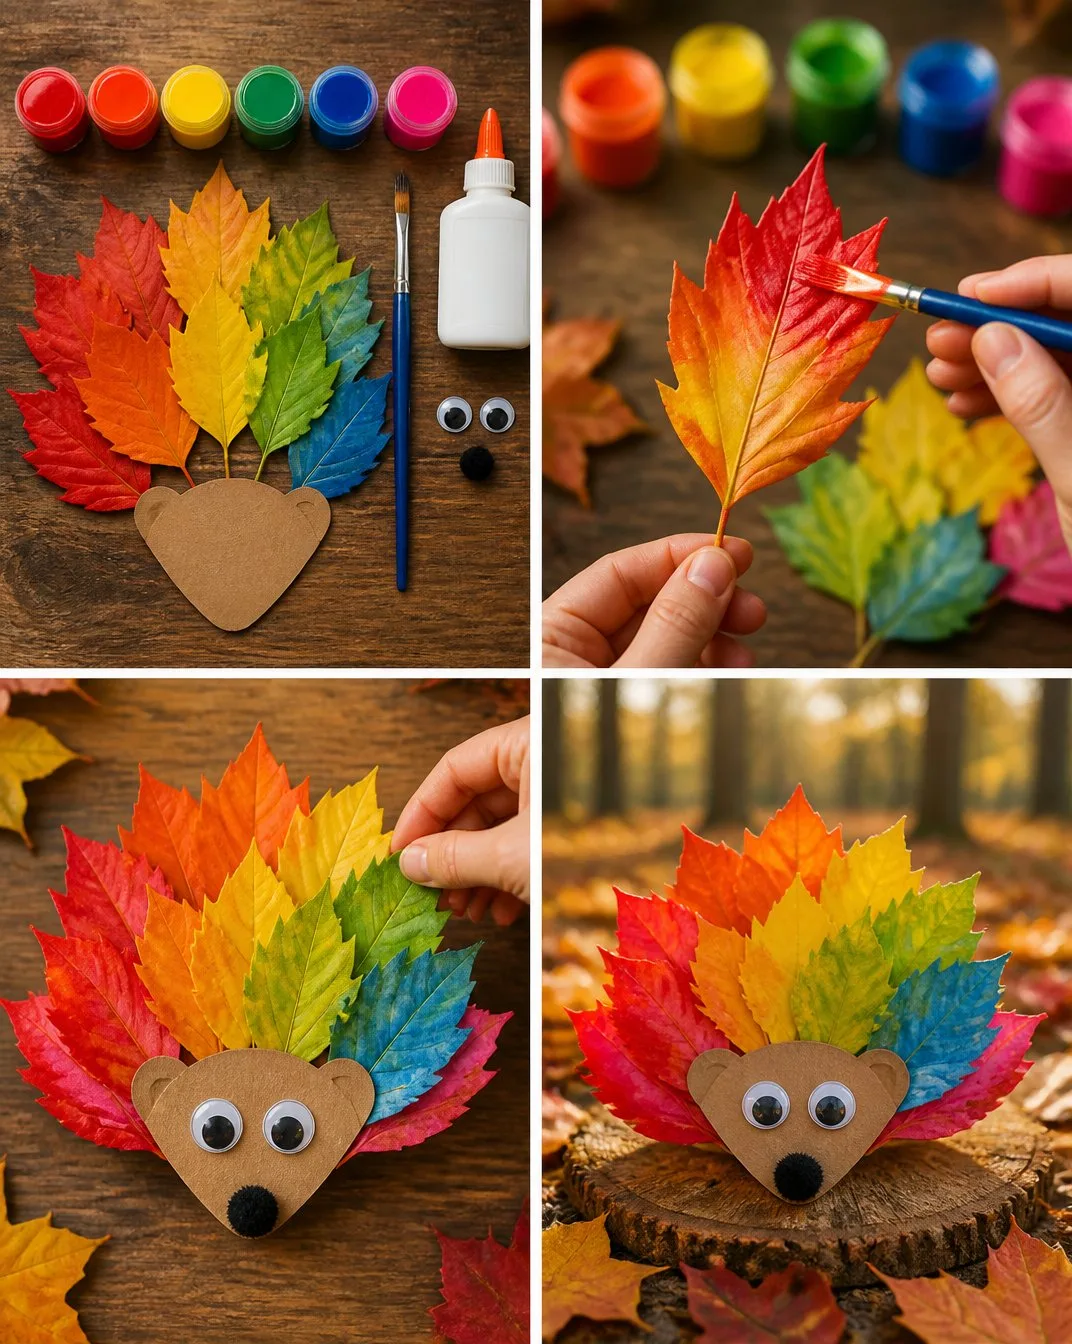
While preparing to dive into this craft, consider the elements at play. The sound of scissors snipping through paper, the feel of peeling off adhesive, and the gradual assembly of colorful pieces create a flow that is both grounding and engaging. This process encourages a slow-paced rhythm, allowing you to focus on each movement as if it were a dance. You may also find Diy Bioplastic Suncatchers Homemade Craft useful.
As you gather your materials, you’ll notice the textures inviting you to explore and adapt as you go along. Being present in this moment enhances the joy of creation, as every piece adds a layer of love and intention to your hedgehog.
Materials You’ll Need
- Colorful leaves (real or paper)
- Brown paper or craft felt for the body
- Scissors (easy to handle)
- Glue (liquid or stick)
- Googly eyes (optional)
- Markers or crayons for detailing (optional)
Each of these materials is easy to find and often readily available at home. Feel free to substitute any supplies based on your preference or what you have on hand.
Step-by-Step Directions
Prepare the Base: Start by cutting a simple hedgehog shape from the brown paper or felt. The body can be rounded at the front and slightly pointed at the back.
Create the Rainbow Leaves: If you’re using real leaves, pick a variety of colors and shapes. If using paper, cut out leaf shapes in vibrant colors.
Attach the Leaves: Apply glue to the body of the hedgehog and begin placing the leaves, starting from the back and layering them towards the front. This creates a beautiful rainbow effect.
Add Eyes: If you’d like, glue on googly eyes or use markers to draw eyes, giving your hedgehog a friendly expression.
Personal Touches: Use markers or crayons to add details to the body, like little dots or patterns that enhance its character.
Using DIY Rainbow Leaf Hedgehog Craft Tutorial in Everyday Life
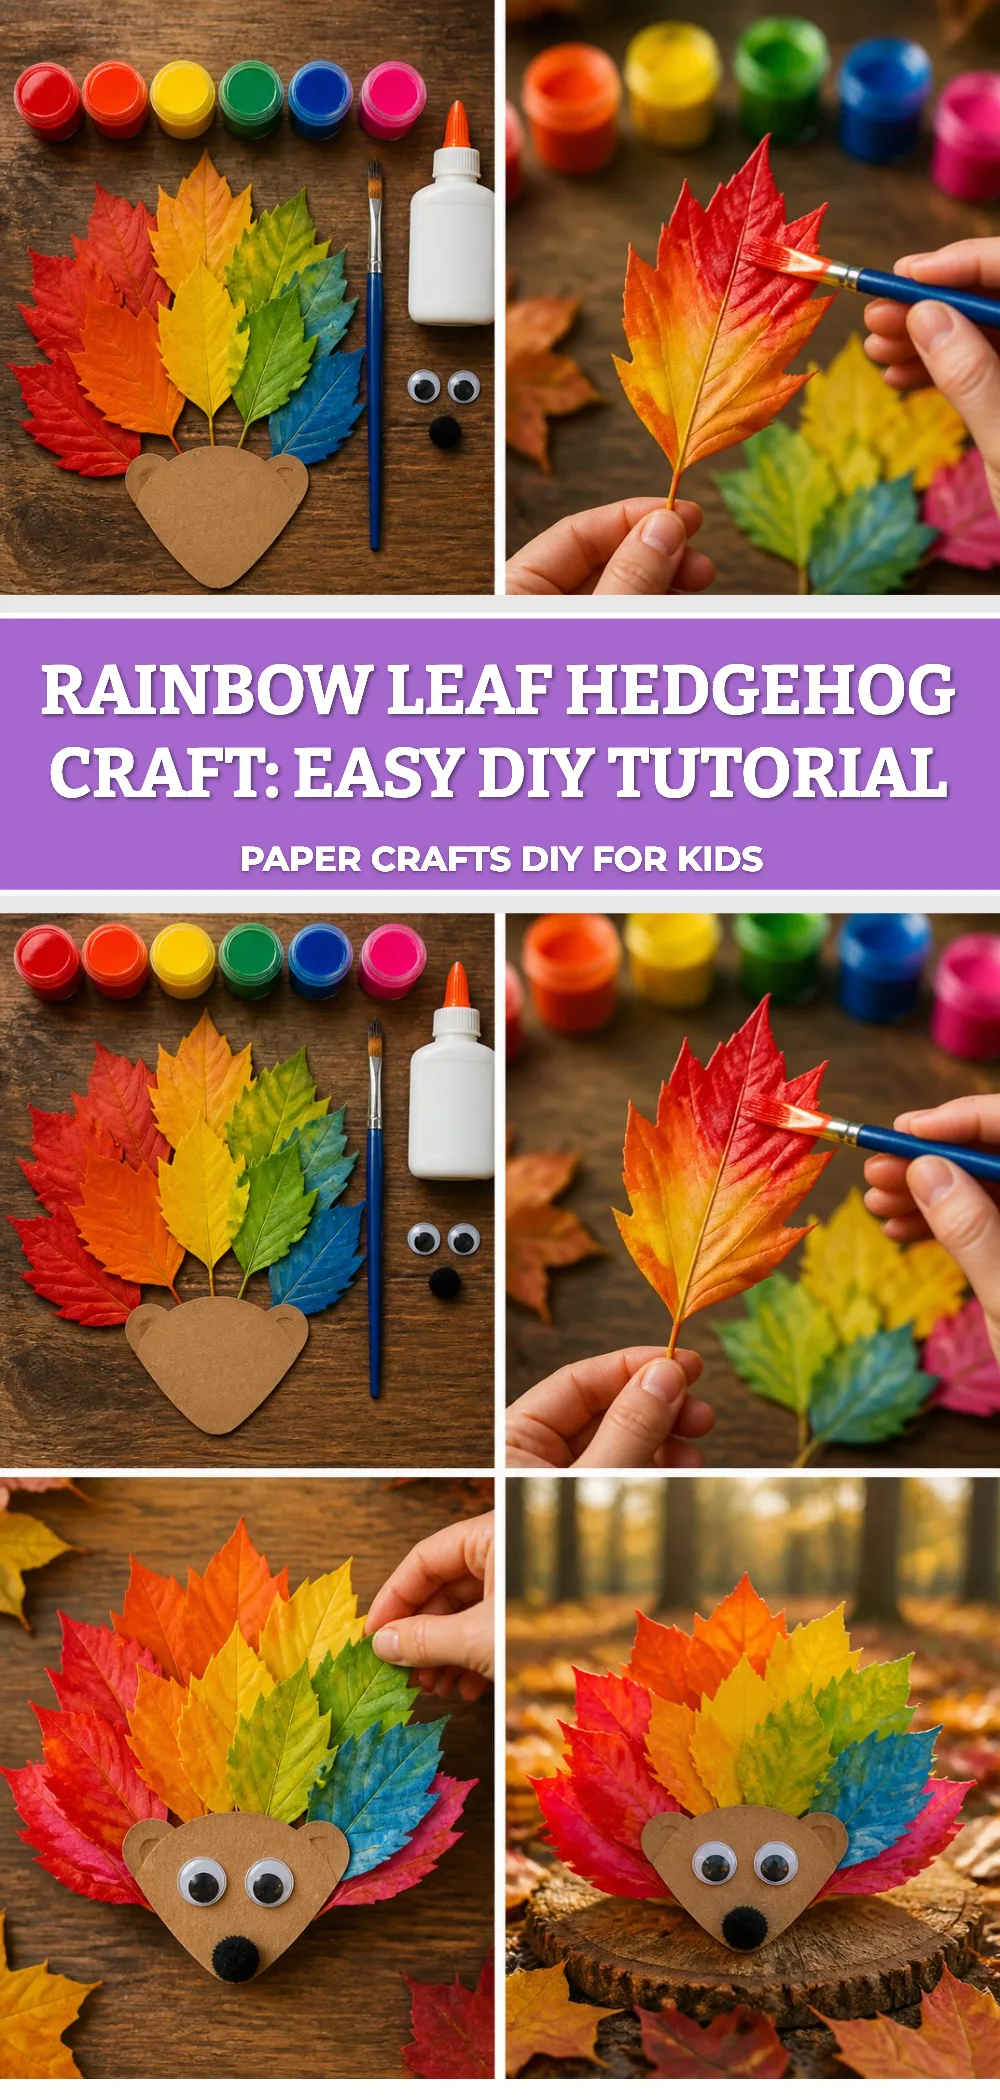
The finished piece can become a lovely decoration for your home. Placing it on a shelf or a windowsill invites a conversation about nature, creativity, or the joy of a simple craft. You might find that it becomes a source of comfort during quiet moments, reminding you of the calming process it took to create.
Additionally, it invites you to consider how other creative projects, like flower heart crafts, can bring warmth and color into your environment, enriching your space with handmade joy.
Keeping It for Later
To preserve the charm of your hedgehog, store it in a cool place away from direct sunlight. If crafted with real leaves, consider placing it in a shadow box to maintain its texture and vibrancy. Should you wish to reuse elements from your project, gently remove leaves and repurpose them in new creations.
Gentle Tips & Variations
- Experiment with Materials: Try using different textures, such as fabric or metallic paper, to give your hedgehog a unique flair.
- Add a Frame: Consider making a small frame to display your hedgehog standing upright, allowing it to shine in your cozy space.
- Craft Together: Invite a friend or child to craft alongside you, creating a shared experience that fosters connection through creativity.
FAQs About DIY Rainbow Leaf Hedgehog Craft Tutorial
What age is this project suitable for?
This craft is suitable for children and adults alike, making it an excellent family project. Older children may enjoy more intricate designs and responsibilities in crafting.
Can I use synthetic materials instead of leaves?
Absolutely! Craft foam, felt, or even colored paper can create lovely alternatives if you prefer. Be creative and see what feels right for you!
How can I customize the hedgehog for different seasons?
You can easily change the colors of the leaves to reflect the seasons, such as using pastel colors for spring or earthy tones for autumn.
Conclusion
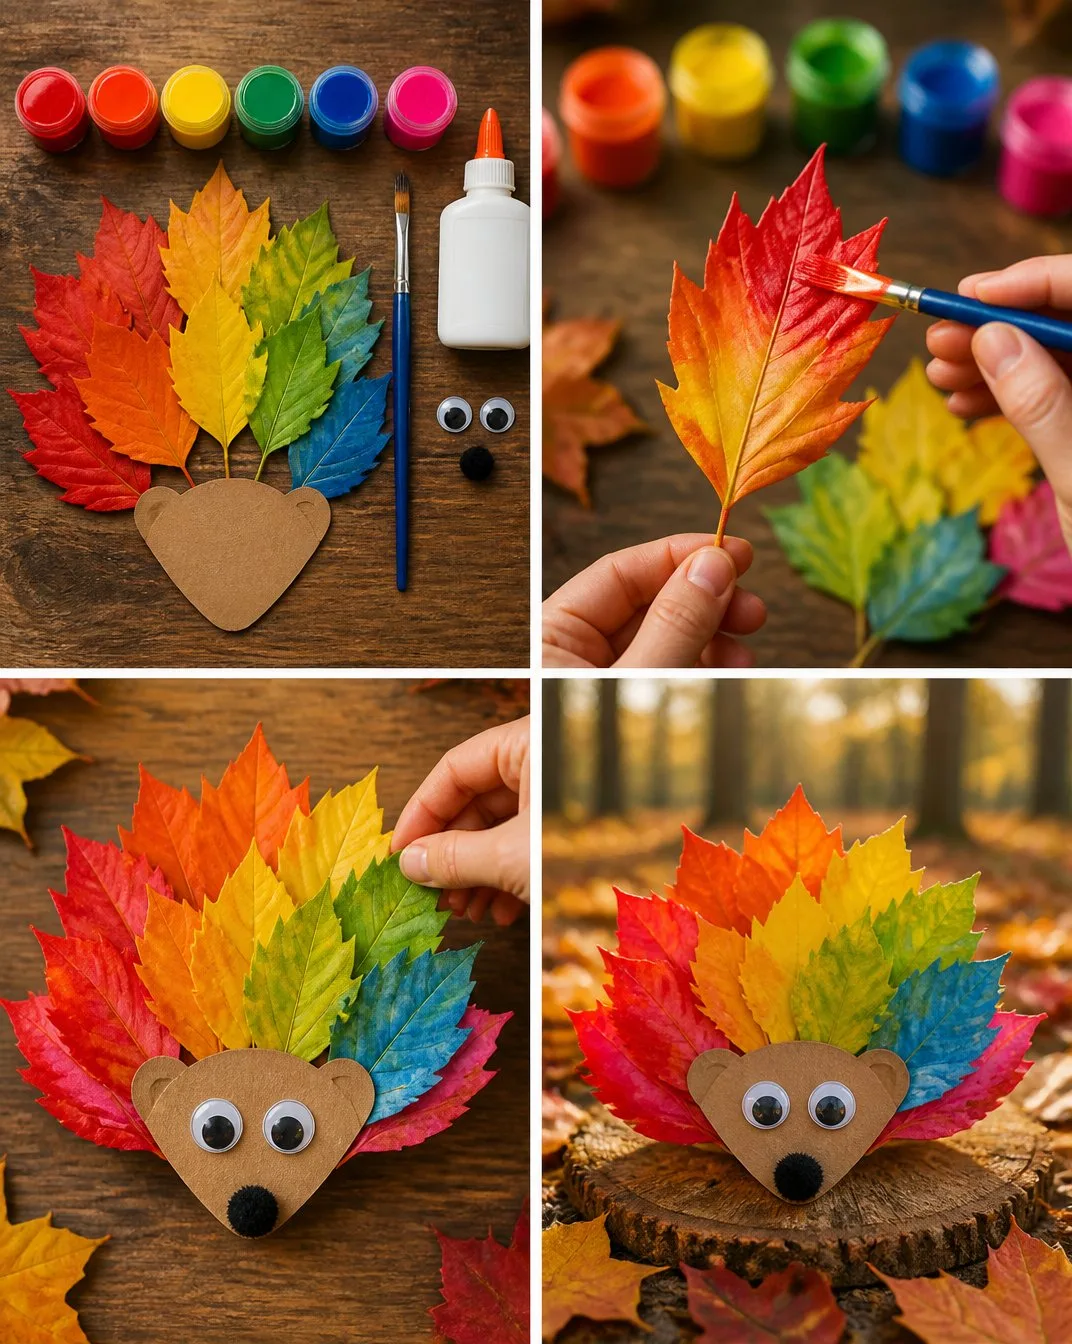
Engaging in the DIY Rainbow Leaf Hedgehog Craft offers a serene, sensory-rich experience that calms the mind and nurtures creativity. By allowing yourself the space to create, you cultivate not only a beautiful piece of art but moments of mindfulness that enrich everyday life. If you’re looking for more engaging projects, consider exploring the Easy Cardboard Hedgehog Craft or the delightful Rainbow Crayon Bookmark tutorial. Embrace the joy of making and let it transform your space and spirit.
PrintDIY Rainbow Leaf Hedgehog Craft Tutorial
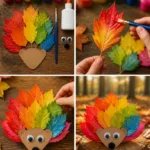
Create a delightful rainbow leaf hedgehog using natural or paper leaves to foster a calming craft experience.
- Prep Time: 10 minutes
- Cook Time: 0 minutes
- Total Time: 10 minutes
- Yield: 1 hedgehog
- Category: Crafts
- Method: Crafting
- Cuisine: DIY
- Diet: N/A
Ingredients
- Colorful leaves (real or paper)
- Brown paper or craft felt for the body
- Scissors
- Glue (liquid or stick)
- Googly eyes (optional)
- Markers or crayons for detailing (optional)
Instructions
- Prepare the base by cutting a simple hedgehog shape from the brown paper or felt.
- Create the rainbow leaves by picking real leaves or cutting out paper leaf shapes.
- Attach the leaves by applying glue to the body and layering the leaves from back to front.
- Add eyes with googly eyes or markers to give your hedgehog character.
- Personalize using markers or crayons to add details.
Notes
Feel free to substitute materials based on your preference. Crafting is a journey of creativity!
1 thought on “Rainbow Leaf Hedgehog Craft: Easy DIY Tutorial”