

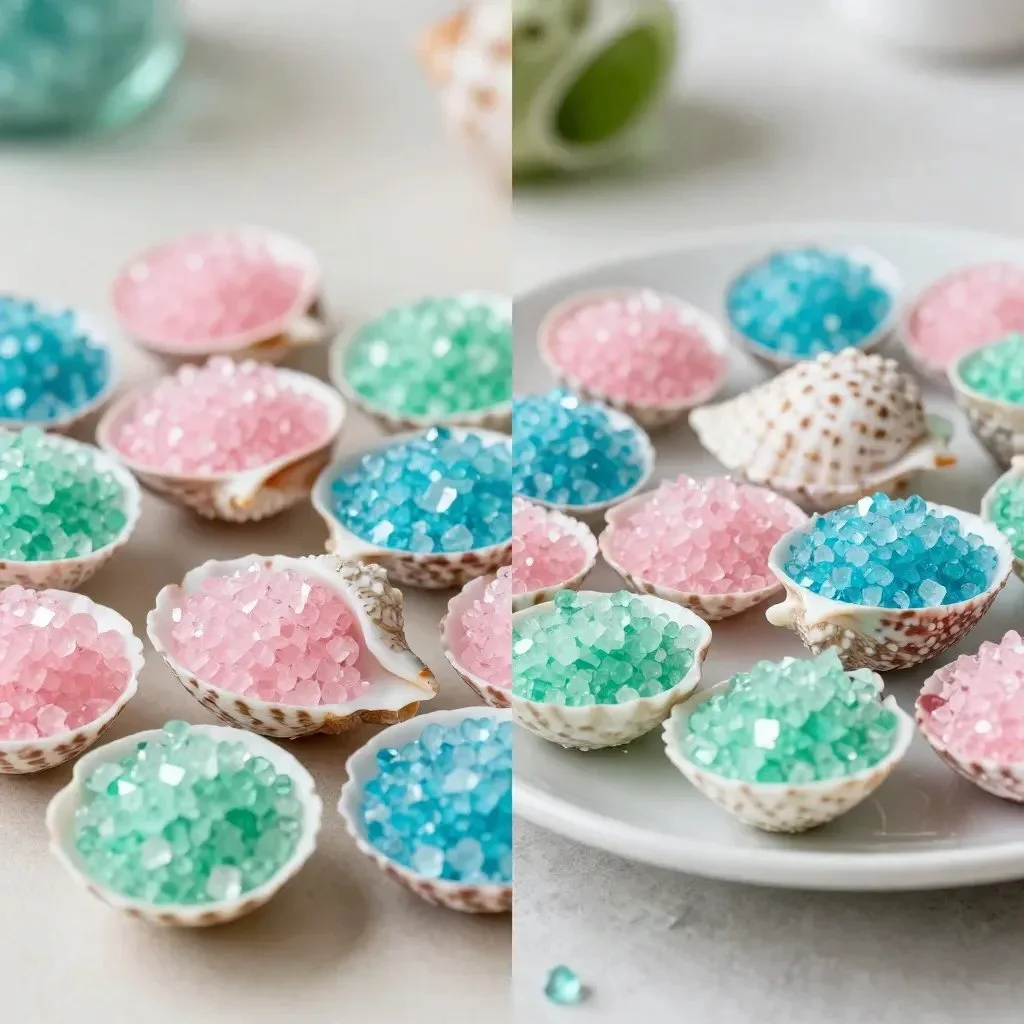
The soft light reflecting off a natural shell evokes a deep sense of calm, while the intricate patterns within hint at the beauty of creation itself. As we embark on the journey of creating a Crystal Geode Shell, we engage our senses in a process that celebrates texture, color, and the gentle rhythm of making. This DIY isn’t just about the final piece; it’s about immersing ourselves in the tactile experience. The act of creating serves as a form of meditation, allowing us to slow down and appreciate each moment. Through this project, you will connect with both the materials and your own creativity, crafting something truly unique and personal. You may also find Crystal Eggshell Geodes useful.
Why Make This Crystal Geode Shell
There’s a special joy in crafting something beautiful from simple materials. When we create a Crystal Geode Shell, we find a moment to focus amidst life’s busyness. The gentle act of layering colors and textures can be surprisingly meditative. The visual appeal of the finished project offers a cozy addition to our spaces, resonating with peace and mindfulness. As you engage in this process, you might discover a little more about your own creative spirit and find moments of serenity. Alongside the satisfaction of making, you can enjoy the artistic freedom of choosing colors and designs that reflect your personality, making each creation altogether profound. You may also find Pink Crystal Eggshell Geodes Crystal Geodes useful.
A Gentle Look at the Process
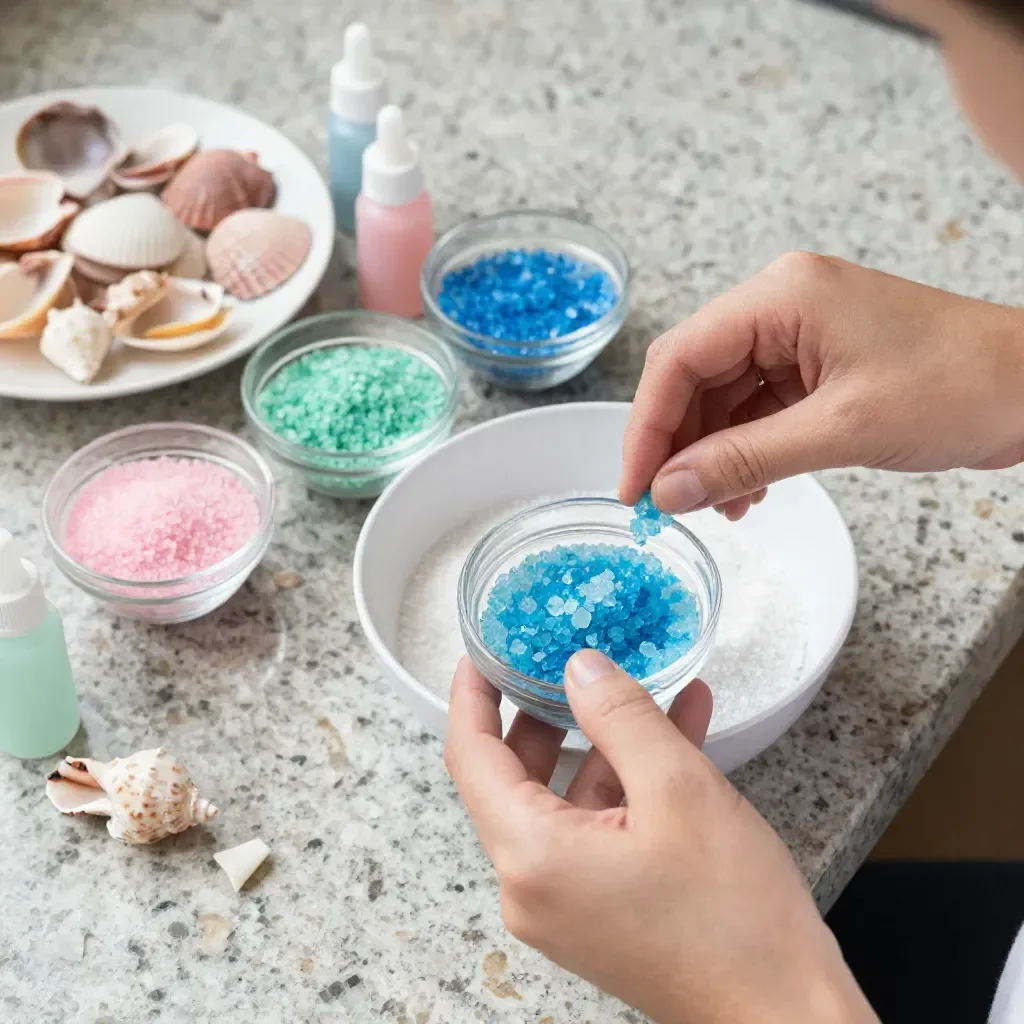
Making a Crystal Geode Shell draws on the beauty of texture and color. The process unfolds slowly, inviting you to connect with each layer. You’ll find satisfaction in mixing and molding, as the materials come together in a vibrant dance. Being mindful of how each step flows into the next adds to the overall experience. Listen to the soft sounds of materials mixing and feel the weight and smoothness in your hands. It becomes a rhythmic interaction, where each act is intentional, evoking the feeling of calmness and presence. Before you know it, you will not only understand how to create these delightful pieces but also delve deeper into your own creative journey. You may also find Pink Eggshell Crystal Geodes useful.
Materials You’ll Need
- Egg-shaped shells (dyed or natural, depending on your preference)
- Crystal-growing solution (easily available online or at craft stores)
- Food coloring (optional)
- Glitter (for added sparkle, optional)
- Mod Podge or similar sealant (for finishing)
- Paintbrushes (to apply glue or sealant)
- Small container (for mixing your crystal-growing solution)
- Warm water (for your solution)
As you gather these materials, take a moment to notice their textures and visual appeal. Each item plays a role in the story of your creation, encouraging a sense of connection to the process. You may also find Seashell Crystal Geodes useful.
Step-by-Step Directions
Start by preparing your workspace. Lay down a protective covering to catch any spills, and arrange your materials so that everything is within reach. Take a deep breath and embrace the space you’ve created for this calming experience.
If using natural shells, rinse them under warm water to remove any residue. Let them dry completely. Their smooth surfaces will play a vital role in your geode’s final texture.
In a small container, mix your crystal-growing solution according to the instructions provided. If you’d like, feel free to add a few drops of food coloring to infuse your crystals with a vibrant hue.
Carefully pour the solution into the shell, filling it about two-thirds full. Observe the liquid’s shimmering surface as it glistens in the light, a promise of beauty to come.
For an added visual effect, sprinkle a touch of glitter on top of the liquid before it sets. This will catch the light beautifully once your crystal geode grows.
Set the shells in a warm, undisturbed location. You may want to check them daily as the crystals begin to form. Watching this process unfold is a captivating experience; the anticipation adds to the joy of creation.
After about 24 to 48 hours, or once the crystals have formed to your liking, remove the shells from their location. You’ll feel that satisfying weight as the unique geodes reveal themselves.
Once the crystals are dry, gently brush away any excess crystals or glitter. Finish off by applying a light coat of Mod Podge, sealing in the beauty and providing a glossy finish.
Allow the shells to dry completely before displaying them. As you wait, reflect on the experience and the joy of crafting something meaningful.
Enjoying the Finished Piece
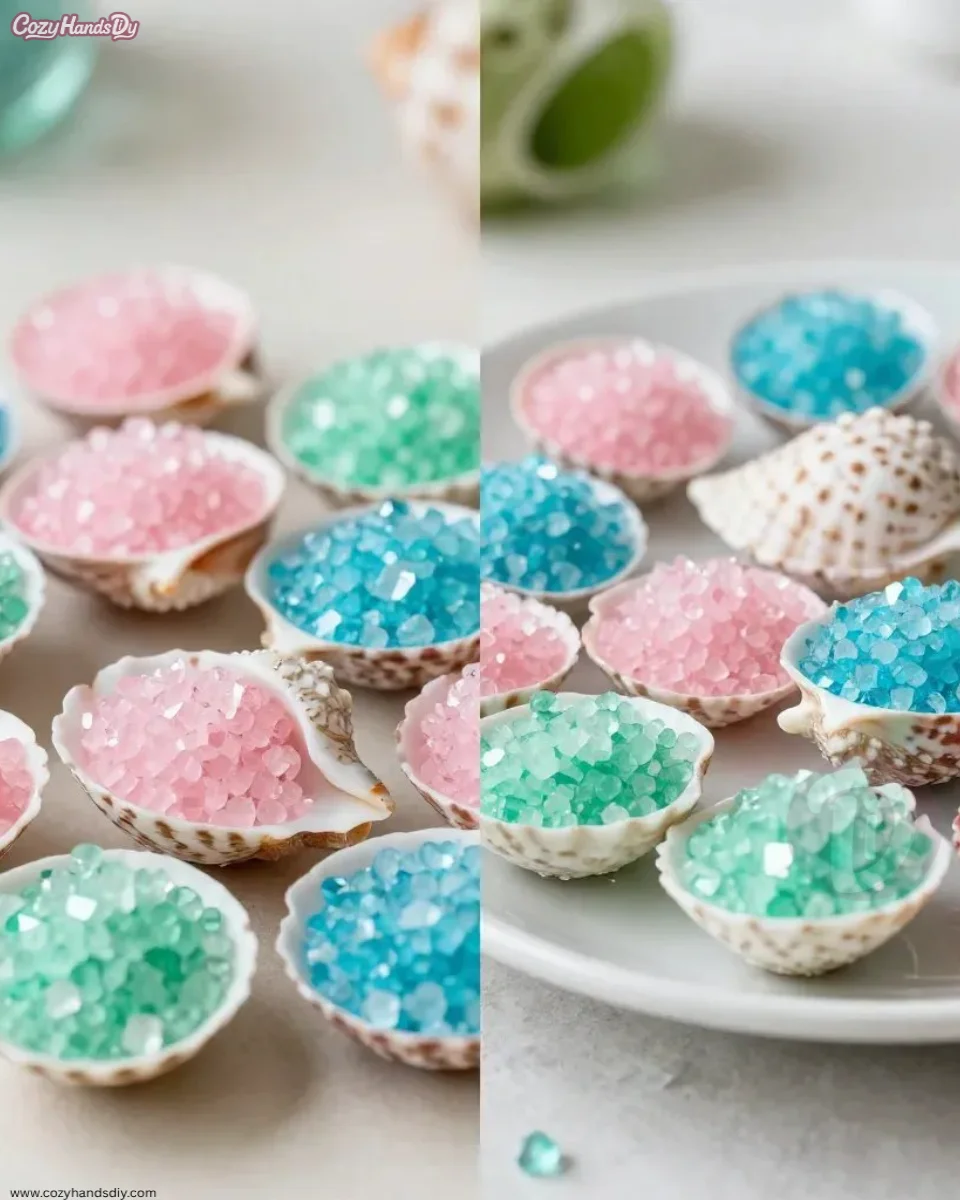
The completed Crystal Geode Shell is more than just a decorative item; it serves as a gentle reminder of the soothing process that brought it to life. Display it on a windowsill to catch the shifting light throughout the day or use it as a beautiful addition to a quiet reading nook. Each glance at your creation will invite a moment of reflection and gratitude for the time spent in creative meditation. You might even find it makes a delightful gift for a friend, sharing the joy of creation and the calm that comes with it.
How to Store or Reuse Crystal Geode Shell
To ensure your Crystal Geode Shell retains its beauty, consider displaying it somewhere safe from direct sunlight, which can fade colors over time. If you wish to repurpose the geode shell, think about using it as a unique holder for small items like paperclips or jewelry. Embrace the idea that your crafting can evolve over time, just like your creative journey.
Gentle Tips & Variations
- Experiment with different shell shapes and sizes. Each unique shell presents an opportunity for a new design.
- Mix colors for the crystal-growing solution to create a blend of hues, evoking the beauty of nature.
- Consider incorporating natural materials like sand or small pebbles in the bottom of the shell for additional textural contrast.
- Invite friends or family to join you in a shared crafting experience to enhance the joy of making together.
- Reflect on your process by keeping a creative journal, noting thoughts and feelings as you craft.
FAQs About Crystal Geode Shell
What type of shells work best for this project?
You can use natural egg shells or any other hollow shell. It’s best if they have a smooth interior to showcase the crystal growth vividly.
How long does it take to create the crystal geode shell?
Typically, the process from start to finish takes about 3 days. This includes mixing the solution, allowing for crystal growth, and finishing touches.
Can I use food coloring with the crystal-growing solution?
Yes, adding food coloring to your solution can enhance the visual appeal of your geodes, creating stunning color variations.
Conclusion
The journey of creating your Crystal Geode Shell is a joyful one, inviting you to meditate on textures, colors, and the calming repetition of crafting. Each step not only leads to a beautiful finished piece but also fosters a deeper connection to your own creativity. For further exploration, you can check out How to Grow Your Own Crystal Geodes for variations on the crystal growing process, or visit How to Make Crystal Egg Geodes for additional techniques and inspiration. Enjoy every moment of this delightful creation!
PrintCrystal Geode Shell
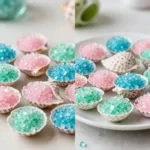
Craft a stunning Crystal Geode Shell using simple materials to create a beautiful and meditative piece of art.
- Prep Time: 30 minutes
- Cook Time: 4320 minutes
- Total Time: 4350 minutes
- Yield: 1 Crystal Geode Shell
- Category: Craft
- Method: Crafting
- Cuisine: DIY
- Diet: N/A
Ingredients
- Egg-shaped shells (dyed or natural)
- Crystal-growing solution
- Food coloring (optional)
- Glitter (optional)
- Mod Podge or similar sealant
- Paintbrushes
- Small container
- Warm water
Instructions
- Start by preparing your workspace with a protective covering.
- If using natural shells, rinse them under warm water and let them dry completely.
- In a small container, mix your crystal-growing solution according to the instructions.
- Carefully pour the solution into the shell, filling it about two-thirds full.
- For added visual effect, sprinkle a touch of glitter on top before it sets.
- Set the shells in a warm, undisturbed location and check daily.
- After 24 to 48 hours, remove the shells once crystals have formed to your liking.
- Once the crystals are dry, gently brush away any excess materials.
- Finish by applying a coat of Mod Podge to seal in the beauty.
- Allow the shells to dry completely before displaying.
Notes
To maintain the beauty of your geode, display it out of direct sunlight. You can reuse it as a holder for small items if desired.