

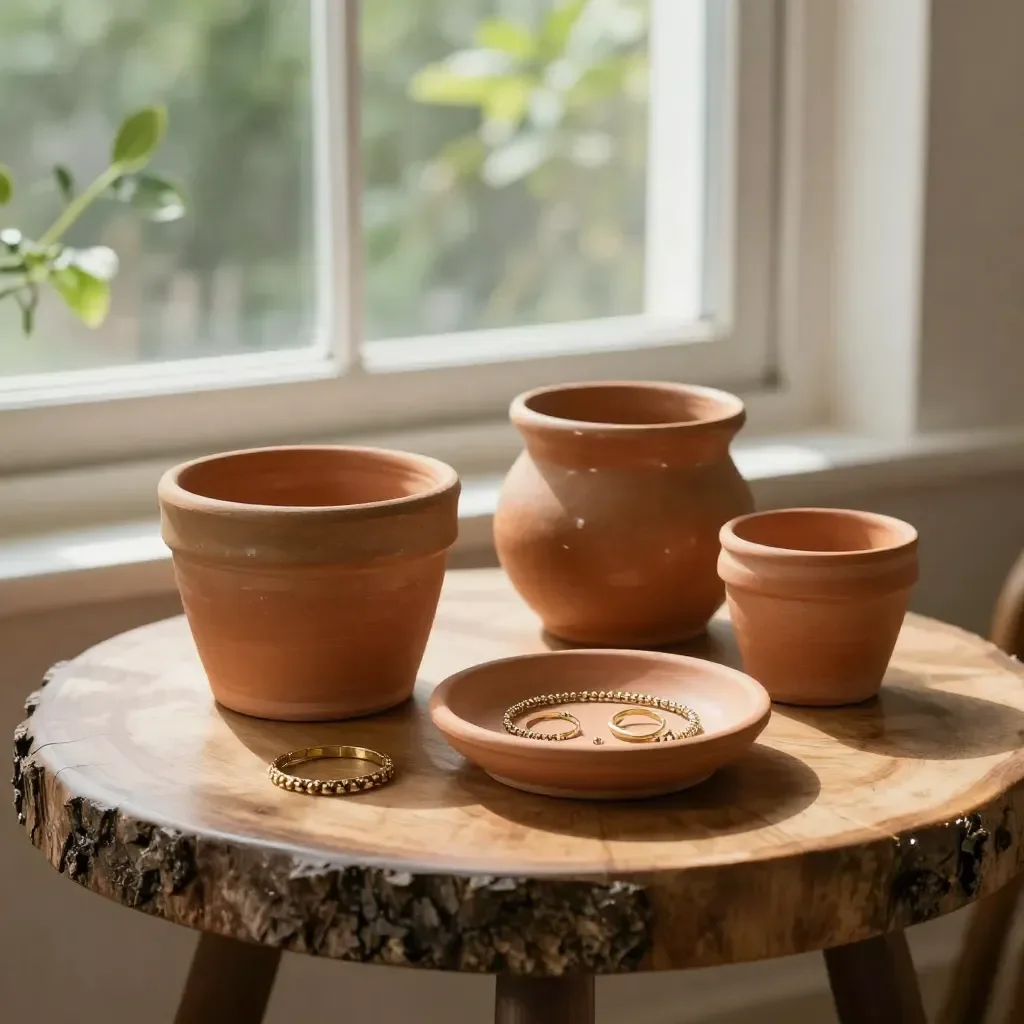
Creating Terracotta Style Air Dry Pots can evoke a sense of warmth through the tactile engagement and earthy colors that mimic the natural outdoors. The soft, cool texture of terracotta clay invites you to explore creativity at a slow pace, allowing each moment to feel precious while you mold your pot. It’s in the attentive choices of color and form that this project becomes more than just crafting; it transforms into a mindful ritual that brings joy to your living space. You may also find No Oven Needed Terracotta Pots Cozy useful.
The Heart Behind This DIY
Making Terracotta Style Air Dry Pots nourishes your spirit in multiple ways. This craft enriches your space with personal flair while fostering a sense of mindfulness. Engaging with materials that resonate, like soft clay, encourages you to focus on the here and now. Each shape built becomes an expression of your thoughts and feelings, grounding you in the present moment. Various hues of terracotta catch the light gently, offering a visual comfort akin to a warm sunset on a cool evening. You may also find Fairy Dust Bouncy Balls useful.
A Gentle Look at the Process
The journey of creating your terracotta pots unfolds gently. Each step, from kneading the clay to shaping forms, allows you to tune into your senses. Listen to the faint sound of the clay stretching as you work it between your fingers. Feel the malleability of the material, inviting your hands to create something uniquely yours. The process flows smoothly, each moment leading into the next, reinforcing a rhythmic experience. You may also find Fairy Glow Jars useful.
Materials You’ll Need
- Air dry clay (terracotta color or options to tint)
- Crafting tools (like a rolling pin and smoothing tools)
- Water (for moisture maintenance)
- Paint (non-toxic for embellishing; optional)
- Brushes and sponges (for detail work)
- Sealant (if desired for durability)
All of these materials are easily found at local craft stores or online. Feel free to adapt or substitute materials based on what resonates with you. You may also find Gel Air Fresheners useful.
Step-by-Step Directions
Begin by kneading the air dry clay until it becomes soft. This engagement helps you connect with the texture, making it easier to work with.
Roll the clay into a ball, then flatten it into a disk shape. This base will serve as the bottom of your pot, setting a solid foundation.
Use your fingers to pinch the edges upward, forming the sides. Gently mold the clay into the shape you desire, allowing for slow changes that emphasize the process.
Once the walls are formed, smooth out any imperfections with a damp sponge. This step enhances the pot’s comforting feel.
If you’d like, use crafting tools to add decorative patterns or textures. Consider simple lines or dots that echo natural patterns.
Allow your pot to dry according to the clay’s instructions, ensuring it’s in a safe, dry space free from drafts.
Once dry, paint your pot with non-toxic paint if desired. This adds a personal touch and extra character.
Finally, apply a sealant if you wish to keep your pot vibrant and functional for longer use.
Enjoying the Finished Piece
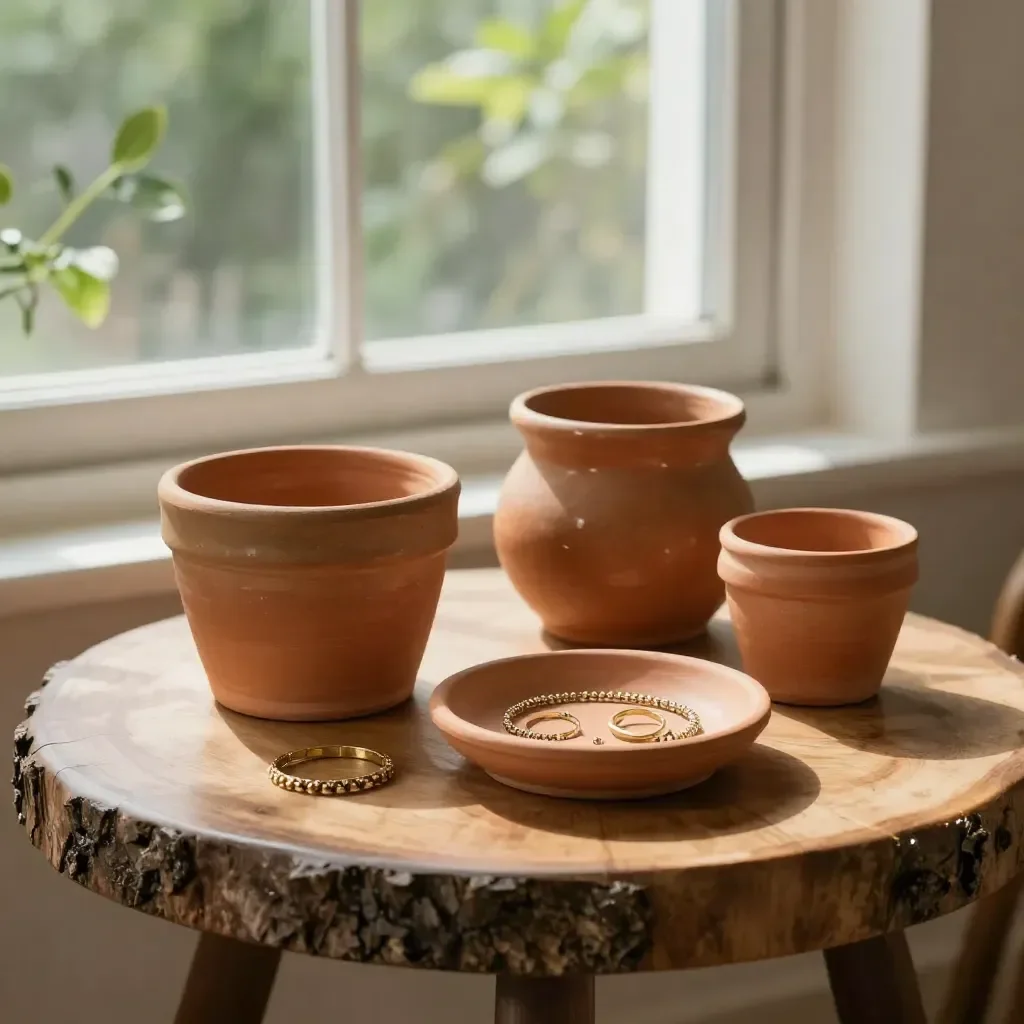
After creating your Terracotta Style Air Dry Pots, the fun doesn’t stop. These pieces become part of your living space, holding plants or other decorative elements that resonate with your life. Use them to brighten windowsills with greenery or to organize small items in a cozy corner. Each pot you make can be a reminder of your creations, capturing the essence of mindfulness and intentionality in its everyday use.
Keeping It for Later
As you incorporate these pots into your home, consider their longevity. Store them in a dry place to prevent damage and fading. If your pot is painted, avoid prolonged exposure to harsh sunlight, which can affect the colors. These pots are not just beautiful; they’re functional pieces that can last for years with just a little care.
Gentle Tips & Variations
Creating Terracotta Style Air Dry Pots can be further personalized in soft ways. Here are a few ideas:
- Experiment with different clay colors to suit your decor or mood.
- Try adding small stones or pebbles to the base layer before the clay to enhance drainage for plants.
- If you enjoy embellishing, consider layering colors during the painting process for depth.
- Explore using stencils to create intricate designs without needing advanced drawing skills.
These variations allow you to tailor your experience, making it uniquely yours.
FAQs About Terracotta Style Air Dry Pots
Can I use regular clay instead of air dry clay?
Regular clay requires firing in a kiln to harden. Air dry clay is more accessible and easier for home crafting without special equipment.
How long do these pots take to dry completely?
Typically, air dry clay pots require 24-48 hours to dry thoroughly, but it’s best to follow the specific instructions on your clay package.
Can I use these pots outdoors?
While they can be used outdoors, it’s advisable to apply a sealant to protect them from moisture and fading, especially if they will face direct rain or sunlight.
What types of plants work well in these pots?
Consider using smaller plants with low water needs, such as succulents or air plants, to ensure the longevity of your terracotta pot.
Conclusion
Crafting your own Terracotta Style Air Dry Pots offers not just a beautiful piece for your home but also a calming experience. This mindful activity allows you to connect with your creativity and offers a moment of peace in your day. For more inspiration on using air dry clay, check out this article on modern DIY mini air dry clay pots or explore crafting homewares with air dry clay. Enjoy the serenity that comes from making and the beauty of what you create.
PrintTerracotta Style Air Dry Pots
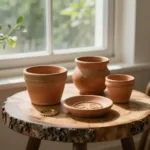
Create beautiful and mindful terracotta style air dry pots with easy-to-follow steps for a personalized touch in your living space.
- Prep Time: 10 minutes
- Cook Time: 60 minutes
- Total Time: 70 minutes
- Yield: 1 pot
- Category: Crafts
- Method: Air Drying
- Cuisine: DIY
- Diet: N/A
Ingredients
- Air dry clay (terracotta color or options to tint)
- Crafting tools (like a rolling pin and smoothing tools)
- Water (for moisture maintenance)
- Paint (non-toxic for embellishing; optional)
- Brushes and sponges (for detail work)
- Sealant (if desired for durability)
Instructions
- Begin by kneading the air dry clay until it becomes soft.
- Roll the clay into a ball, then flatten it into a disk shape.
- Use your fingers to pinch the edges upward, forming the sides.
- Once the walls are formed, smooth out imperfections with a damp sponge.
- If you’d like, use crafting tools to add decorative patterns or textures.
- Allow your pot to dry according to the clay’s instructions.
- Once dry, paint your pot with non-toxic paint if desired.
- Finally, apply a sealant if you wish to keep your pot vibrant and functional.
Notes
Experiment with different clay colors and consider adding small stones for improved drainage.