

Creating No Oven Needed! Terracotta Pots can be a soothing escape from the hustle of daily life. As the cool, grainy texture of the clay settles into your palms, you begin to feel a sense of grounding, like the comforting embrace of a warm blanket. The sun filtering through the window illuminates the soft colors of the terracotta, inviting you to slow down and immerse yourself in the tactile experience. This DIY project not only nurtures your creativity, but also cultivates a calming and mindful atmosphere, one gentle mold at a time. Many people find joy in similar projects, as seen in the delightful DIY snowstorm in a jar which also encourages focus and tranquility.
The Heart Behind This DIY
Making No Oven Needed! Terracotta Pots connects us to a simpler, more intentional way of creating. In a world filled with constant distractions, this process encourages us to embrace the present moment, giving us the space to breathe and explore our creativity. Working with clay allows you to feel the material’s natural properties, bridging a connection with the earth. The rhythm of kneading, shaping, and molding the clay can also serve as a meditation, allowing thoughts to drift away while you engage fully in the making. The final pieces hold the essence of this mindfulness practice, reminding us of the beauty in nurturing both our creations and ourselves. You may also find Baking Soda Snowman useful.

A Gentle Look at the Process
Before diving into the materials needed for this calming project, let’s consider the flow of making these terracotta pots. Picture yourself in a quiet space, surrounded by the soft sounds of your environment. The gentle squish of clay, the coolness beneath your fingers, and the satisfying sound of your tools working collectively create a soothing atmosphere. Each motion has its own cadence, allowing you to lose track of time while wrapping your hands around the clay. You may also find Dinosaur Eggs useful.
Materials You’ll Need
Gathering your materials for this project can be part of a calming routine. Here’s a simple list to guide you: You may also find Diy Salt Volcano Science Experiment useful.
- Air-dry clay (easy to find at craft stores)
- A smooth surface for shaping
- A rolling pin (optional)
- Water for smoothing edges
- Acrylic paints for decoration (optional)
- Sealer or varnish (if desired for a finished look)
The Flow of Making No Oven Needed! Terracotta Pots
- Prepare your workspace: Clear an area and spread out your materials. Enjoy the calming visuals of your tools and ingredients.
- Take a small piece of air-dry clay and knead it gently in your hands. You should feel the coolness and slight resistance of the clay as you warm it up with your touch.
- Roll out the clay to your desired thickness, about 1/4 inch, using the rolling pin or your palms. The sound of the clay flattening can be deeply satisfying.
- Begin to shape your pot by hand, creating a base and gradually building up the sides. Focus on the feeling of the clay as you mold it.
- Use a little water on your fingertips to smooth any rough edges or fingerprints. This step adds a softness to your pot’s surface.
- Allow your creation to dry completely, which usually takes 24-48 hours, depending on the thickness. This waiting time can be perfect for planning how you might want to decorate it.
- Once dry, add your personal touch with acrylic paints. Whether you keep it simple or go wild with colors, the choice rests in your hands.
- Finish your piece with a sealant or varnish if you wish, making it a lasting memory of your creative time.

Enjoying the Finished Piece
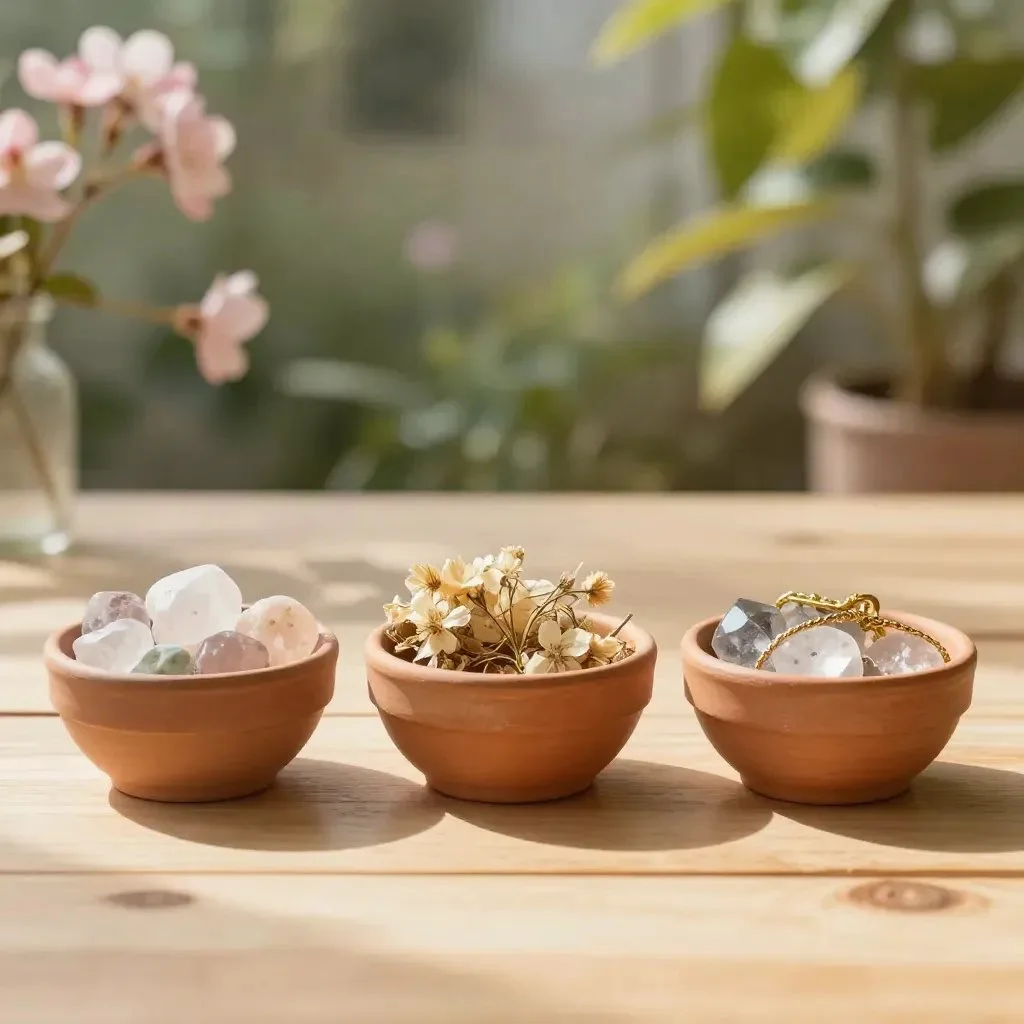
Once your No Oven Needed! Terracotta Pot is complete, consider how you can incorporate it into your daily life. This pot can be a joyful home for a small plant, contributing beauty and life to your space. Alternatively, it could serve as a holder for office supplies or a cozy spot for your trinkets and treasures. The soft earth tones of the terracotta can harmonize beautifully with any setting, enhancing your environment’s calming energy.
Keeping It for Later
To ensure your terracotta pot lasts through the seasons, store it carefully. Place it in a cool, dry space, away from direct sunlight to prevent fading or cracking. If you decide to use it for a plant, ensure the pot has proper drainage to keep your plant healthy and happy. When the seasons change, feel free to refresh the paint or wrap it with natural twine for a lovely seasonal display.
Gentle Tips & Variations
- Experiment with texture by pressing leaves or fabric into the clay before it dries, creating unique impressions.
- Try using different shapes and sizes for your pots; small ones can serve as charming gifts or favors.
- Feel free to incorporate other natural materials such as stones or twigs to personalize your pots more deeply.
- If you’d like to enhance the sensory experience even further while crafting, consider playing soft music in the background.

FAQs About No Oven Needed! Terracotta Pots
Can I use regular clay instead of air-dry clay?
Yes, however, air-dry clay is recommended for this project, as it doesn’t require a kiln and can dry naturally, making it accessible for everyone.
How long should I let my pot dry?
Allow your terracotta pot to dry for at least 24-48 hours, depending on the thickness of the clay.
Can I decorate it with anything other than paint?
Absolutely! You can use natural elements like dried flowers, twine, or even beads to give your pot a unique charm.
Will my pot hold water for plants?
It’s best to use a sealant if you plan to hold water. Without sealant, the pot is better suited for dry arrangements or decorative purposes.
A Gentle Note Before You Go
Creating No Oven Needed! Terracotta Pots invites you into a mindful space where each touch and movement can ground you in creativity. As you shape and design your pieces, allow yourself to be present and embrace the journey. Each pot holds not just clay, but moments of peace, concentration, and introspection, waiting to thrive within your home or garden. For further exploration in soft crafting, consider reading about whether it’s possible to make pottery without a kiln or explore structured advice on using terracotta pots in the microwave.
No Oven Needed! Terracotta Pots

Embrace creativity and mindfulness by making terracotta pots using air-dry clay, perfect for personalizing your space and cultivating a calming atmosphere.
- Prep Time: 15 minutes
- Cook Time: 0 minutes
- Total Time: 1440 minutes
- Yield: 1 terracotta pot
- Category: Craft
- Method: Handcrafting
- Cuisine: N/A
- Diet: N/A
Ingredients
- Air-dry clay
- A smooth surface for shaping
- A rolling pin (optional)
- Water for smoothing edges
- Acrylic paints for decoration (optional)
- Sealer or varnish (optional)
Instructions
- Prepare your workspace: Clear an area and spread out your materials.
- Take a small piece of air-dry clay and knead it gently in your hands.
- Roll out the clay to your desired thickness, about 1/4 inch.
- Begin to shape your pot by hand, creating a base and gradually building up the sides.
- Use a little water on your fingertips to smooth any rough edges.
- Allow your creation to dry completely, which usually takes 24-48 hours.
- Once dry, add your personal touch with acrylic paints.
- Finish your piece with a sealant or varnish if desired.
Notes
Experiment with textures and materials like leaves or twigs for unique designs. Use soft music to enhance your crafting experience.