

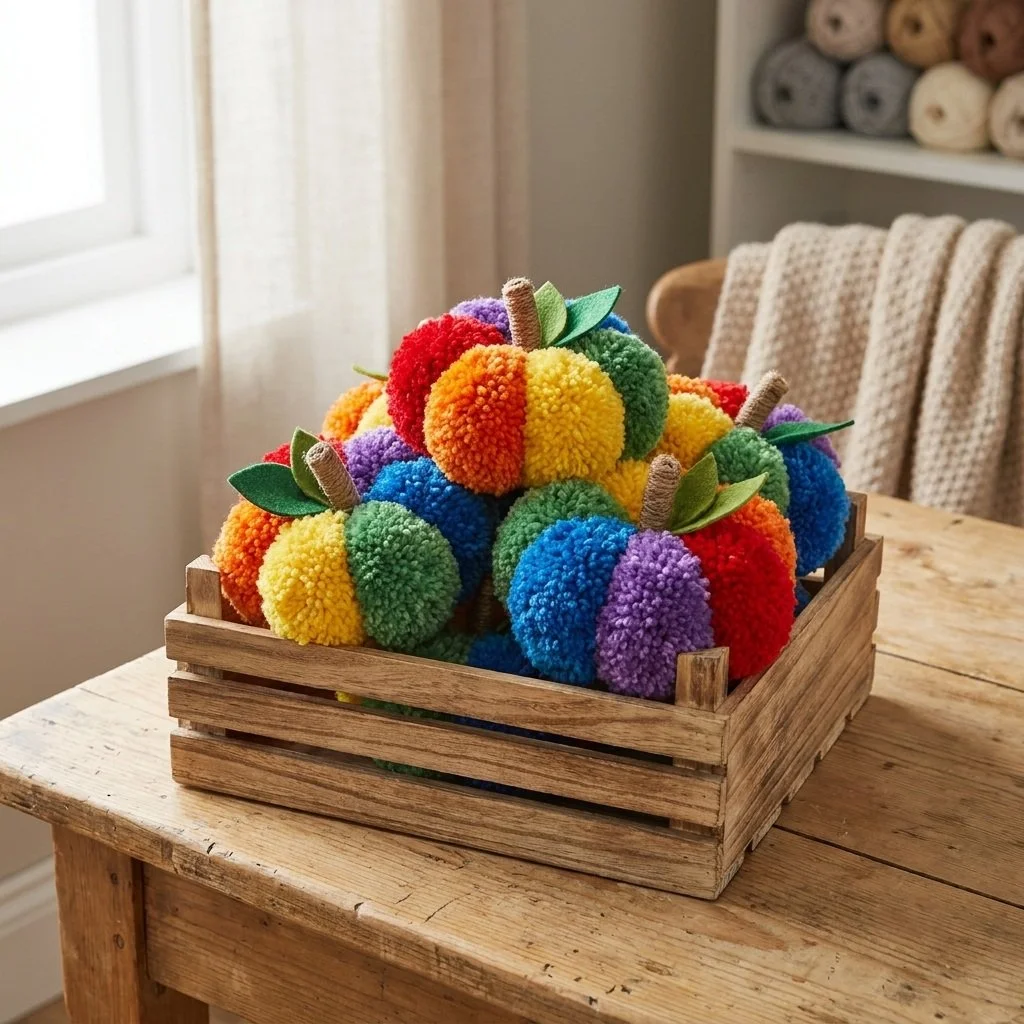
Creating a Rainbow Pom-Pom Pumpkin Patch begins with an invitation to engage the senses. Picture the soft, plush textures of pom-poms coming together as they form a vibrant display. The colors collide and dance in gentle light, creating a cozy atmosphere. As you work on this project, the repetitive motions of crafting draw you inward, inviting mindfulness and calm. It’s a delightful way to embrace the changing seasons while also enhancing your space with a little personal creativity. For more colorful inspiration, you might explore the colorful pom-pom pumpkin patch decor.
The Quiet Joy of Making Rainbow Pom-Pom Pumpkin Patch
This project is about more than just creating a beautiful piece for your home; it’s about the serenity that emerges during the making process. Engaging with soft yarn and fluffy pom-poms provides a tactile experience that encourages a calm mind. As you immerse yourself in crafting, the delightful textures and vibrant colors can create a sense of comfort. You may find yourself slowing down, fully experiencing each moment as you visualize how this rainbow pumpkin patch will brighten your space. You may also find Back To School Rainbow Apple Mosaic Cozy useful.
A Gentle Look at the Process
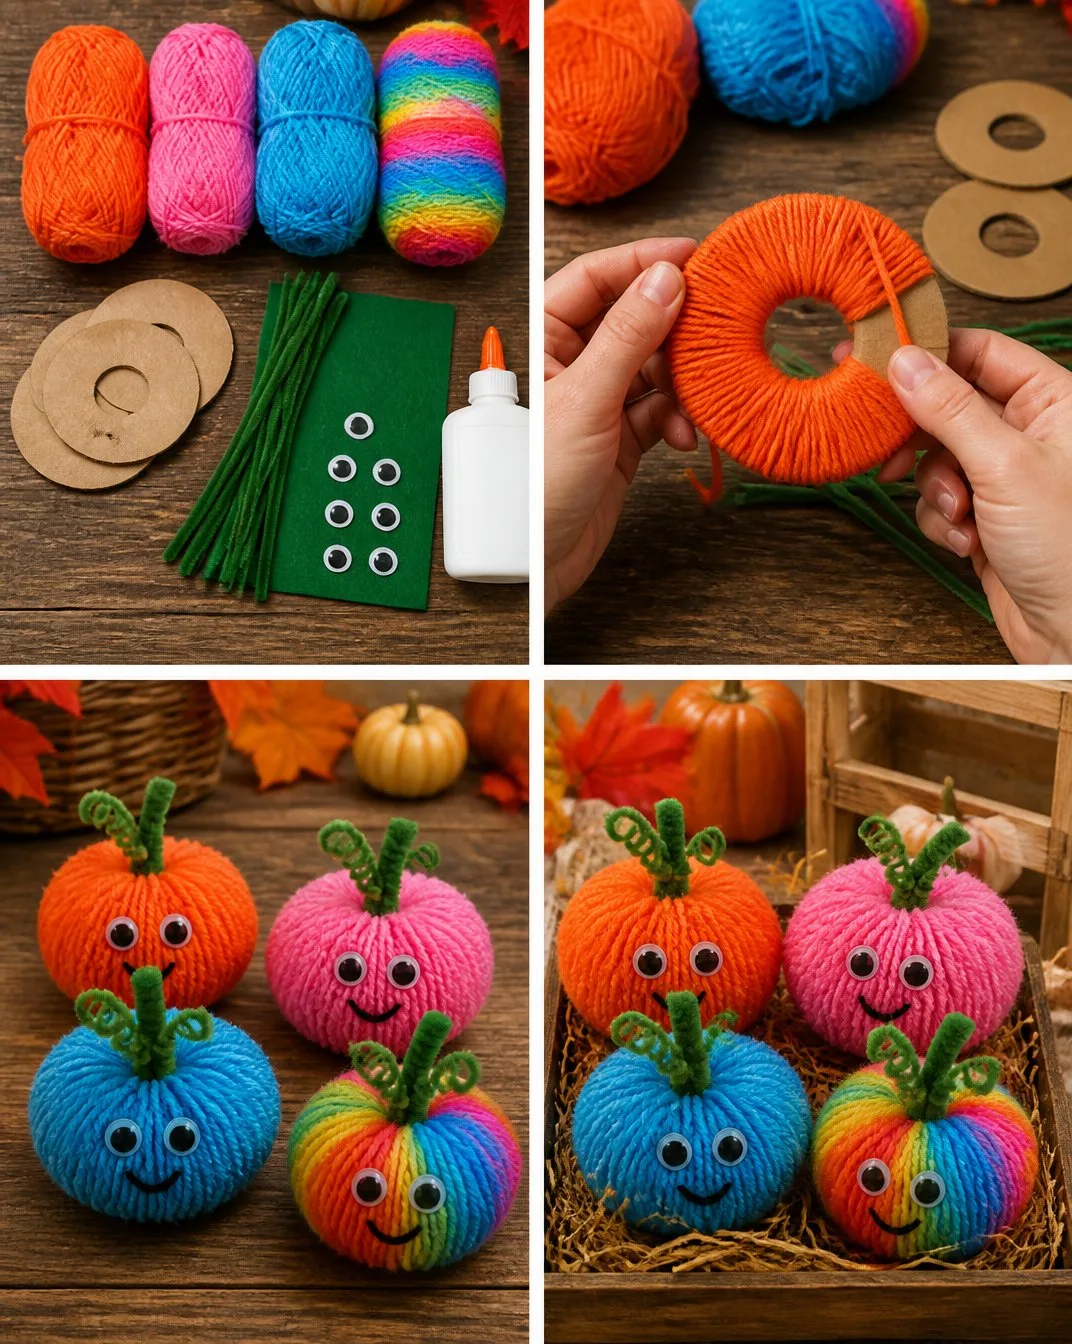
Understanding how this DIY comes together allows for a smoother crafting experience. Picture yourself gathering the materials, the sound of scissors snipping through soft yarn, and the gentle movement of your hands as you create. Each pom-pom forms a delightful knot, adding texture and warmth to your project. This gradual flow makes the entire process enjoyable, as you can connect with each piece and witness the transformation unfold before your eyes. You may also find Back To School Rainbow Pencil Suncatcher 2 useful.
Materials You’ll Need
- Colorful yarn (choose a variety of vibrant shades)
- Scissors (for cutting the yarn)
- A pom-pom maker or template (optional, but helpful for uniformity)
- Hot glue or a needle and thread (for securing the pom-poms)
- Craft foam or a small pumpkin base (to attach your pom-poms)
- A cozy workspace (a comfortable area where you can sit and enjoy the task)
Gathering these simple supplies can be a grounding experience. Most of these items are easy to find, encouraging you to tailor the project to your preferences. You may also find Back To School Rainbow Pencil Suncatcher useful.
Step-by-Step Directions
Prepare your workspace. Make sure you have a comfortable area to work, filled with warm light and maybe your favorite music.
Begin making pom-poms. If using a pom-pom maker, follow the instructions to wrap yarn around the maker. Otherwise, you can simply wrap yarn around your fingers or a template.
Snip the yarn. Carefully cut the wrapped yarn at one end, then tie it tightly in the center to secure your pom-pom.
Fluff and trim. Gently fluff the pom-pom and trim any uneven ends for a fuller look.
Repeat. Make several pom-poms in different colors, allowing the rainbow to take shape.
Attach to the base. Using hot glue or needle and thread, secure each pom-pom to your chosen craft foam or pumpkin base, starting from the bottom and layering upward.
Allow it to dry. If using glue, let your pumpkin patch set to ensure everything is secure.
Display your creation. Find a beautiful spot in your home to showcase your rainbow pom-pom pumpkin patch, inviting warmth and color into the space.
Enjoying the Finished Piece
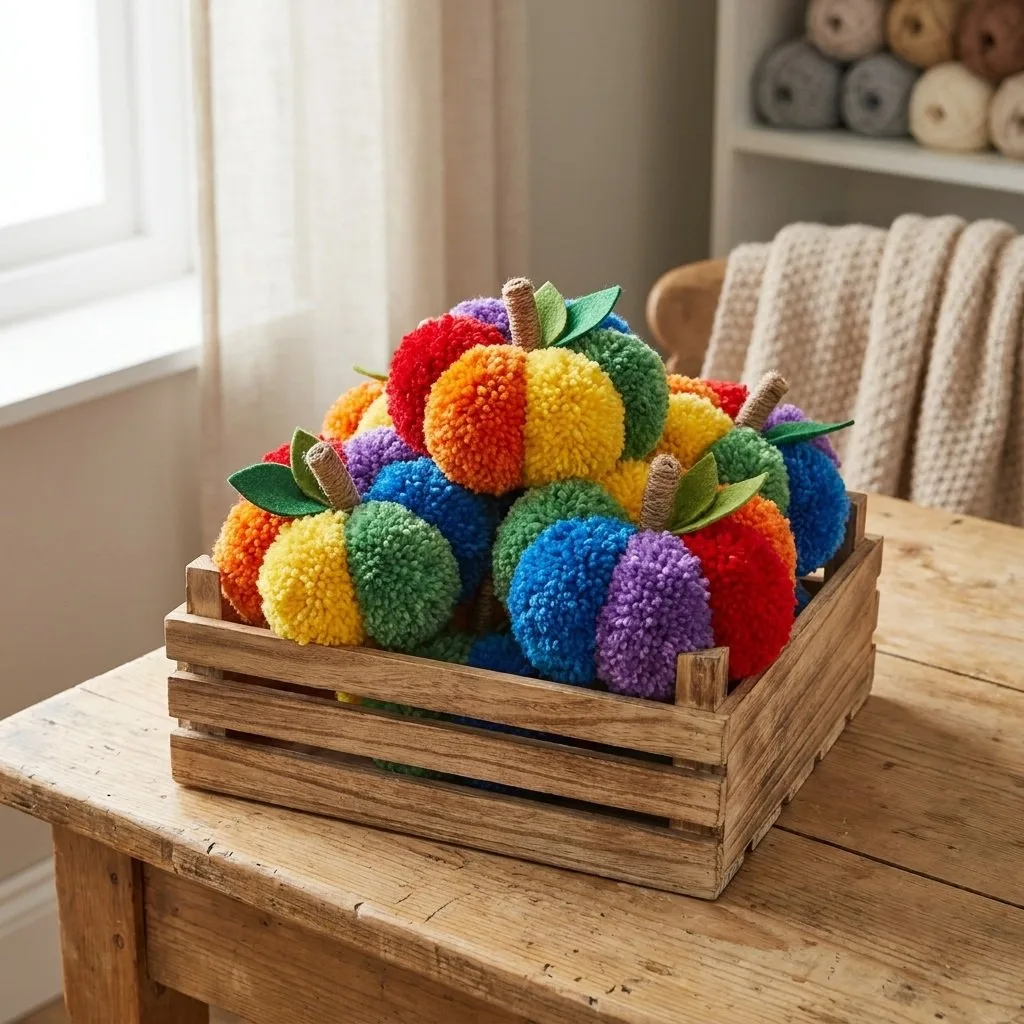
The beauty of this rainbow pom-pom pumpkin patch goes beyond its visual appeal. Once complete, it can bring a splash of vibrancy to your seasonal decor. Use it as a centerpiece on your dining table, place it on a cozy shelf, or even gift it to a friend to spread some joy. The cheerful colors evoke a sense of delight and warmth, enhancing the ambiance of any setting.
Keeping It for Later
To keep your rainbow pom-pom pumpkin patch looking fresh, store it in a dry, cool place when not in use. If you find a pom-pom coming loose, it’s easy to reattach it with a bit more glue or thread. This DIY can be reused year after year, becoming a cherished part of your fall traditions.
Gentle Tips & Variations
- Play with textures: Consider incorporating materials like felt or craft foam for added depth.
- Personalize your colors: Tailor your pom-pom colors to fit your favorite fall palette or your existing home decor.
- Experiment with shapes: While this guide focuses on a pumpkin patch, you can adapt the concept to create seasonal wreaths or garlands.
- Share the joy: Invite your friends or family to join you in this crafting session; it can be a lovely way to connect over creativity.
FAQs About Rainbow Pom-Pom Pumpkin Patch
How long does it take to make this DIY?
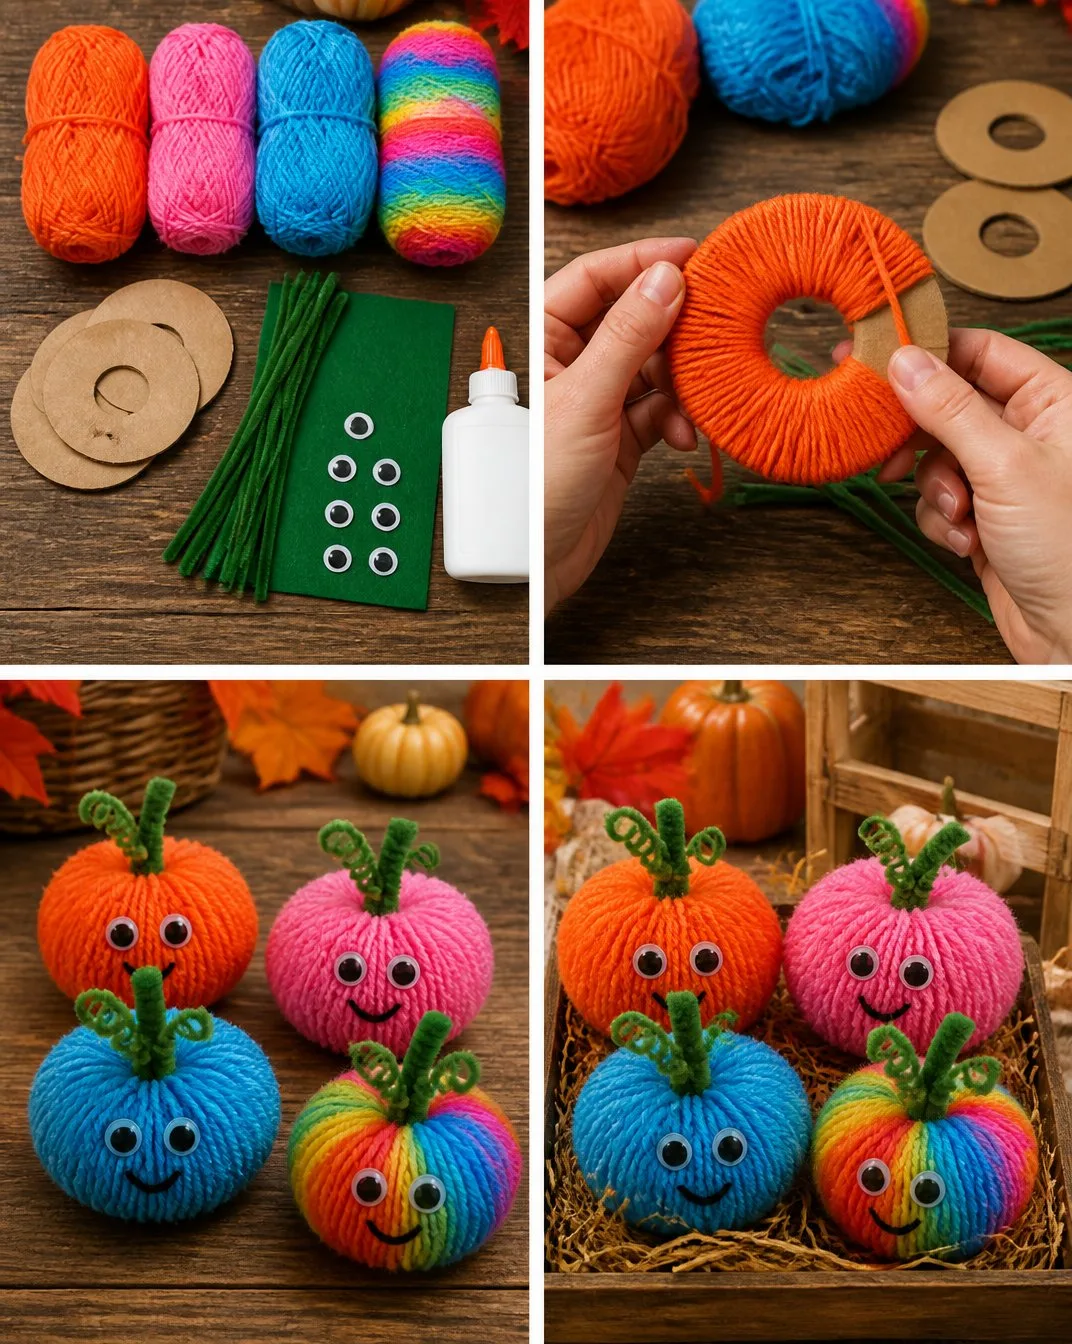
Typically, you can complete this project within a couple of hours, especially if you’re making pom-poms in batches. Take your time and enjoy the process.
Can I use different types of yarn?
Absolutely! Mixing textures such as wool and acrylic can add dimension to your pom-poms. Each type of yarn behaves differently, giving unique results.
Will it hold up outside?
This project is best suited for indoor decor. While it may withstand a gentle breeze, exposure to rain or harsh sunlight can damage the yarn.
What’s the best way to store it?
When not on display, store the pumpkin patch in a dust-free container to keep it clean and safe. Avoid crushing the pom-poms to maintain their fluffiness.
Can I make this project with children?
Yes! This DIY is perfect for a family craft day. Just supervise when using scissors and hot glue.
Conclusion
Creating a Rainbow Pom-Pom Pumpkin Patch invites a world of color and texture into your crafting space. Embrace the process and the potential it brings to your seasonal decor. If you’re looking for even more inspiration, check out these colorful rainbow pets for a delightful addition to your home or explore pumpkin decorating ideas that are sure to spark creativity. Enjoy the calm and mindfulness this project offers as you create a piece that brings you joy each fall.
PrintRainbow Pom-Pom Pumpkin Patch
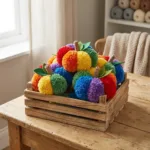
Create a vibrant rainbow pom-pom pumpkin patch to brighten your seasonal decor with this engaging DIY project.
- Prep Time: 30 minutes
- Cook Time: 90 minutes
- Total Time: 120 minutes
- Yield: 1 pumpkin patch
- Category: Craft
- Method: Crafting
- Cuisine: N/A
- Diet: N/A
Ingredients
- Colorful yarn (variety of vibrant shades)
- Scissors
- A pom-pom maker or template (optional)
- Hot glue or a needle and thread
- Craft foam or a small pumpkin base
- A cozy workspace
Instructions
- Prepare your workspace with warm light and your favorite music.
- Begin making pom-poms using a pom-pom maker or wrapping yarn around your fingers.
- Snip the yarn once wrapped and tie tightly in the center.
- Fluff the pom-pom and trim uneven ends.
- Repeat the process to create multiple pom-poms in different colors.
- Attach each pom-pom to the craft foam or pumpkin base with glue or thread.
- Allow the creation to dry if using glue.
- Display your rainbow pom-pom pumpkin patch in your home.
Notes
Mix different yarn textures for added depth, and consider crafting variations like wreaths or garlands. This project is perfect for family crafting and can be reused year after year.