

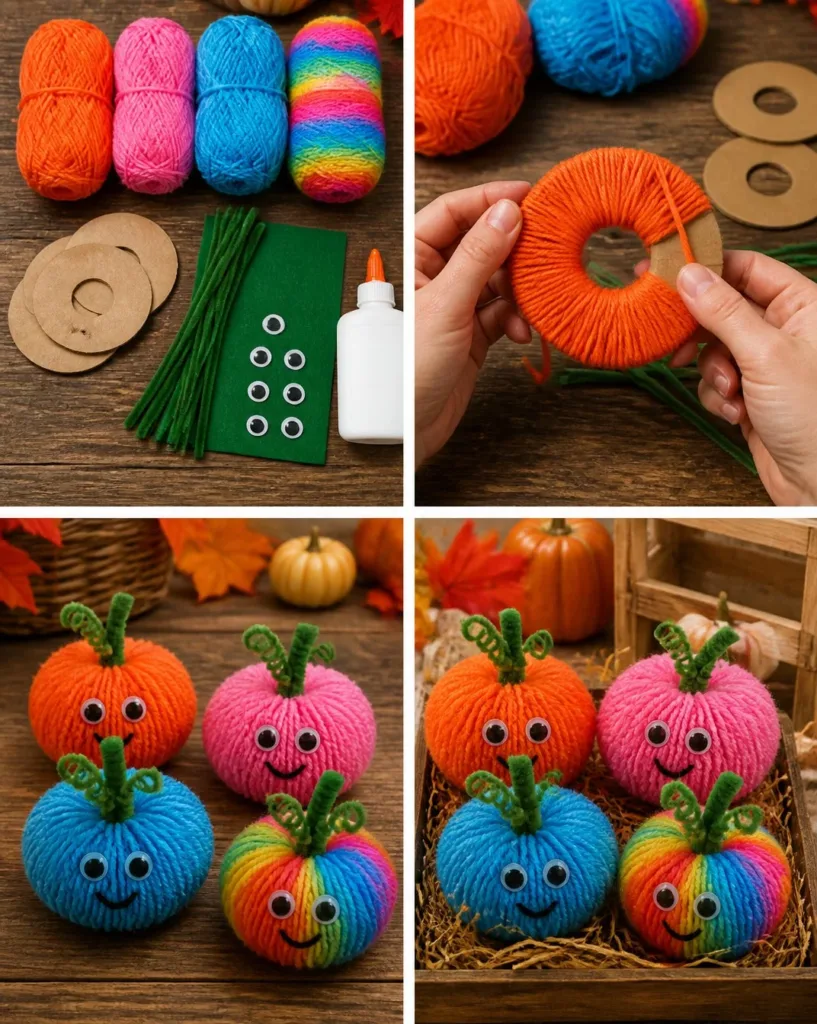
The gentle rustle of fabric fills the air as you settle into a cozy corner, surrounded by soft threads and the vibrant hues of autumn. Creating a Rainbow Pom-Pom Pumpkin Patch invites you to engage in a sensory experience, weaving together textures and colors. Each pom-pom captures a moment, a memory of the changing seasons, grounding you in the present. This DIY project not only brightens your space but also nurtures a sense of calm. If you’re looking to deepen your crafting journey, consider exploring other rainbow-themed projects such as this Rainbow Pencil Suncatcher.
Why Make This Rainbow Pom-Pom Pumpkin Patch
Creating a Rainbow Pom-Pom Pumpkin Patch offers more than just a delightful visual; it fosters mindfulness and focus. The tactile nature of making pom-poms engages your senses fully, allowing distractions to fade away. As you immerse yourself in selecting colors and crafting each piece, you become attuned to the soothing rhythm of your movements. Colors have a psychological impact, and the joyful hues you choose can evoke feelings of happiness and comfort. This project serves as a gentle reminder of the beauty in simplicity, letting you experience the joy of creation. You may also find Back To School Rainbow Apple Mosaic Cozy useful.
A Gentle Look at the Process
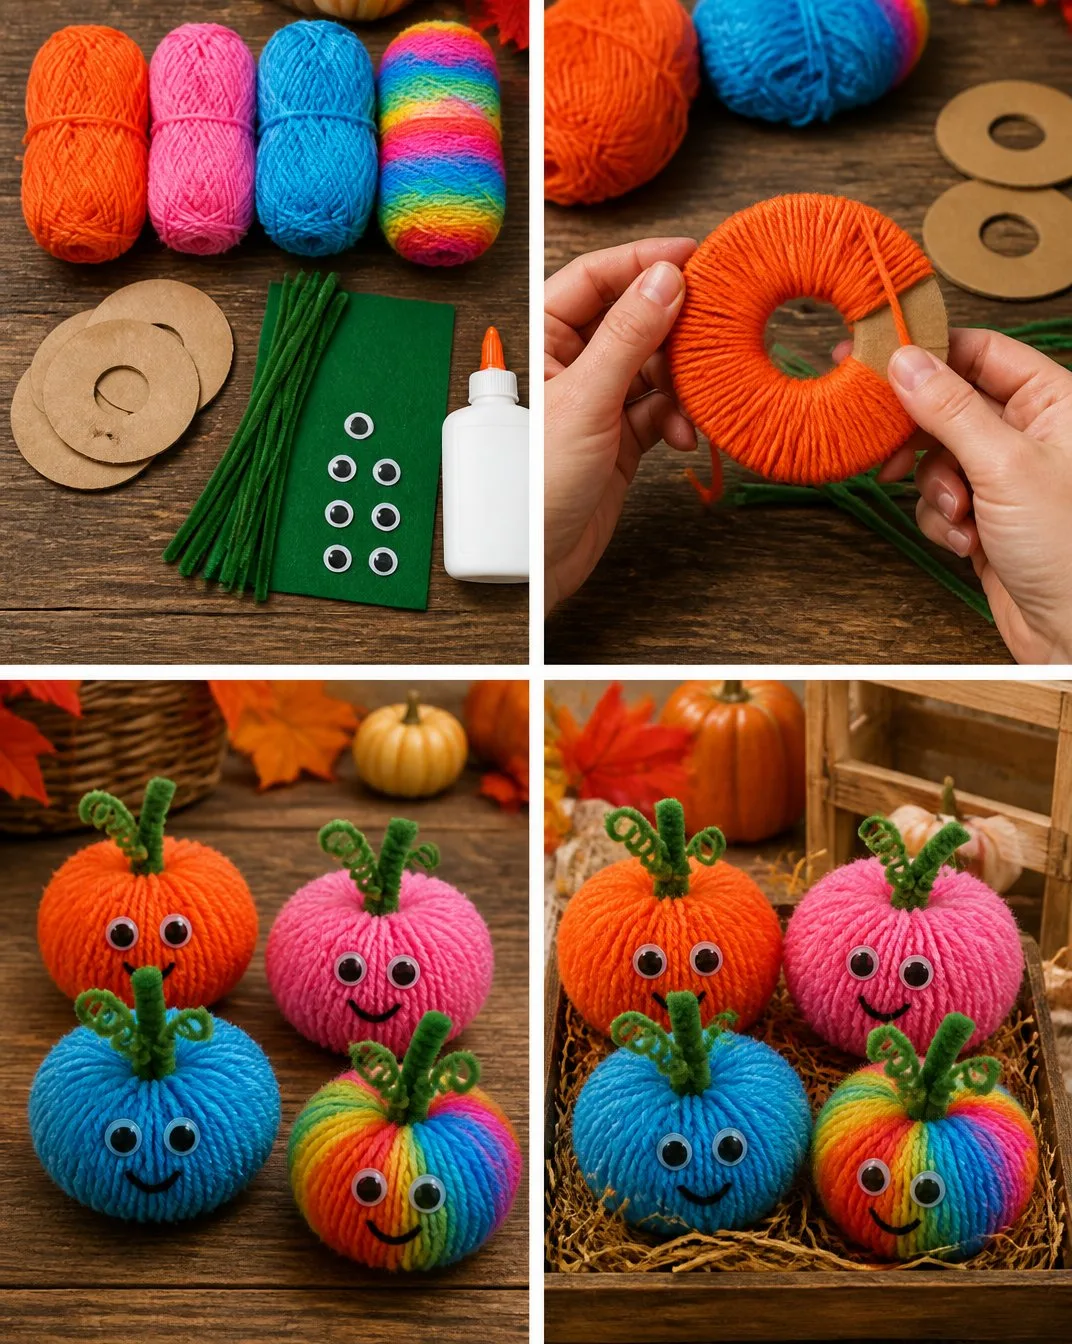
Imagine the soft murmur of yarn slipping through your fingers, the gentle cadence of scissors snipping away excess strands. The process of making a Rainbow Pom-Pom Pumpkin Patch flows beautifully as you engage with each step. Starting with the gathering of materials, you can feel the anticipation build. The colors come alive as you toon each pom-pom, envisioning the end result. It’s a rhythmic dance that ties you to the moment a gentle reminder of the peace that crafting can bring. You may also find Back To School Rainbow Sandwich Bento Cozy useful.
Materials You’ll Need
Gathering your materials is the first calming step in this creative journey. Here’s what you will need: You may also find Back To School Rainbow Walking Water Pencils useful.
- Yarn in various colors (choose your favorite shades for a vibrant patch)
- Scissors (for pom-pom trimming)
- A pom-pom maker or cardboard (for shaping)
- Twine or string (to bring everything together)
- A small stem or stick (to resemble a pumpkin’s top)
Choose materials that speak to you, perhaps some that evoke fond memories or seasonal feelings. The yarn should offer a soft texture, inviting gentle touch and warmth.
Step-by-Step Directions
Choose Your Colors: Select your yarn colors. Think about which hues resonate with your vision of a pumpkin patch.
Cut the Yarn: For each pom-pom, cut a length of yarn approximately 12 inches long. This will help you tie off the pom-pom later on.
Wrap the Yarn: Using your pom-pom maker or cardboard, begin wrapping your chosen yarn around the tool. Aim for a nice thickness, which will create a fluffy pom-pom.
Tie It Off: Once you have wrapped enough yarn, take the 12-inch piece you cut earlier and carefully slide it between the layers. Tie tightly in the middle.
Trim Your Pom-Pom: Remove the wrapped yarn from the maker or cardboard. Use scissors to trim the ends into a nice round shape, creating that plush pumpkin feel.
Repeat: Create multiple pom-poms in various colors. Your pumpkin patch will flourish with diversity.
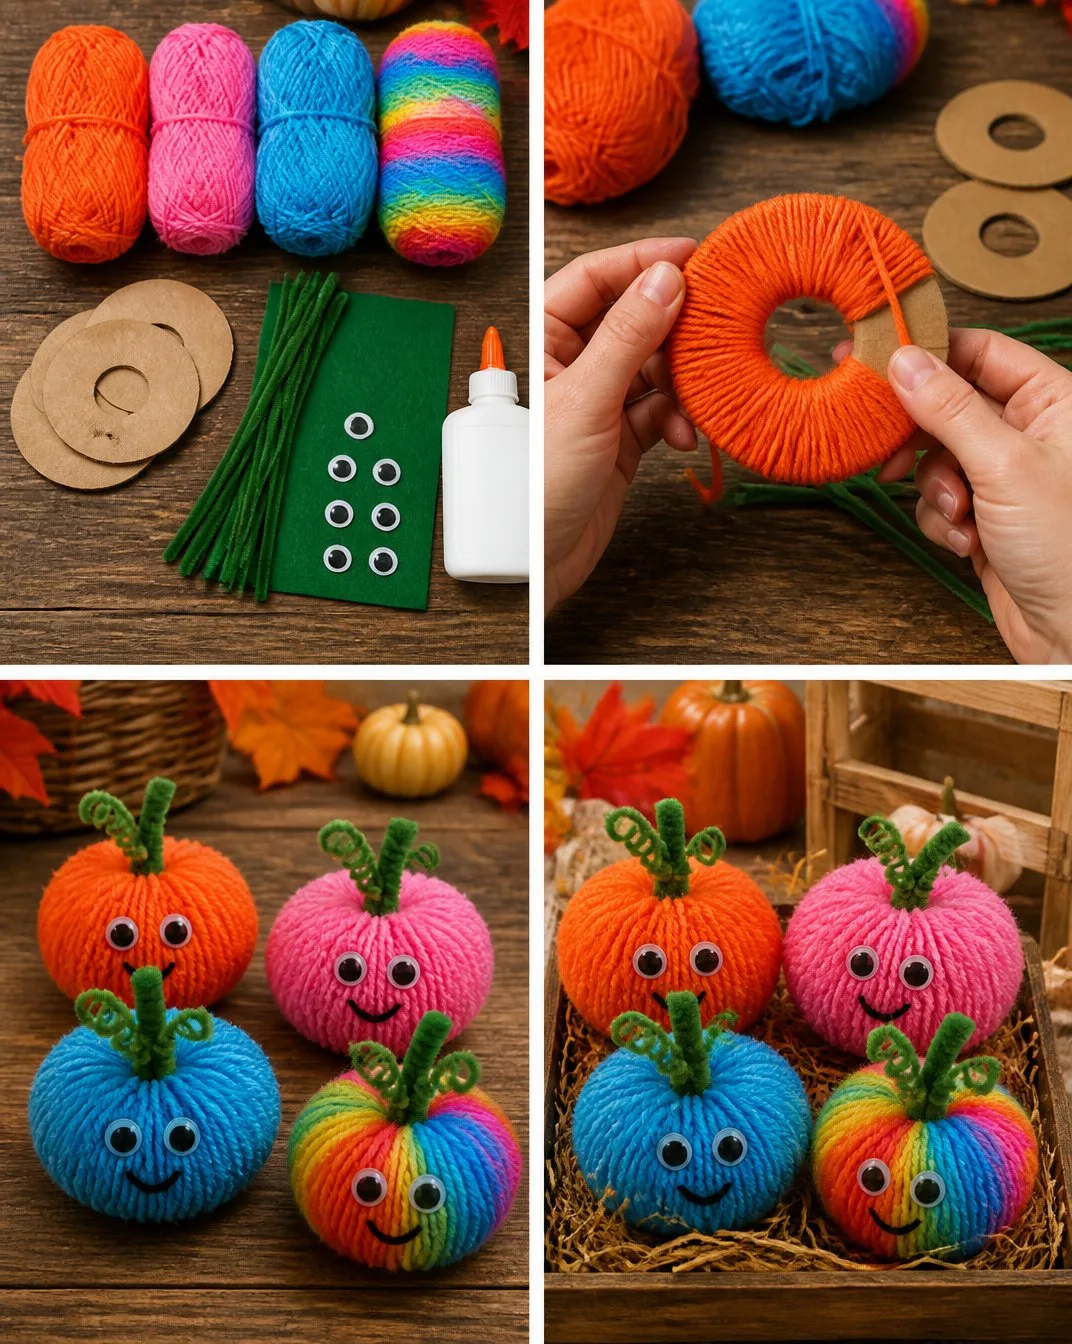
Assemble the Patch: Arrange your pom-poms in a way that delights your senses. You can nestle them in a bowl or display them on a shelf. Add twine or small sticks to create a natural feel.
Enjoy: Take a moment to appreciate your labor of love. Each pom-pom captures warmth and creativity, filling your space with joy.
Enjoying the Finished Piece
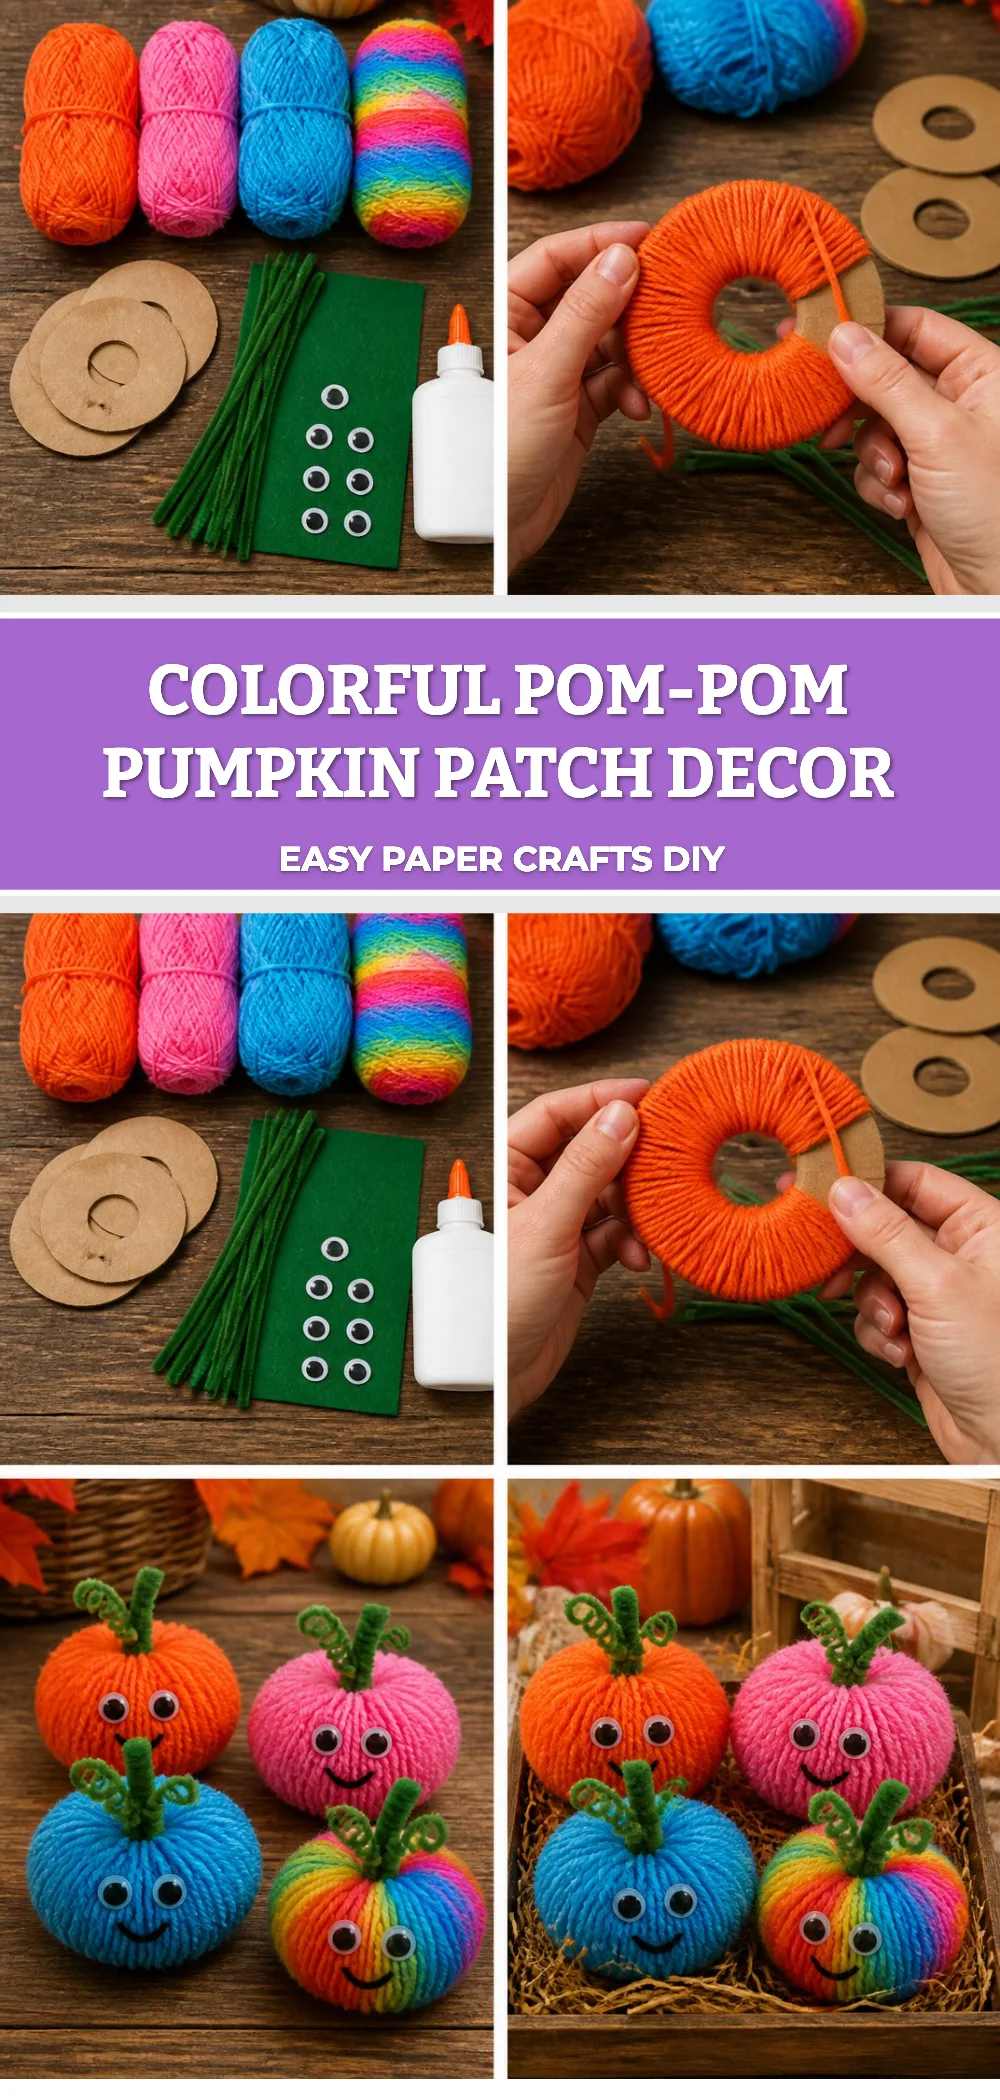
Once you have completed your Rainbow Pom-Pom Pumpkin Patch, you can find numerous ways to incorporate it into your daily life. These cheerful pumpkins make lovely centerpieces on dining tables or can be nestled among your seasonal decorations. Their vibrant colors can brighten gloomy days, serving as tangible reminders of creativity and comfort. Consider placing them in a cozy corner of your reading nook or even gifting them to friends who would appreciate a touch of handmade joy. Their presence can evoke warmth and togetherness during gatherings.
Keeping It for Later
To ensure that your Rainbow Pom-Pom Pumpkin Patch lasts, store it in a cool, dry place when not in use. A fabric bag can help maintain its shape and keep dust at bay. If you choose to place them outside or in a humid environment, consider bringing them inside to avoid wear and tear. These pom-poms are versatile, and with a little care, they can be reused or repurposed for future crafting projects. They can even become part of festive garlands or used in other DIY decor.
Gentle Tips & Variations
Exploring the creative process of making your pumpkin patch can be a simple yet profound journey. Here are a few ideas to make it your own:
- Color Themes: Experiment with unconventional colors like pastels or metallics for a more whimsical take on a pumpkin patch.
- Texture Variations: Incorporate different textures such as felt leaves or fabric pumpkins for added depth.
- Layered Sizes: Use various pom-pom sizes to create a whimsical hierarchy in your patch, making some larger and others smaller.
- Fragrance: Consider adding a few drops of essential oil to your yarn as you wrap this can enhance the sensory experience.
FAQs About Rainbow Pom-Pom Pumpkin Patch
How do I prevent my pom-poms from falling apart?
Ensure you tie your pom-poms tightly in the middle to keep them secure. The more yarn you wrap, the fluffier and firmer they will be.
Can I use different kinds of yarn?
Absolutely! Mixing textures such as cotton and wool can create interesting visual dynamics and tactile experiences.
What should I do if my pom-poms aren’t fluffy enough?
Try wrapping more yarn around your maker or cardboard to create a denser pom-pom. You can also trim them carefully to achieve a fuller look.
Conclusion
Engaging with the Rainbow Pom-Pom Pumpkin Patch project closes a circle of creativity that not only results in charming décor but also nurtures a calming, mindful practice. Embracing the joy of creation can enhance your environment and enrich your spirit. If you’re looking for complementing cozy items, consider checking out the charming Rainbow Polka Dot Rhinestone Beanie – Mud Pie or the delightful Aurora® – Teddy Pets™ – 10″ Rainbow Pom, which exemplify the joyful essence of the season. Enjoy every moment of this process, and let the warmth of your creativity shine.
PrintRainbow Pom-Pom Pumpkin Patch
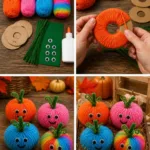
Create a vibrant and cheerful Rainbow Pom-Pom Pumpkin Patch that brightens up your space while engaging in a calming crafting experience.
- Prep Time: 15 minutes
- Cook Time: 0 minutes
- Total Time: 15 minutes
- Yield: 1 Pumpkin Patch
- Category: Craft
- Method: Crafting
- Cuisine: DIY
- Diet: N/A
Ingredients
- Yarn in various colors
- Scissors
- A pom-pom maker or cardboard
- Twine or string
- A small stem or stick
Instructions
- Choose your yarn colors.
- Cut a length of yarn approximately 12 inches long.
- Wrap your chosen yarn around the pom-pom maker or cardboard.
- Tie tightly in the middle using the 12-inch piece you cut.
- Trim the ends into a nice round shape.
- Repeat to create multiple pom-poms in various colors.
- Assemble your pom-poms in a delightful arrangement.
- Enjoy your labor of love and the warmth it brings.
Notes
Store pom-poms in a cool, dry place when not in use to maintain their shape.