

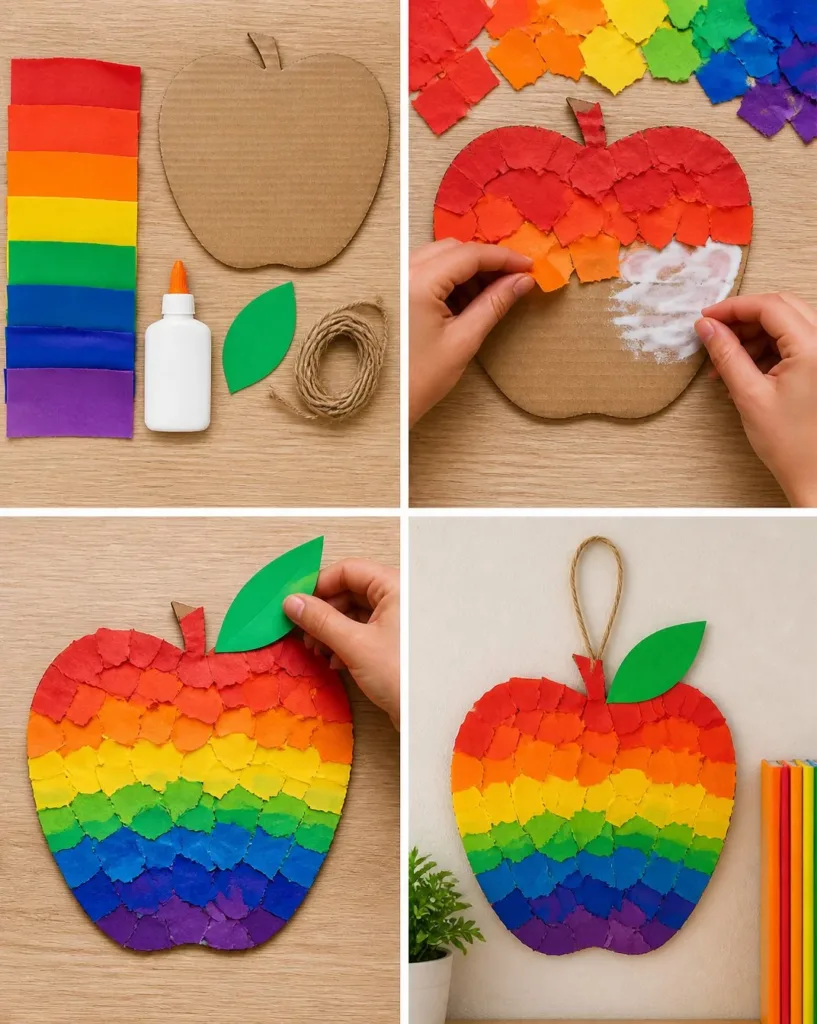
Creating invites for gentle creativity, the Back-to-School Rainbow Apple Mosaic project presents a delightful way to welcome the new season. As the crisp autumn air begins to seep in, the vibrant colors of this project echo around us, reminiscent of a fresh apple picked at its peak. Gathering the materials and immersing yourself in this sensory-rich experience invites the calm to settle within, making way for focused attention and joyful making. You may also find Baking Soda Rainbow Crystal Forest Rainbow Crystals useful.
The Heart Behind This DIY
This mosaic project holds a special place as it combines playfulness with artistic expression. Working with your hands to layer colors and textures allows for a quiet meditative escape from daily routines. As you select each piece and place them with intention, the world outside slows down. The process can nourish your soul as much as the finished piece brightens your space.
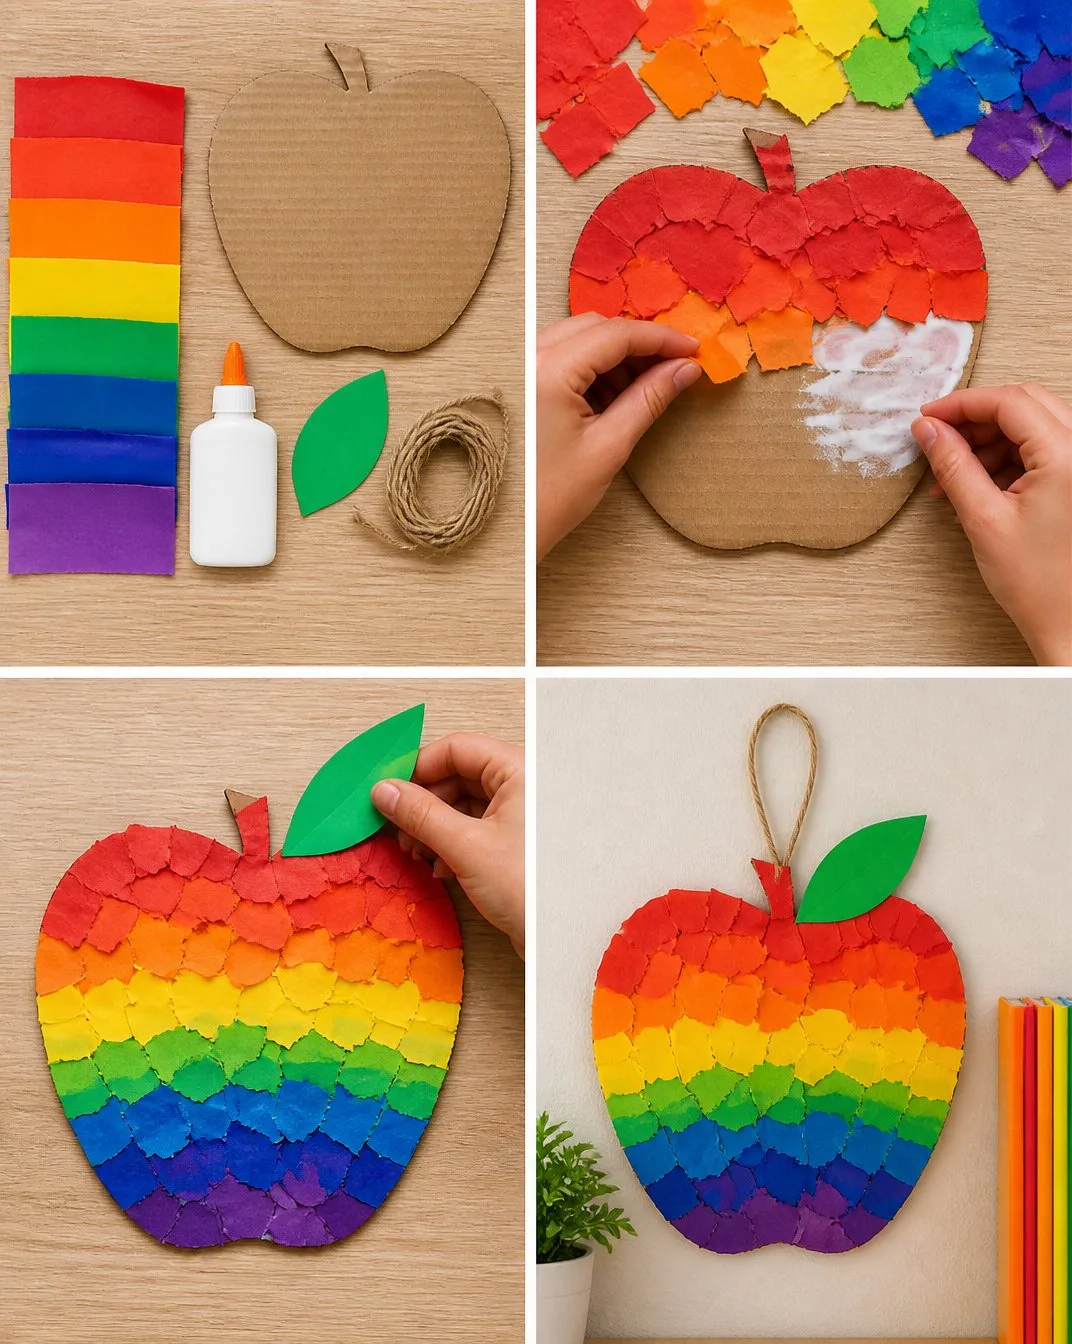
A Gentle Look at the Process
To create your Back-to-School Rainbow Apple Mosaic, you’ll find a gentle rhythm in the way materials come together. The sound of paper rustling, glue gliding smoothly, and the bright colors mixing creates a delightful symphony that calms the mind. This serene flow connects the physical act of crafting with emotional grounding, allowing for a satisfying pause in your day.
Materials You’ll Need
- Colored paper or card stock (choose a rainbow of colors)
- Scissors (for cutting shapes)
- Clear glue or mosaic glue (for easy application)
- A sturdy base (like cardboard or wood)
- A pencil (for sketching out your design)
- Optional: glitter or sequins for added sparkle
Each item is easy to find or can be beautifully repurposed from what you have at home, inviting creativity and personal touch.
Step-by-Step Directions
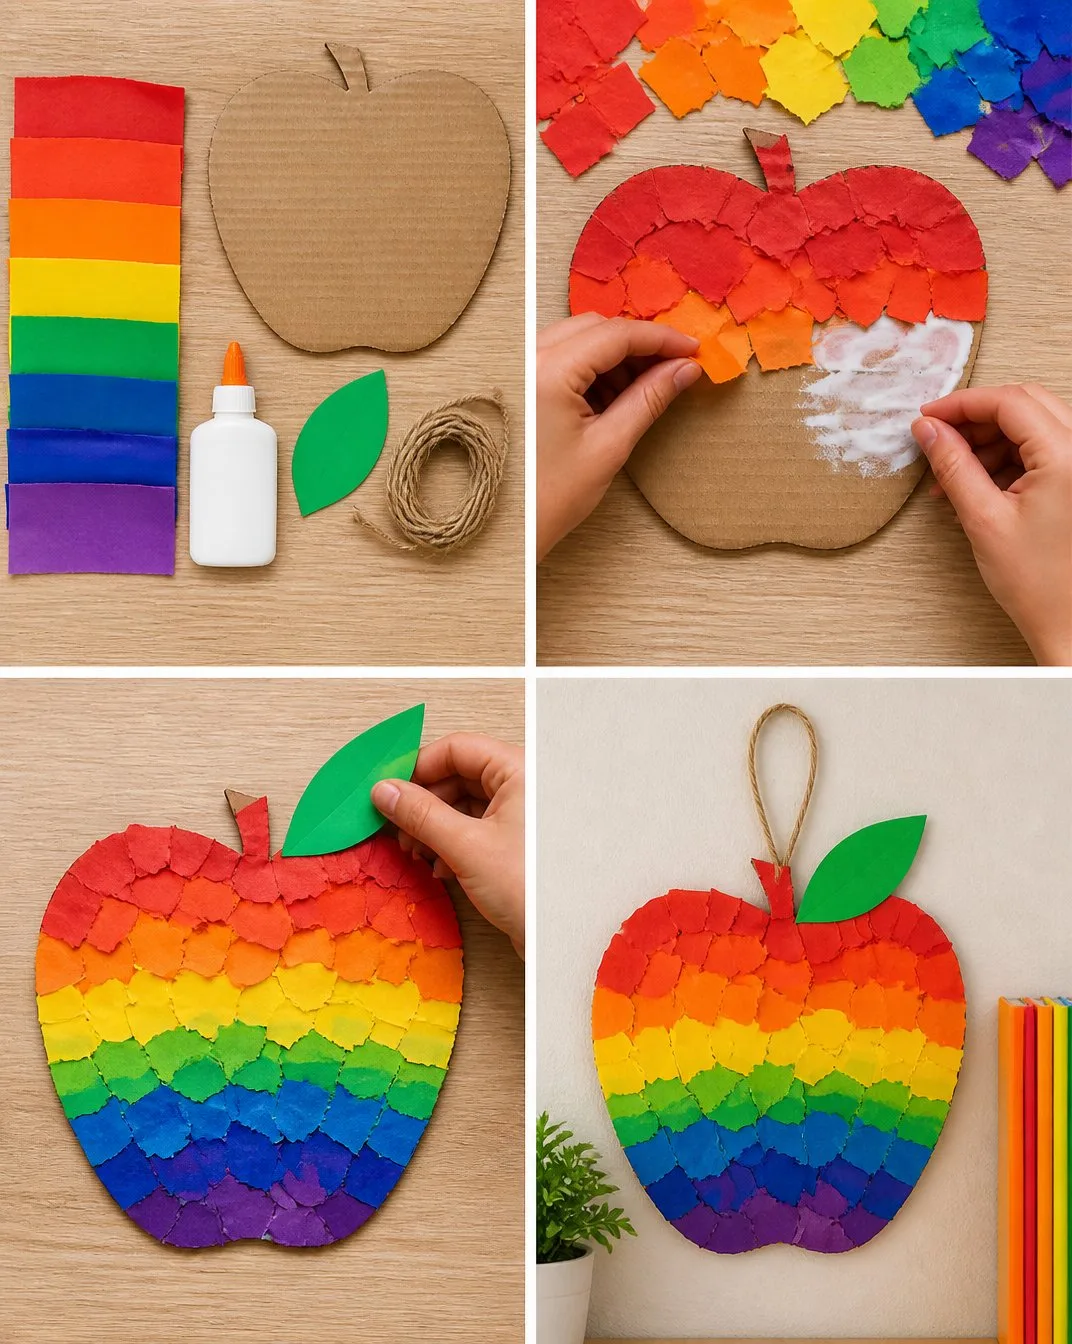
Start by drawing the outline of an apple on your sturdy base. This will act as your canvas.
Cut the colored paper into small pieces or shapes that will fill your apple. Enjoy the sensation of scissors gliding through the paper.
Choose your favorite colors and begin to layer them inside the outline. The process of placing each piece helps you to focus on the texture and hue.
Apply glue to the back of each paper piece before sticking it down. Notice the shift in the space around you as the mosaic takes form.
Once all pieces are in place, allow the glue to dry fully. This pause creates anticipation and gives the mosaic its final shape.
Enjoying the Finished Piece
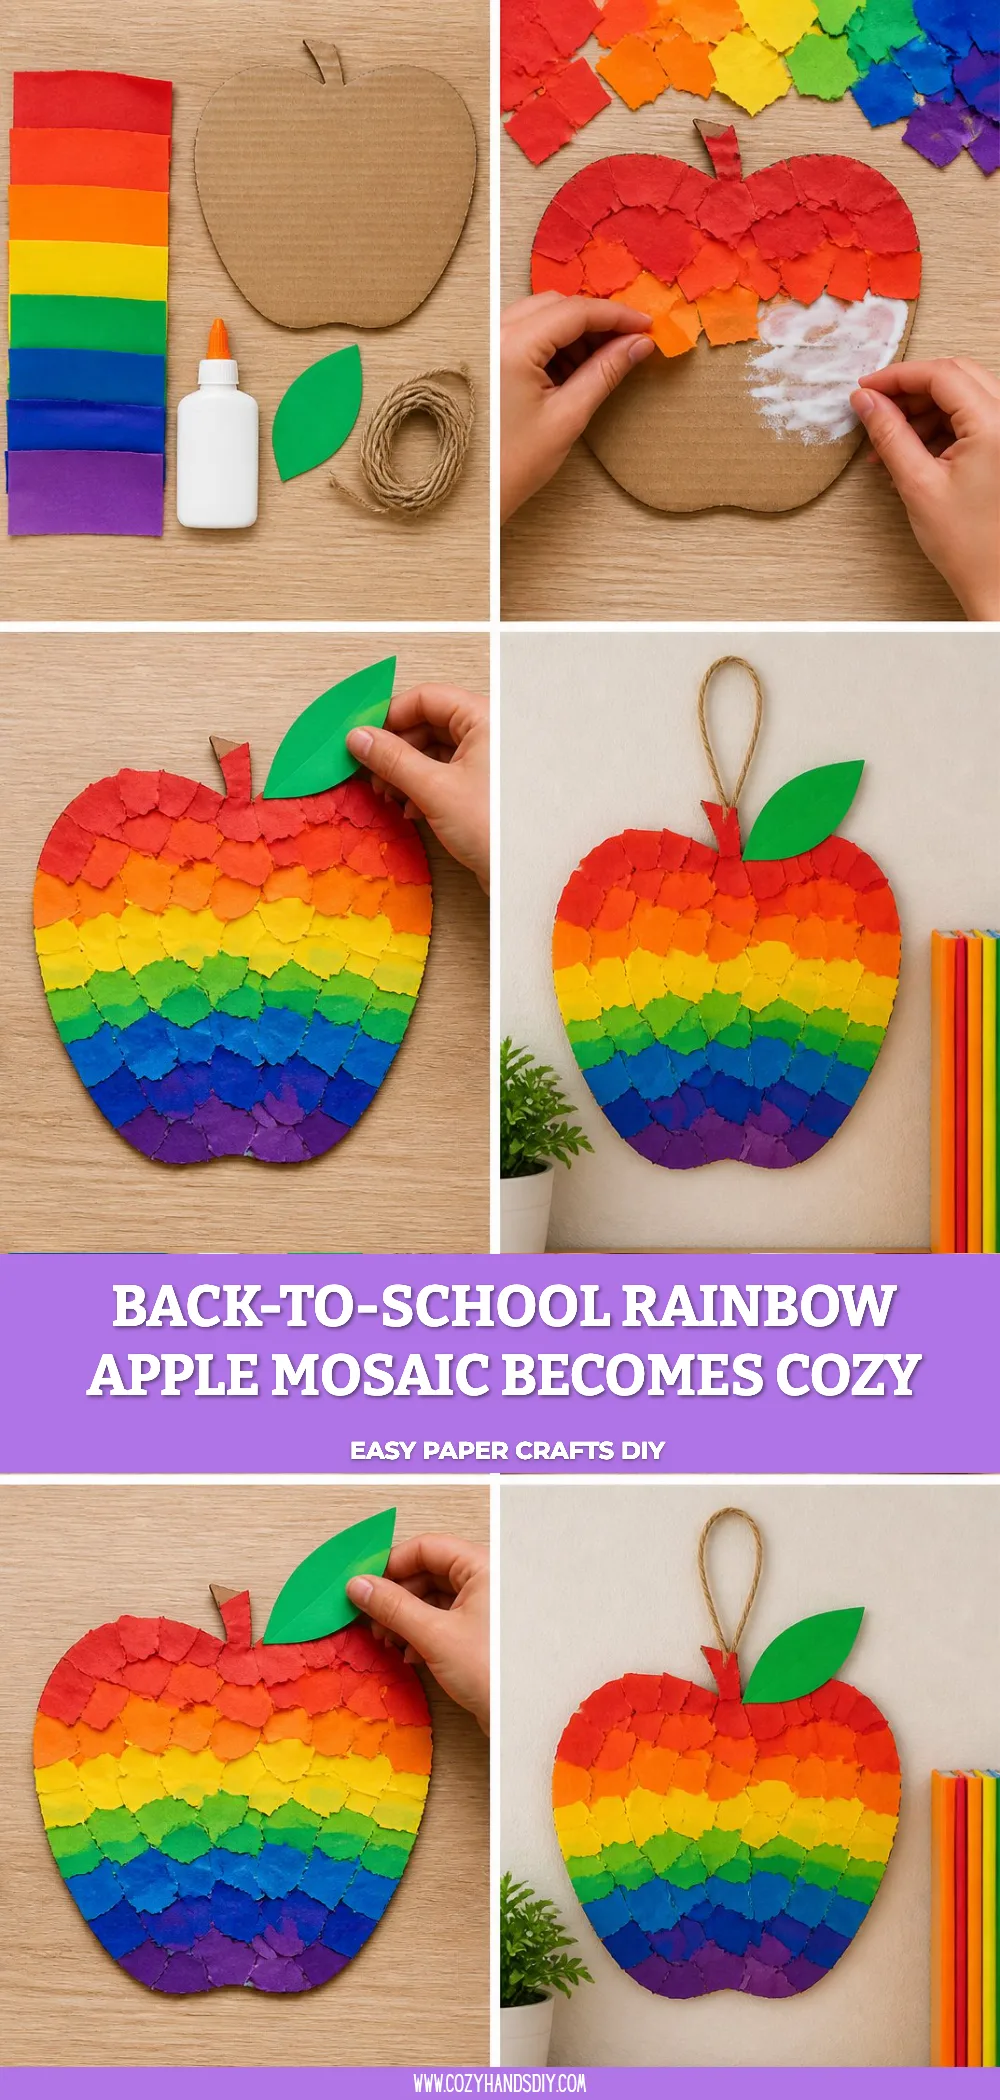
Once your Back-to-School Rainbow Apple Mosaic is complete, you can display it prominently in your home. It could brighten a classroom corner, inspire creativity on a home office desk, or even hang on a wall as a cheerful reminder of the colors of the season. The piece invites conversation and reflection, offering a comforting presence that speaks of the care you put into it.
How to Store or Reuse Back-to-School Rainbow Apple Mosaic
If you choose to take down your mosaic for the season, store it in a flat box to preserve its integrity. You might also consider reusing the base for future projects, perhaps layering another creation atop this one. The beautiful colors and patterns can inspire new ideas, keeping the spirit of creativity alive throughout different seasons.
Gentle Tips & Variations
- Consider creating smaller versions for bookmarks or tags as a fun way to share with others.
- Explore different materials like fabric pieces or even leaves for added texture.
- If you find joy in more than one project, try making related crafts, such as colorful rainbow crystals to complement your mosaic.
FAQs About Back-to-School Rainbow Apple Mosaic
Can I use different shapes besides an apple?
Absolutely! The beauty of a mosaic is that you can create any shape that resonates with you. Feel free to explore your imagination.
What if I don’t have all the colored paper?
You can substitute with magazine cutouts or any colorful materials you have at hand. It’s all about being resourceful and creative.
How long does the mosaic take to dry?
Typically, giving it a few hours ensures the glue fully sets. You might find it helpful to leave it overnight for best results.
Conclusion
Engaging in the Back-to-School Rainbow Apple Mosaic provides a warm, creative outlet that blends thoughtful making with sensory richness. It can be a cherished experience that brings joy and calm into your routine. For more creative inspiration, consider exploring DIY rainbow crayons or download a soothing coloring app like Colorscape to enhance your colorful journey even further.
PrintBack-to-School Rainbow Apple Mosaic
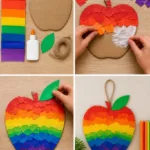
A delightful DIY project to create a vibrant Rainbow Apple Mosaic, perfect for welcoming the new season.
- Prep Time: 30 minutes
- Cook Time: 0 minutes
- Total Time: 30 minutes
- Yield: 1 mosaic
- Category: Craft
- Method: Crafting
- Cuisine: N/A
- Diet: N/A
Ingredients
- Colored paper or card stock (choose a rainbow of colors)
- Scissors (for cutting shapes)
- Clear glue or mosaic glue (for easy application)
- A sturdy base (like cardboard or wood)
- A pencil (for sketching out your design)
- Optional: glitter or sequins for added sparkle
Instructions
- Start by drawing the outline of an apple on your sturdy base.
- Cut the colored paper into small pieces or shapes that will fill your apple.
- Choose your favorite colors and begin to layer them inside the outline.
- Apply glue to the back of each paper piece before sticking it down.
- Once all pieces are in place, allow the glue to dry fully.
Notes
Display your mosaic prominently to brighten your space, and consider reusing the base for future projects.
4 thoughts on “Back-to-School Rainbow Apple Mosaic Becomes Cozy”