

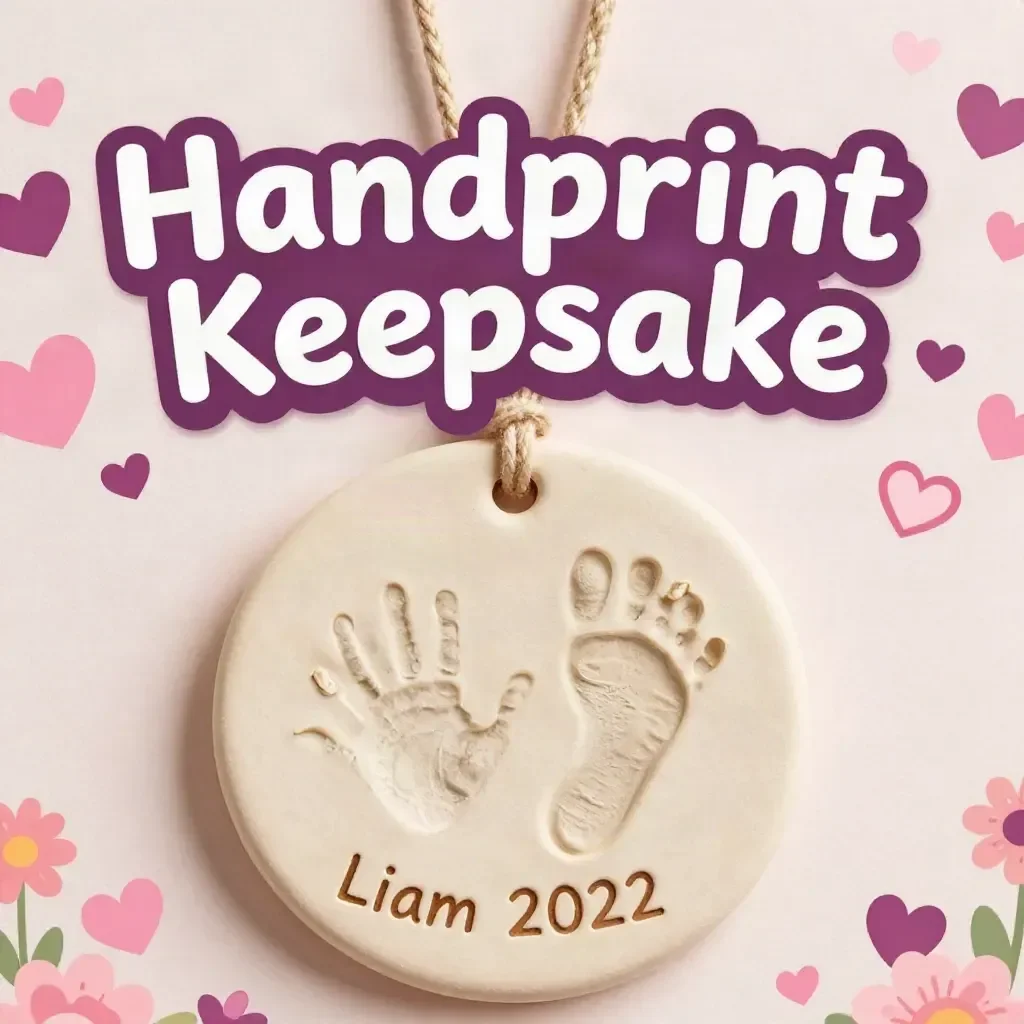
The gentle sensation of crafting can wrap around you like a warm blanket, inviting tranquility and mindfulness into your space. As you knead soft, pliable materials in your hands, they transform under your fingertips into treasured mementos of fleeting moments. A handprint keepsake embodies that sentiment perfectly, capturing a slice of time through a tender impression of a loved one’s hand. The process of creating one can be as soothing as the final piece, offering both a chance to create and recollect. You may also find Embroidered Handprint Keepsake useful.
The Quiet Joy of Making Handprint Keepsake
Creating a handprint keepsake is more than just a craft; it’s an experience that invites us to slow down and savor each moment. This project encourages connection with the ones we cherish, allowing us to create tangible memories unique to our lives. The tactile engagement with the material transports us away from the rush of the day-to-day, focusing our energy and thoughts on something meaningful, quieting our minds while engaging our senses. You may also find Handprint Flowers Keepsake Full Of Love useful.
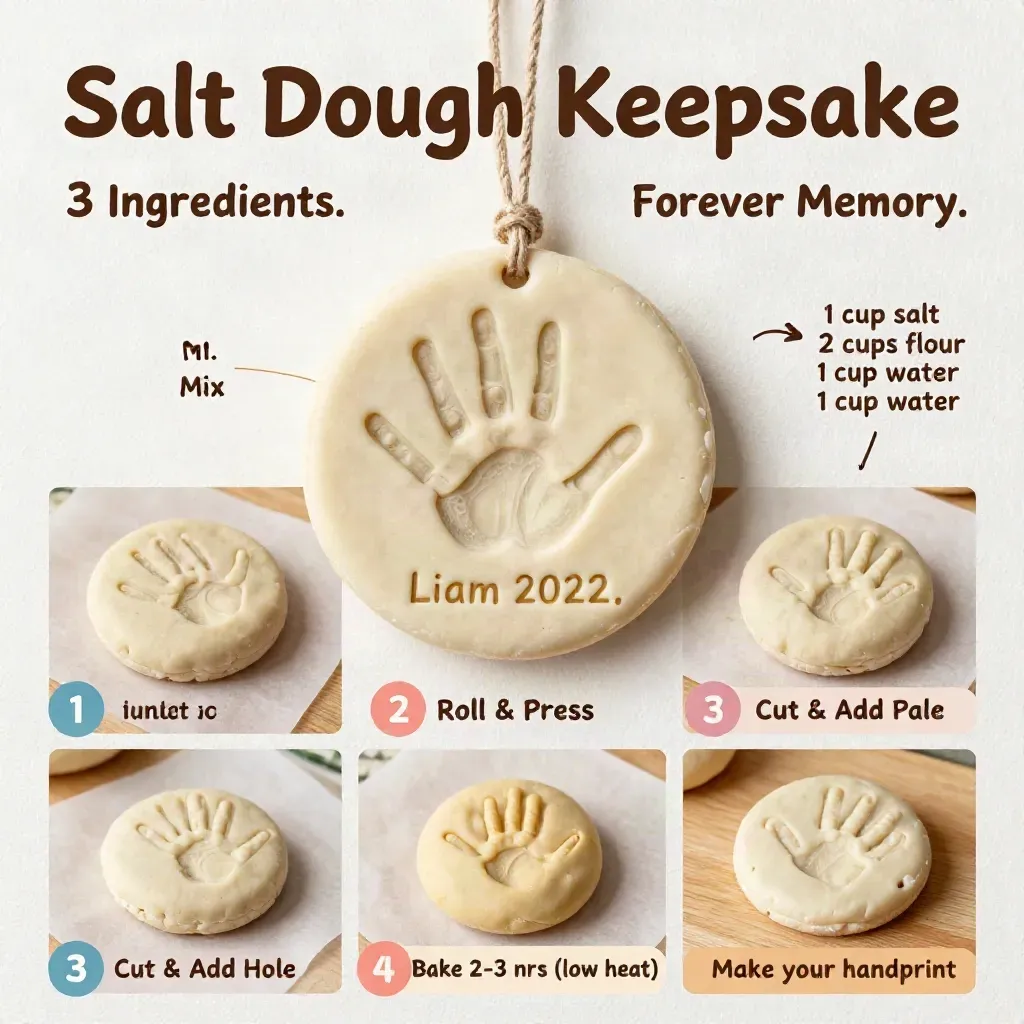
A Gentle Look at the Process
As you begin to craft, imagine the soft sounds of materials shifting and the gentle scent of fresh clay or dough enveloping you. Each step feels like a dance, a rhythm formed through the rolls and presses of hands into soft surfaces. The choices in colors and textures bring visual delight, creating an atmosphere of calm anticipation as the finished piece comes together like a cherished memory. You may also find Easter Footprint Keepsakes useful.
Materials You’ll Need
Gathering your materials is an invitation to mindfully prepare for the creative journey ahead. Here’s what you’ll need: You may also find Embroidered Handprint Mothers Day Craft useful.
- Non-toxic air-dry clay (easy to find)
- Rolling pin (optional)
- Acrylic paint or markers (substitute-friendly)
- Paintbrush (for finer details)
- A sealant (such as mod podge, for longevity)
These supplies can be sourced from local craft stores or even your home, making the project highly accessible.
Step-by-Step Directions
- Start by kneading your non-toxic clay in your hands. Feel the texture become smooth and malleable.
- Roll the clay out gently, aiming for about half an inch thick, creating an even surface.
- Use your hands or a small rolling pin to flatten the clay. The smooth tearing sound is a comforting cue that you’re moving forward.
- Press your child’s hand gently but firmly into the clay, ensuring every finger creates a lasting impression.
- Carefully lift their hand away to reveal the shape. Take a moment to appreciate the footprint of this fleeting stage of life.
- If desired, add decorations or text to personalize the keepsake.
- Allow the piece to air-dry as per the clay instructions, creating a moment of anticipation.
- Once dry, you can paint or finish it with your chosen sealant, which adds a sense of care and longevity to the piece.
Enjoying the Finished Piece
Once your handprint keepsake is complete, it can become a cherished part of your home. You might display it on a shelf or use it as a paperweight. Every glance will evoke the comfort of those moments spent together, turning art into a family heirloom. It could also make a thoughtful gift that carries meaning and memories.
Keeping It for Later
Properly caring for your handprint keepsake ensures it lasts through years of memories. Store it in a cool, dry place, away from direct sunlight to prevent fading. If it’s well-sealed and protected, you can also reuse it later for more impressions, capturing every moment as your child grows. The ability to revisit this project could turn memories into long-lasting traditions.
Gentle Tips & Variations
- If you’re feeling creative, consider using different colors of clay to create layered effects or stripes in your keepsake.
- Try adding small embellishments like beads or glitter to enhance your piece’s charm while still keeping it meaningful.
- Create a series of keepsakes over the years to showcase growth, establishing a deeper connection with memories.
- Use the same technique for animals or paw prints for an added personal touch to your keepsake collection.
FAQs About Handprint Keepsake
How long does the clay take to dry?
Most air-dry clays take 24 to 48 hours to dry completely, so patience is key as you await the final product.
Can we use this technique with older children?
Absolutely! Older children can also create their own handprints and personalize them, encouraging their creativity.
What if the handprint doesn’t turn out right?
Crafting is about the journey, so embrace the imperfections! Each handprint, unique in its own way, tells a wonderful story.
Conclusion
Creating a handprint keepsake offers a wonderful opportunity to slow down and engage deeply with our loved ones. For those who enjoy exploring different types of materials, there are many fun alternatives to consider. You might want to check out Baking Soda Clay Handprint Keepsakes – Mama.Papa.Bubba., which provides another delightful avenue for this creative project. Additionally, if you are interested in experimenting further, the Sand Clay Recipe and Handprint Keepsakes – The Imagination Tree could inspire new ideas. Embrace the reflective beauty of crafting, allowing each creation to become a cherished echo of time spent together.
PrintHandprint Keepsake
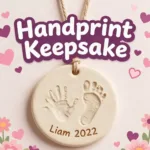
A gentle and engaging project to create a handprint keepsake, capturing cherished moments with loved ones.
- Prep Time: 10 minutes
- Cook Time: 0 minutes
- Total Time: 1 day
- Yield: 1 keepsake
- Category: Craft
- Method: Handcrafting
- Cuisine: N/A
- Diet: N/A
Ingredients
- Non-toxic air-dry clay
- Rolling pin (optional)
- Acrylic paint or markers
- Paintbrush
- A sealant (such as mod podge)
Instructions
- Knead your non-toxic clay in your hands until smooth and malleable.
- Roll the clay out gently, aiming for about half an inch thick.
- Use your hands or a small rolling pin to flatten the clay.
- Press your child’s hand gently into the clay for an impression.
- Carefully lift their hand away to reveal the handprint.
- Add decorations or text to personalize the keepsake, if desired.
- Allow the piece to air-dry as per the clay instructions.
- Once dry, paint or finish it with your chosen sealant.
Notes
Consider creating a series of keepsakes over the years to showcase growth and memories.