

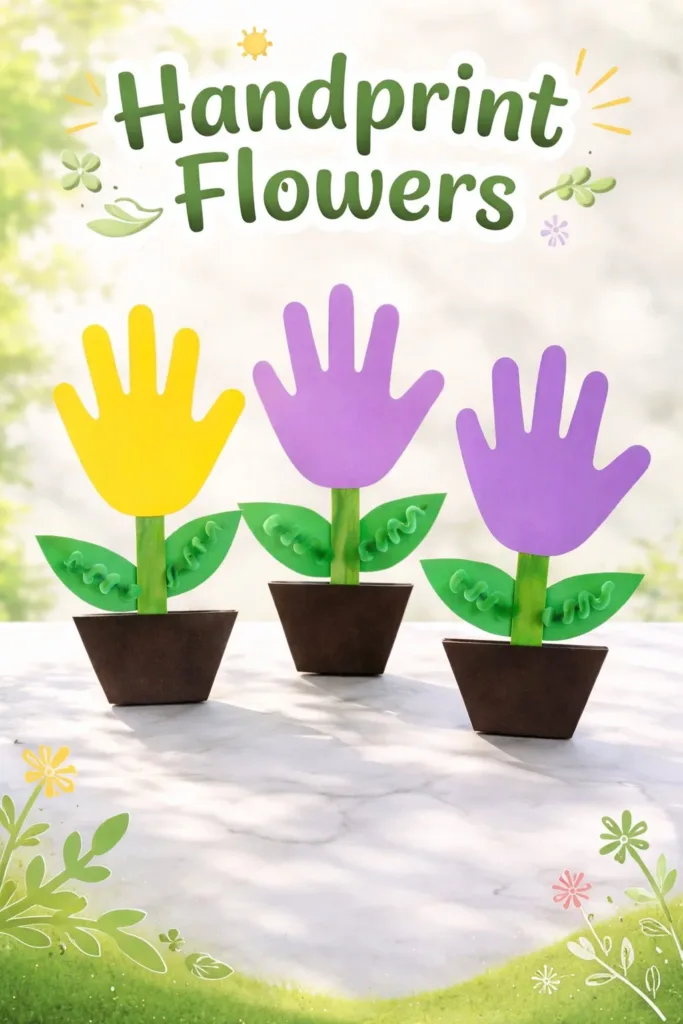
A warm window-lit table, the paint tin breathing faintly as you press your hand into color. You feel the cool paint on your fingertips, the soft ridges of your palm, and a small, bright hush settles over the room. This gentle pause becomes the first line of Handprint Flowers – A Keepsake Full of Love, a slow, sensory way to hold a moment close and turn it into something you can touch again and again. If you enjoy delicate, tactile keepsakes, you may also like the way my bioplastic suncatchers with flowers capture light and memory.
The Quiet Joy of Making Handprint Flowers – A Keepsake Full of Love
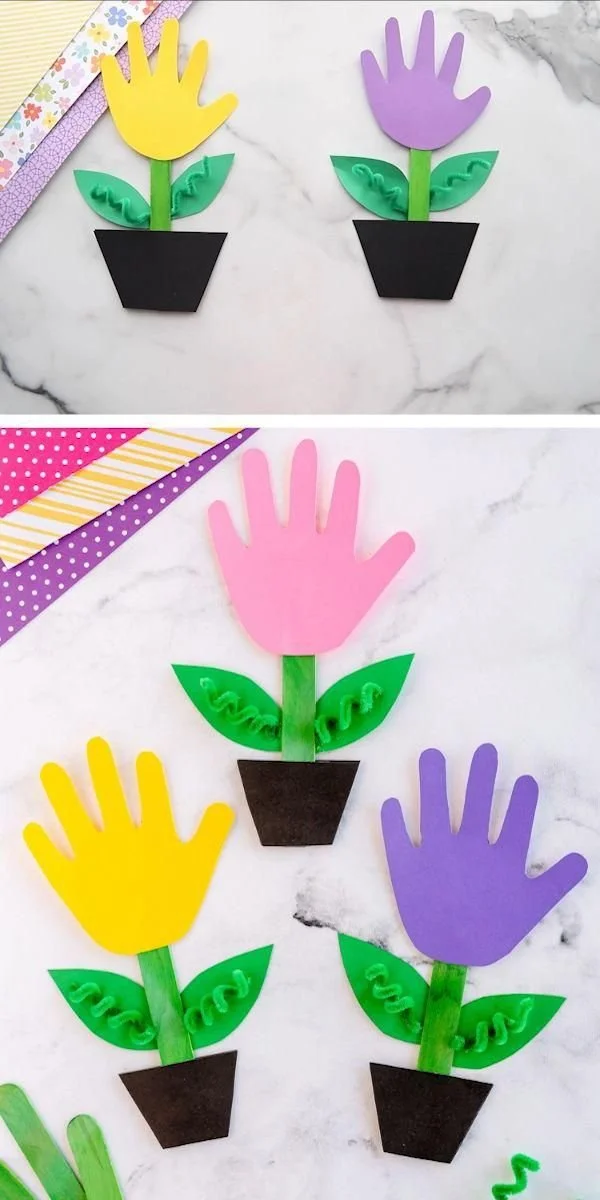
There is a soft satisfaction in seeing a handprint bloom into a flower. The ridges, the spacing between fingers, the tiny crescent left by the thumb all shape a petal in a way nothing else can. Making Handprint Flowers – A Keepsake Full of Love slows the hands and sharpens the eyes. You move deliberately, listening to the subtle sounds of paint lids popping, the gentle sweep of a brush, the quiet drying tick of air on paper.
This project asks for gentle focus rather than perfection. It invites you to notice textures and warmth: the smooth edge of a watercolor brush, the faint dampness of clay under your palm, the soft nap of paper catching pigment. Those small sensory moments help your breathing steady and your thoughts settle. The result becomes more than a craft. It becomes a calm object that holds a story.
A Gentle Look at the Process
Before you begin, picture the rhythm. You press, you lift, you add a stem, you let it dry. You repeat with small variations. The process feels like a quiet loop, a mindful pattern of touch and pause. You will choose materials that respond softly to touch, watch color blend where it meets another, and feel the gentle friction of paper under your hand.
You may want to hum a familiar tune or leave the room quiet. Pay attention to the weight of the brush or the coolness of the paint. If you like exploring sensory projects, consider pairing this with other simple crafts. I often move from pressing handprints into ink to arranging pressed flowers on the same page, and that slow shift from one texture to another feels soothing. If you want more floral inspiration, see the simple sparkle of my crystal flowers project for a different way to play with petals, form, and light.
Materials You’ll Need
- Heavyweight paper or watercolor paper – sturdy and kind to paint, easy to frame.
- Non-toxic washable paint – safe for skin, easy to wash off little hands.
- A small bowl of warm water – for rinsing hands and brushes; feels calming.
- Soft brushes in a couple of sizes – small for details, medium for filling.
- A sponge or wet wipes – optional, for quick cleanups.
- Pencil and eraser – for faint placement marks, erased after drying.
- Thin marker or archival pen – for gentle outlines or adding names and dates.
- Matte frame or simple scrapbooking supplies – optional, to protect and display.
- Tracing paper or kraft paper – substitute-friendly for initial practice prints.
- Slow-drying clay or air-dry clay – optional, if you want a three-dimensional keepsake.
Notes: Most items feel soft in hand and easy to find. Choose paints that state they are safe for skin, especially for very young crafters. If you plan to press a hand into clay first, let the clay dry in a dust-free spot to keep the impression crisp.
Step-by-Step Directions
Prepare your surface and materials so everything feels ready and calm. Take a moment to set out the paint, water, and paper where light falls evenly. This little preparation reduces interruptions and keeps the flow gentle.
Choose the color and test a small print on scrap paper. Rub a thin layer of paint over the palm, feeling its cool, slightly creamy texture. Press the hand firmly but softly onto scrap to check coverage before the keepsake.
Make the handprint on your final paper, pressing evenly from wrist to fingertips. Hold still for a second, then lift straight up to keep edges soft and clear. You will notice the tiny whorls and lines become part of the petal shapes.
Let the print dry a little, then sketch stems and leaves in pencil. Use soft, flowing strokes and follow the natural direction of the fingers. Pencil allows you to adjust gently before committing with ink or paint.
Paint stems and add details around each finger to turn them into petals. Layer thin washes of color to build depth without overwhelming the print. The brush strokes should feel smooth and slow, inviting the paint to settle.
Add small accents like dots, veins, or a little golden center if you like. These details bring the flower to life and celebrate the uniqueness of the print. Use a fine brush or archival pen for crisp marks that will last.
If using clay, press the same hand into soft clay for a matching 3D piece. Let the clay dry completely in a dust-free place, following the maker’s guidance. Place the clay piece beside the framed print or nestle it in a keepsake box.
When everything dries, optionally write a name and date along the edge. Use a calm hand and simple script to keep the look intimate and understated. Frame under matte glass or store flat to protect the piece from light and humidity.
Using Handprint Flowers – A Keepsake Full of Love in Everyday Life
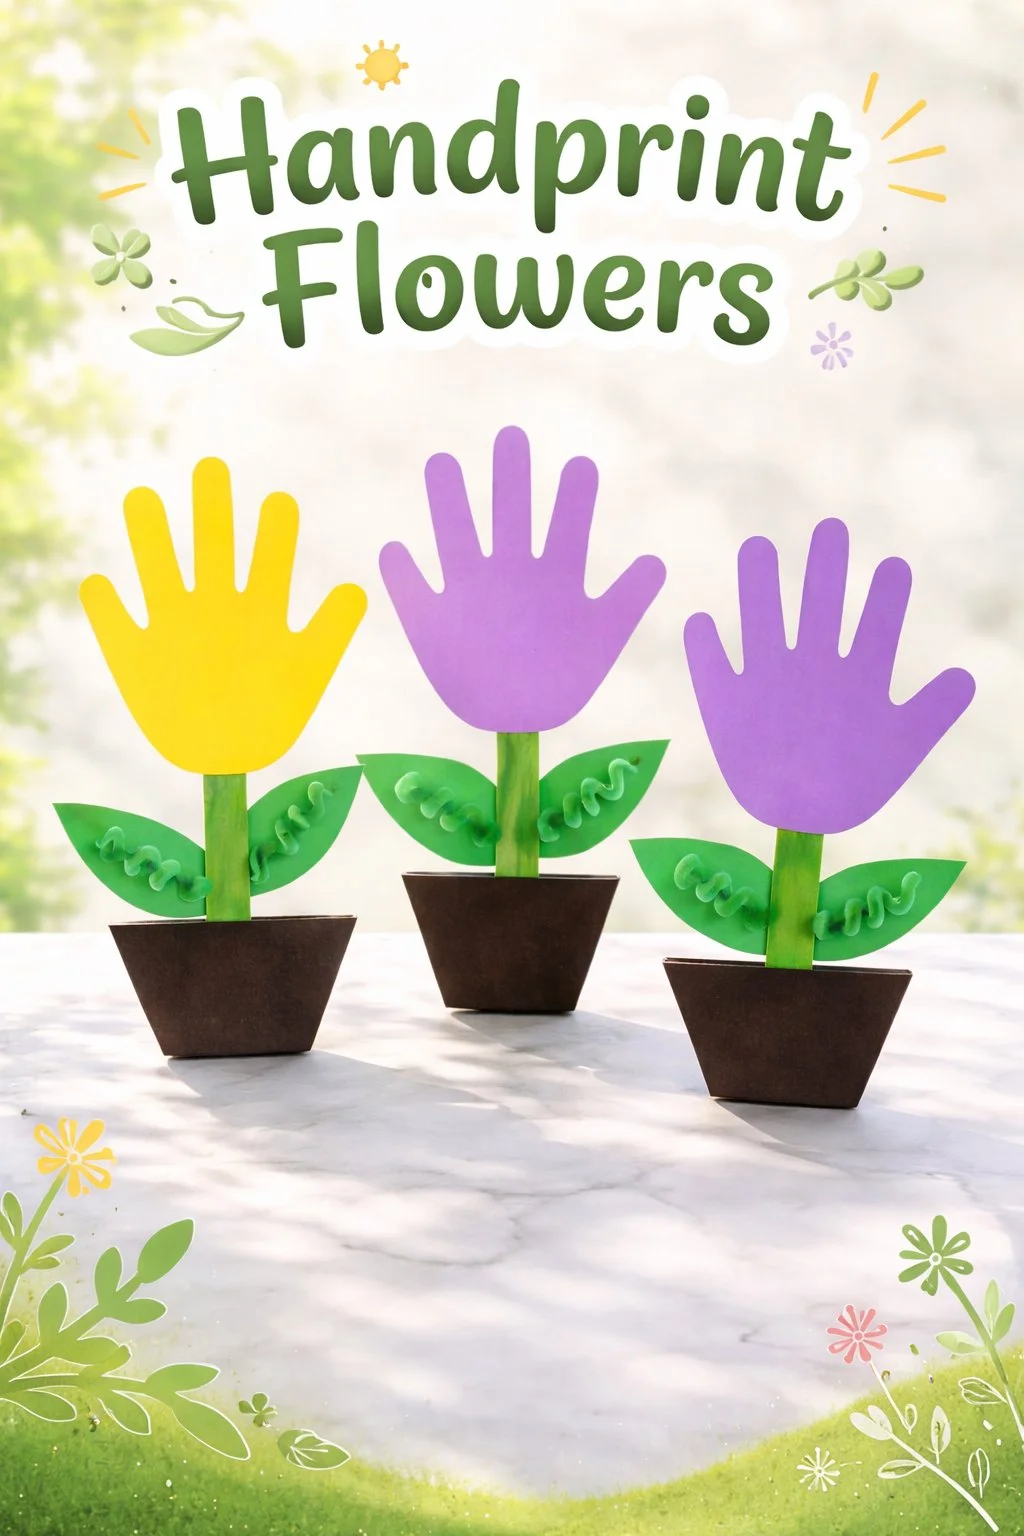
A finished handprint flower can live in many quiet places. I like to place one on a small shelf near a window where morning light softens the colors. The print looks like a tiny memory that brightens the day whenever I pass by. You can also tuck it into a journal, keeping it close to notes and small thoughts.
Pair one with a family photograph on a bedside table. The contrast between photograph and tactile print feels comforting. Or place several prints in a simple collage frame to show growth over time. I keep a few in a drawer with soft linen so I can take them out and touch the texture now and then. If you enjoy seasonal displays, a handprint flower pairs well with a simple glass jar or candle arrangement, much like my playful fireworks jar that brings a little glow to quiet evenings.
Keeping It for Later
Store your handprint flowers flat in a cool, dry place away from direct sunlight. A shallow box lined with acid-free tissue will keep edges crisp and colors true. If you frame the piece, choose UV-protective glass to slow fading and a shallow depth so the print sits comfortably behind the glass.
For small clay impressions, wrap them in soft fabric and put them in a box where they will not rub against other items. Avoid humid places like basements or bathrooms. If you travel with a keepsake, place it between two stiff pieces of cardboard to prevent bending. These simple steps keep the memory intact and ready to be revisited.
Gentle Tips & Variations
- Invite different textures. Try a mix of watercolor and powdered pigment for a softly mottled petal. These blends create subtle movement and feel gentle to the eye.
- Make a timeline. Save one print each year to watch tiny hands grow into something larger. This slow collection becomes a quiet archive of time.
- Use safe clay for 3D keepsakes. Press the same hand into air-dry clay for a companion piece. Clay holds detail beautifully and introduces a calming, tactile dimension.
- Try monoprint variations. Instead of a direct handprint, paint a hand-shaped mask on paper and print around it for a ghosted, more abstract flower. This invites playful experimentation without pressure.
- Let the child choose color and placement. When crafting with little ones, follow their lead. Your calm presence and willingness to accept unexpected choices make the process meaningful for both of you.
FAQs About Handprint Flowers – A Keepsake Full of Love:
Will paint hurt delicate skin?
Choose non-toxic, washable paints labeled safe for skin. I always test a small patch on the inner wrist first and rinse immediately if the skin feels warm or irritated. Most modern washable paints are gentle and rinse away with warm water and soap.
What if the handprint smudges?
Smudges happen and they can look beautiful. If a smudge bothers you, let it dry and soften it with a light watercolor wash to integrate the mark. You can also make a second print on a new sheet as practice. The little variations become part of the story.
Can I preserve a handprint for years?
Yes. Use acid-free paper, archival pens for any writing, and a UV-protective frame if you plan to display the print. Keep clay pieces in a dry environment. These care steps help preserve color and clarity over time.
Is this project suitable for toddlers?
Yes, with close supervision and skin-safe paints. Prepare a protected workspace, wear easy-to-clean clothes, and have a wet towel nearby. Let toddlers press gently and enjoy the sensory play without insisting on neatness.
How can I personalize the keepsake?
Add a short note, the date, or a small drawing in the margin. You might also press a tiny leaf or flower into the wet paint for a natural accent. These personal touches turn a simple print into an intimate remembrance.
A Gentle Note Before You Go
Sit a moment with the finished piece. Run a fingertip along the edge of a petal painted from a finger. Notice the way the colors pooled or the faint places where paint missed. Those small imperfections feel like honest marks of presence. This craft asks you to be present for a brief, quiet exchange between skin and surface. It asks you to slow down and record a tiny life detail with tenderness.
Allow the keepsake to sit where it will remind you that creativity and memory live in the same small gestures. When you revisit the piece, you may find the same calm that settled when you first made it. That gentle return is the real gift.
Conclusion
If you would like a ready-made option inspired by this idea, consider the thoughtful Physkoa Mom & Grandma Keepsake Gift Handprint Flower Craft which pairs a framed print with a sweet presentation. For a warm reflection on why these tactile marks matter, read Cherishing Messy Moments: Why Handprints Matter for gentle essays about memory and making.
PrintHandprint Flowers – A Keepsake Full of Love
A sensory and calming craft project to create handprint flowers, turning memories into tactile keepsakes.
- Prep Time: 15 minutes
- Cook Time: 0 minutes
- Total Time: 15 minutes
- Yield: 1 keepsake
- Category: Craft
- Method: Crafting
- Cuisine: N/A
- Diet: N/A
Ingredients
- Heavyweight paper or watercolor paper
- Non-toxic washable paint
- A small bowl of warm water
- Soft brushes in a couple of sizes
- A sponge or wet wipes (optional)
- Pencil and eraser
- Thin marker or archival pen
- Matte frame or scrapbooking supplies (optional)
- Tracing paper or kraft paper
- Slow-drying clay or air-dry clay (optional)
Instructions
- Prepare your surface and materials so everything feels ready and calm.
- Take a moment to set out the paint, water, and paper where light falls evenly.
- Choose the color and test a small print on scrap paper.
- Make the handprint on your final paper, pressing evenly from wrist to fingertips.
- Let the print dry a little, then sketch stems and leaves in pencil.
- Paint stems and add details around each finger to turn them into petals.
- Add small accents like dots, veins, or a little golden center if you like.
- If using clay, press the same hand into soft clay for a matching 3D piece.
- When everything dries, optionally write a name and date along the edge.
Notes
Choose paints that are safe for skin, especially for very young crafters. Let clay dry in a dust-free spot to keep impressions crisp.
1 thought on “Handprint Flowers – A Keepsake Full of Love”