

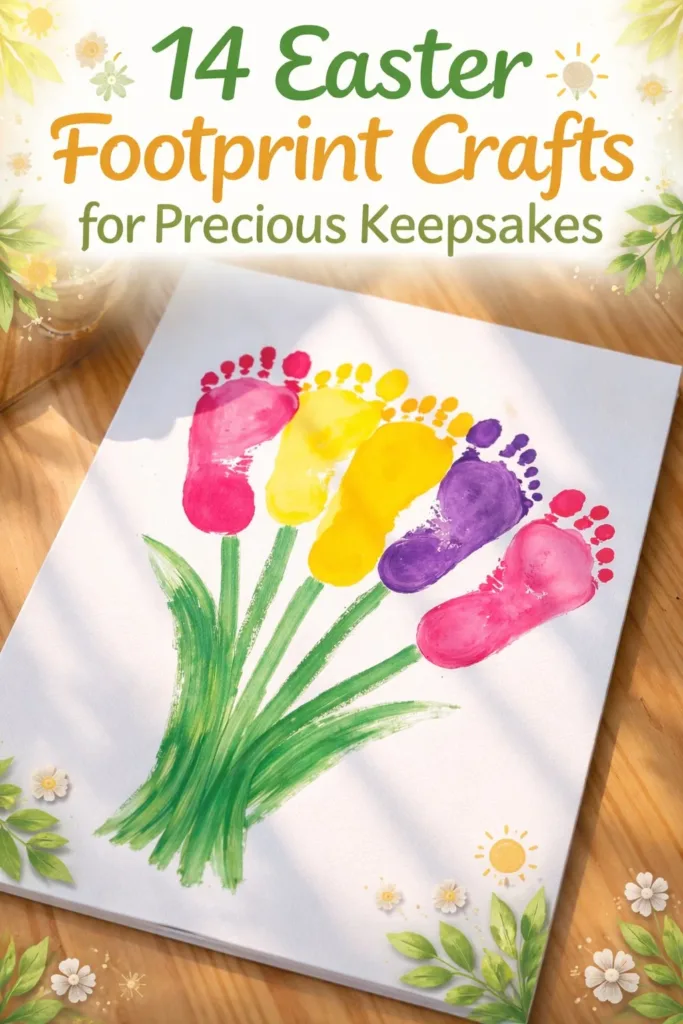
A small lump of clay rests in the warm light on my table. I cup it with both hands and feel its cool smoothness, the quiet way it gives under my thumbs. I press a tiny foot into the surface and watch the soft ridges hold their shape. Making Easter Footprint Keepsakes like this feels like holding time in the palm of my hand. The studio smells faintly of paint and lemon oil. Outside, birds sound like gentle punctuation. I breathe, slow my pace, and let the making ask for only one small motion at a time.
The Quiet Joy of Making Easter Footprint Keepsakes
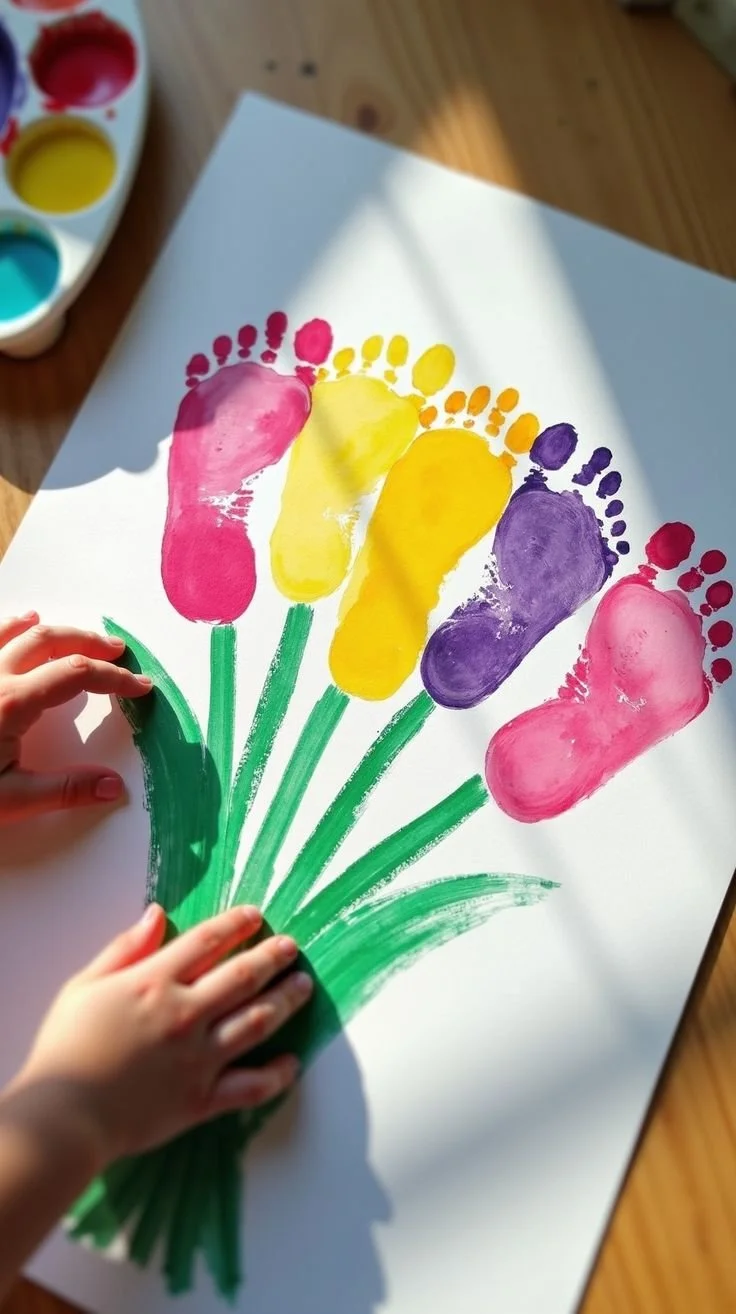
These keepsakes quiet the busy noise with a calm, tactile ritual. When you press a small foot into clay, you notice fine lines in the skin, the curve of a heel, the way toes spread. Those details ask you to stay present. They are small, alive records of a moment you will want to remember.
Making these pieces invites slow hands and soft focus. You move in simple, repeated ways: smoothing, pressing, painting. Each motion gives gentle sensory feedback. The clay feels cool and malleable, paint dries with a whisper, and a finished piece gives back a steady weight in your palm. This rhythm soothes. It helps you slow down, notice texture and light, and hold a memory in a tangible form.
I find this project also gives room for quiet conversation. A child might giggle when they see their print. A partner might run fingers along the rim of a painted egg. Those small shared responses build a sense of calm connection. You do not need fast tools or complicated skills. You only need attention, care, and a willingness to let an ordinary moment become a small, lasting thing.
A Gentle Look at the Process
Before we gather supplies, picture the flow. You start with a soft base, like clay or dough, and press a foot to make a clear impression. You let that set, then gently smooth around the edges. Later, you add color in soft layers, choosing pastel tones or earthy hues. Each layer dries before the next touches it.
The process moves in slow stages. There is a period of wet, changeable making where mistakes are easy to correct. Then there is a calm waiting time while the piece hardens. That pause can be a quiet breath between parts of a busy day. Finally, you add finishing touches and choose how to display the keepsake. The whole flow asks for small, mindful acts rather than a single, hurried push.
As someone who has made these several times, I notice how different each round feels. Some days, my hands want to smooth and perfect every edge. Other days, I welcome a little fingerprint beside a tiny foot. Both choices tell a story. Both count.
Materials You’ll Need
- Air dry clay or salt dough (easy to find; air dry clay is less fragile than oven-baked dough)
- A clean, damp cloth (for gentle smoothing)
- A flat board or tray to work on (keeps the surface steady)
- Small rolling pin or smooth bottle (to flatten clay evenly)
- A tiny shallow dish of water (helps smooth edges)
- Soft, fine sandpaper (optional; for light smoothing after drying)
- Acrylic or tempera paint in soft colors (substitute watercolor pencils for subtle lines)
- Small, soft paintbrushes, size 0 to 4 (for detail and gentle washes)
- Clear matte sealer or varnish (optional; protects the finish)
- Ribbon or twine (for hanging, optional)
- A pencil or toothpick (to write a name or date)
- Wax paper or a silicone mat (to prevent sticking)
Notes:
- Air dry clay works well because it holds detail and does not require an oven.
- Salt dough is warm and homey to make, but it bakes and can become more brittle.
- Use non-toxic paints if children will touch the piece often.
- A soft cloth and water help you blend edges without heavy tools.
Step-by-Step Directions
Prepare your workspace. Find a quiet surface and lay wax paper or a silicone mat down. Gather a damp cloth, water dish, and your clay. Breathe a few slow breaths to arrive at a calm making place.
Soften and roll your clay. Knead the clay gently until it feels smooth and even. Roll it to a thickness of about half an inch for a clear print. You will feel the clay warm slightly under your palms.
Position the child or foot. Invite the child to sit comfortably. Clean and dry the foot lightly. Hold the foot with your hands so they feel steady and safe. The movement should be kind and slow, not hurried.
Make the impression. Press the foot gently but firmly into the clay. If the child wiggles, show them how to keep the foot relaxed by counting slowly to three. Lift the foot straight up to keep the print crisp. Notice the cool indentation and the ridges of the skin.
Smooth the edges. Use your damp cloth or a little water on your finger to soften the clay around the print. Work in small circles, keeping motions steady and light. This makes the keepsake look finished and calm to the touch.
Add names or dates. Use a pencil or toothpick to write a name and date near the print. Hold the tool like you would when drawing gently on paper. The line will show clearly without needing deep pressure.
Let the piece dry. Place the keepsake on a flat tray and let it sit in a dry, low-traffic place. Drying can take 24 to 72 hours depending on thickness. You can feel the surface get cooler and firmer as moisture leaves.
Lightly sand if needed. If the surface feels rough after drying, use fine sandpaper with soft strokes. Sand only the edges or bumps. You will hear a faint, soft rasp as you smooth, then feel the surface become satiny.
Paint in soft layers. Apply paint in thin washes. Let each layer dry before adding the next. Paint the print itself with a delicate touch, or leave it natural and color the background. The paint will go on whisper-thin if you use a gentle hand.
Seal and finish. If you want extra protection, brush on a clear matte sealer in one light coat. Add a ribbon through a drilled hole if you want to hang the keepsake. Hold it quietly for a moment before placing it in its new home.
Enjoying the Finished Piece
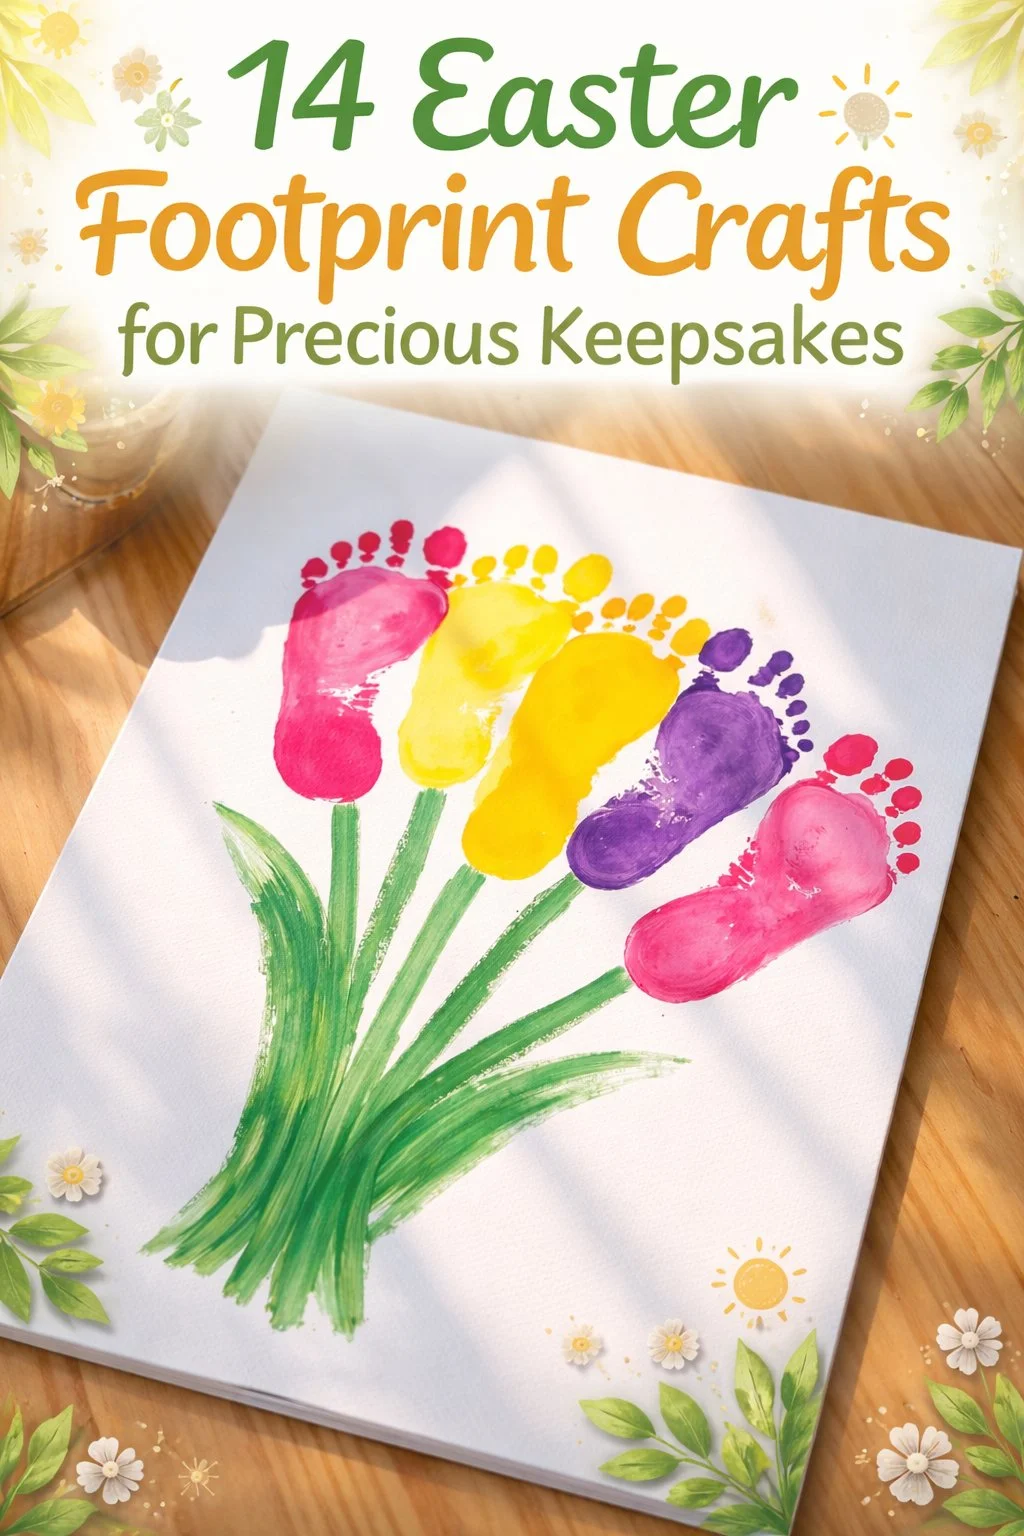
When the keepsake is complete, it offers a soft place to return to. You can hold it in a hand and feel the small concave print. It fits into routines with ease. Place it on a mantel among spring flowers, set it in a shadow box, or tuck it into a memory drawer.
I like to keep one near the kettle, where the morning light washes over it. The ridges catch the sun and the paint seems to look different as the day changes. Sometimes I take it down and trace the tiny toes with my thumb. The object anchors a memory rather than flashy decoration. For young families, these keepsakes become quiet reminders of how small a child once was. For parents or grandparents, they become a tactile story that invites pause.
You can also use these pieces as a small gift. Tuck one into a simple box with shredded paper and a handwritten note. The humble object carries weight because it holds a moment. It feels meaningful without needing to be large or loud.
Keeping It for Later
Store your keepsake in a cool, dry place away from direct sunlight. If you use salt dough, avoid humid areas because the piece may soften over time. Wrap it in tissue paper and place it in a shallow box for safe keeping.
If you want to display it year after year, consider a small shadow box. Use acid-free backing and a soft cushion so the keepsake rests without pressure. Rotate it into seasonal displays so it feels fresh without being handled too much.
For long-term care, avoid harsh cleaners. Dust with a soft brush or a microfiber cloth. If the paint looks dull after many years, you can touch it up with the same color family, working with thin layers so the original character remains. Always test a small area if you are unsure.
If you plan to pass it down, write a short note about who made it and when. Place that note with the keepsake. A simple paper record can be as precious as the object itself.
Gentle Tips & Variations
Invite texture from nature: Lightly press a small leaf or a sprig into the clay beside the foot. It adds a soft botanical impression and pairs well with pastel paint.
Make a duo or trio piece: Roll a longer slab and take several prints side by side. This creates a small family plaque that tells a quiet story of growth.
Try a painted wash: Rather than fully painting the print, apply a gentle wash of color to the background. Wipe the print area with a damp cloth to keep it natural. The contrast feels calm and modern.
Use a keepsake ribbon: Knot a simple ribbon through a drilled hole and write the year on the ribbon tag. The ribbon moves with the light and turns the keepsake into a wearable memory.
Embrace small imperfections: Tiny finger lines or uneven paint show the moment was lived. Let them remain. They add warmth and honesty to the piece.
Each suggestion invites you to make small, personal choices rather than exact copies. Use them as invitations to experiment slowly and with care.
FAQs About Easter Footprint Keepsakes
My child will not stay still for the print. What can I do?
Try a few calming techniques. Let them stand barefoot and wiggle their toes first. Count slowly together, or sing a short, familiar line. Hold their foot gently and speak in a calm voice. If needed, take a break and come back when they feel ready.
Can I use salt dough instead of air dry clay?
Yes, salt dough is a friendly, homey option. It bakes in the oven and can be painted after cooling. Keep in mind it may feel more fragile than air dry clay, and it can be sensitive to moisture over time.
How do I clean the keepsake if it gets dusty?
Use a soft brush or microfiber cloth. Avoid soaking it in water. If you used a sealer, you can gently wipe it with a slightly damp cloth and dry it immediately.
Can I make this with a toddler who is eager to explore?
Absolutely. Use non-toxic materials and set a calm, safe space. Let them touch the clay first, and guide their foot when you press the imprint. Keep motions slow and praise their participation. Their curious marks are part of the memory.
How long should I let the piece dry before painting?
Drying times vary with thickness. Thin pieces can be ready in 24 hours. Thicker pieces may take 48 to 72 hours. Wait until the surface feels uniformly hard and cool to the touch.
A Quiet Closing Thought
There is a small grace in making something that holds a moment. An Easter Footprint Keepsake does that simply. You move slowly, notice small details, and shape a memory into a gentle object. The rhythm of pressing, smoothing, and painting invites presence. The finished piece returns you to that quiet center each time you see or touch it.
This kind of making asks for patience and attention rather than perfection. It welcomes warmth, quiet mistakes, and the lived texture of family life. Keep the making gentle. Let the work be a small ritual. In time, these keepsakes become soft anchors in the stream of days.
Conclusion
If you want a little extra charm to pair with your keepsake, consider a small personalized tag such as the Personalized Easter Basket Tag – Peep to tuck nearby. For ideas about complementary ceramic pieces or pottery painting activities that fit this same calm, hands-on spirit, see Ceramic Easter Gifts & Pottery Painting Ideas for gentle inspiration.
PrintEaster Footprint Keepsakes
Create meaningful Easter keepsakes by capturing your child’s foot print in clay or dough, preserving a precious moment in time.
- Prep Time: 15 minutes
- Cook Time: 120 minutes
- Total Time: 135 minutes
- Yield: 1 keepsake
- Category: Crafts
- Method: Crafting
- Cuisine: N/A
- Diet: N/A
Ingredients
- Air dry clay or salt dough
- A clean, damp cloth
- A flat board or tray
- Small rolling pin or smooth bottle
- A tiny shallow dish of water
- Soft, fine sandpaper (optional)
- Acrylic or tempera paint in soft colors
- Small paintbrushes, size 0 to 4
- Clear matte sealer or varnish (optional)
- Ribbon or twine (optional)
- A pencil or toothpick
- Wax paper or a silicone mat
Instructions
- Prepare your workspace.
- Soften and roll your clay.
- Position the child or foot.
- Make the impression.
- Smooth the edges.
- Add names or dates.
- Let the piece dry.
- Lightly sand if needed.
- Paint in soft layers.
- Seal and finish.
Notes
Air dry clay holds detail well and doesn’t require baking. Use non-toxic paints if children will handle the piece often. Allow time for each layer to dry before adding more paint.