

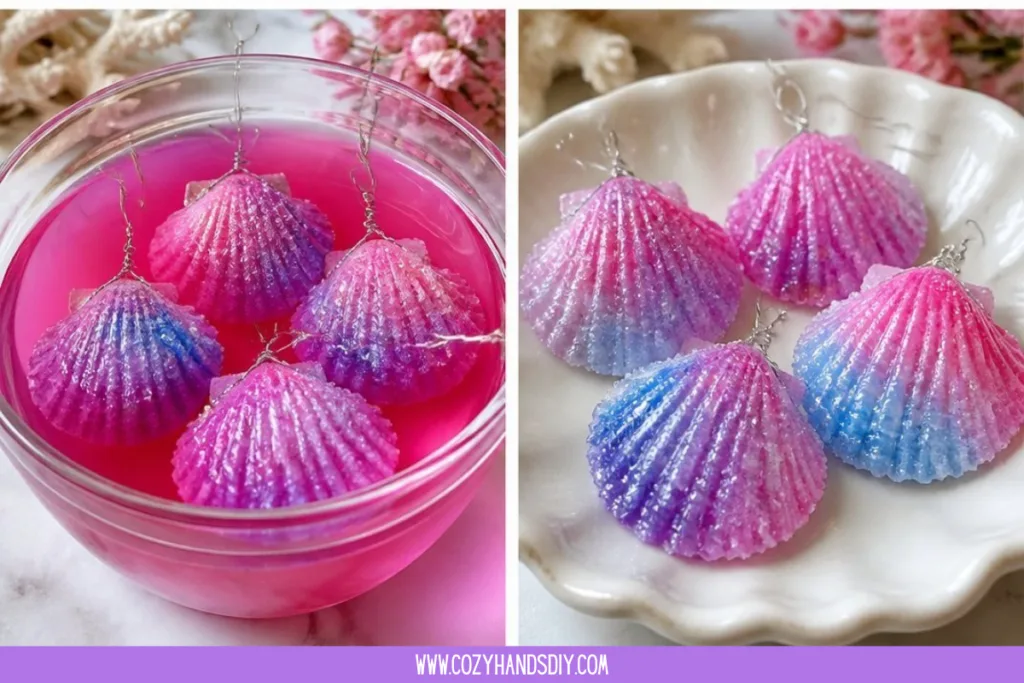
The soft flutter of a seashell, lightly gliding through your fingers, evokes a sense of calm reminiscent of tranquil seaside strolls. Imagine creating your own crystal seashells, basking in the gentle anticipation as each layer of crystal forms. This relaxing project invites mindfulness and creativity, allowing space to appreciate textures and colors while nurturing an atmosphere of cozy making. By immersing yourself in the sensory experience, you engage not just your hands, but also your spirit. It’s a delightful process that promises both satisfaction and visual beauty. You may also find Bright Green Crystal Seashell Experiment useful.
Why Make This Crystal Seashell Craft
This Crystal Seashell Craft connects us to nature and brings a sense of serenity into our spaces. The quiet act of creating something beautiful is enriching; it slows down our busy minds and encourages us to focus on the present moment. As we watch the crystals form, we engage in a gentle rhythm that brings comfort. The soothing hues and sparkling textures can instantly uplift our surroundings, transforming any simple space into a cozy corner. The calmness that comes with crafting is not just about the finished product it’s about the entire journey. You may also find Crystal Egg Craft useful.
A Gentle Look at the Process
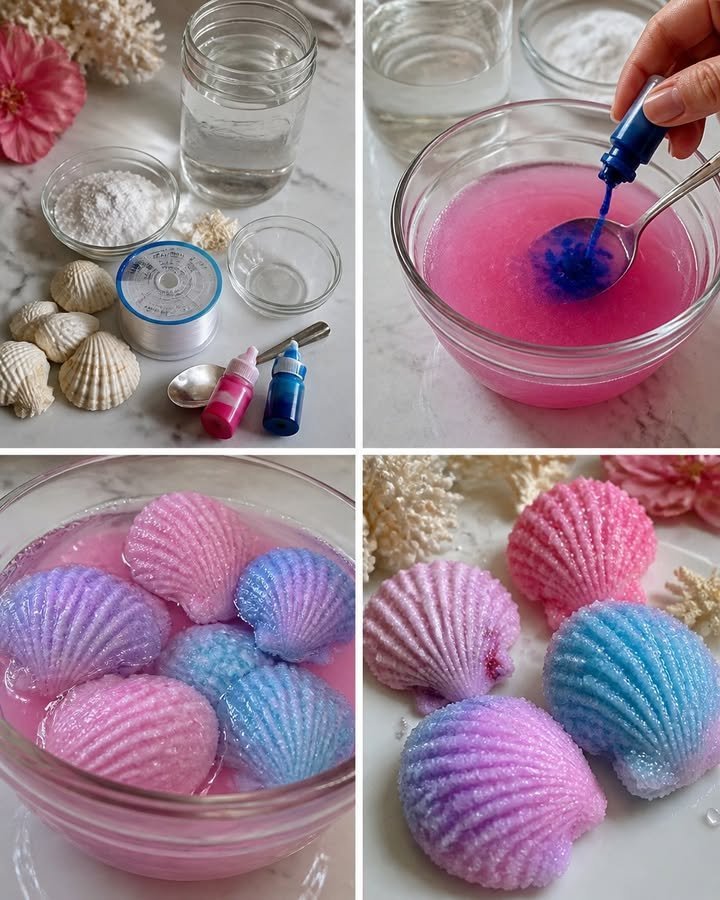
Creating your own crystal seashells is like a slow dance, where every step feels intentional and mindful. You begin with simple materials that together create stunning outcomes. The process invites you to observe each layer forming, to feel the smoothness of the seashells and the granules of the crystal mixture as they blend. Listen closely, and you might hear the faint soft clinks of your tools or the crackling sound of water as the crystals begin to dissolve. This ritual of crafting can be incredibly grounding and offers a delightful escape into creativity. You may also find Crystal Growing Seashell Experiment useful.
Materials You’ll Need
Gathering your materials for this calming project sets the stage for your creative journey. Here’s what you’ll need: You may also find Crystal Heart Craft 2 useful.
- Seashells (natural or ceramic)
- Water
- Borax or Epsom salt (for crystals)
- Heat-resistant containers
- Food coloring (optional for added vibrancy)
- Spoon (for mixing)
- Small pot (for heating water)
Each item is easy to find, whether at your home or through a quick trip to a local store.
Step-by-Step Directions
- Start by heating the water in a small pot until it reaches a gentle simmer. This warm sensation can be quite soothing.
- Gradually stir in the borax or Epsom salt, making sure it fully dissolves. This action can feel calm, almost like stirring a gentle breeze into a still lake.
- If desired, add a few drops of food coloring to the mixture. This step brightens your craft and adds a personal touch.
- Carefully pour the hot solution into your containers, filling them just enough to submerge the seashells.
- Gently place the seashells into the solution, allowing them to float for a moment before they settle to the bottom.
- Leave your containers undisturbed in a warm, dry area. Now, take a moment to breathe deeply and relax as you let the crystals work their magic overnight.
Enjoying the Finished Piece
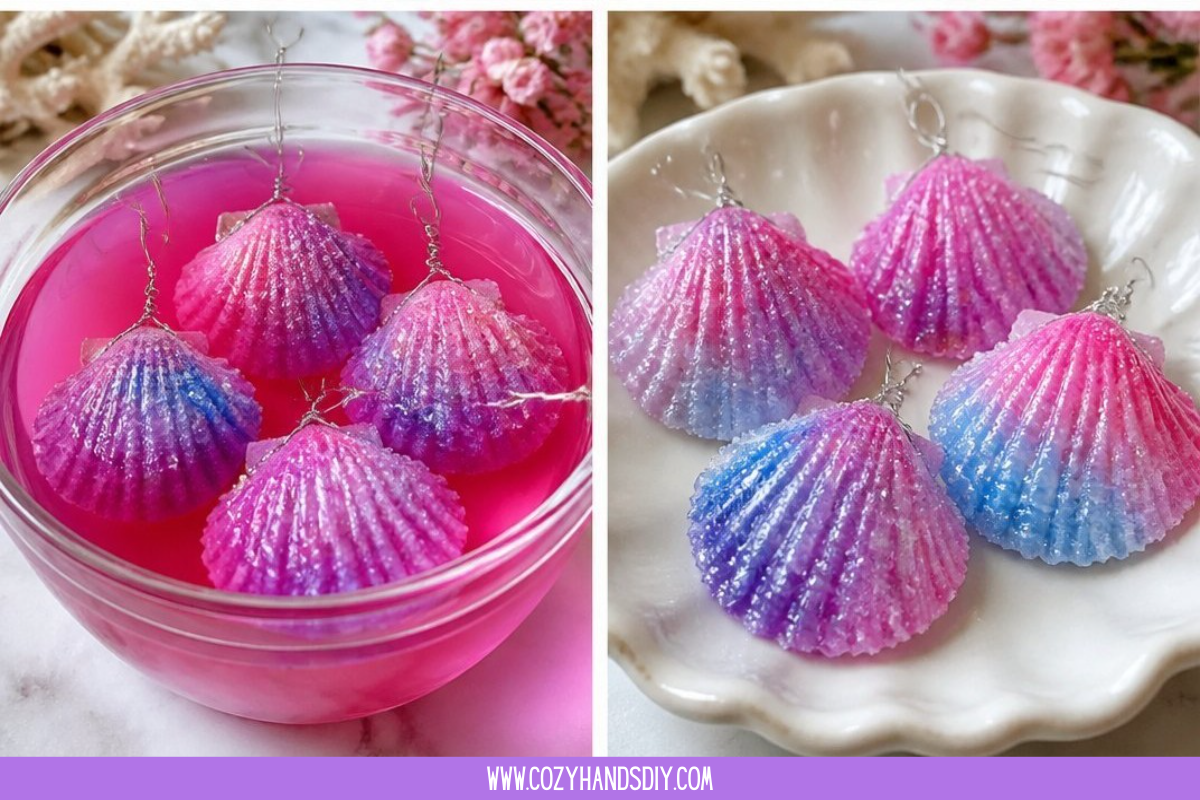
Once the crystals have fully formed around the seashells, the joy of your creation begins. These decorated shells can become lovely home accents, serving as stunning table displays or thoughtful gifts. When the sunlight catches the crystals, their colors dance throughout the room, creating moments of delight. Displaying your finished pieces with care turns your space into a reflection of your creativity, allowing you to appreciate both the process and the artistry of your work.
Keeping It for Later
These crystal seashells are not only beautiful but can also be cherished for years to come. To store your creations, simply place them in a cool, dry space away from direct sunlight. If you wish to reuse the shells in future crafts, you can gently rinse them with water and store them carefully. Their sturdy nature allows for versatility, whether in new projects or as decorations in different settings.
Gentle Tips & Variations
To further enhance your crafting experience, consider these gentle variations and tips:
- Experiment with different types of seashells or molds to discover unique shapes.
- Try adding scents like vanilla or ocean breeze to the mixture for a multi-sensory experience.
- Play with the food coloring; mixing colors can create stunning gradients on your shells.
- Invite friends or family to join in the craft, turning it into a calming group activity.
Every small tweak makes this DIY your own, allowing you to weave your personal touch into each creation.
FAQs About Crystal Seashell Craft
What type of seashells work best for this project?
Natural seashells offer texture and character, while ceramic shells provide a uniform surface for the crystals to adhere to.
How long do I need to leave the shells in the solution?
Typically, leaving them overnight should be enough for a lovely crystal formation to develop.
Can I use regular table salt instead of borax?
You can experiment with regular salt, but it may not produce the same crystal clarity and beauty.
What if my crystals don’t form as expected?
Sometimes, adjusting the temperature or the ratio of water to borax can help improve results. Patience is key with this gentle process.
Are the finished seashells safe to handle or display?
Yes, once fully dried, they are safe for display. Just ensure that children do not ingest any of the materials used.
Conclusion
Creating crystal seashells is a meaningful way to slow down and nourish your creativity. This project blends the joy of crafting with a calming sensory experience. If you want to explore more about crystal crafting, visit Little Bins for Little Hands or check out KiwiCo’s guide on crystal seashells for further inspiration. Embrace the quiet joy that comes with crafting, and remember to savor every moment of your creative journey.
PrintCrystal Seashell Craft
Create your own stunning crystal seashells using simple materials for a mindful and relaxing crafting experience.
- Prep Time: 15 minutes
- Cook Time: 0 minutes
- Total Time: 15 minutes
- Yield: Uses multiple seashells
- Category: Craft
- Method: Crafting
- Cuisine: N/A
- Diet: N/A
Ingredients
- Seashells (natural or ceramic)
- Water
- Borax or Epsom salt (for crystals)
- Heat-resistant containers
- Food coloring (optional for added vibrancy)
- Spoon (for mixing)
- Small pot (for heating water)
Instructions
- Start by heating the water in a small pot until it reaches a gentle simmer.
- Gradually stir in the borax or Epsom salt, making sure it fully dissolves.
- If desired, add a few drops of food coloring to the mixture.
- Carefully pour the hot solution into your containers, filling them just enough to submerge the seashells.
- Gently place the seashells into the solution, allowing them to float for a moment before they settle to the bottom.
- Leave your containers undisturbed in a warm, dry area to let the crystals form overnight.
Notes
Store your creations in a cool, dry space away from direct sunlight for long-lasting beauty.