

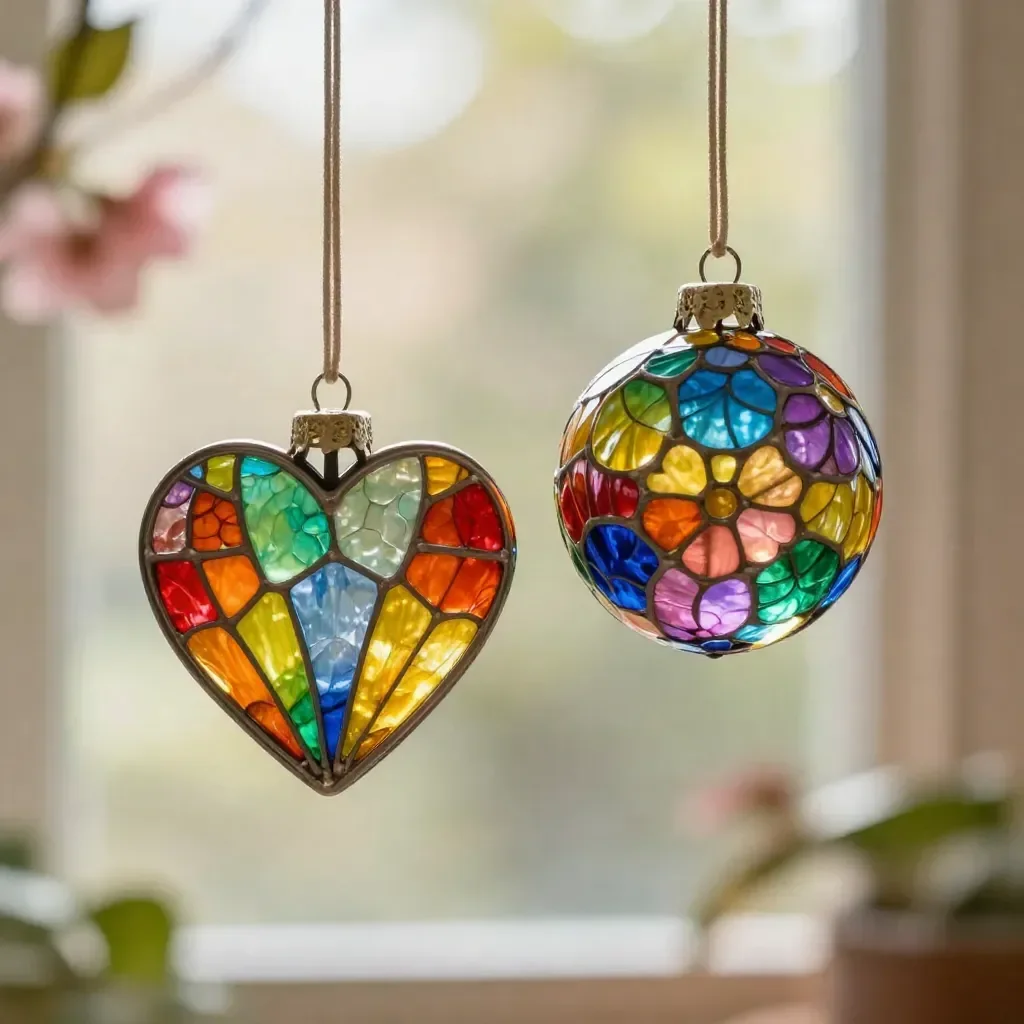
The soft sunlight filters through the window, casting gentle patterns on the table. As you gather the materials to create Melted Crayon Flower Suncatchers, a sense of tranquility surrounds you. The vibrant colors of the crayons invite calmness, bringing a warm, cozy joy that fills the space. This crafting experience isn’t just about the end product; it nurtures mindfulness and creativity. Each crayon piece holds the promise of beautiful art that will dance in the sunlight, reminding you to embrace the moment and enjoy the process. You may also find Bioplastic Suncatchers Natural Flowers Recipe useful.
The Heart Behind This DIY
Creating Melted Crayon Flower Suncatchers offers a delightful way to unwind and engage your senses. The tactile experience of holding crayons and feeling their smooth surfaces is deeply calming. As the crayon shavings melt, the gentle aroma of warm wax fills the air, enhancing the cozy atmosphere. This DIY encourages you to slow down, focus on your craft, and allow the colors to guide your creativity. The rhythmic process of melting and shaping crayons brings joy and satisfaction, helping you feel anchored in the present. Crafting becomes a sacred ritual, one that resonates with the serenity we often seek in our busy lives. You may also find Diy Bioplastic Suncatchers Crayon Method useful.
A Gentle Look at the Process
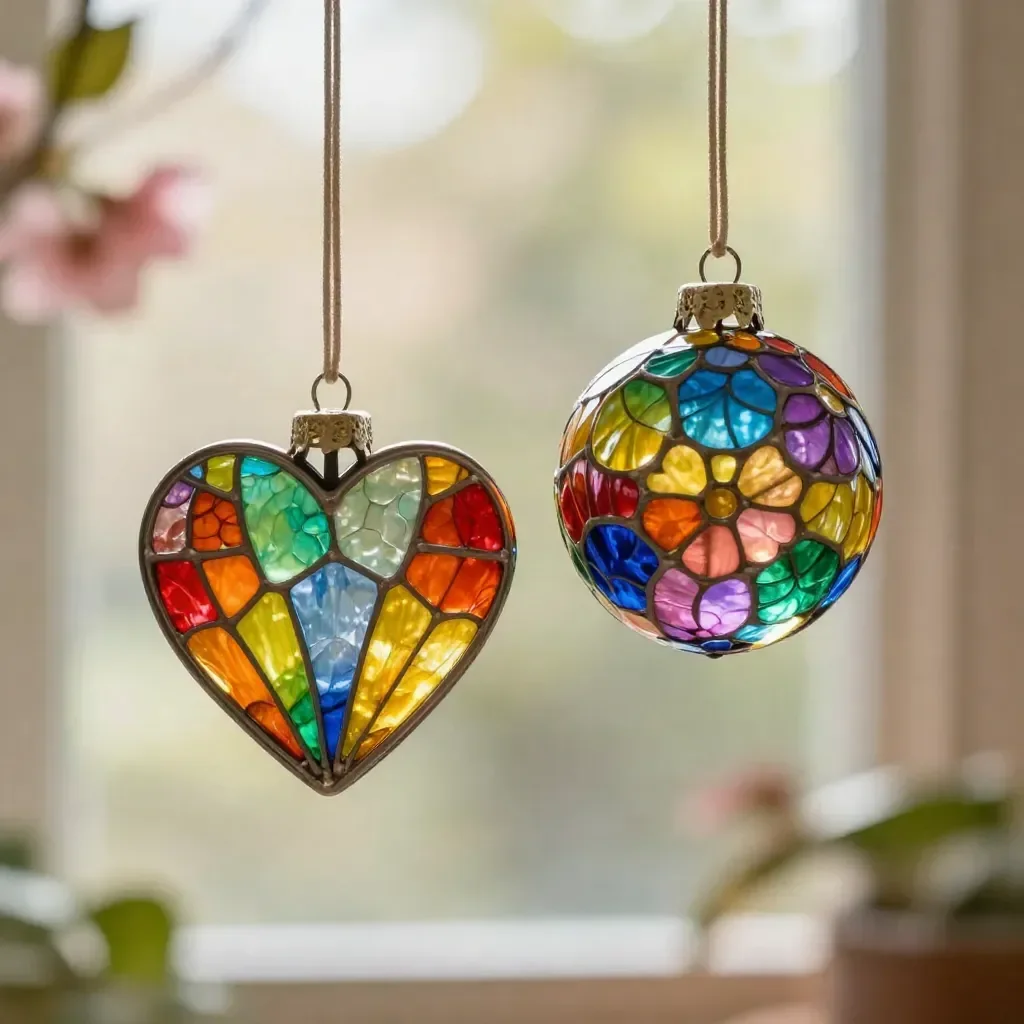
Before we dive into gathering our materials, let’s take a moment to appreciate how the creation of Melted Crayon Flower Suncatchers unfolds. Picture yourself in a quiet space, where each step becomes a delightful journey. The sound of crayons being peeled and gently shaved echoes like a calming whisper. You can almost feel the anticipation as the colorful curls fall away, hinting at the vibrant artwork to come. As you prepare to melt the crayons, let the colors inspire your imagination, allowing the visual symphony to ignite your creativity.
Materials You’ll Need
Gathering your materials is a key step that sets the tone for your artistic endeavor. You’ll need the following items:
- Crayons (varied colors – the more, the merrier!)
- A pencil sharpener or a knife (to shave crayons)
- An oven-safe mold or baking dish
- Wax paper or parchment paper
- Scissors (for trimming the suncatchers)
- Transparent fishing line or string (for hanging)
- An oven (set at 200°F or 93°C)
- An optional heat-resistant silicone mold for flower shapes
All the materials are easy to find, often already nestled in your home or local shops. Don’t hesitate to get creative with colors and shapes; this is your chance to make something uniquely yours.
Step-by-Step Directions
- Begin by preheating your oven to 200°F (93°C). The gentle warmth will melt the crayons without burning them, preserving the beautiful colors.
- As the oven warms, take each crayon and carefully peel off the paper. The soothing act of peeling adds a tactile element to your process.
- Next, sharpen the crayons using a pencil sharpener or cut them into tiny pieces with a knife. This creates colorful shavings that will meld beautifully.
- Prepare your mold by placing a sheet of wax paper or parchment on the bottom. This will provide a smooth surface for your melted creations and make cleanup easier.
- Sprinkle the crayon shavings into the mold, mixing colors as you desire. Visualize how your suncatcher will look when the sunlight shines through.
- Once your shavings are arranged, place the mold in the oven. Keep an eye on it, allowing the crayons to melt together into a vibrant pool of colors.
- After about 10-15 minutes, check to see if the crayons have completely melted. They should be smooth rather than bubbling. When ready, carefully remove the mold from the oven (using heat-resistant gloves).
- Allow the melted crayons to cool slightly before placing them in the refrigerator for about 30 minutes. This will help them solidify.
- Once cooled, gently pop the suncatcher out of the mold. If you used a silicone mold, it should come out easily.
- Trim any uneven edges with scissors to create a smooth finish. Then, punch a hole at the top and thread a piece of fishing line or string for hanging.
Enjoying the Finished Piece
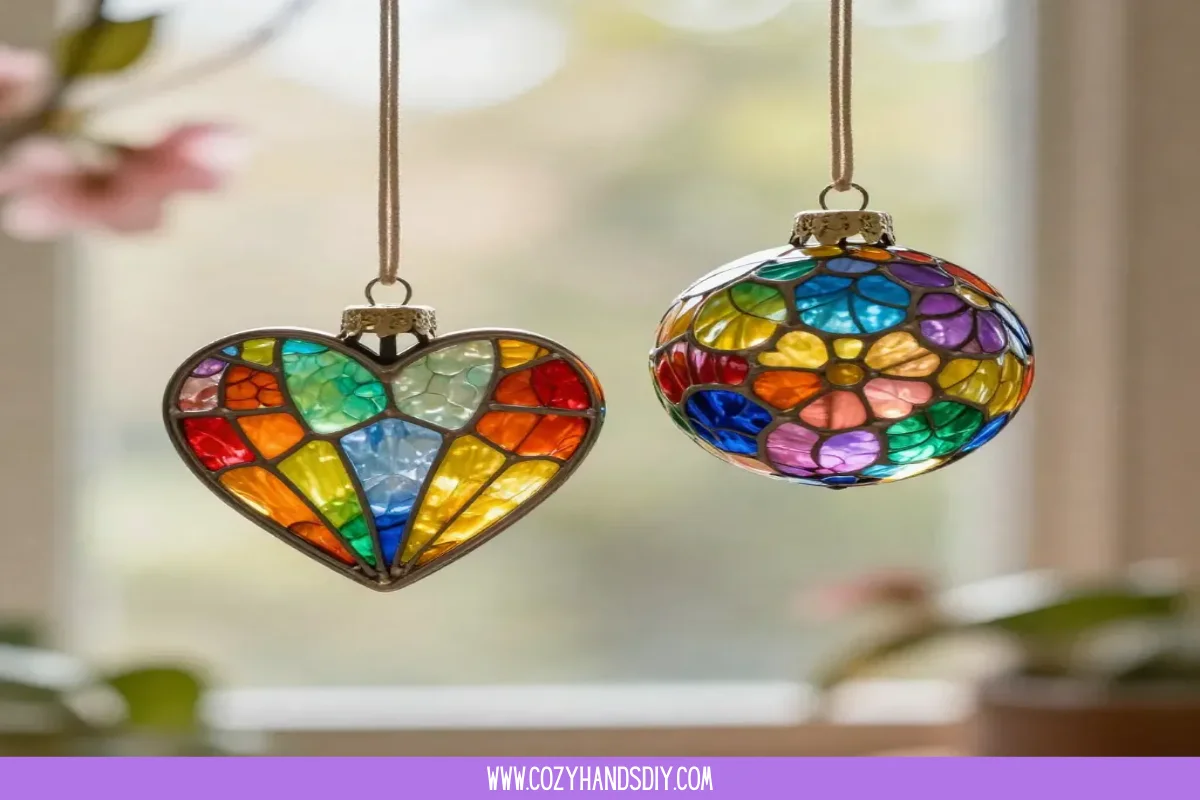
Now that your Melted Crayon Flower Suncatchers are complete, it’s time to display them and let them shine. Hang them in a sunny window, allowing the light to filter through the bright colors. Each suncatcher will cast dazzling patterns around the room, creating a warm, inviting atmosphere. Enjoy the way the colors change as the angle of sunlight shifts, reminding you of the beauty found in each moment. This handmade art piece can bring a sense of peace and connection into your home, enhancing your overall environment.
How to Store or Reuse Melted Crayon Flower Suncatchers
If you choose to store your suncatchers, protect them from direct sunlight to maintain their vibrant colors. A cool, dry place will help them last longer. If the sun catchers ever become damaged or lose their vibrancy over time, you can always melt them down again to create new designs. This recycling aspect allows you to continually evolve your craft and contributes to a mindset of sustainability.
Gentle Tips & Variations
- Consider experimenting with different shapes using various molds, such as hearts or stars, which can add a personal touch to your suncatchers.
- Use different materials for the background, like glitter or flower petals, to create a unique texture and deepen the colors.
- Explore using blue crayon suncatchers to create a cooler palette, which can evoke a tranquil feeling in your space. Blue crayon suncatchers can be just as mesmerizing as flower-themed ones.
- Create seasonal suncatchers by using colors that reflect different times of the year, thus adding a dynamic touch to your decor.
- Encourage kids to get involved by having them pick their favorite colors and designs, making the experience even more precious.
FAQs About Melted Crayon Flower Suncatchers
Q: Can I use any type of crayon for this project?
A: Yes, you can use any wax-based crayons! The more colors you have, the more beautiful your suncatcher will be.
Q: Is it safe to melt crayons in the oven?
A: Yes, melting crayons in small amounts at low temperatures is safe. Just be sure to supervise the process and avoid overheating.
Q: How do I keep the colors from fading?
A: Store your suncatchers away from direct sunlight when not in use to help maintain their brightness.
Q: Can I use other materials besides crayons?
A: If you’re looking for an alternative, try experimenting with bioplastic suncatchers. You can find more about this creative option in this article about beautiful bioplastic suncatchers.
Q: How long will my suncatcher last?
A: With proper care, your Melted Crayon Flower Suncatcher can last for years, bringing joy to your space.
Conclusion
Creating Melted Crayon Flower Suncatchers offers not just the joy of crafting, but also the satisfaction of watching your unique designs catch the light. These joyful pieces not only beautify your home; they also provide moments of calm and creativity. For further inspiration on similar projects, you might want to explore this melted crayon sun catcher art project or see a delightful variation with the April Showers Bring May Flowers Suncatcher. Embrace your creativity and let the warmth of your handmade art fill your space with light and color.
PrintMelted Crayon Flower Suncatchers
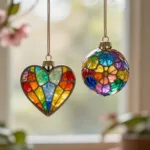
A calming and colorful DIY project to create beautiful suncatchers using melted crayons.
- Prep Time: 10 minutes
- Cook Time: 15 minutes
- Total Time: 25 minutes
- Yield: 4 suncatchers
- Category: Craft
- Method: Melting
- Cuisine: N/A
- Diet: N/A
Ingredients
- Crayons (varied colors)
- Pencil sharpener or knife
- Oven-safe mold or baking dish
- Wax paper or parchment paper
- Scissors
- Transparent fishing line or string
- Oven (set at 200°F or 93°C)
- Optional: heat-resistant silicone mold for flower shapes
Instructions
- Preheat your oven to 200°F (93°C).
- Peel off the paper from each crayon.
- Sharpen the crayons using a pencil sharpener or cut them into pieces.
- Prepare your mold by lining it with wax paper or parchment paper.
- Sprinkle the crayon shavings into the mold, mixing colors as desired.
- Place the mold in the oven and watch the crayons melt together.
- Check after 10-15 minutes to see if melted; then remove from oven.
- Cool the melted crayons slightly, then refrigerate for 30 minutes.
- Pop the suncatcher out of the mold once solidified.
- Trim any uneven edges with scissors and punch a hole for hanging.
Notes
Store away from direct sunlight to maintain vibrant colors. You can melt down any damaged suncatchers to create new designs.