

I press a warm, translucent disk of DIY Bioplastic Suncatchers (Crayon Method) into the window and watch color bloom through the glass like a quiet sunrise. The wax feels smooth between my fingertips while light moves slowly across a tiny landscape I made, and for a few minutes the room holds only texture, color, and breath.
The Quiet Joy of Making DIY Bioplastic Suncatchers (Crayon Method)
 5")
This project invites a small, slow rhythm. You work with soft shavings, warm liquid, and cooling sheets that change under your hands. The process asks you to notice temperature, translucence, and the gentle scent of crayons melting. Those sensory anchors help you focus without strain.
Making a suncatcher calms because the craft rewards small, careful choices. A dab of color balances with a smear of clear bioplastic. You make tiny adjustments—pressing, tilting, layering—and each choice changes how light passes through. That mindful attention feels cozy and grounding.
I find this work especially soothing when I choose a favorite corner of the room, set a bowl of shavings nearby, and let the afternoon light mingle with the project. The act of watching pigment spread and then catch the sun creates a quiet ritual. If you want a different palette, you can follow a colorful bioplastic suncatchers recipe I like to keep for lively mornings. That page gives ideas for brighter, more exuberant designs when you feel playful.
A Gentle Look at the Process
I start by imagining a small patch of sunlight and the colors that will sit in it. The method uses a simple crayon-melting technique to color sheets of bioplastic, and you work in layers. You grate wax, heat a mix to a gentle pourable consistency, and paint or drip color onto clear sheets.
The movement stays slow and deliberate. You stir so the mix becomes silky and glossy. You pour in small turns so the material settles evenly. The warmth, the tiny crackle as shavings melt, and the quiet settling of cooling sheets form a soft sensory sequence. This part of the project lets your hands learn the material gradually.
If you want to explore different textures, you can try fine shavings for subtle gradients or larger chunks for bolder marks. Another useful walkthrough lives on the site for step variations that many readers find reassuring when starting out; the piece titled step-by-step variations offers calm alternatives and my notes on real attempts.
Materials You’ll Need
- Bioplastic powder or agar-agar and glycerin mix (easy to find or substitute-friendly)
- White vinegar or water, depending on your chosen recipe
- Old crayons, peeled and broken into shavings
- Baking parchment or silicone mats for non-stick cooling
- Shallow pot and gentle heat source, such as a small pan on low flame
- Wooden stirring spoon, smooth and comfortable in the hand
- Cookie cutters or templates for shapes, optional
- Scissors for trimming cooled sheets
- String or thin ribbon for hanging
- A small ruler and pencil for marking placement, optional
- A tray for catching drips and keeping your workspace tidy
I include a note on supplies so you can choose what feels right. If you prefer plant-based options, select a bioplastic mix that lists natural ingredients. If you need a simpler swap, use readily available materials like plain gelatin and vegetable glycerin, though results differ slightly. For more detail on tools and measurements I found helpful, see this short guide about tools and measurements that I use when I teach small groups.
Step-by-Step Directions
-
Prepare your workspace and tools.
Lay out parchment or a silicone mat and place cookie cutters if you plan shapes.
Keep a bowl of crayon shavings within reach and a tray under your pot to catch spills. -
Measure and mix the bioplastic base.
Combine your chosen bioplastic powder with the liquid called for in the recipe.
Stir gently, aiming for a smooth, lump-free blend that looks glossy when heated. -
Heat slowly over low heat.
Warm the mixture in a small pan, stirring with a wooden spoon.
Watch the texture become clear and slightly thick, not bubbling or scorching. -
Add little pieces of crayon for color.
Stir one color at a time, letting the wax melt fully into the bioplastic.
Pause and breathe as you watch pigment dissolve and color spread. -
Pour thin, even amounts onto the prepared surface.
Tilt the pan and allow the mixture to flow slowly into a thin sheet.
Keep the layer shallow so it cools translucent and catches light. -
Build layers or add designs.
Sprinkle shavings or drip colored bioplastic onto the fresh sheet to create patterns.
Use a gentle touch to move pigment with the spoon or a toothpick for fine detail. -
Let the sheet cool until it firms but stays slightly warm.
Work with patience as the material transitions from glossy to firm.
If you want to cut shapes, wait until it holds together but still yields under scissors. -
Trim and punch holes for hanging.
Cut around the edges and remove stray bits with small, careful snips.
Make a hole near the top with a pencil or hole punch while the sheet remains pliable. -
Tie a string or ribbon and hang to test light play.
Choose a window that sees soft sunlight rather than harsh mid-day rays.
Watch how color becomes deeper when the sun catches different angles. -
Store spare sheets flat and away from heat.
Place wax paper between layers to prevent sticking.
Label any leftover sheets with color notes so you can pair them later.
Bringing DIY Bioplastic Suncatchers (Crayon Method) Into Your Space
 6")
 7")
A finished suncatcher works like a small companion. It softens a window and introduces moving color to ordinary light. Hang a set in a kitchen window to catch morning rays, or float a tiny shape above your crafting table to remind you of the making process.
I often place one near a reading chair. When I pause, the piece catches my eye and invites a moment of breath. A cluster of different sizes forms a tiny constellation that changes with the season and time of day. If you live with children, try hanging low where they can reach gently, so they can lift a piece into light and feel the warmth and texture.
If you want to introduce these suncatchers slowly, start with one or two small shapes and notice how they shift the room’s mood. For a festive touch, choose colors that match seasonal light. If you want ideas about materials and eco-friendliness as you decide where to display, this article on materials and eco-friendliness offers thoughtful guidance and alternatives.
How to Store or Reuse DIY Bioplastic Suncatchers (Crayon Method)
Treat your suncatchers gently to keep them lasting longer. Store them flat with parchment between layers so they do not stick. Keep them in a cool drawer or a shallow box away from direct heat.
If a piece bends, place it flat on a warm surface for a short time, then press gently under a book until it cools. You can reshape small sections carefully by warming with hands over a bowl of hot water rather than direct flame.
When a suncatcher accumulates dust, wipe it with a soft cloth dampened slightly with water. Avoid strong detergents or abrasive cleaners because they can dull the surface. If you need to refresh the color, consider overlaying a new, thinner sheet made from leftover materials so the piece gains depth without losing its original character.
If you decide to take pieces down seasonally, wrap each one in tissue and label the box by month or mood. This ritual makes each return to the window feel intentional and slow.
Gentle Tips & Variations
-
Try a frost effect by mixing a little white crayon into a small area.
This creates soft, milky patches that scatter light in a delicate way. -
Use natural shapes like pressed leaves or thin petals as stencils.
Place them on the warm sheet for a moment before lifting gently, and you may capture a subtle outline. -
Mix two colors by touching small dots together on a sheet.
Let them meet and gently nudge them with a wooden toothpick for soft gradients. -
Make tiny sets to give as calm gifts.
Wrap each suncatcher in paper with a short note about the making moment and the colors you chose. -
Invite a slow timer into the process by setting aside a fixed thirty minutes.
Work within that window without hurrying, and accept the outcome as a quiet record of that time.
I offer these suggestions as invitations rather than rules. Each variation came from a handful of real afternoons at the table, where I adjusted pressure, tried new combinations, and learned how temperature and thickness change translucence.
FAQs About DIY Bioplastic Suncatchers (Crayon Method)
Q: Will the colors fade with sunlight?
A: Colors change over long periods, especially with strong direct sun.
I recommend placing suncatchers in indirect light for longer-lasting color.
Q: Are these safe for small children?
A: The materials themselves involve warm liquid and softened wax.
Supervise any child while heating or handling warm sheets, and let them participate in safe tasks like choosing colors and placing shavings.
Q: Can I recycle leftover pieces?
A: You can often reuse scraps by re-melting them into a new batch.
Keep them separated by color if you want to avoid muddy blends.
Q: What should I do if the sheet tears when trimming?
A: Stop trimming, warm the edge slightly with warm hands, and press gently back together.
A dab of fresh liquid bioplastic can help seal small tears.
Q: How thin should I pour the sheets?
A: Aim for a thickness that looks translucent when cooled.
Too thin becomes fragile, and too thick reduces light transmission; practice on small test pours first.
A Gentle Note Before You Go
Sit with what you made and notice how the light moves. Each small flaw in a suncatcher carries the memory of a particular afternoon, a hand motion, or a decision to add a little more color. That memory serves as a quiet reminder that making at a human pace matters.
Before you close your materials for the day, tidy your workspace with calm gestures. Put shavings back into a container, wash the spoon, and fold the parchment. The care you give to the space returns to you as ease and readiness for your next session.
Conclusion
Thank you for sharing this slow, sensory-making moment. If you want a different botanical twist, you might enjoy the inspiration from Botanical Bioplastic Sun Catchers – Wineberry Woods, which pairs plant impressions with bioplastic techniques in a gentle way. For ideas that turn this project into a longer summer rhythm with kids or groups, try this collection of activities for simple, creative days: 30+ Fun Summer Camp Activities For Kids – STEAM Powered Family.
Take your time with each piece, and let the light remind you of the small, steady pleasures of making.
PrintDIY Bioplastic Suncatchers (Crayon Method)
 8")
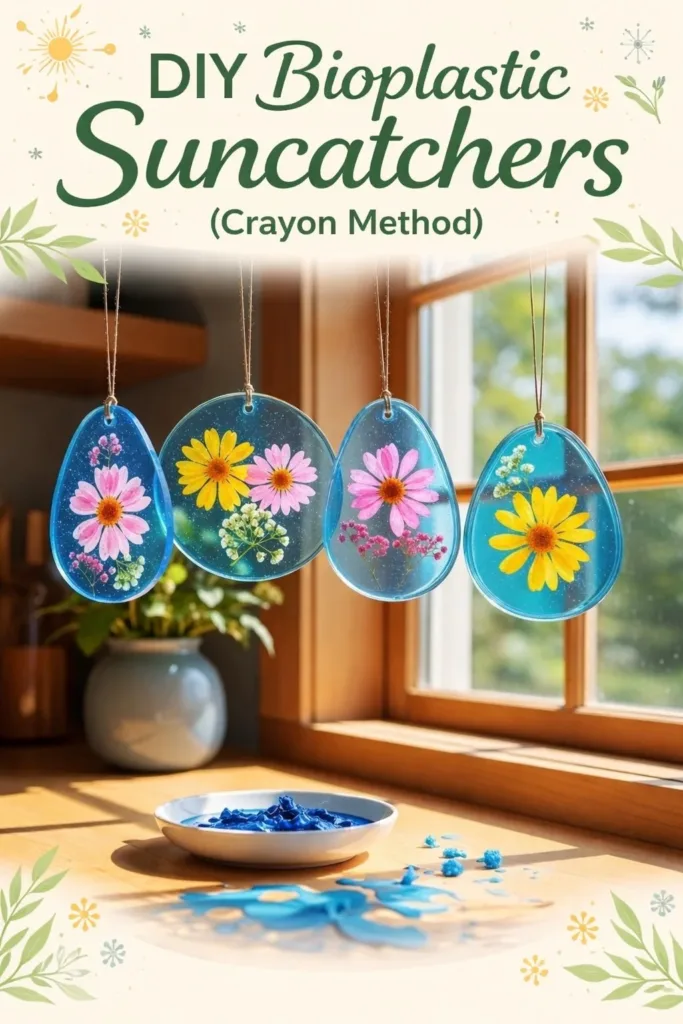
Create beautiful DIY bioplastic suncatchers using melted crayons for a colorful touch in your window.
- Prep Time: 15 minutes
- Cook Time: 30 minutes
- Total Time: 45 minutes
- Yield: 4 suncatchers
- Category: Craft
- Method: Melting and Pouring
- Cuisine: N/A
- Diet: N/A
Ingredients
- Bioplastic powder or agar-agar
- Glycerin
- White vinegar or water
- Old crayons (peeled and broken into shavings)
- Baking parchment or silicone mats
- Shallow pot
- Wooden stirring spoon
- Cookie cutters or templates (optional)
- Scissors
- String or thin ribbon
- Small ruler and pencil (optional)
- Tray for catching drips
Instructions
- Prepare your workspace and tools.
- Lay out parchment or a silicone mat and place cookie cutters if using.
- Keep a bowl of crayon shavings within reach.
- Measure and mix the bioplastic base.
- Combine your chosen bioplastic powder with the liquid.
- Stir gently for a smooth blend.
- Heat slowly over low heat, stirring continuously.
- Add little pieces of crayon for color.
- Stir one color at a time until melted.
- Pour thin, even amounts onto the prepared surface.
- Build layers or add designs with shavings.
- Let the sheet cool until it firms up but is still warm.
- Trim and punch holes for hanging.
- Tie a string or ribbon and hang to test light play.
- Store spare sheets flat with parchment between layers.
Notes
For best results, place suncatchers in indirect sunlight to prevent fading.