

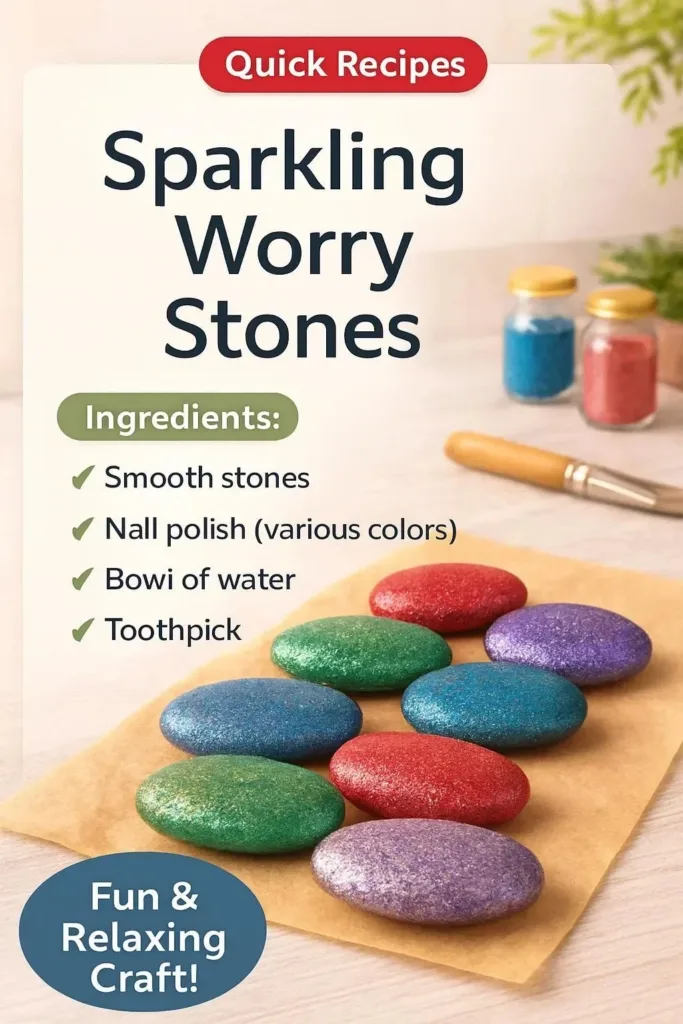
I hold a small, smooth stone in my palm and watch the afternoon light catch tiny sparkling flecks along its curve. The stone feels cool and gentle under my thumb, and each slow rub sends a soft shiver of calm through my hand. These are Sparkling Worry Stones, little objects that invite quiet breaths and steady attention, and you can make a set that fits like a pocket friend. If you want more project ideas like this, I often link to the main Sparkling Worry Stones page for reference Sparkling Worry Stones project page and keep it nearby as I craft.
Why Sparkling Worry Stones Feels Comforting to Create
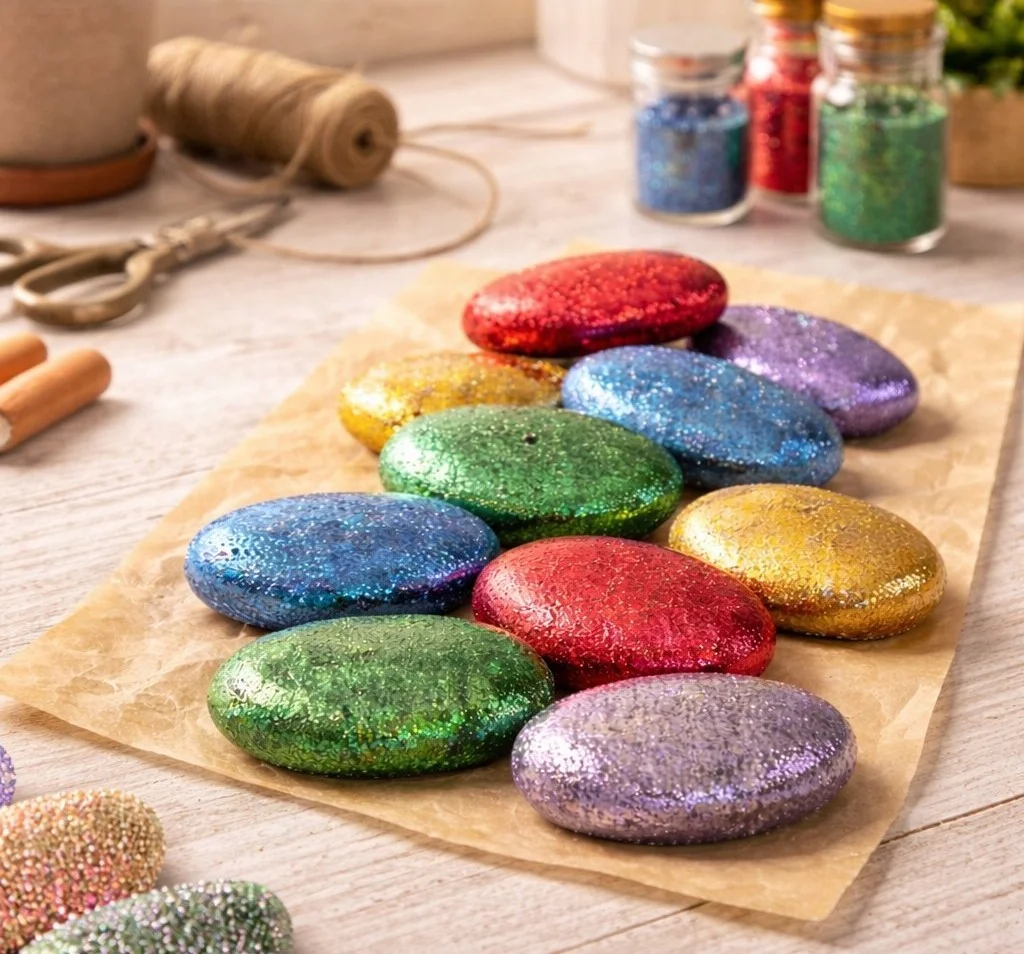
Making Sparkling Worry Stones slows the world gently. You sit with soft textures and subtle light, and you shape something to the rhythm of your breath. The work invites small, steady movements rather than fast, tense ones.
I like how the tactile loop becomes a practice. Kneading clay, smoothing edges, adding a whisper of glitter or mica powder — each action asks for attention but not urgency. The stones respond under your fingers, and that response rewards you. You feel the weight of time in a kind way, like a measured exhale.
This project also focuses on small sensory moments. The smoothness of a finished stone, the faint scent of essential oil, the way gloss catches sun on a windowsill — those are quiet pleasures. They help you find center without pressure.
A simple object can become a portable calm. People carry worry stones for stress, for focus, for grounding during a busy day. Making them yourself adds a personal note. You choose textures, colors, and temperature. You decide what feels soothing. That intent turns a small craft into a mindful habit that fits into ordinary life.
A Gentle Look at the Process
I keep my work area tidy and light a small candle or set a cup of tea nearby. The process unfolds slowly. You mix or select clay, shape each stone, add sparkle in soft layers, and seal them with a gentle gloss. The steps flow like a short ritual.
You will feel a pattern to the work: push, smooth, buff, sparkle, dry. Each motion repeats until the piece feels right in your hand. Listening for small sounds helps too. The soft scrape of a sanding pad, the quiet tap of cured clay, the hush as you brush on varnish — these are part of the calm.
If you want other ways to make worry stones or quicker versions, there are helpful guides that pair well with this project like a broader DIY worry stones you can craft today tutorial that fills out variations and quick-start tips.
Materials You’ll Need
- Polymer clay or air-dry clay, a small amount for several stones (easy to find)
- Fine mica powder or cosmetic-grade glitter for sparkle (optional, cosmetic grade if near skin)
- Sanding paper or a fine nail file for smoothing edges (180 to 400 grit)
- Gloss varnish or water-based sealant for a soft shine (non-toxic if possible)
- Small paintbrush for varnish and glitter placement
- Needle tool or toothpick for tiny detail work
- Clean cloth or soft sponge for buffing and finishing
- Small rolling pin or smooth bottle for flattening clay
- Essential oil (optional) for scenting finished stones
- Smooth pebbles or river stones (optional): use them as molds or as a base
If you prefer a very quick path, try the worry stones in 5 minutes approach that uses pre-formed pebbles and simple adornments.
Notes on materials
Choose polymer clay for durable, slightly denser stones that you can bake in a home oven. Air-dry clay offers a softer, quieter finish and cures without heat. Mica powders give a subtle glow. Cosmetic-grade glitter avoids rough edges and keeps the feel silky. For a gentler finish, pick a water-based varnish labeled safe for crafts and skin contact.
Step-by-step Directions
Prepare your space.
Clear a small area with soft lighting and lay down a clean mat or paper. Gather all tools so you can move slowly and not hurry. Take a slow breath and feel your hands settle.Condition the clay.
Warm a small piece of clay in your palms until it becomes flexible and smooth. The warmth makes it pliable and easier to shape. Notice the faint scent and the soft resistance as you work.Shape the basic stone.
Form a rounded oval or teardrop by rolling gently between your palms. Aim for a size that fits your thumb and fingertip. Keep movements small and deliberate.Smooth and refine.
Use a small rolling pin or your palm to even the surface. Press lightly to create a shallow indentation where your thumb will rest. This gives the stone a comfortable place to land.Add sparkle.
Dust a little mica powder or press a tiny amount of cosmetic glitter into the surface. Use a soft brush to spread it in an even, thin layer. Think of shimmer like a whisper, not a shout.Cure or dry the clay.
If using polymer clay, bake it according to the package instructions on a foil-lined baking sheet. Watch the oven quietly and set a gentle timer. If using air-dry clay, set the stones on a protected shelf and let them sit until fully firm, usually 24 hours or more.Sand for softness.
When the stones finish curing, sand edges with fine grit paper. Work slowly and in small circles. The sanded surface will feel velvety and warm to the touch.Seal and finish.
Brush on a thin coat of gloss varnish with gentle strokes. Let the first coat dry fully, then add a second if you want deeper shine. If you prefer a matte feel, choose a matte sealer or buff the gloss slightly with a soft cloth.Add scent, if desired.
Place one or two drops of diluted essential oil into the stone’s shallow indentation. Let the scent settle for a day before carrying it. Small scents support calm when you bring the stone to your nose.Rest and reflect.
Lay your stones on a small cloth and sit with them for a moment. Notice how the light sits on the shimmer and how the shape fits your hand. Keep at least one stone in a pocket or bowl where you can reach for it.
Using Sparkling Worry Stones in Everyday Life
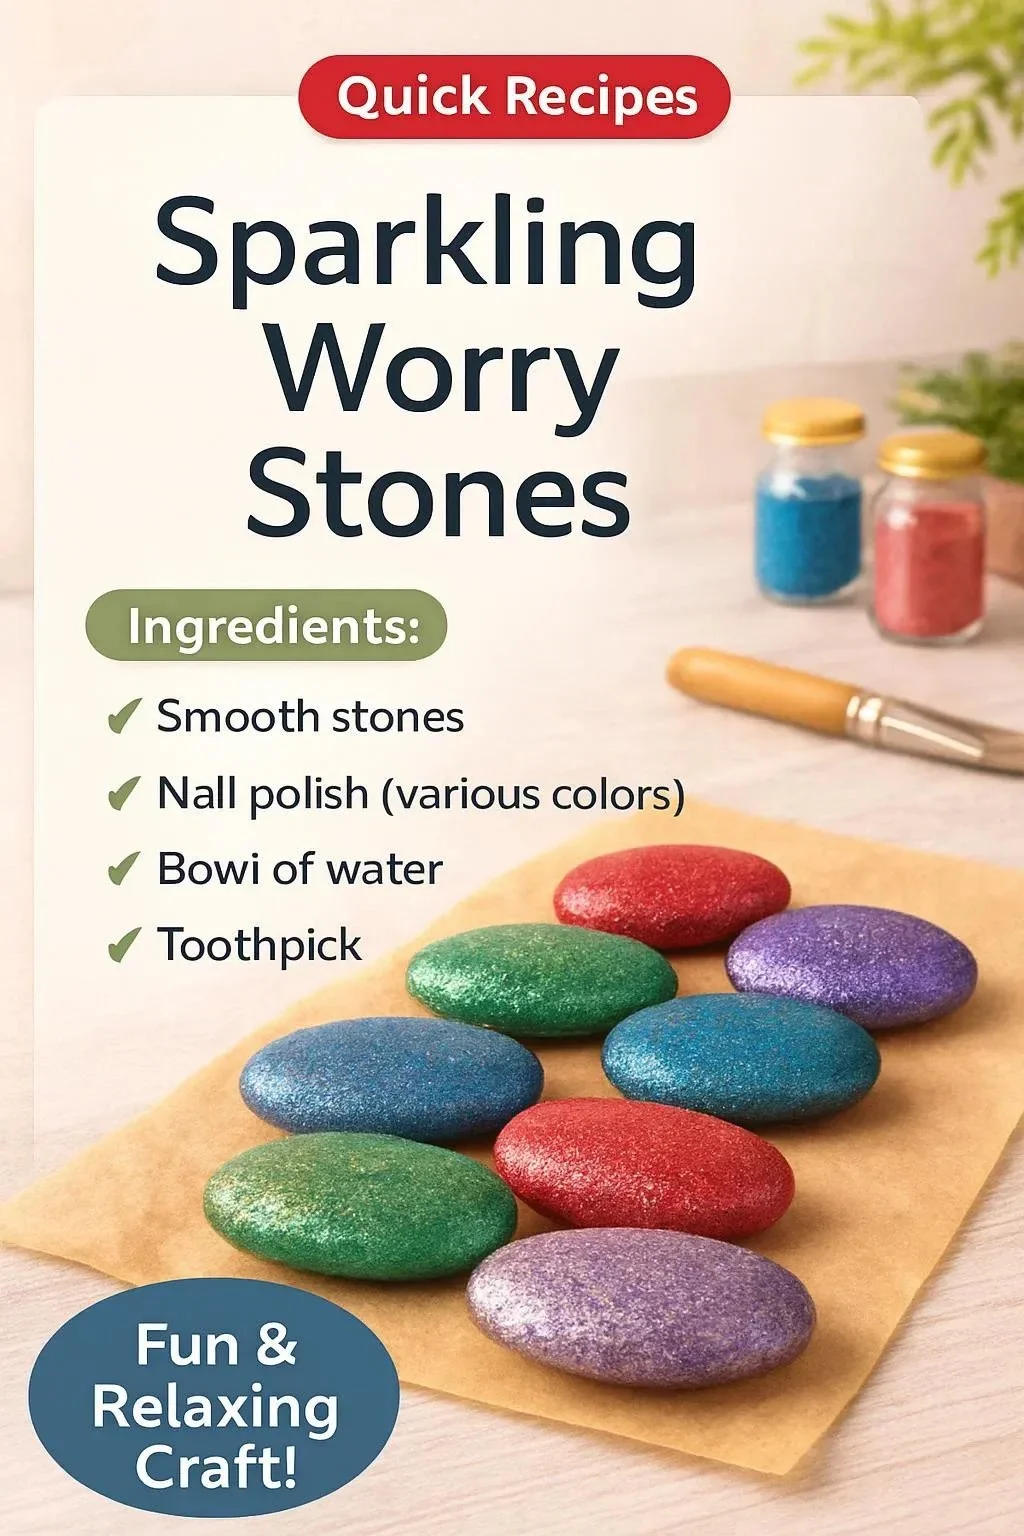
A finished Sparkling Worry Stone fits easily into pockets, pouches, or a small bowl by the bedside. Keep one on your desk to press during a long meeting. Slide one into a travel pouch for flights or commutes. These stones become a familiar anchor.
Use them as a simple breathing tool. Hold a stone, close your eyes for a few breaths, and trace the sparkle with your thumb. The texture guides your attention slowly, like a metronome for breath.
Pair a stone with a short phrase or intention you choose. Whisper the phrase while you rub the stone. Over time, that action becomes associated with calm. It reminds your body and mind of a safer pace.
If you enjoy scent, set a few stones in a shallow dish with cotton and a drop of essential oil. They will carry a soft scent that unfolds for days. For shared spaces, place a bowl of stones where others can touch and rest for a moment.
For small gifts, wrap a stone in soft paper and tie it with twine. The simple care in presentation deepens the feeling of giving. Friends often tell me they keep these stones beside a tea cup, on a nightstand, or tucked in a journal.
If you like exploring scent pairings or want to combine this with other sensory projects, a gentle resource for scent-inspired clay pieces is my take on DIY aroma stones, which works beautifully alongside Sparkling Worry Stones.
How to Store or Reuse Sparkling Worry Stones
Store stones in a small cloth bag or a wooden box lined with soft fabric. Fabric keeps them from knocking against each other and protects the finish. Choose a cool, dry place away from direct sunlight to keep colors from fading.
If a stone picks up dust, wipe it with a slightly damp cloth. Avoid soaking it, especially if you used air-dry clay. For stubborn marks, a gentle rub with a soft toothbrush and a bit of mild soap usually does the trick.
If the gloss wears over time, you can add another thin coat of varnish. Allow it to dry fully before handling. For stones you scent frequently, refresh the oil sparingly. A little goes a long way.
If you want to reuse the clay from a broken stone, carefully break it and crumble the pieces. For polymer clay, you can sometimes recondition small scraps by warming and kneading them. For air-dry clay, reuse is more limited. Keep these limits in mind when choosing your base material.
If a stone loses its sparkle or the mica fades, you can buff lightly or reapply a thin dusting of mica before sealing again. Treat the process like a small ritual of repair rather than a chore.
Gentle Tips & Variations
Try different sizes.
Make tiny thumb stones for quick grounding and larger palm stones for longer holds. Sizes invite different kinds of touch.Mix textures.
Combine a smooth center with a slightly rough edge for neurodiverse sensory needs. A gentle ridge can help some people focus more effectively.Use color intentionally.
Soft pastels read as calming, while deeper tones feel more grounding. Choose colors that feel like a small comfort to you.Personalize with marks.
Press a letter, a line, or a tiny heart into the clay before curing. These small marks make the stone a personal talisman.Make a set for different moods.
Create three stones with distinct textures or scents. Keep them together and choose one depending on what you need that day.
These ideas invite exploration, not perfection. Use them as friendly nudges and adapt freely.
What I’ve Learned While Making This
I learned to slow down by practice and repetition. The first stones I made felt awkward and overworked. I rushed and wanted them to be perfect. Over time, I learned to stop earlier and let the stone’s natural curve be enough.
I noticed textures matter more than shine. A soft edge that greets your thumb gives more comfort than a lot of glitter. Subtle shimmer catches light in a way that feels gentle, not sharp.
I learned to trust small imperfections. Tiny fingerprints or uneven mica often add character. Those marks invite a memory of the hands that made the stone.
I also learned practical things. Bake polymer clay on a ceramic tile for even heat. Dry air-dry clay in a low-humidity spot for a few days. Use cosmetic-grade shimmer if stones will touch skin, and choose a non-toxic varnish when possible.
Most of all, I learned to treat this making time as a small kind of rest. The craft gave me a reason to breathe slowly and notice simple things.
FAQs About Sparkling Worry Stones
Q: Can I make these with my child?
A: Yes, with supervision. Choose non-toxic, child-safe materials and avoid loose glitter with young children. Air-dry clay works well for kids and encourages tactile play. Keep baking and varnishing steps to adults.
Q: Will the glitter come off with handling?
A: If you press mica powder or cosmetic glitter into the clay and seal it, the sparkle stays put. A good thin coat of varnish locks in shimmer. Avoid heavy rubbing on rough surfaces to keep the finish intact.
Q: How long will the scent last if I add essential oil?
A: Scent longevity varies with oil type and how much you use. Generally, a small drop in the stone’s indentation yields scent for several days to a few weeks. Refresh lightly and sparingly to avoid overpowering.
Q: Are these safe to carry in pockets?
A: Yes, if you seal them well and use durable clay like polymer for frequent handling. For air-dry versions, handle more gently. Keep stones away from very young children who might put them in their mouths.
Q: Can I sell these?
A: You can, but check local safety guidelines and label any scents or materials clearly. If you use essential oils, note possible allergens. Clear communication builds trust with buyers.
A Quiet Closing Thought
Sit with a finished Sparkling Worry Stone for a moment. Feel its temperature, trace the shimmer with your thumb, and breathe. Making these stones invites you into small, steady acts of care. Each step asks you to slow down a little and notice what matters: texture, light, breath, and the gentle rhythm of hands at work.
Let the stones be tools, talismans, or small gifts. Use them as reminders to return to your breath and to the soft, steady movements that calm your nervous system. Keep experimenting, and let the work be quiet company.
Conclusion
If you want another viewpoint on making small stones by hand, consider this warm Crafty Chica’s LOVE STONES tutorial that offers a lovingly creative approach. For ready-made inspiration or seasonal designs, you can also explore the Halloween Worry Stones product page from All Things Sensory Shop to see playful variations and material ideas.
PrintSparkling Worry Stones
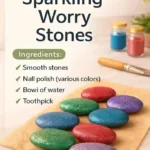
Create your own Sparkling Worry Stones to invite calm and focus into your daily life. These small stones are perfect for grounding and stress relief.
- Prep Time: 15 minutes
- Cook Time: 30 minutes
- Total Time: 45 minutes
- Yield: 4 stones
- Category: Crafts
- Method: Crafting
- Cuisine: N/A
- Diet: N/A
Ingredients
- Polymer clay or air-dry clay
- Fine mica powder or cosmetic-grade glitter (optional)
- Sanding paper or fine nail file (180 to 400 grit)
- Gloss varnish or water-based sealant (non-toxic)
- Small paintbrush
- Needle tool or toothpick
- Clean cloth or soft sponge
- Small rolling pin or smooth bottle
- Essential oil (optional)
- Smooth pebbles or river stones (optional)
Instructions
- Prepare your space.
- Condition the clay.
- Shape the basic stone.
- Smooth and refine.
- Add sparkle.
- Cure or dry the clay.
- Sand for softness.
- Seal and finish.
- Add scent, if desired.
- Rest and reflect.
Notes
Use non-toxic materials and supervise children when crafting. Customize your stones with textures and colors that speak to you.