

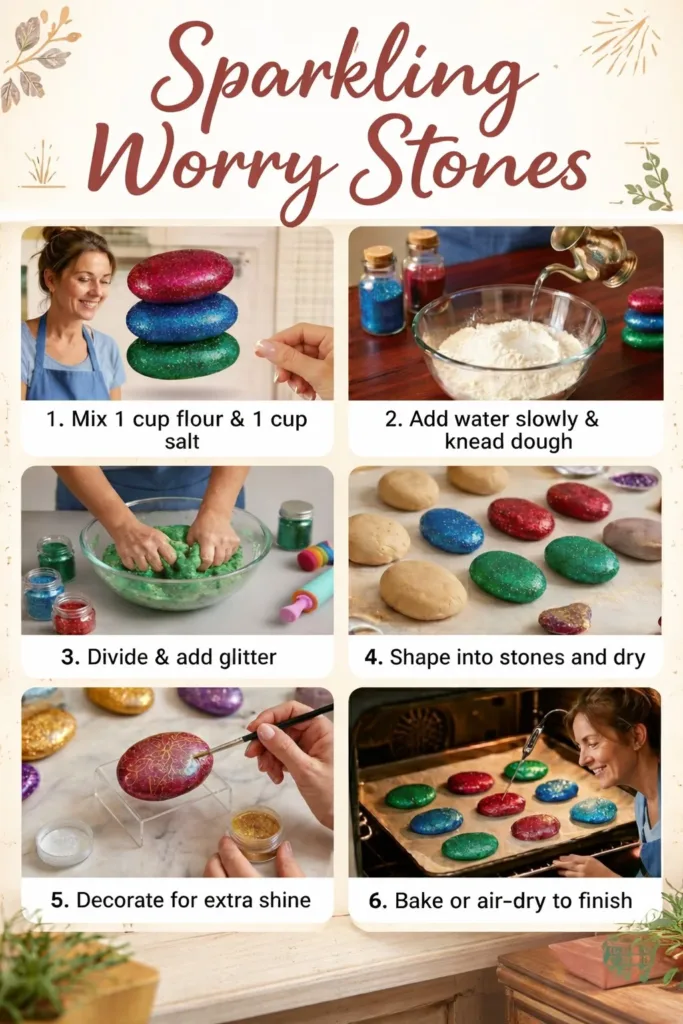
The small stone warmed under my palm felt like a secret. It caught the light in tiny, bright sparks where the glitter met the resin, and my thumb traced the smooth curve until my breath slowed. These Sparkling Worry Stones fit easily in a pocket or on a night table, and making them asks you to notice touch, shine, and calm in a way that feels simple and true. If you want a quiet, tactile craft to return to again and again, this project meets you gently where you are, with low fuss and room for small, mindful choices. For a related take on classic worry stones, you might like this simple worry stones project that I enjoy returning to for quick, grounding moments: simple worry stones project.
The Quiet Joy of Making Sparkling Worry Stones
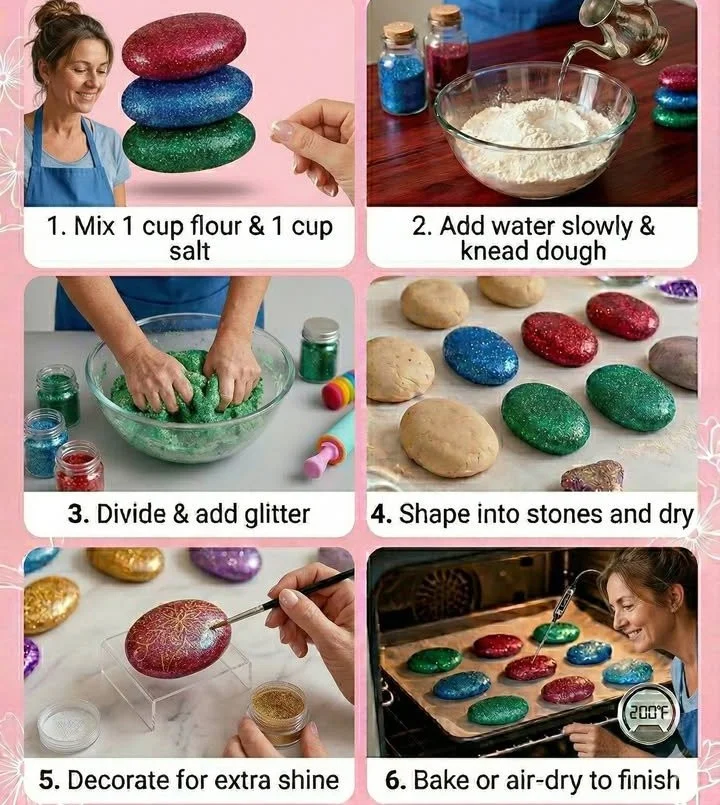
There is a small comfort in repetition. Rubbing a stone, smoothing a coat of resin, shaking a jar of fine glitter each tiny action invites a breath and a pause. Sparkling Worry Stones blend that calm rhythm with a little light. The shimmer on the surface glows when the stone shifts. The glitter does not shout. It whispers. That subtle sparkle makes a gentle companion for anxious hands, long waits, or restless nights.
I make these on rainy afternoons when the house smells faintly of tea and paper. I sit near a window so the light moves across the work as I do. The process slows me. It asks me to pay attention to texture and temperature. I press my thumb to a smooth form, feel the cool resin set, and watch the glitter catch the sun for the first time. Each finished piece carries that memory a small, bright moment you can hold.
Sparkling Worry Stones fit quietly into everyday life. They work for people who like fidget tools that feel natural and for those who prefer objects that blend with home decor. You can tuck one into a pocket, leave another on a bedside tray, or float one in a shallow bowl as a soft, tactile display. If you enjoy scent as part of sensory making, you can pair this with aroma projects like these gentle aroma stones for a deeper calm: aroma stones.
How This DIY Comes Together
The flow of this project moves in short, steady beats. You pick a shape. You mix a small amount of resin. You layer color and glitter and wait. Movement stays simple and deliberate. Each small action invites a check-in with your breath and senses.
I like to work at a table with a soft cloth under my hands. The resin smells faint, so I open a window and let a gentle breeze move through. I tap the mold to release air bubbles. I watch the resin thinly spread, glossy and slow. The sound of a stirring stick against glass, the visual of color swirling, and the mild warmth of resin curing all add up to a slow, sensory rhythm. This rhythm helps me stay present and enjoy the making as much as the result.
If you have made small resin pieces before, this will feel familiar. If this is your first time, think of the steps like a quiet sequence: prepare, pour, pause, finish. Each pause matters. Each small finish point gives you a chance to reflect and adjust.
Materials You’ll Need
- Smooth stone-shaped silicone mold, or flat pebble molds (easy to find online)
- Clear epoxy resin kit, small batch size (two-part resin and hardener)
- Fine cosmetic or craft glitter in 1–3 colors (skin-safe glitter if you plan to keep stones in pockets)
- Alcohol ink or mica powder for soft color wash (optional, gentle color)
- Wooden mixing sticks, small disposable cups for measuring
- Nitrile gloves and a protective mat or craft tray (safety and easy cleanup)
- Small pipette or syringe for precise drops (optional)
- Sandpaper, fine grit (400–800) for smoothing edges if needed
- Soft cloth and isopropyl alcohol for wiping and cleaning
- A small toothpick or needle for guiding glitter and popping bubbles
Notes: The resin cures best at room temperature. If you prefer non-epoxy options, try air-dry clays with a glossy varnish, though the shine will differ. For a lighter, less permanent shimmer, mica powders and water-based glazes work well.
Step-by-Step Directions
Prepare your space and tools. Set a clean, flat surface and place a soft mat beneath your mold. Open windows for ventilation and put on gloves before handling resin.
Measure resin and hardener. Follow the kit instructions exactly for ratios. Pour slowly to avoid splashing and keep your movements steady.
Mix gently and slowly. Stir for the full time recommended, scraping the cup sides. Watch for a glossy, uniform mix and try not to whip air into it.
Add color and glitter. Drop in a pinch of mica powder or a few drops of alcohol ink. Stir with a gentle fold, then sprinkle fine glitter where you want sparkle.
Pour a thin base into the mold. Fill each cavity with a light layer to create depth. Tilt the mold slightly if you want the glitter to drift to one side.
Tap and pop bubbles. Lightly tap the mold on the table; use a toothpick to coax surface bubbles. A gentle pass of warm air from a heat gun or hair dryer at low distance helps clear small bubbles.
Build layers if desired. Allow the first layer to become tacky, then add another thin coat. Place very small bits of additional glitter or a tiny crystal in the middle for a layered look.
Let the resin cure undisturbed. Cover the work with a dust-free box to protect the surface. Cure according to your resin instructions, usually 24 to 72 hours depending on product.
Demold gently and refine. Once fully cured, press the silicone mold edges and push out the stones. Lightly sand any rough edges with fine-grit paper, then wipe clean with alcohol.
Polish and finish. For extra shine, apply a thin final coat of resin or a gloss varnish. Allow the finish to rest and harden fully before handling frequently.
Using Sparkling Worry Stones in Everyday Life
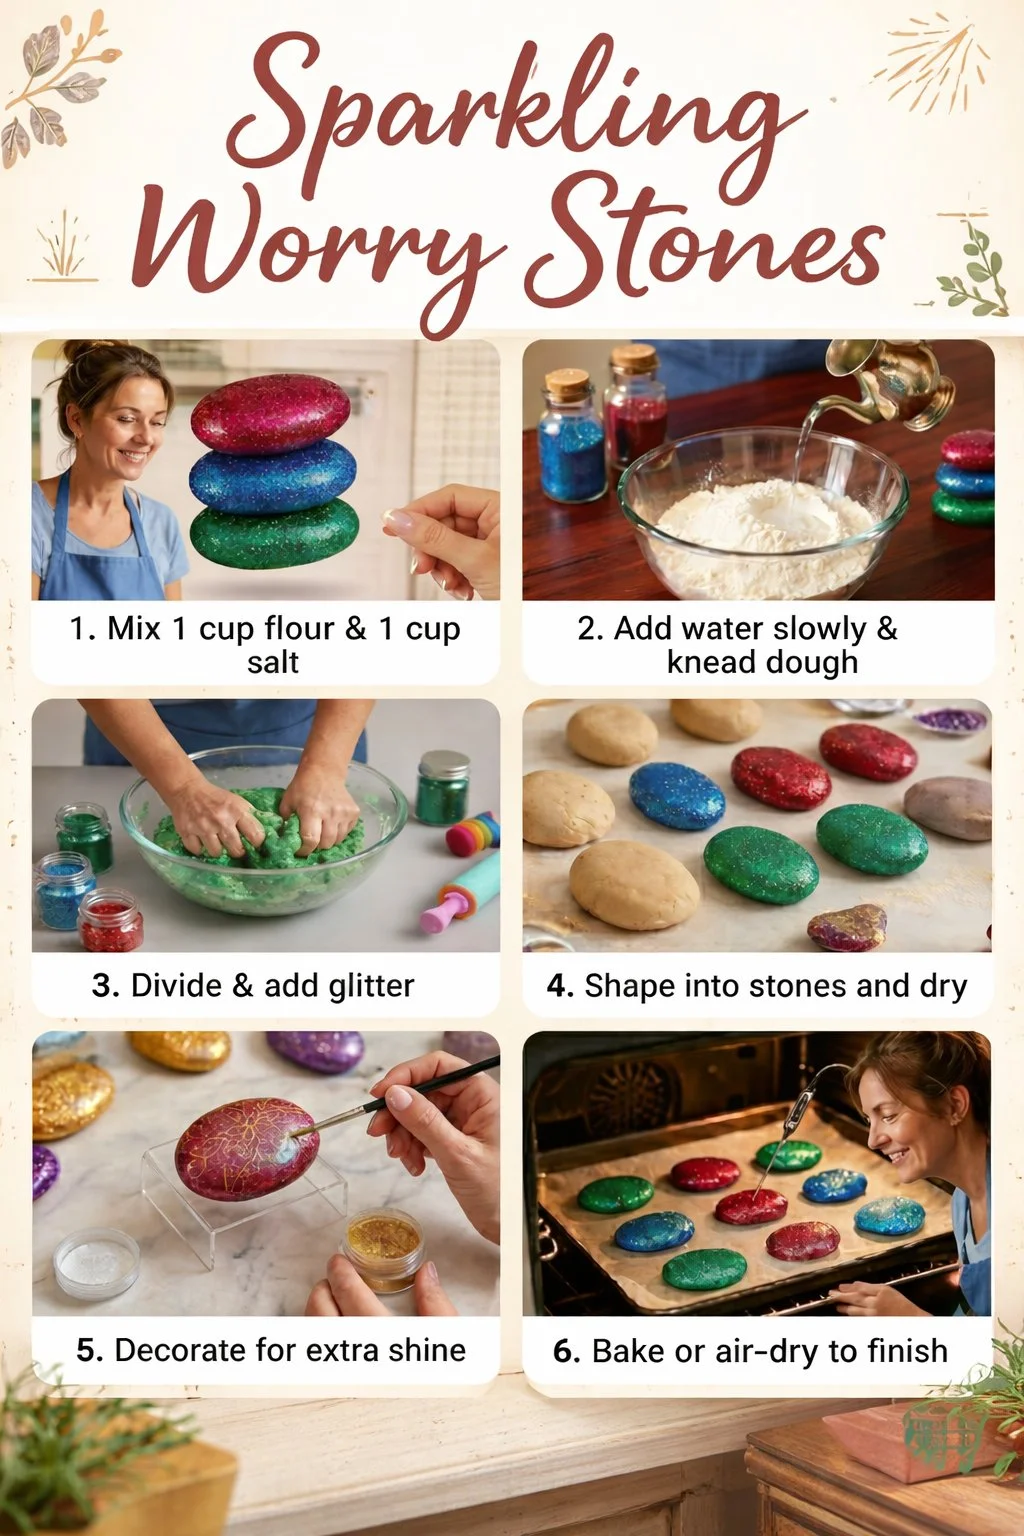
{image_template}
These stones fit into small rituals. Hold one while you wait for a kettle to boil. Carry one during a commute and press it between your thumb and finger when you need a pause. Place one on your bedside table and let your hand find it while you breathe slowly before sleep.
They also make quiet gifts. Wrap a stone in soft cloth and tuck it into a card. Write a tiny note about how the sparkle reflects small, steady light. I gave a handful to a friend who said she liked to keep objects that reminded her of calm; she kept one on her desk and told me it helped her take five slow breaths several times a day.
If you like to combine senses, keep one stone near a small dish of essential oil-soaked beads or pair it with a favorite tea mug. The tactile feel and the faint shimmer create a small, multi-sensory anchor. For ideas on adding soft, celestial colors to similar pieces, I often look back at projects that layer shine and hue, such as these galaxy crystal shells for inspiration: galaxy crystal shells.
How to Store or Reuse Sparkling Worry Stones
Store stones in a soft pouch or a lined box to protect the finish. If you keep them in a drawer, place them on a small piece of felt so they do not rub against harder objects. Resin can scratch, so cushioning matters.
If a stone picks up dust, wipe it gently with a soft cloth dampened with a little isopropyl alcohol. For fingerprints or smudges, a mild soap and water wash, followed by a soft dry, restores shine. If the surface dulls over time, a thin polish with a resin-compatible gloss or a fresh thin coat will bring back the sparkle.
You can repurpose imperfect pieces. Sand a rough edge and apply a small patch of resin with glitter to cover a nick. Use fragments as inlay for a new, layered stone. I keep a small jar of offcuts and tiny flakes. On slow afternoons, I glue them into tiny frames or set them into clay to make new shapes. This practice feels honest and thrifty, and it keeps the making cycle soft and forgiving.
Gentle Tips & Variations
Invite texture with a soft cloth. Press a piece of lace or a small paper doily into a thin, tacky layer to leave a faint pattern. This adds an under-layer that feels private, not flashy.
Try glow-in-the-dark pigment. Add a tiny pinch for stones that hold faint light at night. Use sparingly so the glow reads as a quiet companion rather than a bright object.
Keep a color story. Choose two or three harmonizing hues and repeat them across a set. A consistent palette makes the stones feel like a small collection you can arrange on a tray.
Use natural inclusions. Tiny pressed flowers or a speck of sand add an earthly feel. Place them in the middle of a thin resin layer so they sit as if suspended in glass.
Make a gratitude set. Create three stones and write one small word on the back of each with a fine permanent pen words like breathe, rest, and steady. These become tactile prompts for moments when you need a gentle reminder.
FAQs About Sparkling Worry Stones
Are these stones safe to carry in pockets?
Yes, when fully cured and sealed they handle pocket life well. Use skin-safe glitter and smooth any sharp edges to make them comfortable. If you put them with keys or coins, store them in a soft pouch to prevent scratches.
How long does the resin take to cure?
Curing time depends on the resin brand and room temperature. Most clear epoxy resins set to touch in 12 to 24 hours and cure fully in 24 to 72 hours. Cold rooms slow curing, and warm rooms speed it up. Always follow the product instructions for best results.
Can I make these without resin?
Yes. Air-dry clay or polymer clay with a gloss varnish can give a similar feel, though the shine and depth that clear resin provides will differ. If you avoid resin, pick a durable varnish to protect the surface.
Will the glitter fall out over time?
When you embed fine glitter beneath a sealed layer of resin, it stays locked in place. Loose glitter on the surface can shed, so aim to seal any surface sparkle under a final thin coat.
Is resin safe to work with at home?
Resin can be safe if you take simple precautions. Work in a ventilated space, wear nitrile gloves, and avoid skin contact. Read and follow the manufacturer safety instructions. Keep resin away from children and pets while it cures.
A Gentle Note Before You Go
Making Sparkling Worry Stones invites a small, steady practice into your day. The act of shaping shine into a soft object trains attention and gives your hands a calm habit. It rewards slow moments and quiet afternoons. When you finish, set your stones in a place where you will see them in a way that feels gentle on a bedside tray, in a tea bowl, or tucked into a pocket. Let them be both tool and small keepsake. They will catch light, cool under your thumb, and remind you that making can be as quiet as holding your breath and as bright as a single point of glitter when the light moves just so.
Conclusion
If you want a step-by-step maker’s tutorial with lovely photography and friendly voice, I also recommend Crafty Chica’s LOVE STONES tutorial for its playful approach. For ready-made options or seasonal designs, you might like the curated selection at Halloween Worry Stones at All Things Sensory Shop, which can give you ideas for color and style.
Thank you for spending this slow, bright moment with me. May your hands find calm in the small, steady acts of making, and may your Sparkling Worry Stones hold a little piece of quiet light for you.
PrintSparkling Worry Stones
Create beautiful Sparkling Worry Stones to provide calm and sensory enjoyment through simple crafting.
- Prep Time: 30 minutes
- Cook Time: 1440 minutes
- Total Time: 1470 minutes
- Yield: 3-5 stones
- Category: Craft
- Method: Crafting
- Cuisine: N/A
- Diet: N/A
Ingredients
- Smooth stone-shaped silicone mold, or flat pebble molds
- Clear epoxy resin kit, small batch size (two-part resin and hardener)
- Fine cosmetic or craft glitter in 1–3 colors
- Alcohol ink or mica powder for soft color wash (optional)
- Wooden mixing sticks
- Small disposable cups for measuring
- Nitrile gloves
- Protective mat or craft tray
- Small pipette or syringe for precise drops (optional)
- Sandpaper, fine grit (400–800)
- Soft cloth and isopropyl alcohol
- A small toothpick or needle for guiding glitter
Instructions
- Prepare your space and tools.
- Measure resin and hardener according to kit instructions.
- Mix gently and slowly until glossy and uniform.
- Add color and glitter to the mix.
- Pour a thin base layer into the mold.
- Tap the mold to release air bubbles.
- Build layers if desired.
- Let the resin cure undisturbed.
- Demold gently and refine edges.
- Polish and finish for extra shine.
Notes
For best results, cure resin at room temperature. Clean gently with isopropyl alcohol if needed.