

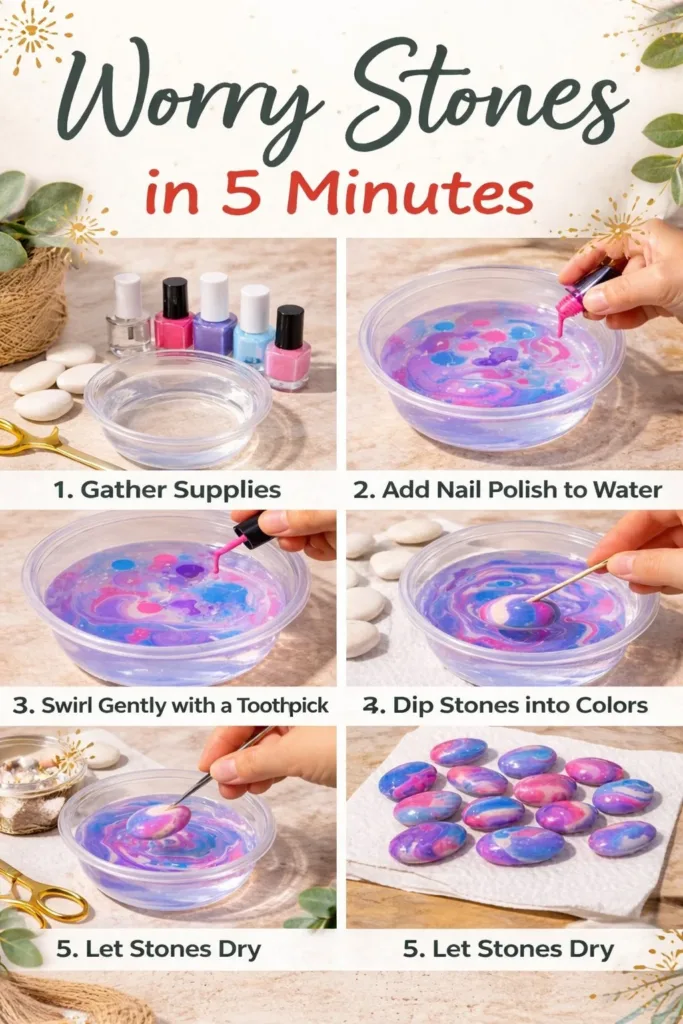
A small bowl of cool clay sits in my lap under a soft lamp. My thumb finds a smooth curve and I breathe out. The weight of the little stone fits my palm like a promise. In five minutes I shape a Worry Stones in 5 Minutes piece, press the hollow for my thumb, and feel a quiet shift in my body. The texture, the gentle resistance of the clay, and the soft scrape of the tool bring me back to the present.
Why Worry Stones in 5 Minutes Feels Comforting to Create
There is something simple and steady about a small calm object you can hold and rub. A worry stone asks for little time and gives a lot of presence. When you move your thumb across a smooth curve, your focus narrows to a handful of sensations. The cool of the clay, a faint scent of baking soda if you use it, and the soft sound of rubbing all act like a little anchor.
Making a worry stone in five minutes keeps the process light. You do not need perfect tools or a long block of time. You can make one while tea cools or in the pause between tasks. That brief rhythm helps you pause without guilt. It turns a hurried minute into a mindful gesture.
I sometimes make a few before bed and tuck them under a pillow. They sit quiet and patient like small companions. If you have tried other cozy crafts on the site, you may notice the same gentle focus in them. For ideas that explore similar sensory textures, you might enjoy a related worry stones tutorial on CozyHandsDIY that shows more shaping options and color ideas.
A Gentle Look at the Process
This project stays soft and rhythmic. You press, shape, smooth, and dry. The movement repeats in tiny, comforting cycles. You can hear the faint scratch of a toothpick or the whisper of a fingertip smoothing a ridge. Your hands work slowly enough to notice temperature changes. Clay warms a little in your palm. Paint dries matte and quiet.
The steps follow a gentle arc. You mix or pick a base. You shape rounded forms. You hollow a thumb dip. You let the pieces rest. Each step offers small moments to breathe and adjust. If you like texture play, try a touch from a previous project like the light molding used in the cloud ornaments for a soft, puffy look and gentle ridges that invite touch, as I learned making a batch inspired by a cloud ornament technique earlier this year.
Materials You’ll Need
Air dry clay. Easy to find and soft to press. Water. A few drops smooth the surface. A small bowl. For mixing or holding slip. A soft cloth. For gentle wiping and patting. A toothpick or small rounded tool. For making the thumb dip. A little sandpaper, fine grit. Optional, for extra smoothing. A tiny bit of paint or oil. Optional, to finish or seal. Baking soda or cornstarch. Optional substitute to alter texture; see a helpful baking soda crystal guide for how baking soda can change the feel of your mixes.
Step-by-Step Directions
- Pull a small piece of clay. Roll it into a smooth ball. Feel the coolness soften in your hands.
- Flatten the ball gently into an oval. Use your thumbs to press a little, aiming for a petal-shaped stone.
- Make a thumb dip. Press your thumb with steady even pressure to form a shallow hollow. Keep the edges rounded and soft.
- Smooth the surface. Dip a fingertip in water and glide it across the stone. Notice how the clay glows a shade darker as it gets damp.
- Refine edges. Use a toothpick or rounded tool to gently tuck any thin lips inside the shape. The motion feels like tucking a blanket.
- Dry the stone. Set it on a soft cloth in a warm, still place. Small pieces dry in a few hours; thicker ones may need overnight.
- Finish lightly. Sand with very fine grit if needed. Rub in a little oil or a thin wash of paint for color. Keep finishes thin so the stone stays pleasant to touch.
Enjoying the Finished Piece
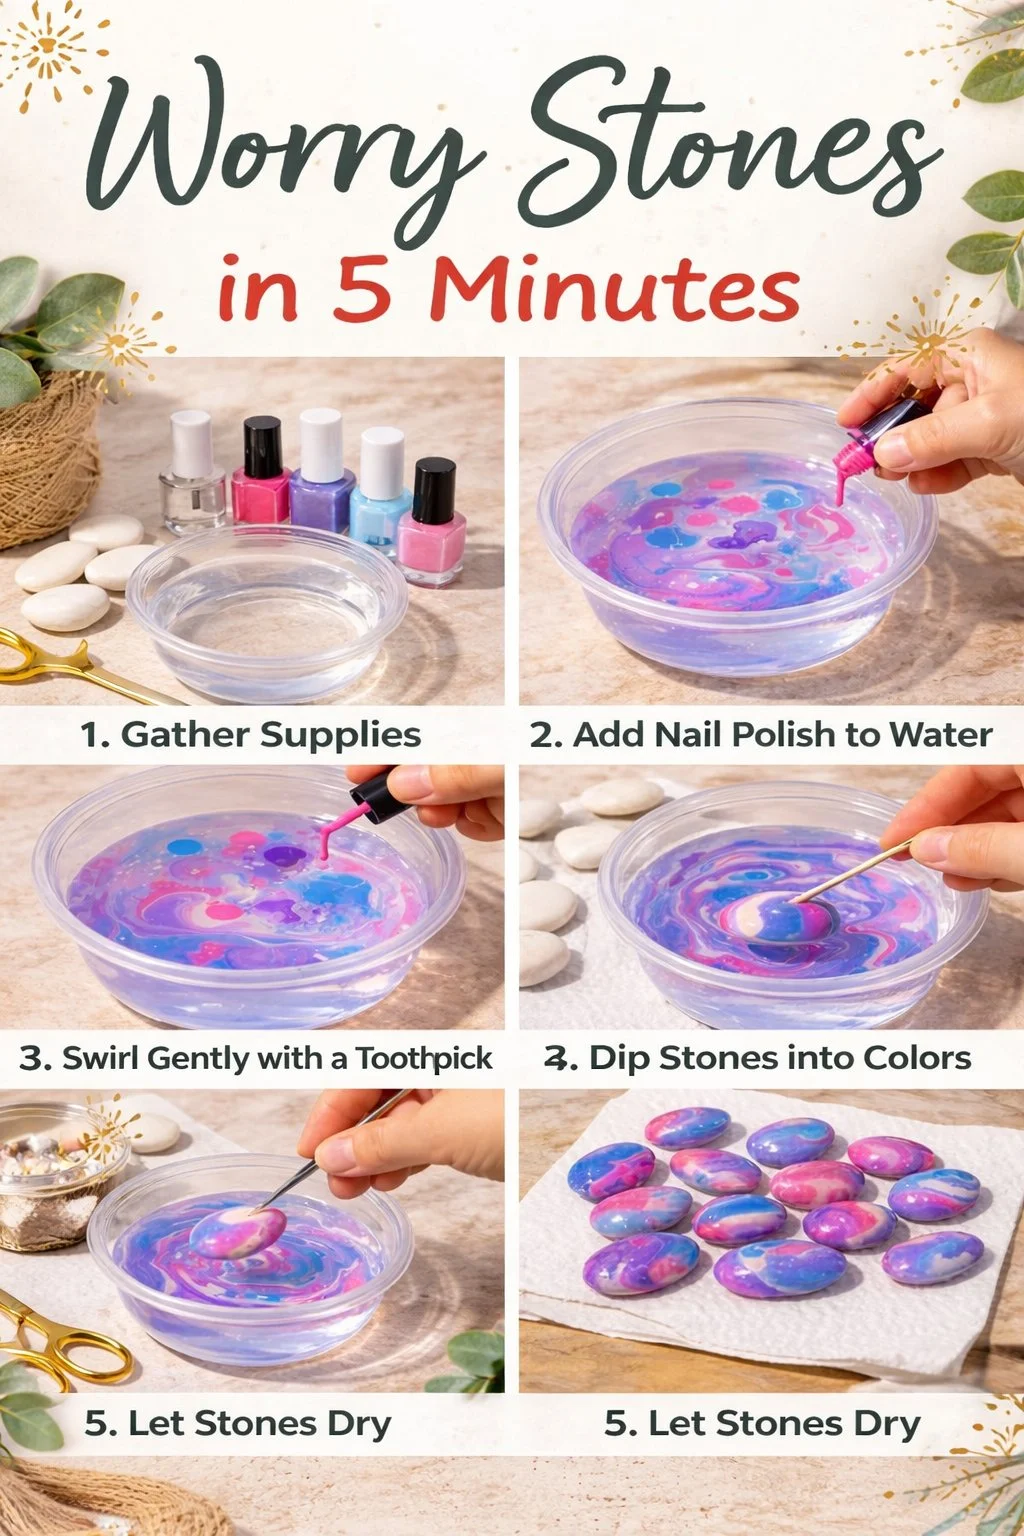
The finished stone lives as an invitation. Keep one by your mug for mindful sips. Slip one in your pocket before a meeting. Place a pair on your nightstand and use them to slow down before sleep. The stone feels calm under skin and warms slowly when you hold it.
You can make matching sets and keep one in a small dish on a desk with a few dried lavender buds. The scent and the texture pair well. I arrange a trio in a shallow bowl by a reading chair. When I pick one up, the familiar weight and contour remind me to pause and breathe slowly. The practical quiet of a small, hand-shaped object helps a busy mind find a place to rest.
Using a worry stone in moments of stress works because the action gives a safe focus. Rubbing the hollow with your thumb gives a repetitive stimulus that does not demand words. It helps anchor attention, calm a quick breath, and ground the body. I find it especially helpful when emotions rise; the touch gives me room to notice without reacting.
How to Store or Reuse Worry Stones in 5 Minutes
Store stones in a cool, dry place. Avoid direct sun which can fade some finishes. A small linen pouch protects them from dust and softens their edges.
If a stone chips, you can smooth the area with fine sandpaper and reapply a thin finish. If you used quick-dry paint, give the piece a gentle rub of oil to restore a soft sheen. For stones made from a simple air dry clay, you can reshape small imperfections by dampening the area and pressing lightly to reform the curve, then setting to dry again.
If you like to refresh sensory items, place stones briefly in warm hands before use. The warmth brings out the scent of any oils you used and makes the texture feel more intimate. For travel, pack stones in a padded case or wrap them in cloth to protect them from knocks.
Gentle Tips & Variations
Try coloring with natural pigments. A light dusting of powdered pigment or very watered-down paint brings subtle hues without losing texture. Invite texture with simple tools. Press a soft leaf or the end of a paintbrush into the clay for a faint print. The pattern becomes a quiet place for your thumb to rest. Make a set with different weights. Use a slightly larger stone for the palm and a smaller one for the fingertips. Having choices feels comforting. Reuse bits of clay. Save small trimmings in a covered jar and rehydrate them later with a few drops of water. If you enjoy crystal textures, pair this project with the gentle work of a crystal growing trees project for a seasonal display that combines smooth stones and sparkly branches.
What I’ve Learned While Making This
I learned that imperfect stones often feel the most honest. A slightly uneven dip remembers the gesture of my hand. I noticed that making many small pieces calms me more than working on one big, perfect item. The repetition soothes and the variety keeps it interesting.
I also learned to respect drying times. Rushing to finish can create cracks. Letting pieces dry slowly in a still corner preserves the smoothness. If you live somewhere humid, give them a longer rest or set them near gentle air flow.
Safety and honesty matter. Use non-toxic clay and finishes when you plan to keep a stone in contact with skin. If you add scent or oils, test them on a small patch of skin first. Keep tiny stones out of reach of young children who might put them in their mouths.
FAQs About Worry Stones in 5 Minutes
Can I make a worry stone from any clay? Yes, but results may vary. Air dry clays give a soft matte finish and dry without a kiln. Polymer clays need oven baking and give a firmer, denser feel. Choose a clay that matches how you want the stone to feel and how you want to finish it.
How long do worry stones last? A well-made stone can last for years. Keep it dry and clean. If it shows wear, you can sand and reapply a safe oil finish. I have stones from years ago that keep their shape and comfort because I store them gently.
Will paint chip off a worry stone? Thin, flexible paints adhere best. Thick layers can crack as the stone takes oils from your skin. Use a thin wash or a small amount of sealing oil to protect the surface. Test one piece first to see how the finish behaves.
Is this safe for someone with sensory sensitivities? Many people with sensory sensitivity find worry stones calming because they offer predictable, gentle touch. Choose textures and sizes that feel safe. Start with a smooth, lightly oiled stone. Avoid strong scents or sharp edges. Trust your sense of comfort and adjust as needed.
Can I make this with children? Yes, with supervision. Use non-toxic materials and avoid tiny parts that could be swallowed. Let children explore the feel of soft clay and the rhythm of shaping. Keep drying pieces out of reach until fully set.
A Gentle Note Before You Go
Making a worry stone in five minutes gives you a small, steady ritual. It teaches you to use limited time as a gift. The act of pressing, smoothing, and holding reconnects you to your senses. Keep a few near places where you like to be still. Let them remind you that calm can live in simple, hand-shaped things.
Conclusion
If you enjoy exploring tactile tools, a softly textured set can add comfort to your routine, such as this textured sensory stone set I like for keeping on a desk or shelf. For a thoughtful note on balance and sensation that can tie into how we use sensory objects, see this AMA guidance on vertigo which offers careful context about touch and balance.
PrintWorry Stones in 5 Minutes

Create calming worry stones in just five minutes using air dry clay. This simple craft promotes mindfulness and offers a gentle focus during stressful moments.
- Prep Time: 5 minutes
- Cook Time: N/A
- Total Time: 5 minutes
- Yield: 1 worry stone
- Category: Craft
- Method: Crafting
- Cuisine: N/A
- Diet: N/A
Ingredients
- Air dry clay
- Water (a few drops)
- A small bowl (for mixing or holding slip)
- A soft cloth (for gentle wiping and patting)
- A toothpick or small rounded tool (for making the thumb dip)
- A little sandpaper, fine grit (optional, for extra smoothing)
- A tiny bit of paint or oil (optional, to finish or seal)
- Baking soda or cornstarch (optional substitute for texture)
Instructions
- Pull a small piece of clay.
- Roll it into a smooth ball.
- Flatten the ball gently into an oval.
- Make a thumb dip by pressing your thumb to form a hollow.
- Smooth the surface with a fingertip dipped in water.
- Refine the edges using a toothpick or rounded tool.
- Dry the stone on a soft cloth in a warm place.
- Finish lightly with sandpaper or oil if needed.
Notes
Use non-toxic materials for safety and keep tiny stones out of reach of young children. Recommended for sensory exploration and mindful practices.