

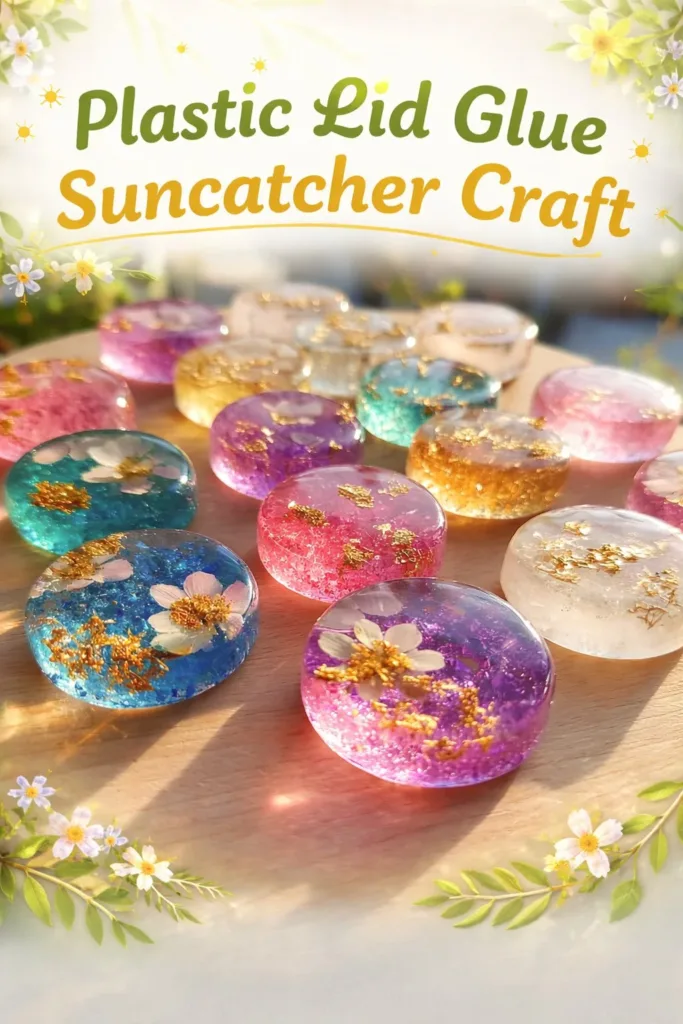
I press my thumb gently into the cooled rim of a recycled yogurt lid and feel the slight give of plastic under my skin. Light pools through a patch of glue where I let a drop of color spread, and the tiny world I have made glows like a slow-breathing jewel. This quiet, tactile moment frames the Plastic Lid Glue Suncatcher Craft for me: simple materials, soft textures, and the patient wait while clear glue turns glass-like in the sun.
The Quiet Joy of Making Plastic Lid Glue Suncatcher Craft
This project asks you to move slowly, to notice the weight of a lid in your hand and the sound of a brush whispering across a surface. Creating a Plastic Lid Glue Suncatcher Craft helps you center attention on small, sensory things: the smooth warmth of dried glue, the way a bead of color unfurls, the soft clink of a spinner tool as it rests on a saucer. You focus on the rhythm of adding a little, waiting, and watching change.
I find that making these suncatchers softens my day. The act of filling shallow wells in a plastic lid with glossy glue invites patient work. You trace colors without pressure and learn to accept small imperfections. That acceptance has a calming effect. I often come back to this craft after a long morning, sit near a window, and let the light and slow motion remind me that creating does not need to hurry.
This project also fits into a mindful, low-waste habit. I reuse lids and leftover craft glue, which makes the work feel gentle not only to my hands but to my home. If you enjoy exploring other sun-catcher ideas, take a calm look at my guide to DIY bioplastic suncatchers for different materials and textures that pair well with this practice.
How This DIY Comes Together
Before we list the materials, imagine the sequence like a slow, musical phrase. You gather items, set a warm puddle of glue into a shallow ring, and see color spread like a watercolor dropped into still water. The glue catches light as it levels, and you listen for the tiny pops as air leaves a bead. You let the piece rest and dry, and the waiting becomes part of the calm.
The process moves from active to quiet. Early steps use gentle motion: stirring tiny drops of dye, pressing glitter sparingly, and smoothing edges. Later steps surrender to stillness: drying, checking the surface, and finally lifting the cured piece to hold against the window. Each part offers a different sensory note. The mixing feels cool and tacky between your fingers. The drying smells faintly of glue and sun. The finished piece sounds hollow when you tap it and feels pleasantly rigid but light.
I often pair this work with a slow cup of tea and soft music, but you do not need ceremony. Even a single steady breath while you pour glue can set the tone. If you want more recipes and playful color ideas, you might like the colorful approaches in my Colorful DIY Bioplastic Suncatchers recipe, which shares similar gentle experimentation with pigments.
Materials You’ll Need
- Clean plastic lids in shallow styles (yogurt, sour cream, takeout). Easy to find and rinse well.
- Clear craft glue (PVA white glue that dries clear). Non-toxic and child-friendly when supervised.
- Liquid water-based dye, food coloring, or watered-down acrylics. Small amount goes a long way.
- Small mixing cups or disposable trays. Paper cups work and make cleanup simple.
- Toothpicks or bamboo skewers for swirling color. Thin and precise.
- A small paintbrush or disposable foam brush for smoothing edges. Optional but helpful.
- Glitter or tiny sequins for shimmer (optional). Use sparingly to avoid clumping.
- Fine sandpaper or nail file for gentle edge smoothing (optional).
- Ribbon, thread, or thin fishing line for hanging the finished piece.
- A well-ventilated, sunny spot or a warm, dust-free place to dry the suncatchers.
- Safety wipes or a damp cloth for quick hands and workspace cleaning.
I prefer clear PVA glue because it forms a smooth, transparent film as it dries. You can substitute with diluted school glue or a clear-drying craft glue. If you plan to hang the suncatcher outdoors or in humid places, look for a glue labeled water-resistant. Keep sharp tools and glitter out of reach of small children and choose non-toxic materials when crafting with little ones.
Step-by-Step Directions
- Clean and prepare a lid.
Gently wash your chosen lid and dry it fully. A clean, dry surface helps glue spread evenly and reduces trapped dust. - Pour a shallow puddle of glue into the center.
Aim for a layer about 2 to 4 millimeters thick. The puddle should sit comfortably within the lid’s rim without touching the edges. - Add color with tiny drops.
Place one or two drops of dye or food coloring into the glue. Use less than you think; color intensifies as glue dries. - Swirl color gently with a toothpick.
Make soft, sweeping motions. Watch the color float and feather; avoid overmixing to keep delicate patterns. - Add shimmer or small inclusions sparingly.
Drop a pinch of glitter or a single sequin into a few spots. These catch light without weighing the glue down. - Smooth and nudge edges with a brush if needed.
Run a damp foam brush along the rim to form a clean edge. Take this step slowly and calmly. - Tap gently to remove bubbles.
Hold the lid and give a small, soft tap against the table. Bubbles rise and disappear, leaving a clearer surface. - Move the lid to a warm, dust-free drying spot.
Place it in sunlight or under gentle warmth. Avoid sudden temperature changes to prevent cracking. - Wait patiently for full curing.
Expect several hours to a full day, depending on thickness and humidity. I check after a few hours and again the next morning. - Remove, sand edges if needed, and add hanging thread.
Run fine sandpaper along any sharp edge, then thread ribbon through a small hole or secure with a dab of glue to the rim.
Enjoying the Finished Piece
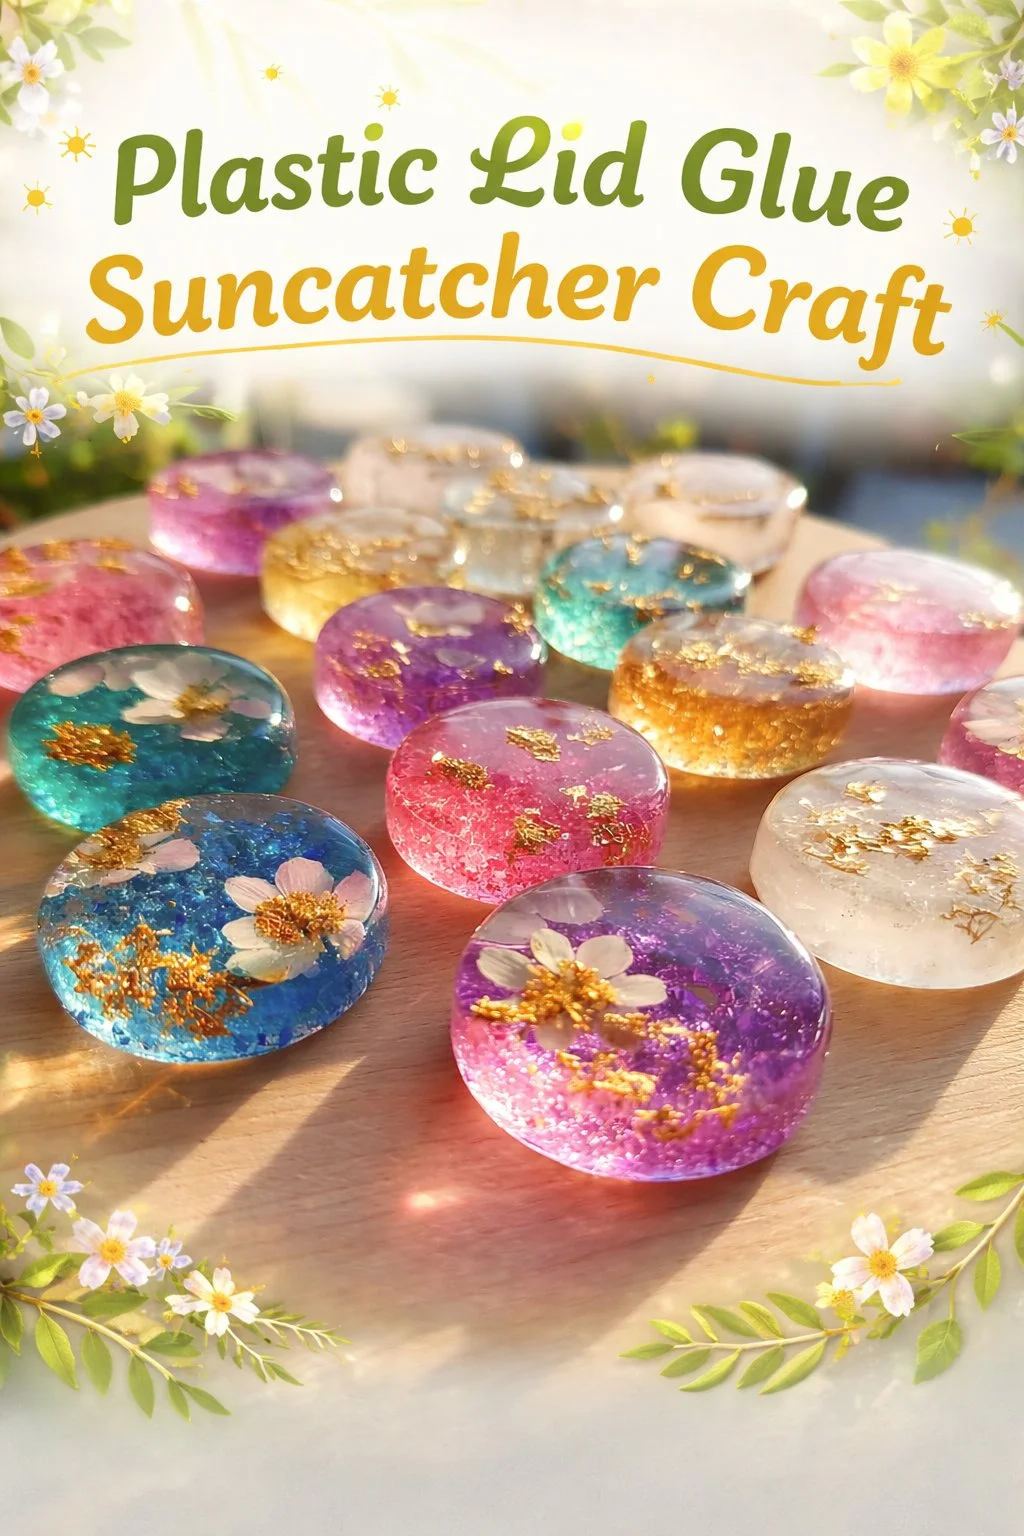
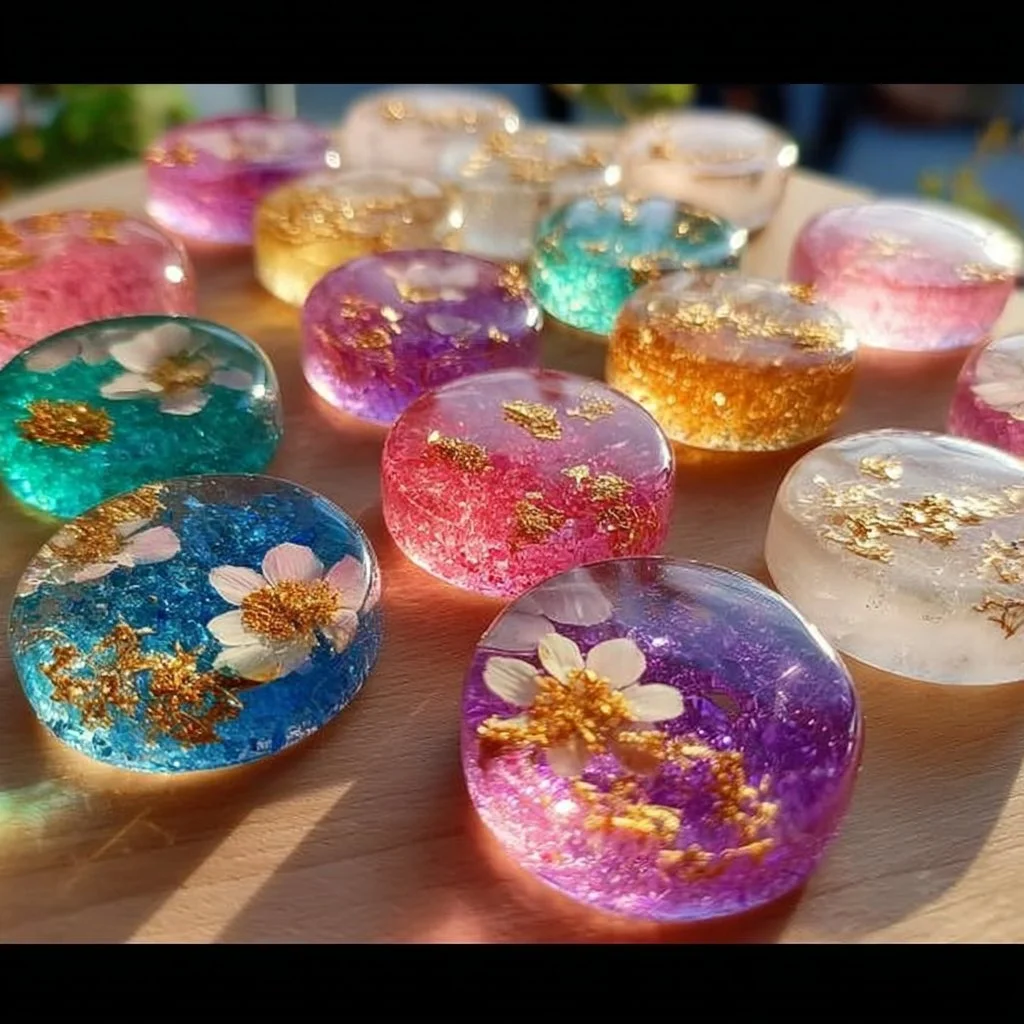
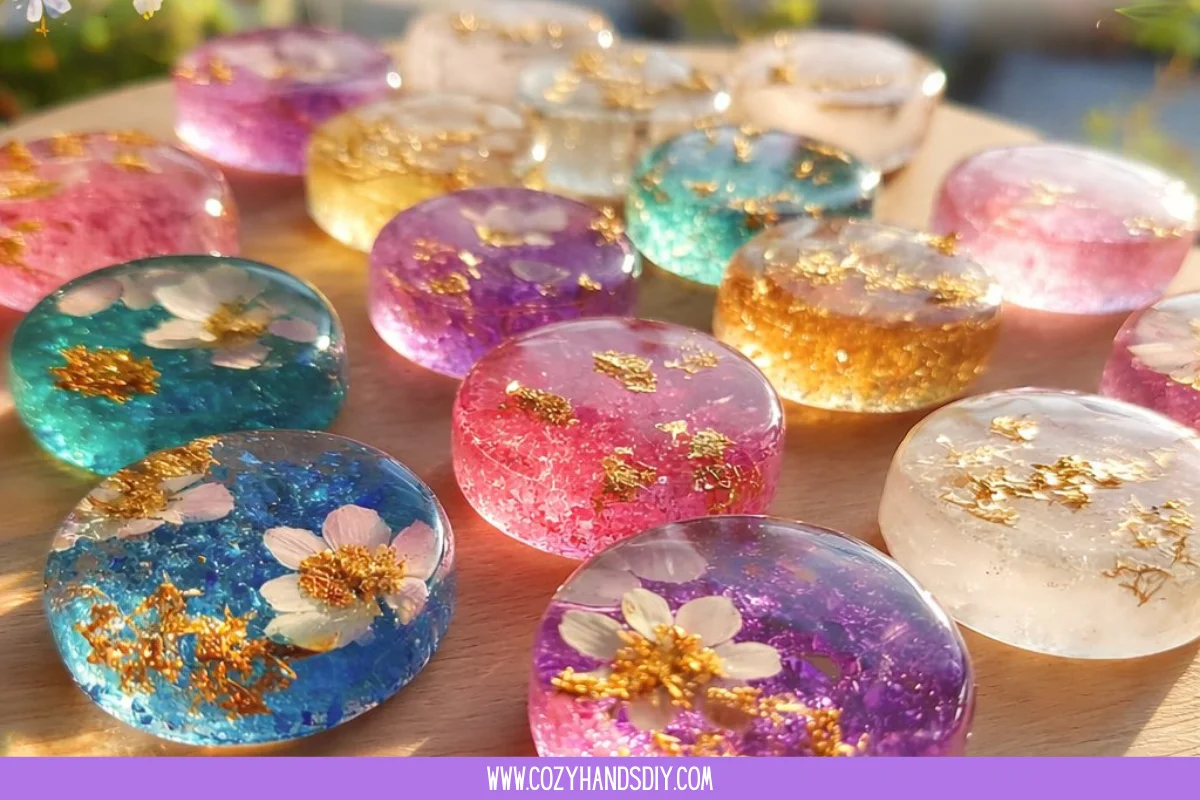
Glass-like and light, your Plastic Lid Glue Suncatcher Craft invites quiet observation. Hang it in a sunny window and watch how morning light paints your wall. The tiny imperfections catch and scatter color in a way that feels handmade rather than machine perfect. I like to display a small cluster of pieces at different heights so each one breathes and moves in a small breeze.
Think about where the piece can offer a gentle pause. I often hang one near my work table so it glints at me during breaks, reminding me to shift focus for a moment. You can tuck a suncatcher above a kitchen sink, beside a bedside lamp, or in a child’s low window where their small hands can reach it with permission. If you make several, string them together into a soft mobile. They bring a subtle warmth and a sense of slow presence to ordinary routines.
I sometimes lay a suncatcher flat on a table during dinner and let candlelight emphasize the colors. The object changes its voice with each light source: crisp midday sun, warm evening lamplight, or cool winter sky. That variability becomes part of the quiet pleasure of making the finished piece keeps revealing small delights.
How to Store or Reuse Plastic Lid Glue Suncatcher Craft
Store your suncatchers gently to avoid scratching the cured surface. Lay them in a shallow box lined with soft paper or cloth, stacked with tissue in between. Avoid heavy stacking. If you plan to store multiple pieces, use a flat container that keeps them from bending or catching dust.
If a suncatcher chips at the edge, you can often smooth it with fine sandpaper and recoat a thin layer of glue to seal the repair. For a piece that no longer pleases you, consider repurposing it into a new layered suncatcher. Break or cut it into shapes with careful scoring and then embed those shapes within fresh glue puddles to create a mosaic effect.
When you reuse lids for another batch, wash them and check for residue. Leftover glue can create texture in the next piece, which sometimes yields pleasing layered translucence. I keep a small tray of used lids to experiment with layering; sometimes an imperfect starting lid inspires a more textured final piece.
Gentle Tips & Variations
- Invite color gradients.
Drop a tiny bit of pigment at the edge and another in the center, then nudge both slightly. The colors will meet and form a soft gradient without strong lines. - Try pressed botanicals sparingly.
Very flat, dry petals or tiny leaves can trap beautifully in thin glue. Use minimal plant matter and press gently to avoid moisture, which can prevent curing. - Use translucents rather than opaque glitters.
Fine pearlescent powders or mica flakes give a soft sheen without bulk. A little goes a long way; add just a pinch. - Make tiny story pieces.
Create a set of small suncatchers each inspired by a mood: calm blue, sun-bright yellow, soft lavender. Arrange them in the window to create a narrative that shifts with the day. - Invite children to place color but keep heating tools out of reach.
Let them drop color and decide patterns. If younger hands work with the glue, supervise the amount and drying area.
What I’ve Learned While Making This
I learned that patience changes everything. Early attempts with thick glue often trapped bubbles and dried matte. When I slowed the pour and used thinner layers, the surface cleared and the light passed through with more warmth.
I also learned to trust small failures. A suncatcher with a streak of unmixed color became my favorite because it looked organic. The human touch in those irregularities gives the work personality. I keep a small box labeled “experiments” and use those pieces to test color mixes and textures without pressure.
Another practical lesson: check the label on your glue. Some glues dry cloudy or remain tacky in humid conditions. A simple swap to a clear-drying PVA solved that for me and made the finished pieces look more like little panes of stained glass.
FAQs About Plastic Lid Glue Suncatcher Craft
How long does a suncatcher take to fully dry?
Expect thin pieces to firm up in a few hours and to fully cure within 24 hours. Thicker layers take longer. Humidity extends drying time, so choose a warm, dry spot.
Can I hang these outdoors?
You can hang them outdoors in a sheltered spot, but prolonged exposure to rain and direct midday sun can fade colors and weaken some glues. For outdoor use, look for a water-resistant craft glue and check periodically for wear.
Are these safe for children to make?
Yes, with supervision. Use non-toxic, clear-drying glue and keep small sparkly inclusions away from very young children. Supervise any cutting or sanding. Let children participate in color placement and simple decoration.
Will the glue yellow over time?
Clear PVA glue stays fairly stable indoors and resists yellowing when kept out of harsh sunlight. Some cheaper glues may yellow; choosing a trusted clear craft glue reduces this risk.
How do I make a hole for hanging?
You can create a tiny indentation near the rim with a toothpick while the glue remains slightly tacky, then thread ribbon through once fully dry. For thicker pieces, consider gluing a small metal loop or eye pin to the edge.
A Gentle Note Before You Go
Sit with your finished piece for a minute. Hold it up, tilt it toward the light, and notice the way colors breathe. Crafting this simple suncatcher builds a quiet habit of close attention. You practiced a small skill, engaged your senses, and brought a bit of handmade light into your space. Let that small act of making remind you that calm grows from repeated, gentle choices rather than sudden perfection.
Conclusion
If you want to see other colorful glue-based sun-catcher inspirations, the website Mombrite offers a warm, visual how-to that complements this approach: Colorful DIY Glue Suncatcher Craft – Mombrite. For another playful take on recycled materials and glue suncatchers, Amanda shares lovely ideas and child-friendly techniques here: Colorful Glue Suncatcher – Recycled Crafts for Kids.
Before you close your kit, tuck any leftover pigment into a small jar for next time, wipe your brushes slowly and mindfully, and breathe. The making lives on in the space you leave clean and the light you created. For further gentle experiments with similar materials, I recommend exploring these related posts on the CozyHandsDIY site: in the introduction I shared a link to DIY bioplastic suncatchers, and throughout the piece you can find more ideas in the guides about colorful bioplastic recipes, other techniques shown in further bioplastic experiments, and an additional exploration at DIY bioplastic suncatchers part three. Keep making slowly and kindly.
PrintPlastic Lid Glue Suncatcher Craft
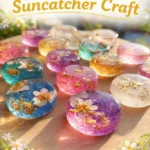
Create beautiful suncatchers using recycled plastic lids and clear craft glue, focusing on mindful crafting and sensory experience.
- Prep Time: 15 minutes
- Cook Time: 0 minutes
- Total Time: 1440 minutes
- Yield: 1 suncatcher
- Category: Craft
- Method: Crafting
- Cuisine: N/A
- Diet: N/A
Ingredients
- Clean plastic lids (yogurt, sour cream, takeout)
- Clear craft glue (PVA white glue that dries clear)
- Liquid water-based dye, food coloring, or watered-down acrylics
- Small mixing cups or disposable trays
- Toothpicks or bamboo skewers
- A small paintbrush or disposable foam brush (optional)
- Glitter or tiny sequins (optional)
- Fine sandpaper or nail file (optional)
- Ribbon, thread, or thin fishing line for hanging
- Safety wipes or a damp cloth for cleaning
Instructions
- Clean and prepare a lid by washing and drying it fully.
- Pour a shallow puddle of glue into the center of the lid.
- Add color with tiny drops of dye or food coloring.
- Swirl color gently with a toothpick.
- Add shimmer or small inclusions sparingly.
- Smooth and nudge edges with a brush if needed.
- Tap gently to remove bubbles.
- Move the lid to a warm, dust-free drying spot.
- Wait patiently for full curing.
- Remove any sharp edges with sandpaper and add hanging thread.
Notes
Use non-toxic materials, supervise children, and store finished pieces gently to avoid scratches.