

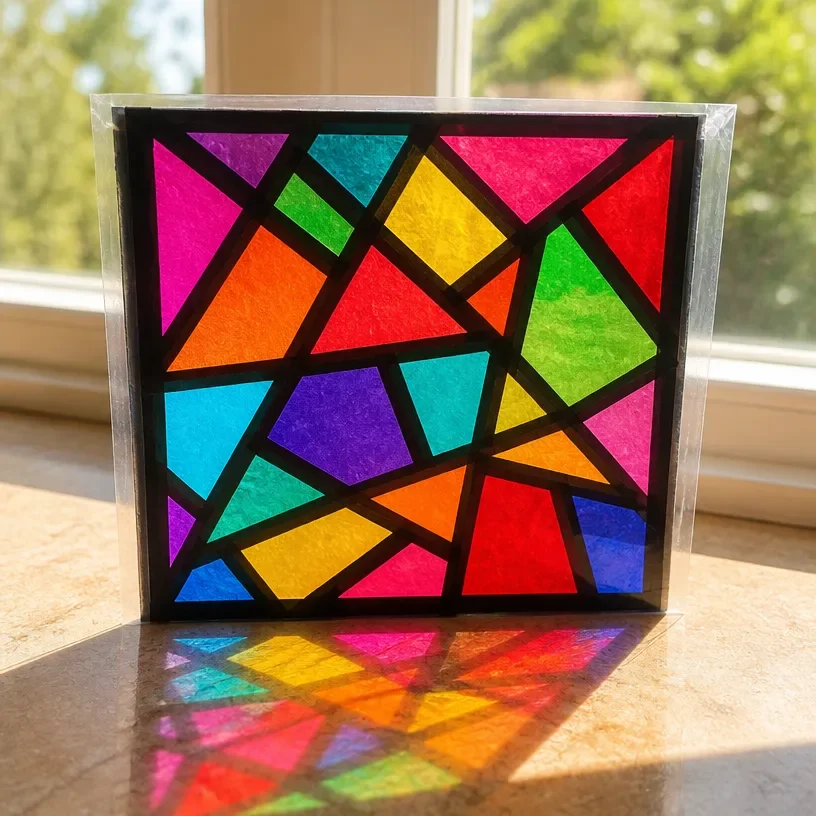
The sunlight pours gently through the window, casting a warm glow on the surrounding space. As you gaze around, hues of color dance softly on walls and furniture, creating a serene atmosphere. This peaceful moment often connects one to the tranquil beauty of stained glass. The creation of the Stained Glass Tissue Window, which transforms light into a vibrant rainbow, immerses you in a sensory experience that encourages creativity and calm. You not only craft a beautiful piece but also engage with light, texture, and color, grounding yourself in the soothing process. You may also find Rainbow Stained Glass Cozy Light useful.
Why Make This Stained Glass Tissue Window Transforms Into Rainbow Light
Engaging in the Stained Glass Tissue Window project invites a sense of mindfulness while creating art. This activity gently draws your focus inward, encouraging you to slow down and connect with your materials. The soft texture of the tissue paper, its simplicity, and the way it interacts with light can evoke feelings of tranquility. Each phase of the process unfolds at a natural rhythm, allowing you to savor the moment. This DIY project becomes a refuge from the bustle of everyday life, offering not just a finished piece but also a peaceful journey. You may also find Frosted Window Rainbow Light Cozy useful.
You may also find Rainbow Bead Spiral Suncatcher Transforms Light useful.
A Gentle Look at the Process
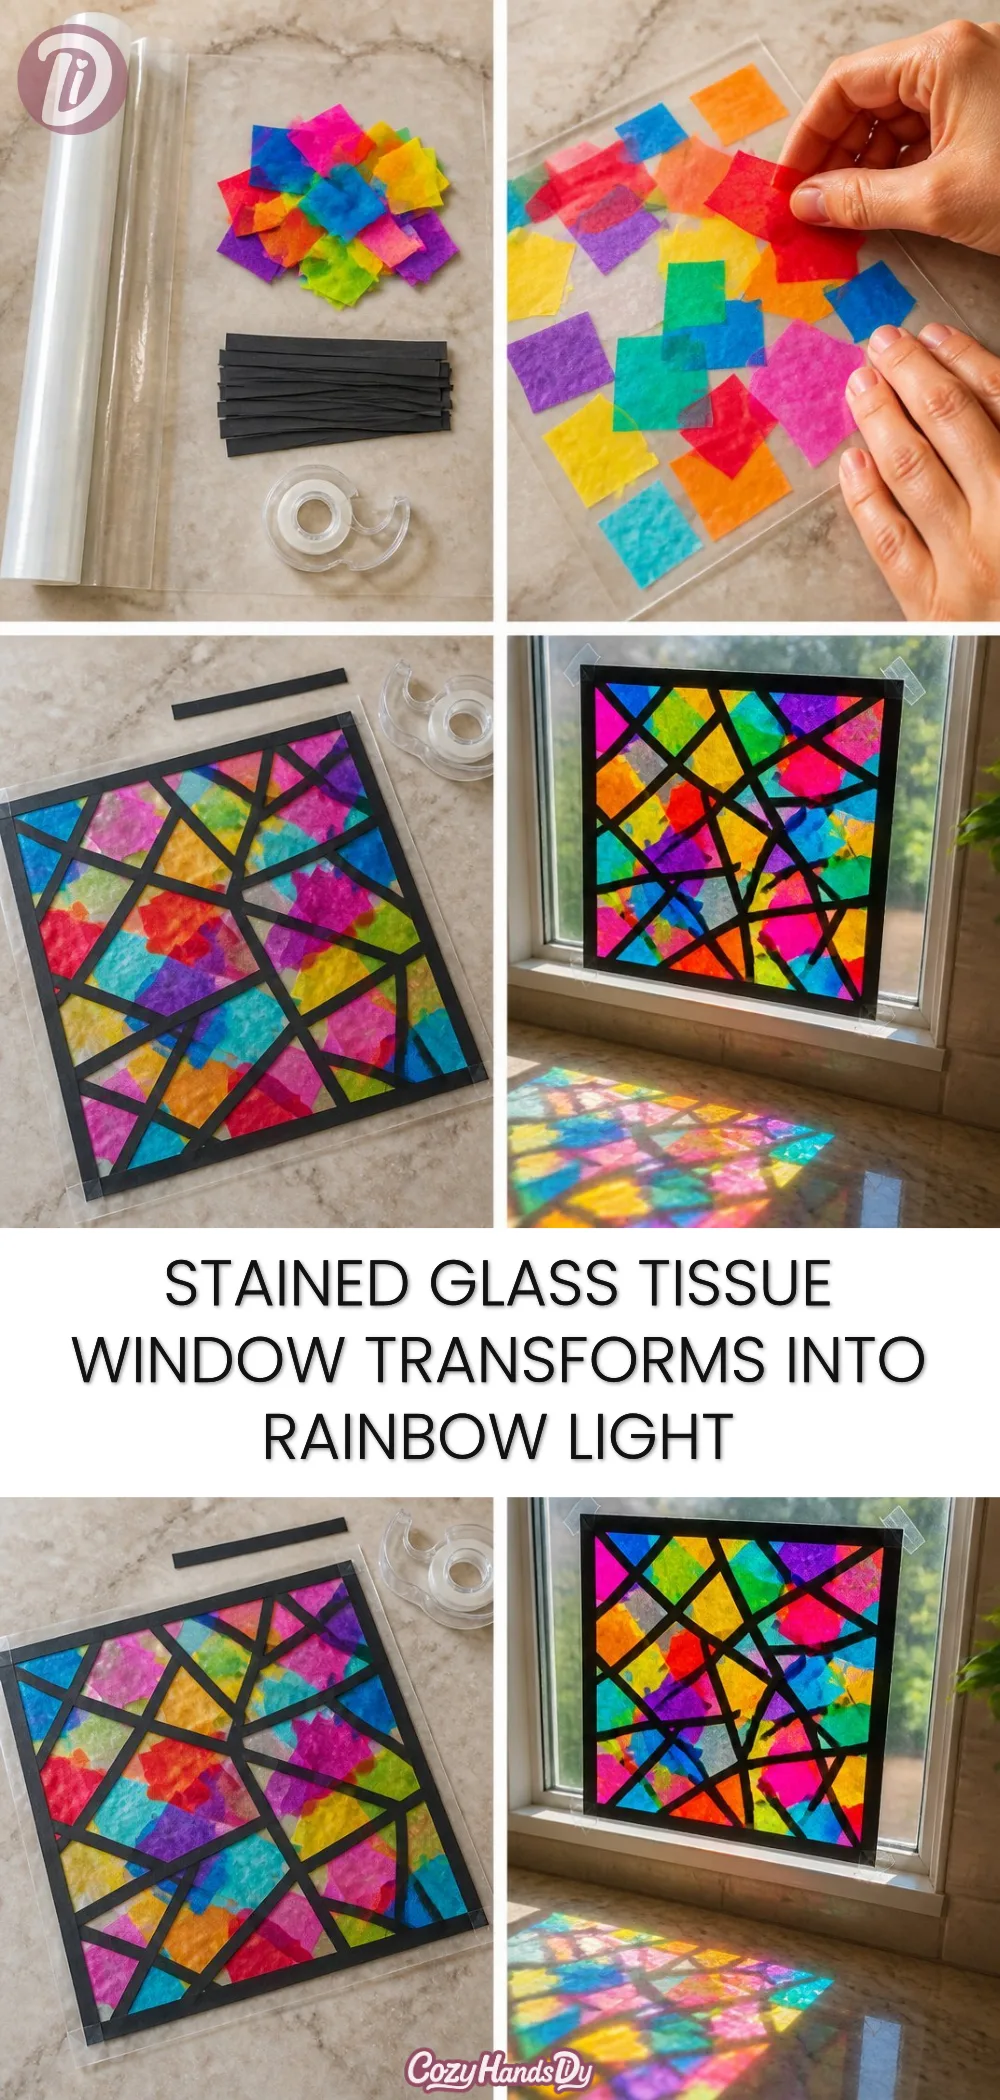
The process of crafting your Stained Glass Tissue Window flows smoothly, much like the light it will eventually catch. You begin by thoughtfully preparing your materials, feeling the gentle rustle of tissue paper and the smoothness of adhesive. Each step invites slow, deliberate movements. As you cut, layer, and glue, you will hear the soft sounds of scissors and the satisfying click of paper pieces coming together. It’s a dance, a way to connect with the simple joys of creation as you turn familiar materials into something magical. You may also find Rainbow Stained Glass Apple Suncatcher Cozy useful.
Materials You’ll Need
- Tissue paper (a variety of colors)
- Clear contact paper or laminating sheets (easy to find)
- Scissors
- Craft glue (substitute-friendly with a glue stick)
- Optional: string or yarn for hanging
- Optional: frame or cardboard for support
Step-by-Step Directions
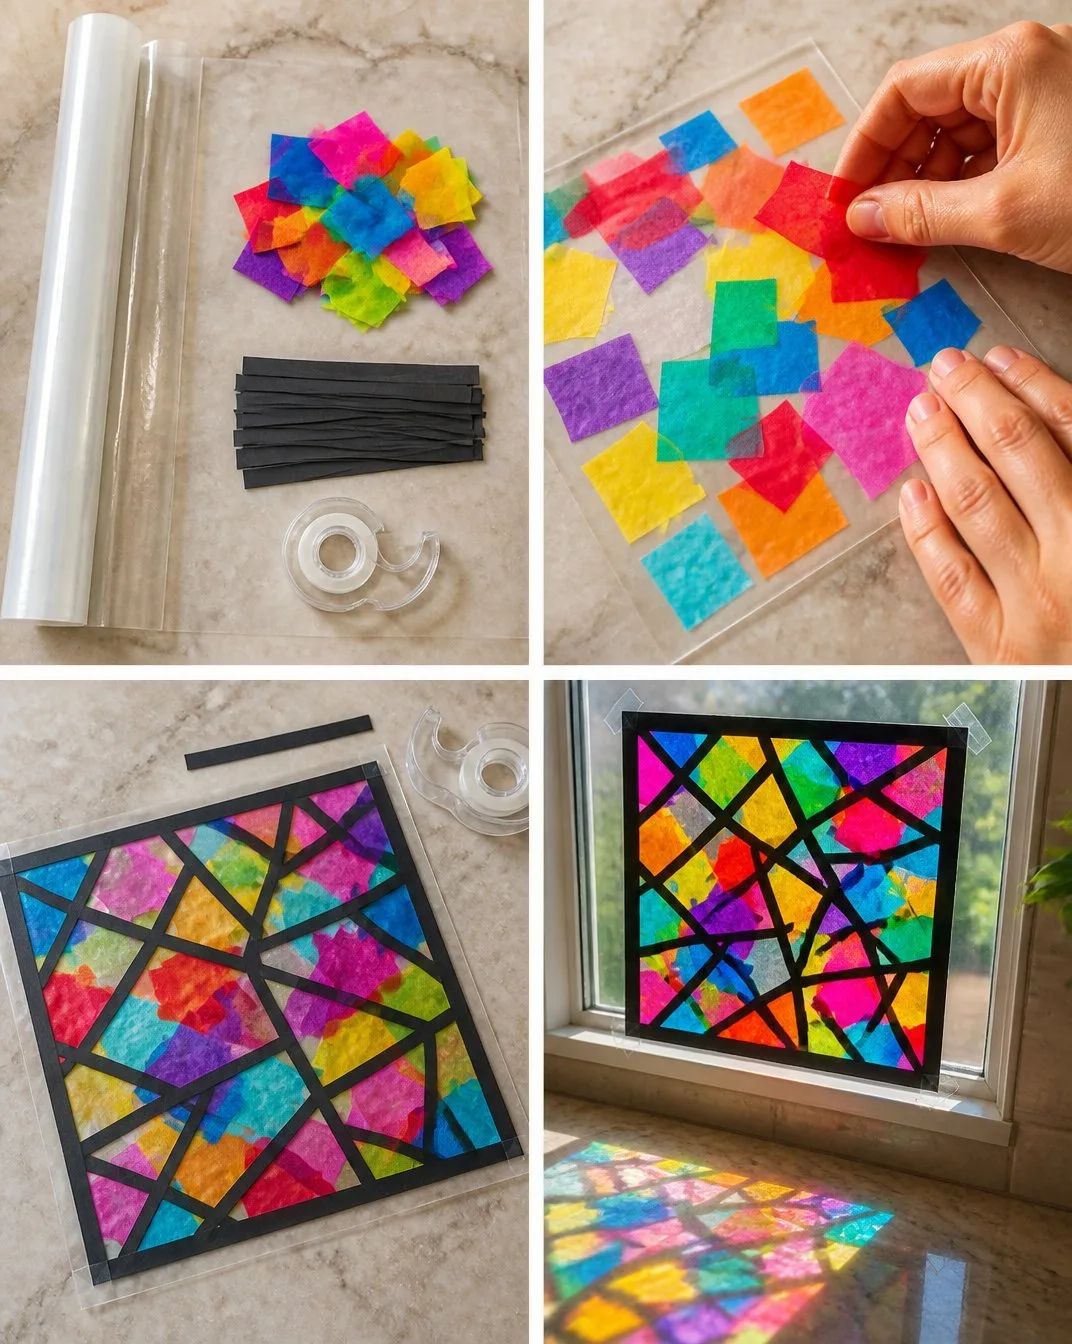
Prepare the Workspace: Find a calm spot with good lighting. Spread out your materials, enjoying the colors and textures before you start.
Cut Tissue Paper: Use scissors to cut your tissue paper into various shapes. Let the experience of cutting guide you there’s no need for perfect shapes; organic forms can enhance the design.
Create the Base Layer: Take a piece of contact paper and peel off one side. Place it sticky side up on your table. This will serve as your base.
Arrange the Tissue Pieces: Start placing your cut tissue pieces on the contact paper, overlapping and layering them as desired. Enjoy how the colors blend together.
Seal It Up: Carefully peel off another piece of contact paper and place it over your arranged tissue paper. Press down gently, ensuring all pieces are sealed and secure.
Trim the Edges: Use scissors to trim any excess contact paper, creating a neat border around your design.
Prepare for Display: If you’d like to hang your creation, consider adhering a string or yarn to the top. You could even frame it to give it a polished look. The finished piece will now catch the sunlight beautifully, illuminating your space with colored light.
Using Stained Glass Tissue Window Transforms Into Rainbow Light in Everyday Life
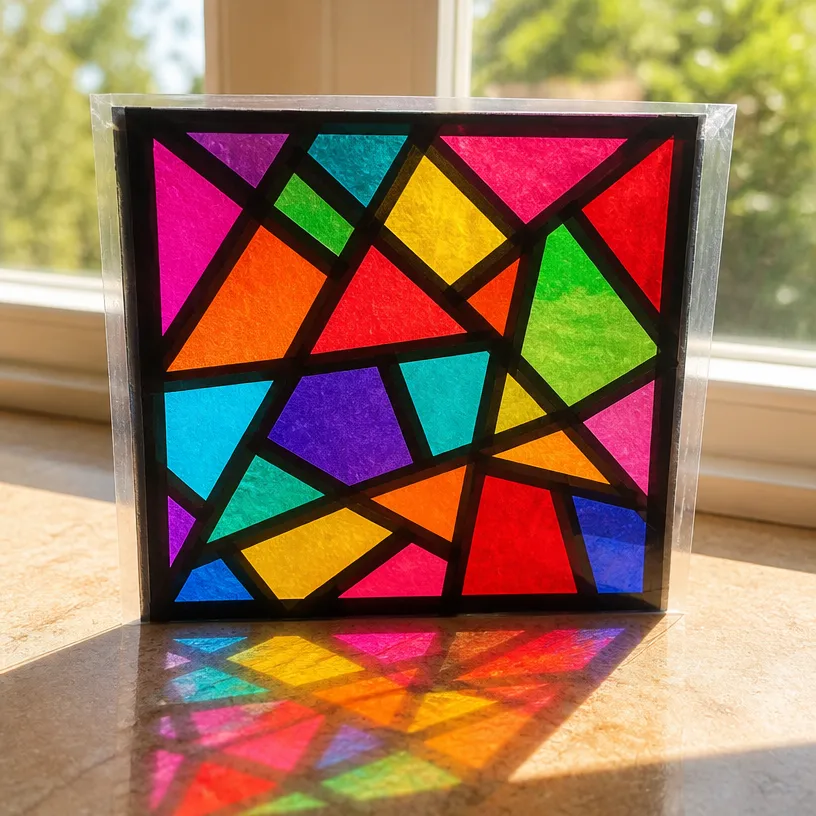
Once completed, your stained glass window can find a special place in your home. Hang it in a window where the light can shine through, transforming ordinary daylight into a spectrum of colors. It can serve as a lovely reminder to pause throughout the day, inviting mindfulness into your routine. This piece not only enhances the aesthetic of your space but creates an atmosphere of warmth and comfort.
Making This DIY Last
To maintain the beauty of your stained glass creation, keep it hanging in a spot that avoids direct strong sunlight to prevent fading. If you wish to store it away or save it for future use, gently place it between sheets of tissue paper to avoid scratches or damage. Using a lightweight frame can also protect it while allowing it to remain an enchanting feature.
Small Ways to Make It Your Own
- Experiment with Shapes: Try different shapes for your tissue paper, such as hearts, stars, or geometric designs. Each shape will bring its unique flair to your window.
- Add Textures: Incorporate different textures by using fabric scraps alongside tissue paper. This can bring additional depth and sensory qualities to your creation.
- Create a Gallery: Make several pieces and hang them together to form a colorful gallery that enhances your space even further.
- Seasonal Changes: Consider creating themed pieces for seasons or holidays, allowing the colors to reflect the time of year.
FAQs About Stained Glass Tissue Window Transforms Into Rainbow Light
How long does it take to make this project?
This DIY usually takes about an hour from start to finish, depending on how elaborate you wish to make your design.
Can I use other types of paper?
Certainly! While tissue paper is ideal, you can experiment with crepe paper or even lightweight wrapping paper for different textures and effects.
Is it suitable for children to make?
Yes, this project is a wonderful family activity. Just supervise young children with scissors and glue to ensure safety.
Conclusion
In a world filled with distractions, the act of creating can be a gentle refuge. Engaging with the Stained Glass Tissue Window allows for a moment of calm and creativity, inviting vibrant colors into your space. By immersing yourself in this process, you not only craft a beautiful piece of art but also nurture your spirit. For more inspiration around faith and art, consider exploring A faith illuminated from the outside. If you’re searching for additional crafting ideas, you might enjoy checking out Tissue Paper Rainbow Collages. Each piece made within this realm of creativity has the potential to bring joy and tranquility into everyday life.
PrintStained Glass Tissue Window
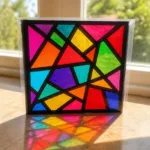
Create a beautiful stained glass tissue window that transforms light into vibrant colors, providing a calming and creative experience.
- Prep Time: 15 minutes
- Cook Time: 45 minutes
- Total Time: 60 minutes
- Yield: 1 window
- Category: Craft
- Method: Crafting
- Cuisine: N/A
- Diet: N/A
Ingredients
- Tissue paper (a variety of colors)
- Clear contact paper or laminating sheets
- Scissors
- Craft glue (substitute-friendly with a glue stick)
- Optional: string or yarn for hanging
- Optional: frame or cardboard for support
Instructions
- Prepare the Workspace: Find a calm spot with good lighting. Spread out your materials.
- Cut Tissue Paper: Use scissors to cut your tissue paper into various shapes.
- Create the Base Layer: Peel off one side of the contact paper and place it sticky side up.
- Arrange the Tissue Pieces: Place your cut tissue pieces on the contact paper, overlapping them as desired.
- Seal It Up: Peel off another piece of contact paper and place it over your arranged tissue paper.
- Trim the Edges: Use scissors to trim any excess contact paper.
- Prepare for Display: Adhere a string or yarn to the top for hanging, or frame it if desired.
Notes
To maintain the beauty, avoid strong direct sunlight to prevent fading. Store between tissue paper if not displayed.