

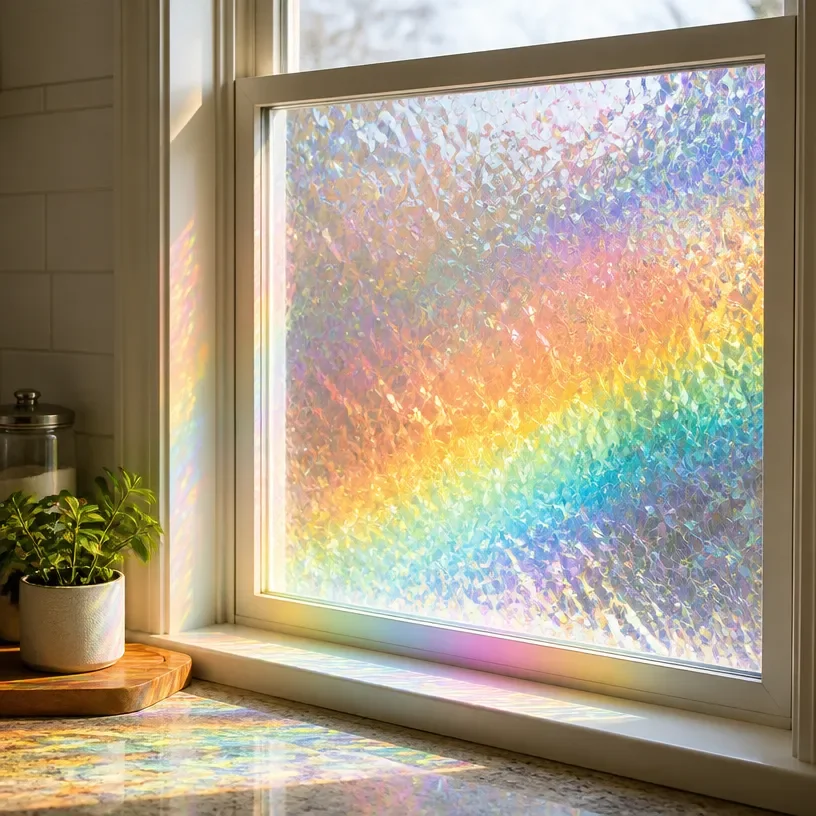
Creating a Frosted Window Rainbow Light invites a special kind of radiance into your home. Imagine the gentle dance of sunlight streaming through the window, casting soft hues that ripple across your space, wrapping everything in a warm embrace. It’s not just about aesthetics; it’s about crafting a moment of serenity, where calmness and creativity meet. This DIY project serves as a gentle reminder to slow down and appreciate the beauty that light can bring into our lives. You may also find Crystal Rainbow Charm Bookworm Window Charm Calming useful.
The Heart Behind This DIY
Making a Frosted Window Rainbow Light is more than just a crafting task; it’s an opportunity to engage your senses and reconnect with the present moment. As you gather your materials and begin creating, a sense of tranquility envelops you. The soft texture of your supplies, the playful flutter of your hands, and the gentle rustling of paper create a peaceful atmosphere. You may also find Melted Rainbow Bead Window Drops useful.
This activity encourages mindfulness, allowing you to focus on your movements and the way light interacts with the materials. It’s a way to express your creativity without pressure, leading to a rewarding experience that resonates with joyful calm. If you’re interested in similar projects, consider exploring the kids rainbow bus window suncatcher for additional crafting inspiration.
A Gentle Look at the Process
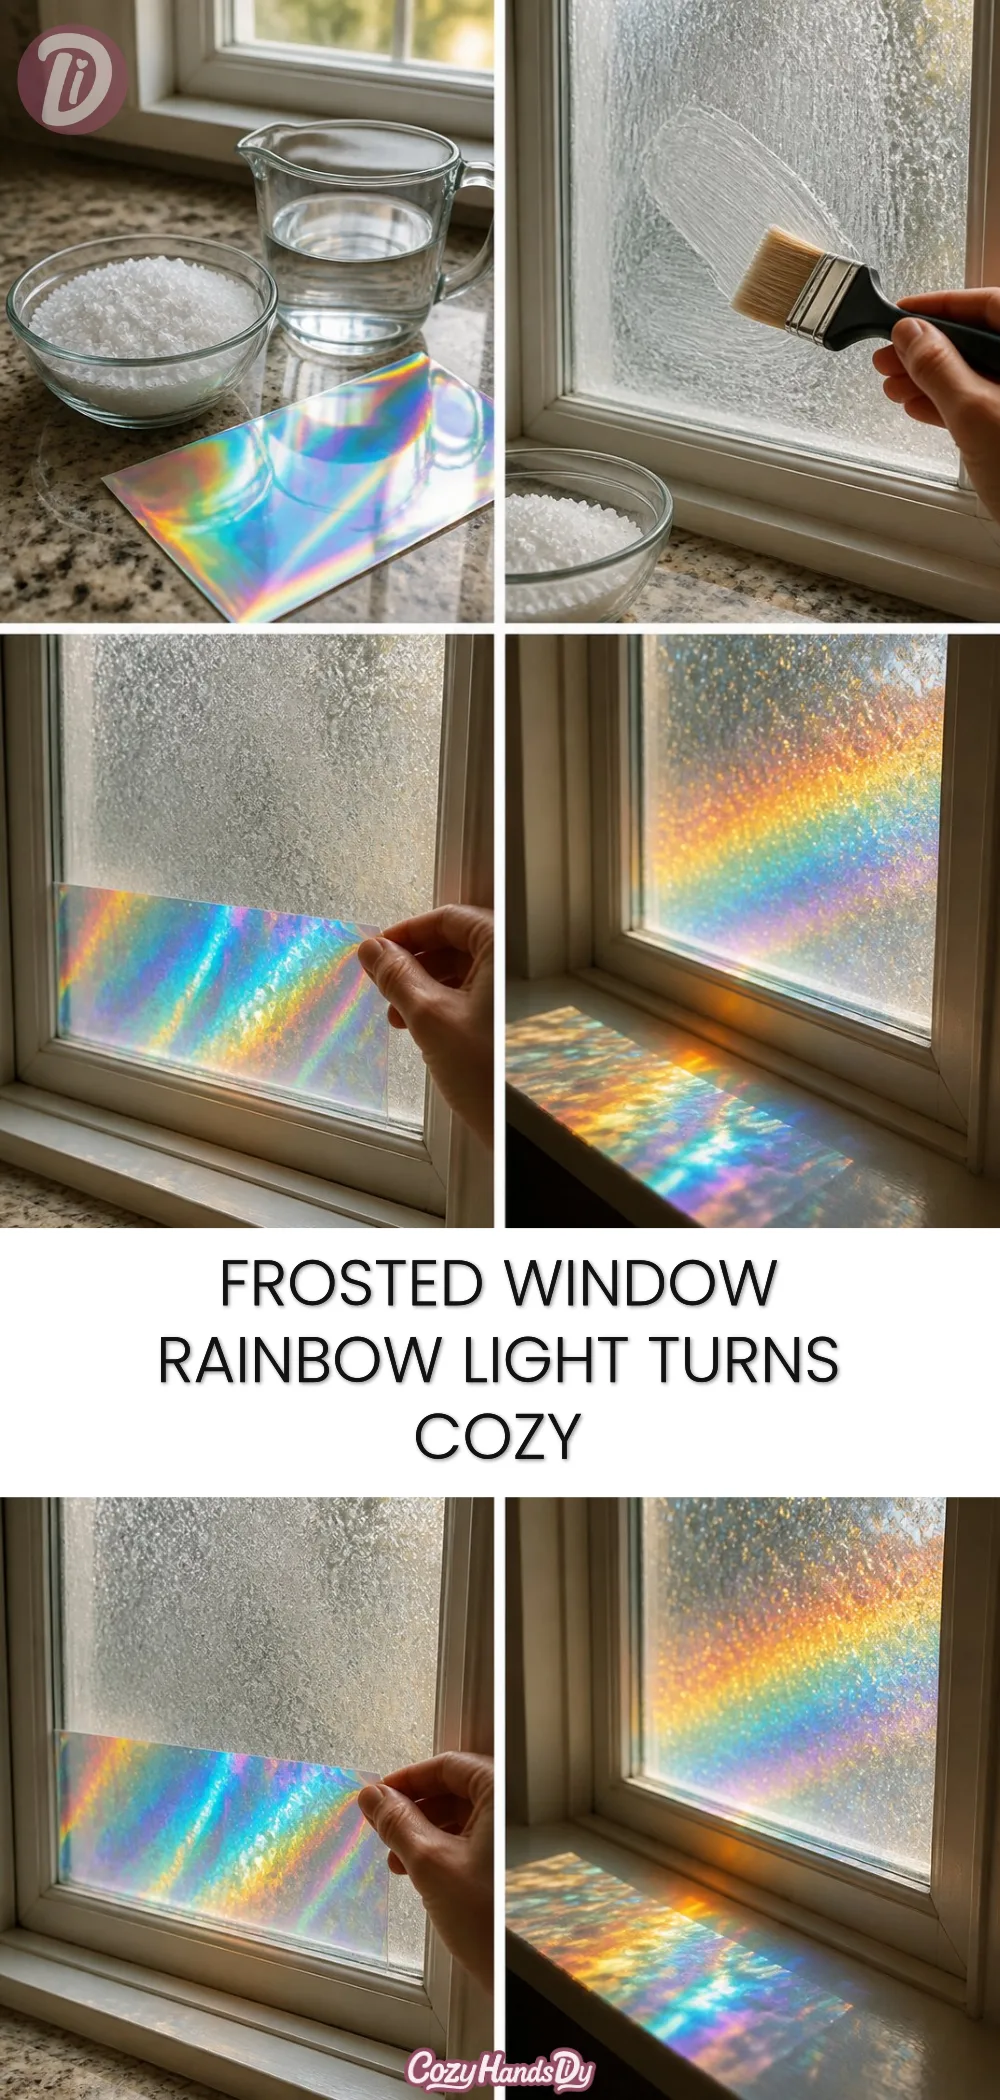
Before diving in, let’s embrace the process of making the Frosted Window Rainbow Light. Visualize the materials at your fingertips, a tactile reminder of the joy of creation. Feel the smoothness of paper, the gentle fold of plastic, and the quiet excitement of bringing your vision to life.
As you embark on this journey, focus on the rhythm of your movements the soft tearing of materials, the gliding of your hands over textures, and the way colors begin to merge. This project is all about enjoying the sensations that accompany the transformation of plain surfaces into vibrant displays of light. So, let’s prepare your comfortable crafting space and gather essential materials for this soothing project.
Materials You’ll Need
- Frosted window film (easy to find)
- A pair of scissors
- Craft knife (optional, for precision)
- Ruler
- Marker
- Tape or adhesive (double-sided is particularly effective)
- A window for installation
- Optional: colored tissue paper for added depth
- Optional: decorative elements like beads or strings for customization
Gather these materials in a cozy space where you feel at ease, ready to create your frosted window wonder.
Step-by-Step Directions
Measure Your Window: Begin by measuring the size of the window where you plan to install the Frosted Window Rainbow Light. This will guide you in cutting the film to the appropriate dimensions.
Cut the Frosted Film: Using the measurements from your window, cut the frosted film carefully with scissors or a craft knife. As you cut, take a moment to enjoy the sensation of the film against your fingers smooth and cool.
Prepare Your Adhesive: Depending on what adhesive you’re using, apply a layer of tape or adhesive to the edges of the cut frosted film. It should feel satisfying to see the film adhering to your surface.
Attach the Film to Your Window: Position the frosted film on your window and gently press it down. The texture should feel satisfying under your hands as you smooth out any bubbles or imperfections.
Add Color Accents (Optional): If you wish to bring extra life into your project, consider adding touches of colored tissue paper. Cut out shapes and stick them onto the frosted film while it’s on the window, creating a burst of colors against the soft frost.
Enjoy the Atmosphere: Once installed, stand back and admire your work. As the sunlight filters through, observe how the light plays with the frosted surface, creating a soothing atmosphere in your space.
Using Frosted Window Rainbow Light in Everyday Life
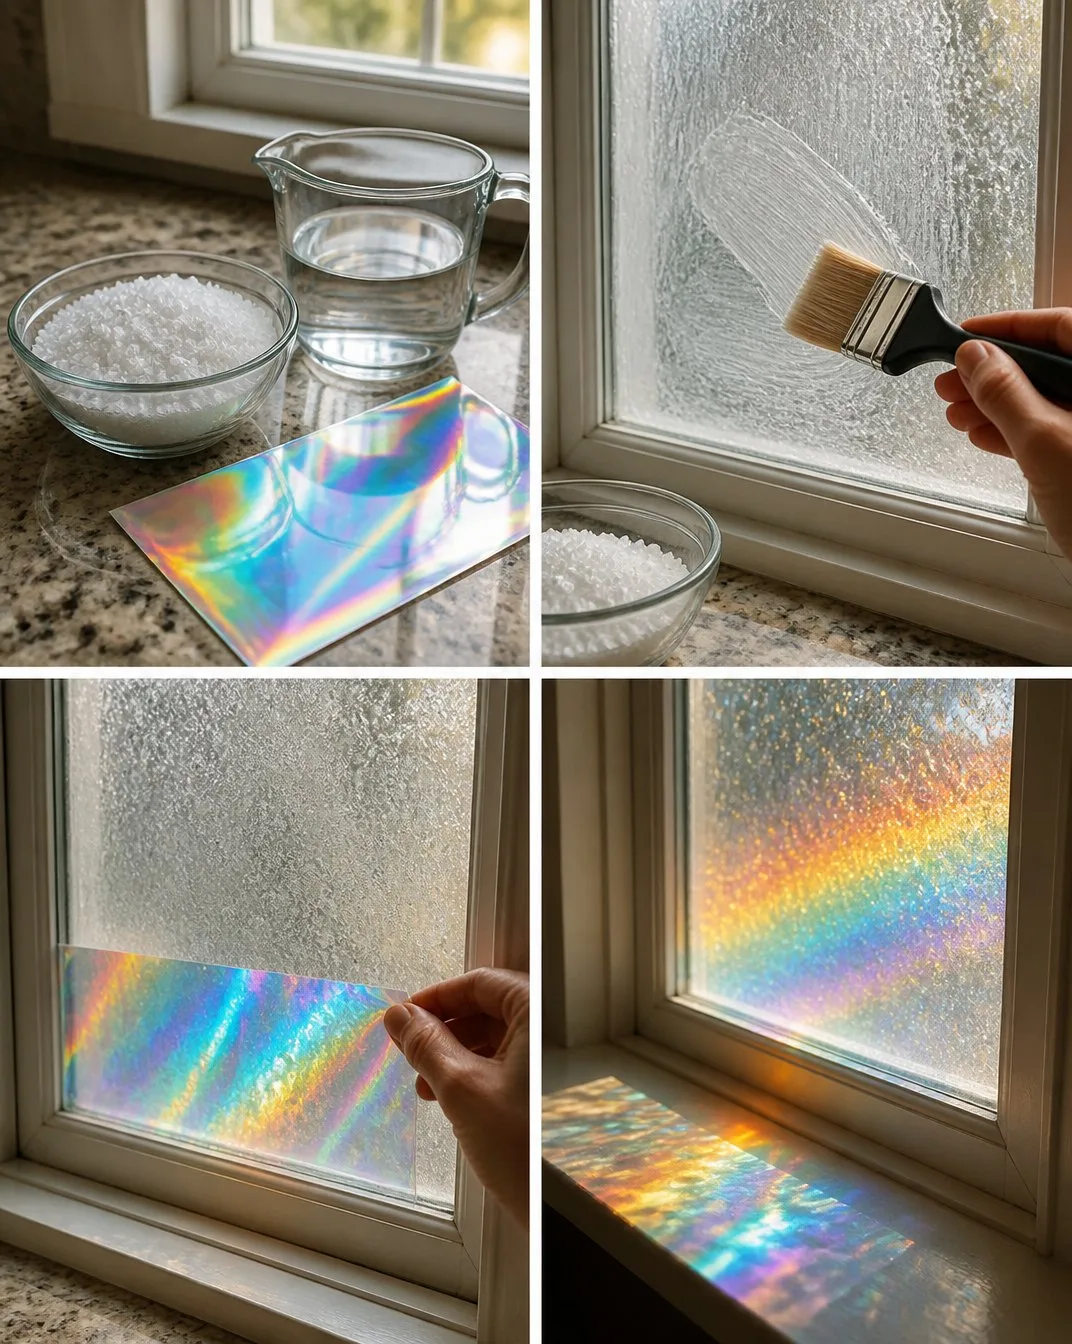
The charm of your Frosted Window Rainbow Light lies in its effortless ability to transform ordinary moments into something extraordinary. As the day unfolds, the sunlight shifts, casting soft, rainbow-hued reflections that dance across your walls and furniture. This delightful display brings a sense of peace and joy, creating a nurturing ambiance.
Position it in areas where you spend quiet time, perhaps near a reading nook or a meditation space. The combination of soft light and vibrant colors invites calmness, perfect for relaxation and mindfulness practices. To expand your collection of colorful light, you might also appreciate creating a colorful rainbow ghost window suncatcher garland.
Making This DIY Last
To preserve your Frosted Window Rainbow Light, treat it with care. Avoid using harsh cleaners that may damage the film. Instead, gently wipe it down with a soft cloth whenever necessary to maintain its clarity and color.
If you decide to remove the frosted film, do so gently to avoid tearing it. Store it in a safe place if you wish to reuse it later. The beauty of this project is that it can be adapted and reinvented to fit your changing aesthetic or seasonal themes.
Gentle Tips & Variations
- Play with Different Shapes: Instead of just rectangles, consider cutting out circles, stars, or other fun shapes from the frosted film to create unique patterns.
- Layering Techniques: Try layering multiple pieces of frosted film in different colors to see how they interact with light.
- Seasonal Themes: Update your creation with seasonal colors or shapes, like pastel hues for spring or warm tones for autumn.
- Incorporate Natural Elements: Add small leaves or twigs between layers of frosted film for a natural vibe that enhances the soothing sensation of your window art.
FAQs About Frosted Window Rainbow Light
Can I use any type of window film for this project?
While many window films will work, opt for frosted film specifically designed to diffuse light effectively for the best results.
How long will the frosted film last on my window?
When applied correctly, frosted window film can last for several years. Ensure you care for it gently to maximize its lifespan.
Is this project suitable for children?
Yes, this DIY project can be a delightful sensory experience for kids, with adult supervision for the cutting steps and handling of adhesives.
Conclusion
Creating a Frosted Window Rainbow Light can become a meditative process that enriches your home with beauty and warmth. Embrace the calm that comes with crafting, and allow yourself the space to enjoy stillness in your life. Beyond the simple joy it brings, it offers a unique opportunity to express your creativity and invite color into your environment. If you wish to enhance privacy while enjoying beautiful light effects, consider exploring options like the rabbitgoo Rainbow Window Privacy Film or the LEMON CLOUD Floral Stained Glass Window Privacy Film. Enjoy the journey of making, and may light fill your days with joy.
PrintFrosted Window Rainbow Light
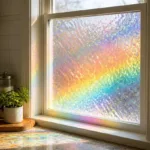
Create a beautiful frosted window light that transforms ordinary sunlight into a vibrant rainbow display in your home.
- Prep Time: 10 minutes
- Cook Time: 0 minutes
- Total Time: 10 minutes
- Yield: 1 frosted window light
- Category: Crafts
- Method: Crafting
- Cuisine: DIY
- Diet: N/A
Ingredients
- Frosted window film
- A pair of scissors
- Craft knife (optional)
- Ruler
- Marker
- Tape or adhesive (double-sided)
- A window for installation
- Optional: colored tissue paper
- Optional: decorative elements like beads or strings
Instructions
- Measure your window to determine the size needed for the frosted film.
- Cut the frosted film according to your measurements using scissors or a craft knife.
- Prepare your adhesive by applying tape or adhesive to the edges of the cut film.
- Attach the film to your window and smooth out any bubbles.
- Add color accents with colored tissue paper if desired.
- Enjoy the soothing atmosphere created by the sunlight filtering through the frosted film.
Notes
This project encourages creativity and mindfulness, allowing you to enjoy the process.