

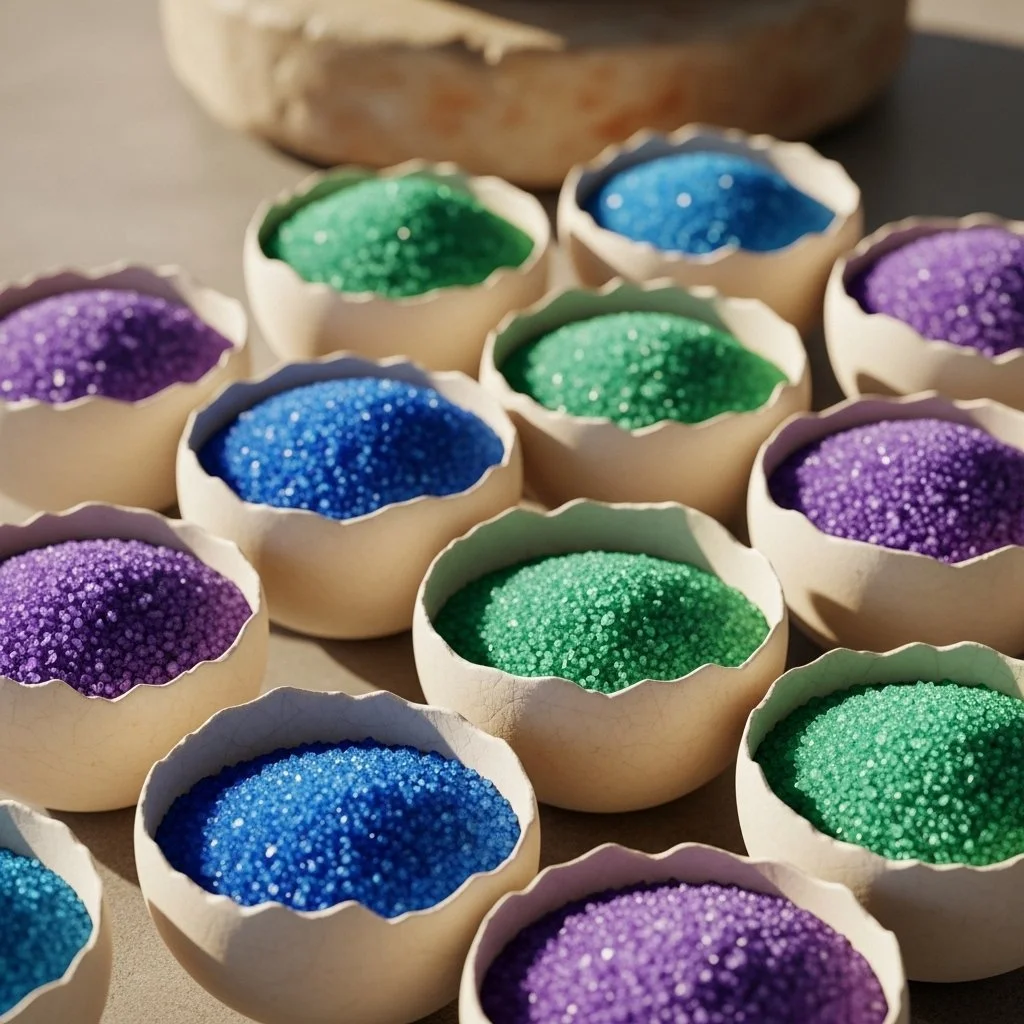
A small bowl of warm water breathes steam into the room, and I lift the eggshell cradle between careful fingers. The jagged white edge feels smooth against my thumb, and when the first flecks of color settle into the shell, the surface seems to glow from within. This is the gentle moment of the Sparkling Crystal Geodes Experiment, a slow, hush-making activity that asks for soft focus and simple senses. If you have tried a version of this before, like my notes on crystal eggshell geodes, you may already know how tiny habits of patience and warmth change the making into something like rest.
Why Sparkling Crystal Geodes Experiment Feels Comforting to Create
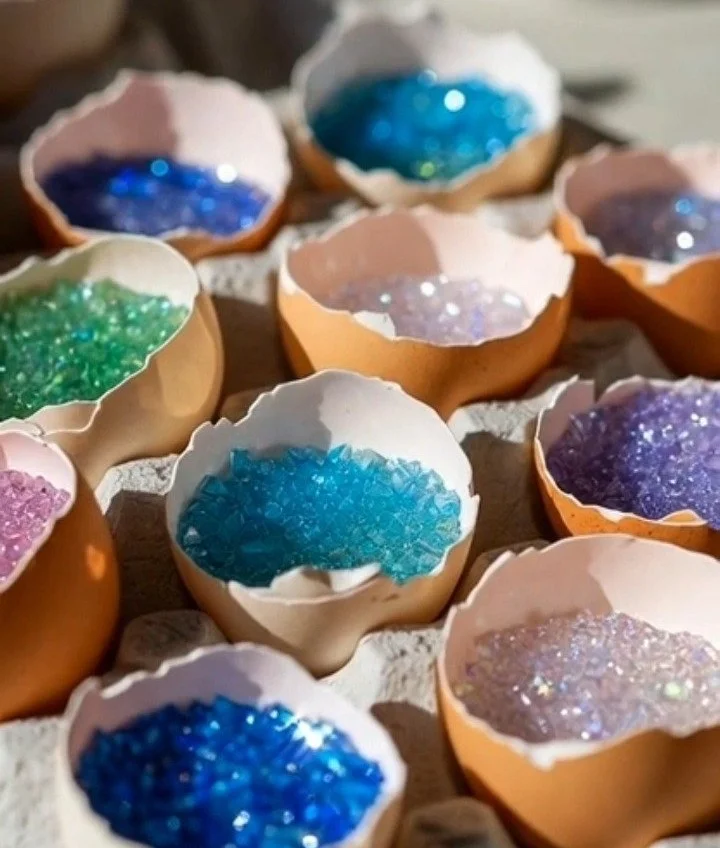
There is an unhurried rhythm to this project. You mix, you pour, you wait, and in the waiting you notice breath and light. The granules of salt or sugar shift like tiny stones under the spoon, and the solution moves in slow, glossy waves. The crystals do not rush; they grow along edges and gather in crevices. Watching that small, patient construction asks the hands to slow and the mind to follow a single, steady thread.
This experiment also gives a quiet reward. A translucent cluster forms where there was only clear liquid a day before. That slow change feels like a soft surprise. For many people, making something that glows or shimmers in daylight brings a calm joy that is equal parts sensory and grounding. The tactile steps, the soft sounds of stirring, the cool glass or warm water in your hands all add to a calm state.
I often suggest this activity to people who want a hands-on, sensory break that does not demand perfection. It does not need fancy tools. It encourages gentle observation and offers room to rest in the small details. The Sparkling Crystal Geodes Experiment makes a perfect pause in an afternoon, a way to center with a mindful rhythm and a little glittering reward.
The Flow of Making Sparkling Crystal Geodes Experiment
Before you gather anything, imagine the movement. You will measure and heat a liquid until it feels warm and smooth in your hand. You will stir in grains and watch them dissolve, like sugar vanishing into a cup of tea. Then you will settle the mixture into a hollow an eggshell, a small bowl, or a shallow mold and let it rest in a quiet place.
The sound of spoons against glass, the faint hiss of a kettle, and the soft scrape when you pour into a small cavity become part of the process. Over the next day or two, crystals form along edges and in tiny stars across the surface. Each stage invites you to slow down and notice differences: the first clear solution, the tiny points of light that appear, the fuller clusters that grow like frost.
This is a project of small movements and long, gentle waits. You will touch and you will let go. Each step supports presence and calm.
Materials You’ll Need
- Eggs or small hollow molds (eggshells give a lovely natural cavity; optional)
- Table salt, Epsom salt, alum, or sugar (substitute-friendly; each gives different crystal shapes)
- Distilled or filtered water (helps crystals form cleanly)
- A small saucepan or microwave-safe container (easy to find)
- A heatproof bowl for mixing
- Food coloring or watercolor paint (optional, for gentle color)
- Glitter or mica powder (optional for a subtle sparkle)
- Small spoons or stirring sticks
- Tweezers or a small brush for gentle adjustments (optional)
- Paper towels and a shallow tray for drying
- Protective gloves and eyewear if using hot solutions or alum (safety-first)
- A warm, undisturbed place to let crystals form
Materials like alum and Epsom salt create different crystal patterns because their molecules arrange differently as water evaporates. Distilled water reduces impurities that can interrupt crystal growth. Simple table salt and sugar make softer, familiar forms and work well if you prefer a mild, edible base.
Step-by-Step Directions
Prepare your hollow base and surface. Place eggshell halves or molds on a shallow tray lined with paper towels. Make sure they sit steady and will not tip when you pour the solution.
Warm the water. Gently heat 1 cup of distilled water until it is warm and a little glossy. If you use a saucepan, stir slowly to avoid scalding.
Dissolve your chosen crystal material. Add two to three tablespoons of your salt or sugar at a time. Stir until each addition dissolves, keeping the liquid clear and smooth.
Test saturation. Keep adding small amounts until the mixture holds a thin layer of undissolved crystals at the bottom. This shows the solution is saturated and ready for crystal growth.
Add color and sparkle. If you want color, stir in a tiny drop of food coloring or a whisper of watercolor. For subtle shimmer, blend in a pinch of mica powder or fine glitter.
Pour carefully into the hollow. Tilt the eggshell or mold slightly and pour slowly, letting the liquid settle without splashing. Fill just to the level you like, remembering crystals often grow along the rims and edges.
Find a quiet, warm spot to rest. Set the tray somewhere undisturbed, away from drafts or direct sunlight. A warm shelf, a quiet windowsill, or a nestled corner will do.
Check gently after 12 to 24 hours. You will see tiny points along the edge and in the center over time. Avoid moving the tray if you can, but observe small changes with soft focus.
Allow full growth over several days. Leave the pieces to crystallize for two to five days for fuller clusters. If you want denser crystals, you can add a fresh saturated solution to the center to encourage more growth.
Finish and dry. When you like the formations, remove the shells or molds with tweezers and let them air dry on paper towels. Drying will stabilize the crystals and deepen their luster.
Seal or display gently. If you plan to keep them, consider a light spray fixative or a shallow clear container to protect dust-sensitive crystals. Handle with care; the clusters can be fragile.
Enjoying the Finished Piece
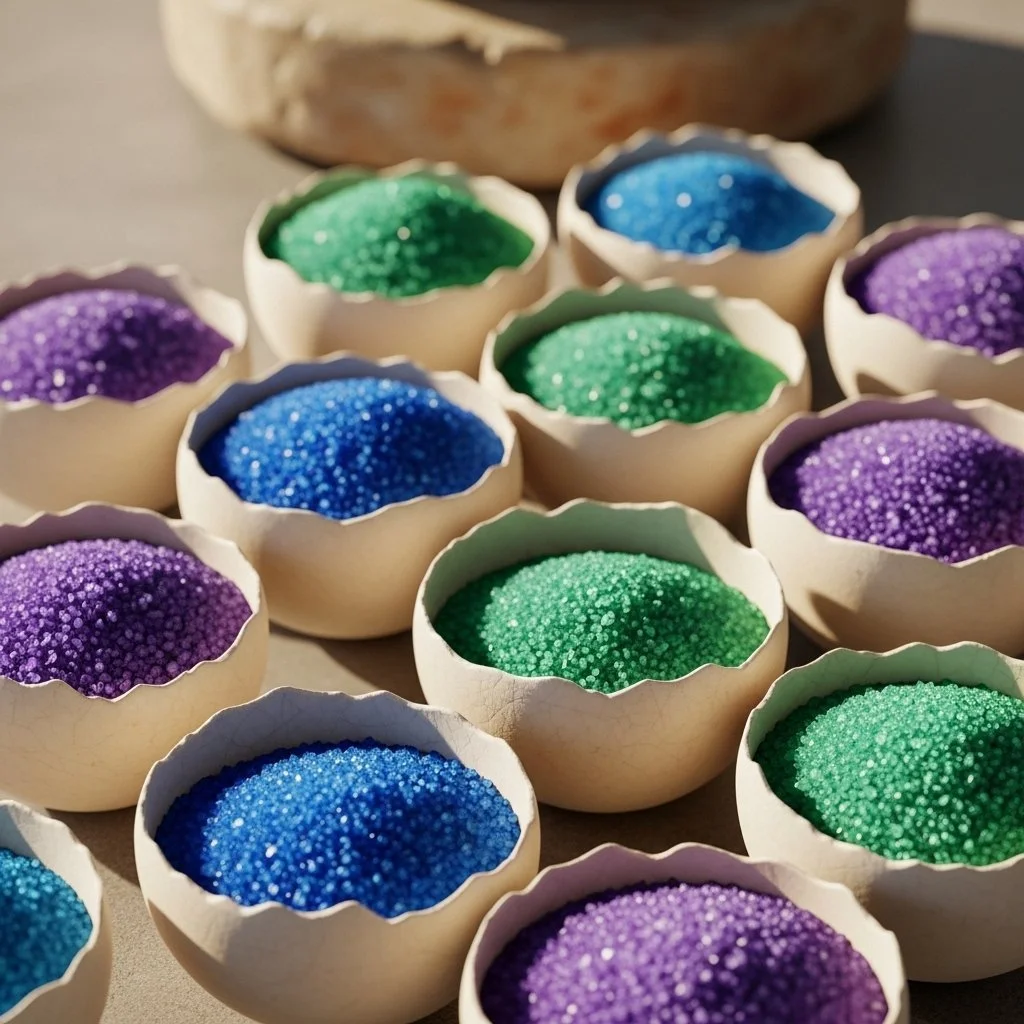
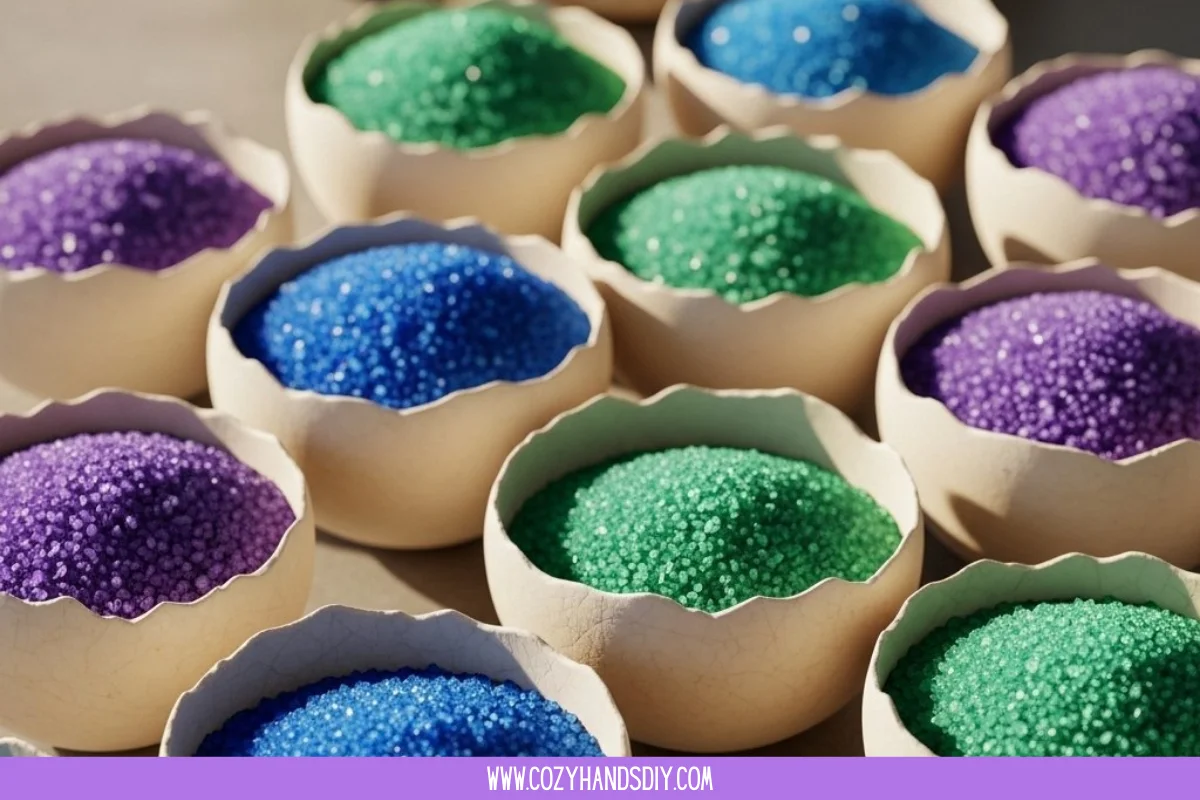
A completed geode feels like a little private landscape. The crystals gather light, refract it into tiny glints, and invite quiet gazing. Place them where morning light can find them, on a small shelf, a bedside table, or tucked into a shallow bowl with soft cloth. They make gentle shared moments too: hold one in your hand as you breathe, or set several near a reading nook to catch shifting light.
Some people like to use them as slow focal points for short meditations. The weight, coolness, and texture of the geode add a soothing sensory anchor. Others prefer them as quiet decor that reminds them of the time spent making. If you used eggshells, the natural interior and thin membrane add a delicate contrast to the jagged, sparkling crystals.
Making This DIY Last
Crystals can stay beautiful for a long time with just a little care. Keep them dry and out of direct sunlight if you used colored dyes that might fade. If dust gathers, brush it away with a very soft brush or use a gentle puff of air; avoid water once the geode finishes, because it can dissolve delicate formations.
If you created geodes in fragile shells, consider placing them in small glass domes or shadow boxes. A light spray sealant can help stabilize loose crystals, but choose a product made for crafts and test on a disposable piece first. Store extra pieces in a padded box if you plan to save them for later. When reusing molds, dissolve old crystals by soaking briefly in warm water and gently rinsing, then let the mold dry before starting a new experiment.
Gentle Tips & Variations
Try different salts for variety. Alum tends to form sharper, more angular crystals while Epsom salt makes softer clusters. This is an invitation to explore shapes and textures.
Layer color slowly. Add a drop of color when the first crystals form to encourage banded hues. The subtle stages of color feel like a quiet surprise.
Make a mini collection. Use different molds and label them with the date. Watching small differences over time becomes a personal archive of calm experiments.
Use essential oil sparingly. A drop or two of lavender in the tray can add a soothing scent while crystals grow. Keep it minimal so scent does not interfere with the process.
Invite a child or friend to help. This experiment suits shared quiet time; guide gently and let small hands stir slowly. The communal rhythm can feel nourishing and grounding.
What I’ve Learned While Making This
I have spent afternoons with a tray of shells, a kettle simmering, and a notebook to jot small observations. The first time I used sugar instead of salt, the crystals grew softer and took on a candlelit translucence. Once, I left a shell too close to a draft and the crystals formed thin and lacy on just one side. These little differences taught me to watch the environment as kindly as I watch the mixture.
I also learned to honor the waiting. The best moments arrive when I forget to check and then return to find the solution transformed. Those surprises taught me patience. I learned small safety habits too: always handle hot solutions with care, wear gloves if I work with alum, and keep a steady surface so nothing tips. The making becomes a practice of slow attention and gentle care.
FAQs About Sparkling Crystal Geodes Experiment
Q: Is this project safe for kids? A: Yes, with supervision. Children can help measure, stir, and decorate, but an adult should handle hot liquids and any chemicals like alum. If you use edible materials like sugar or table salt, the process stays very child-friendly. Keep small pieces away from very young children who might put them in their mouths.
Q: How long do crystals take to form? A: You will see the first tiny crystals within 12 to 24 hours. For larger, more defined clusters, plan to wait two to five days. The speed depends on temperature, saturation, and the type of material you used. Warmer, undisturbed spots encourage faster growth.
Q: What if the crystals do not form? A: Check for a few common issues. The solution may not have been saturated enough. Try warming a bit more and adding more solute until it holds undissolved grains. Impurities in tap water can also slow growth; distilled water often helps. Avoid moving the tray while crystals form, because disturbances can interrupt delicate structures.
Q: Can I reuse the crystals or solution? A: You can gently dissolve and reuse leftover crystals by placing them back into warm water and creating a new saturated solution. If you used molds, clean and dry them well before the next run. Some materials, like alum, can be reused carefully, but I recommend starting fresh if you want consistent results.
Q: Are there alternatives to eggshells? A: Yes. Small bowls, silicone molds, tiny cups, and even halved walnut shells make charming vessels. Each base changes how crystals form. A smoother vessel often yields a cleaner crystal bed, while textured cavities encourage clusters along the edges.
A Gentle Note Before You Go
Before you close the lid on your tray or tuck your geodes into a little box, take a breath and look closely. Notice the way light plays across the points, the tiny shadows in hollows, the quiet way a single crystal holds a little world. This project offers more than a pretty object; it offers a pause that asks for attention and returns a kind reward. Whether you keep your geodes on a shelf or share them with someone, let them remind you of the slow, kind work your hands can do.
Conclusion
If you would like a slightly different approach to the same cozy science, this guide to DIY Crystal Egg Geodes has visual steps and ideas to spark new variations. For a child-friendly, playful version with clear instructions, see the helpful walkthrough at Make Eggshell Geodes – Little Bins for Little Hands.
PrintSparkling Crystal Geodes Experiment
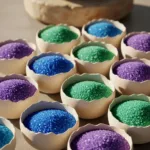
A gentle and calming experiment to create beautiful crystal geodes using simple materials like eggshells, salt, and water.
- Prep Time: 15 minutes
- Cook Time: 0 minutes
- Total Time: 5 days
- Yield: Varies
- Category: Crafts
- Method: DIY Experiment
- Cuisine: N/A
- Diet: N/A
Ingredients
- Eggs or small hollow molds (eggshells recommended)
- Table salt, Epsom salt, alum, or sugar
- Distilled or filtered water
- A small saucepan or microwave-safe container
- A heatproof bowl for mixing
- Food coloring or watercolor paint (optional)
- Glitter or mica powder (optional)
- Small spoons or stirring sticks
- Tweezers or a small brush (optional)
- Paper towels
- Protective gloves and eyewear (if using hot solutions)
- A warm, undisturbed place to let crystals form
Instructions
- Prepare your hollow base and surface.
- Warm the water.
- Dissolve your chosen crystal material.
- Test saturation.
- Add color and sparkle.
- Pour carefully into the hollow.
- Find a quiet, warm spot to rest.
- Check gently after 12 to 24 hours.
- Allow full growth over several days.
- Finish and dry.
- Seal or display gently.
Notes
This experiment teaches patience and gentle observation. Handle crystals and solutions with care, especially when using hot materials or chemicals.