

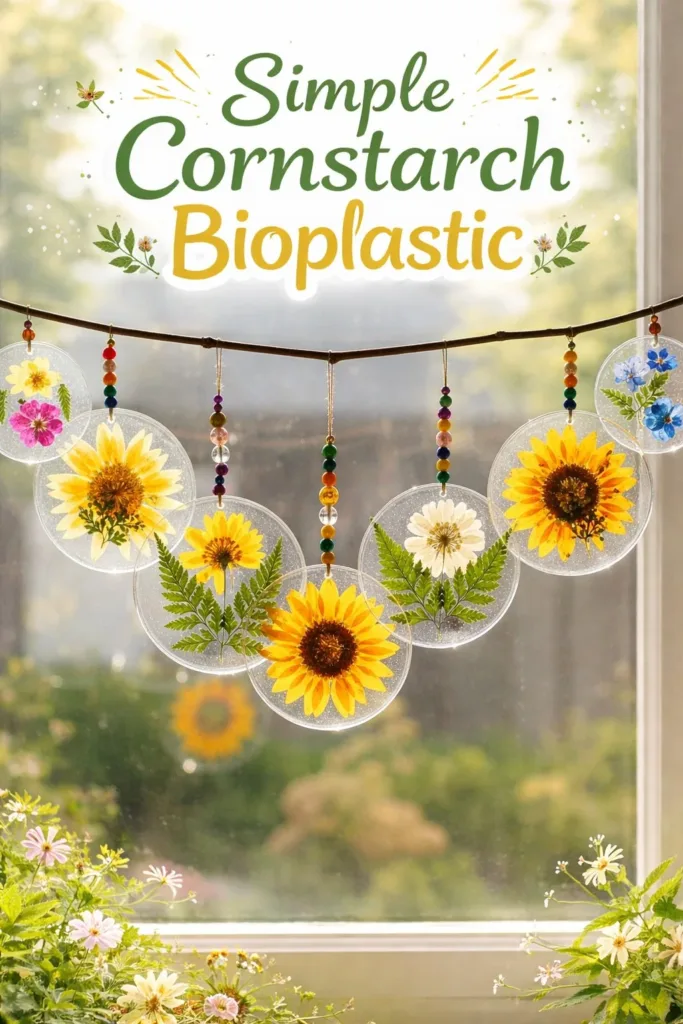
The bowl feels warm under my palm. A faint cloud of steam lifts, soft and almost sweet, and the mixture clings to the spoon like melted honey. I press a fingertip to the surface and feel the cool skin begin to form. This quiet motion, turning simple pantry items into a supple sheet, is the heart of making Simple Cornstarch Bioplastic.
Why Simple Cornstarch Bioplastic Feels Comforting to Create
There is a slow comfort in watching plain ingredients change together. The kitchen smells faintly of boiling water and faint starch. You move in small, steady motions. Each stir gives a small, obvious result. These sensory signals coax the mind to slow and notice.
This project invites you to make with gentle hands. The texture changes are literal and clear. A grainy liquid moves into a cohesive, soft film you can touch. That plain transformation helps steady attention. It feels less like a task and more like a quiet, creative ritual.
I often return to this recipe when I need a calm evening project. The rhythm of measuring, stirring, and smoothing makes the making feel like a kind, practical meditation. If you liked my sun-catcher ideas, you may find this recipe pairs well with those projects; the same tactile focus applies when you shape translucent pieces or press textures into the sheets. You can see an example in this simple bioplastic suncatchers project that uses similar hands-on attention.
The Flow of Making Simple Cornstarch Bioplastic
Before you begin, notice how the process moves from fluid to solid in a slow, visible way. You start with a thin, clear solution that thickens under gentle heat. A spatula scrapes the pot and then lifts a soft, glossy mass. You spread that mass and watch it calm into a flat, quiet surface.
Listen for the small sounds. A gentle simmer, the soft clack of a wooden spoon, the faint slip when the mixture releases from the pan. These sounds offer a steady background that signals progress. Pay attention to the moments when the mixture shifts grainy to silky, glossy to matte. That shift tells you when to stop heating and begin shaping.
The overall flow keeps one hand engaged and one mind relaxed. You do not rush the heat. You do not force the texture. You encourage it, with a steady spoon and a mindful breath.
Materials You’ll Need
- Cornstarch (1 cup) easy to find, gentle and clean
- Water (4 cups, divided) plain warm water works well
- White vinegar (1 tablespoon) helps with film formation and acts as a mild preservative
- Glycerin (1 teaspoon) or vegetable glycerine optional, makes the plastic more flexible and less brittle
- Saucepan small to medium sized, non-reactive is best
- Wooden spoon or heat-proof spatula for steady, quiet stirring
- Baking sheet or flat tray to spread the bioplastic while it cools
- Parchment paper or silicone mat prevents sticking
- Measuring cups and spoons simple, precise, calming tools
- Cookie cutter or rolling pin (optional) for shaping or flattening
- Clean damp cloth and bowl of cool water for smoothing surfaces and cleaning up gently
For a playful variation, you can add a few drops of natural food coloring or powdered pigments. If you enjoyed the tactile play in the cornstarch dough I wrote about earlier, you may already have useful tools; see my post on cornstarch dish soap bubble dough for a few ideas on texture play.
Step-by-Step Directions
Measure and mix the dry and wet parts slowly. Take 1 cup cornstarch and 1 cup of water in a bowl. Stir to make a smooth slurry. This avoids lumps and keeps the texture even.
Add the vinegar and glycerin to the remaining water. Warm 3 cups of water in your saucepan over low heat. Stir in 1 tablespoon white vinegar and 1 teaspoon glycerin until the liquid looks even and calm.
Pour the slurry into the warm liquid with steady motion. Pour the cornstarch slurry into the saucepan while you stir slowly. Move the spoon in gentle circles and keep the heat low so the mixture warms gradually.
Stir patiently as the mixture thickens. You will feel the spoon encounter more resistance. The mixture will go from watery to glossy, then to a thick paste. Keep stirring and resist the urge to raise the heat.
Watch for the pull away from the pan. When the mass forms a clump and starts to pull away from the sides, the heating is complete. The surface should look smooth and slightly translucent.
Remove from heat and work quickly but calmly. Turn off the stove and set the pan on a cool surface. The mixture will still be warm and pliable. Use the spoon to scoop it onto parchment or a silicone mat.
Spread and smooth with damp tools or a spatula. Press the warm mass into a thin, even sheet. Dampen a clean spatula or the back of a spoon and glide it across the surface for a smooth finish. Keep motions soft and steady.
Let it cool and form a skin. Allow the sheet to cool for at least 30 minutes in a calm area. As it cools, a thin skin forms. If you want a fully dry piece, leave it longer, turning it gently after the first hour if you want both sides even.
Trim, cut, or press textures once mostly cool. When the sheet feels more solid but still slightly flexible, use cookie cutters or a sharp tool to create shapes. Press textures gently with stamps or leaves for a quiet, embossed effect.
Cure or finish as desired. For functional pieces, let the bioplastic cure at room temperature for 24 to 72 hours to firm up. If the piece dries too quickly and cracks, keep it in a sealed bag with a damp cloth for a short time to rehydrate gently.
Enjoying the Finished Piece
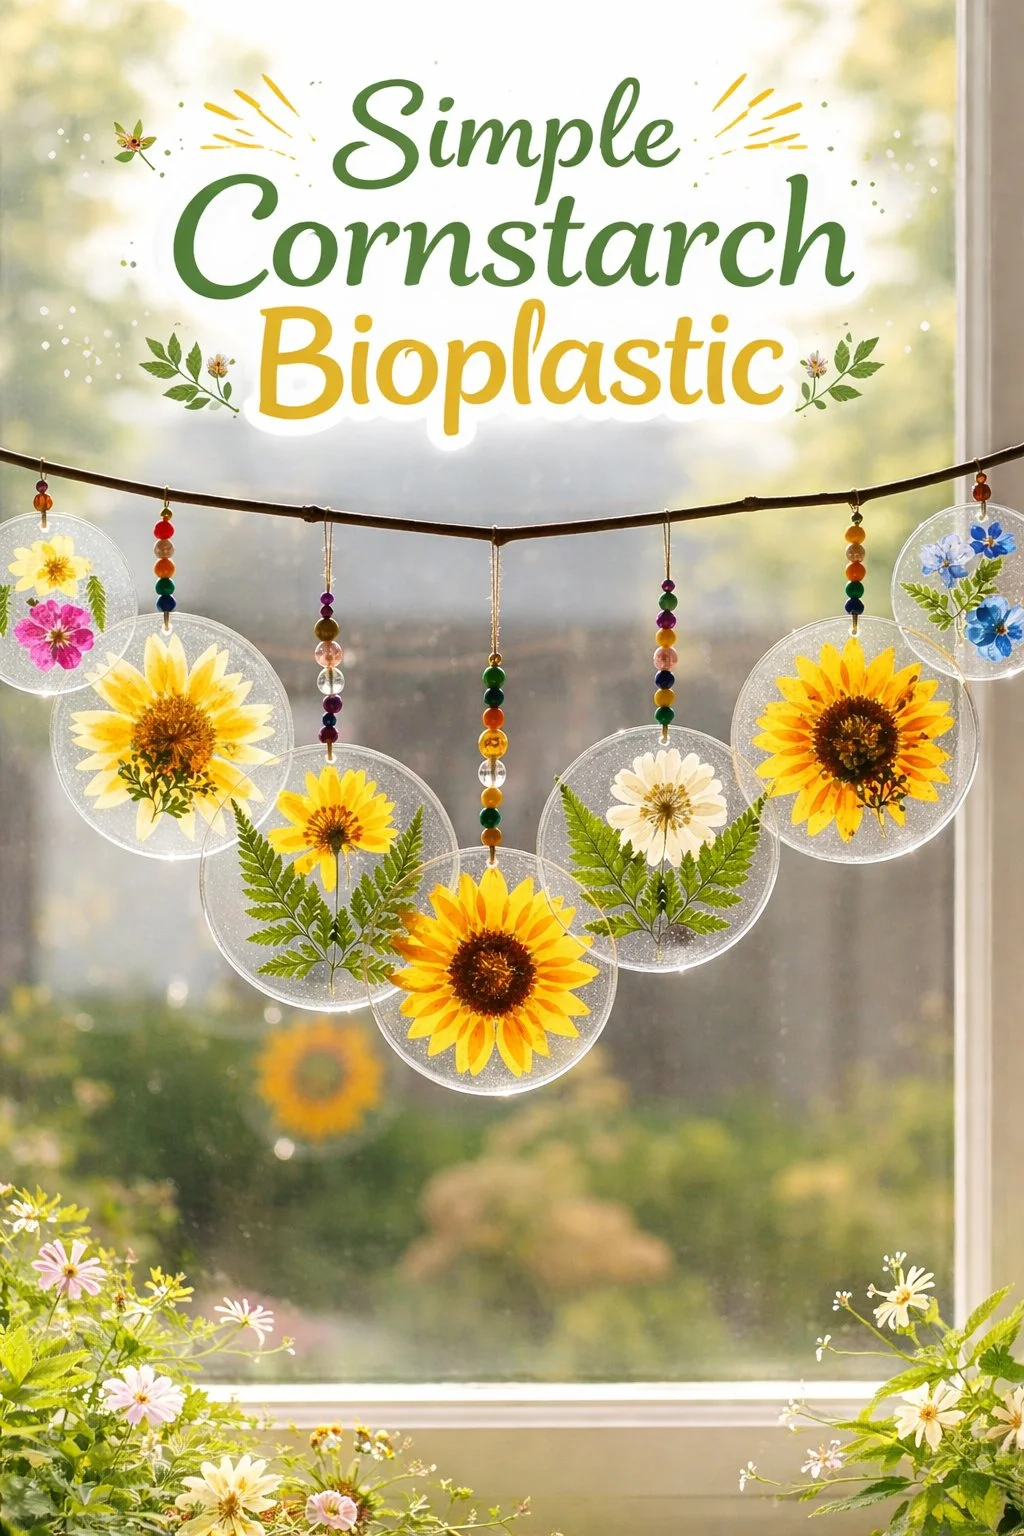
A finished cornstarch bioplastic sheet feels warm and slightly waxy at first. Over the next day it transforms into a firmer, matte surface. You can admire it as a small sculptural piece, use it for light craft components, or press it into simple jewelry charms.
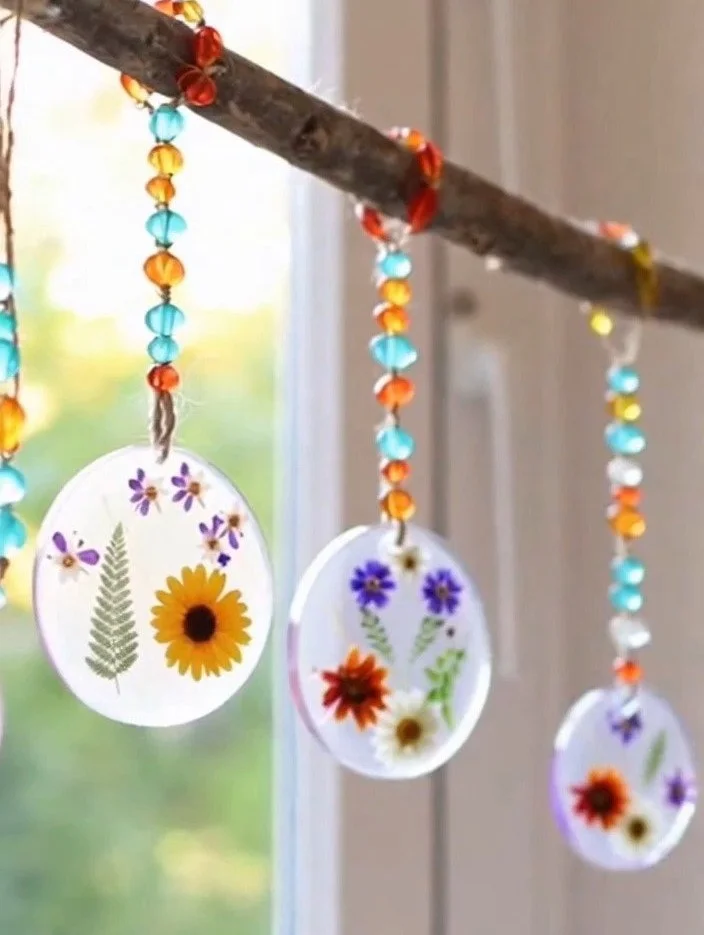
I like placing thin translucent sheets in a sunny window to let the light show subtle opacities. Thicker pieces make gentle ornaments. If you want to make suncatchers, this material takes light in a soft, muted way that feels more natural than commercial plastics. For ideas on shaping and displaying, the DIY bioplastic suncatchers project shows how small shapes behave in a bright window.
Use your finished pieces where you value tactility over heavy durability. They work well as temporary labels, delicate ornaments, or mood-boosting desk objects. Handle them with care. These pieces respond best to gentle use and kind storage.
Keeping It for Later
Cornstarch bioplastic is not permanent in the way acrylic or industrial plastics are. It can soften in humid spaces and may become brittle if left too long in direct sun. Store flat pieces in a cool, dry drawer or box.
If you want to keep pieces flexible, wrap them in wax paper and place them inside a resealable bag with a small sachet that controls moisture. If pieces dry and become too brittle, you can rehydrate them lightly by placing them in a bag with a damp paper towel for a few hours. Check them often and gently press the edges with a damp finger to test readiness.
For longer life, avoid prolonged exposure to water and heavy bending. If you plan to use the material in projects that will see moisture, consider sealing it with a water-resistant finish, but do so with care. Applying a finish changes the material’s feel and biodegradability, so treat finishes as a trade-off between preservation and natural breakdown.
Gentle Tips & Variations
Invite scent slowly. Add a drop of vanilla or lemon extract into the warm mix if you want a faint, cozy scent. Use small amounts. The aroma feels calm without overpowering.
Play with thickness. Make one batch thin and one batch thick. Thin sheets dry quicker and work well for suncatcher-like pieces. Thick sheets hold texture and sculptural forms better.
Natural colors work beautifully. Rub a tiny pinch of turmeric or beet powder into the mix for soft yellow or pink tones. These pigments give a muted, earthy color that looks handmade and calm.
Texture with found objects. Press leaves, lace, or small wood stamps into the warm sheet. The imprint will keep a quiet pattern and invites touch.
Try a no-glycerin batch for a more rigid finish. Glycerin makes your pieces more flexible. If you want a firmer material, leave glycerin out. Expect more cracking and a ceramic feel as it dries.
These are invitations rather than rules. Experiment with one change at a time and notice what the material tells you. Slow adjustments keep the process restful.
FAQs About Simple Cornstarch Bioplastic
Is this bioplastic safe to touch and smell?
Yes. The ingredients are food-grade and gentle when handled normally. I still avoid tasting the material because additives and reheating change its safety. Keep it away from small children who might put things in their mouths. If you have sensitive skin, wear thin gloves while handling warm batches.
How long will my pieces last?
Expect weeks to months, depending on conditions. Dry, cool storage extends life. High humidity or frequent bending will shorten it. Treat the material like paper or leather rather than durable plastic.
Can I make this waterproof?
The basic recipe is water-sensitive. Sealing with a varnish or resin can add water resistance but changes the material’s biodegradability and soft feel. If you want waterproof pieces, choose a seal in small tests first and accept the trade-off.
Will this material biodegrade easily?
It breaks down more readily than synthetic plastics, but conditions matter. Sun, microbes, and moisture all influence breakdown. For a deeper look at the science behind biodegradation and natural factors, there are studies that explore how simple bioplastics respond to environmental conditions.
Can I use other starches like potato or tapioca?
Yes, you can experiment. Different starches change the texture and drying time. Cornstarch gives a predictable, smooth film. Tapioca can make a more elastic film. Test small batches to learn the differences.
A Gentle Note Before You Go
Sit with the quiet of the finished pieces for a moment. Notice the small imperfections that tell of your hands and choices. Those tiny marks give the object warmth and a personal story.
If you liked this slow-making process, try making several small batches to see how subtle changes shift the outcome. You will learn by touch and by looking. The act of repeating becomes a comforting loop, a small practice that brings focus and ease.
Conclusion
If you want to read more about how simple bioplastics change in the environment, this study on biodegradation of simple bioplastics offers a thoughtful look at natural influences. For another kitchen-friendly method and a gentle how-to, this make bioplastic in your kitchen guide explains alternative approaches and ideas.
PrintSimple Cornstarch Bioplastic
Create your own biodegradable bioplastic using cornstarch, water, and vinegar. A soothing, hands-on project that results in flexible, customizable sheets perfect for craft projects.
- Prep Time: 10 minutes
- Cook Time: 20 minutes
- Total Time: 30 minutes
- Yield: 1 bioplastic sheet
- Category: Craft
- Method: Stirring and Heating
- Cuisine: N/A
- Diet: N/A
Ingredients
- 1 cup cornstarch
- 4 cups water, divided
- 1 tablespoon white vinegar
- 1 teaspoon glycerin (optional)
- Saucepan
- Wooden spoon or heat-proof spatula
- Baking sheet or flat tray
- Parchment paper or silicone mat
- Measuring cups and spoons
- Cookie cutter or rolling pin (optional)
- Clean damp cloth and bowl of cool water
Instructions
- Measure and mix the dry and wet parts slowly.
- Warm 3 cups of water in your saucepan over low heat.
- Pour the cornstarch slurry into the saucepan while stirring slowly.
- Stir patiently as the mixture thickens.
- Remove the pan from heat when the mass pulls away from the sides.
- Spread and smooth with damp tools or a spatula.
- Let it cool and form a skin.
- Trim, cut, or press textures once mostly cool.
- Cure or finish as desired.
Notes
For added colors, rub in natural pigments like turmeric or beet powder. Pieces can soften in humid spaces; store properly.