

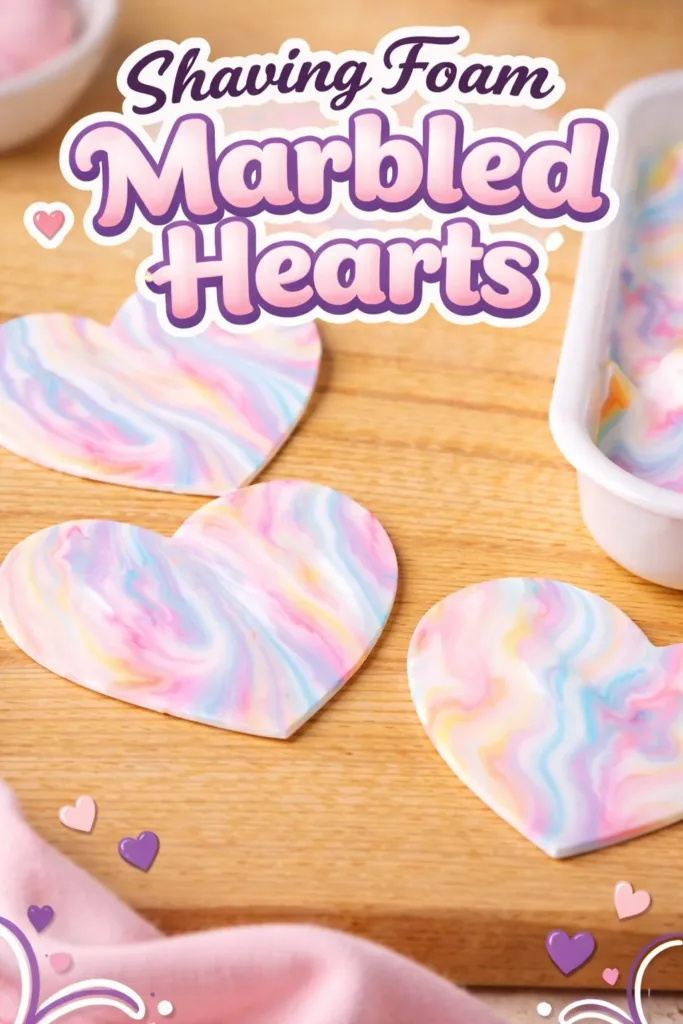
A slow inhale of warm laundry air and the soft scent of shaving foam fills the small table where I sit. My fingertips press into pillowy foam and lift a tiny swirl of color that catches the light like a small sky. Making Shaving Foam Marbled Hearts ❤️ feels like collecting a gentle moment soft, odd, and entirely present. I return to this tactile rhythm when I want to feel steadier, and I often pair it with other cozy crafts like my growing crystal pink hearts tutorial for a layered afternoon of calm.
Why Shaving Foam Marbled Hearts ❤️ Feels Comforting to Create
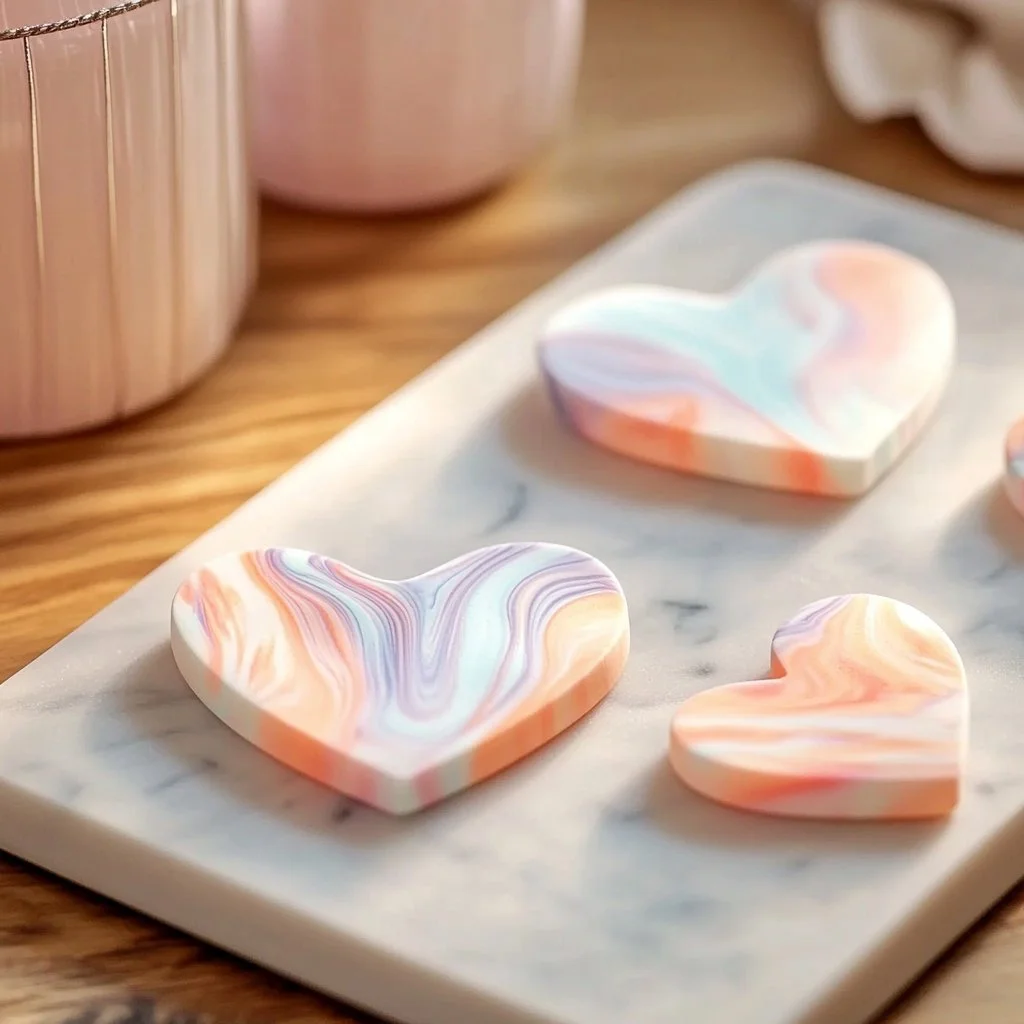
This craft invites you to slow down. You work with materials that respond to touch and movement. The foam gives as you press, springs back when you lift, and leaves delicate traces of color. The marbling moves in slow waves, not sharp edges, so your eyes follow curved lines instead of abrupt changes. That visual softness soothes.
On the table, sounds stay small. A spoon taps the bowl, the cap clicks, a paper towel rustles. These tiny noises fit the pace of the hand gestures. Making a set of marbled hearts lets you repeat a pleasant sequence: swirl, press, lift, reveal. This gentle loop helps the mind settle and makes the making itself as rewarding as the final heart.
I find this project especially comforting because it asks for patience, not perfection. The patterns surprise you. Sometimes a color blooms exactly where you hoped. Other times it forms a new, unexpected shape. Both outcomes feel like quiet discoveries. If you like other heart projects, you might find it soothing to compare textures with things like my glue gem hearts and suncatchers later on.
A Gentle Look at the Process
Before you touch the foam, imagine the steps as a soft choreography. You will whip cooling foam into a flat cloud, drop liquid color that floats, and draw lines with a stick. Your hand moves slowly to avoid muddying the colors. You will press paper onto the surface, feel the slight resistance, then lift to reveal a marbled print that looks like a little planet.
The process moves from broad gestures to small details. Mixing the foam feels like kneading a cloud; applying color is more precise, like painting with a single hair. Each step invites a different speed and a different focus. When you switch from stirring to pressing, notice how your breath settles to the same pace as your hands.
This project works well with small, mindful pauses between steps. Let the foam sit for a few breaths after you flatten it. Take a moment to look at the pattern before you press paper down. These tiny pauses help you make choices without rushing, and they enhance the sensory pleasure of touch and sight.
Materials You’ll Need
- Shaving foam (regular, unscented works best; easy to find)
- Liquid watercolors or food coloring (small drops create vivid marbling)
- A shallow tray or baking sheet (to hold foam and keep the work neat)
- Stiff paper or watercolor paper (absorbs color well; optional heavier card)
- Droppers, pipettes, or small craft brushes (control where color falls)
- A skewer, toothpick, or bamboo stick (for gentle swirling)
- Heart-shaped cookie cutter or paper pattern (optional for cutting hearts)
- Paper towels (for tapping excess foam; soft and absorbent)
- A ruler and pencil (if you want uniform sizes; optional)
- A small spatula or spoon (for smoothing foam; any flat tool will do)
- Gloves (optional, if you prefer to keep hands dye-free)
- Vinegar and soap for quick cleanup (gentle on skin)
Notes: You can substitute liquid watercolors for thinned acrylic or fabric dyes if you plan to transfer patterns to cloth. Cardstock may not absorb as evenly as watercolor paper, so test a scrap first. Keep the workspace well-ventilated if you use scented foam, although unscented is kinder to the senses.
Step-by-Step Directions
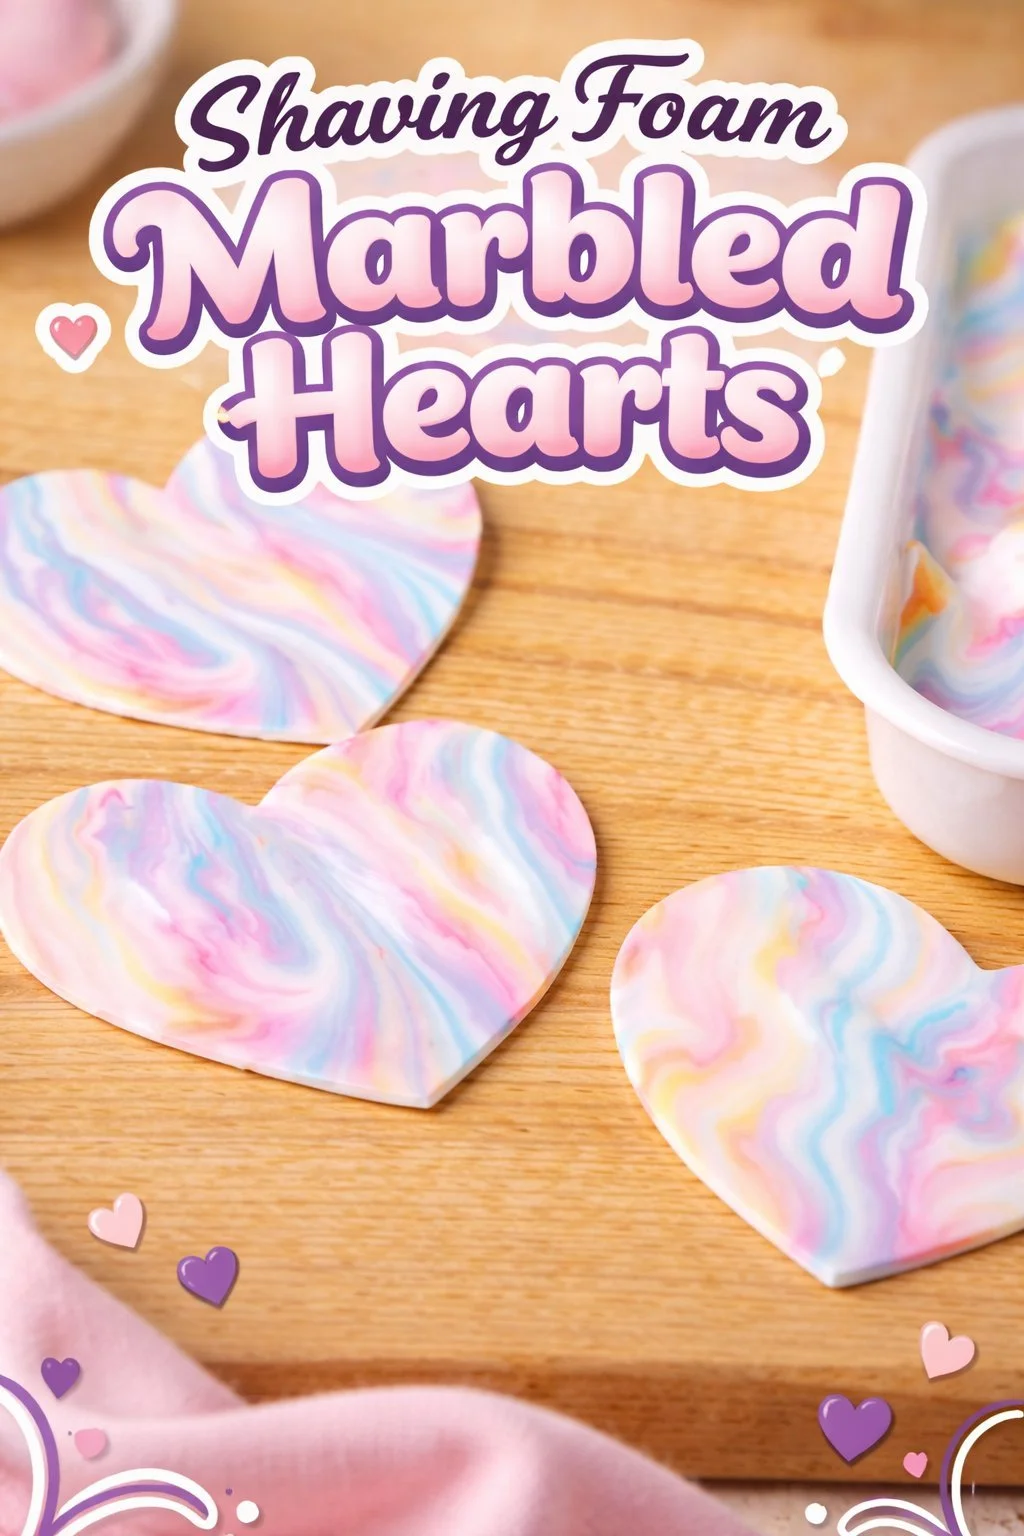
- Shake and dispense a generous puddle of shaving foam into your tray.
Press it down gently with a spatula until it forms a smooth, even layer.
Feel the cool, airy texture as you create a soft cloud for the color. - Flatten the foam to about a half-inch depth, smoothing with long strokes.
This even surface helps colors sit on top and flow without sinking.
Listen for the faint whisper of the spatula on the tray. - Using droppers, add a few small drops of color across the foam.
Keep drops spaced so they do not immediately touch and mix too much.
Watch how the liquid beads and spreads slightly on the foam. - Drag a skewer or toothpick through the drops in gentle S or spiral motions.
Move slowly to avoid overworking the colors.
Notice the lines forming, like tiny rivers or rings. - Once you love the marbling pattern, place a sheet of paper over the foam.
Press evenly from the center outward with your palms or a clean spatula.
You will feel a slight give as the foam meets the paper. - Lift the paper straight up to reveal the marbled print beneath.
You should see crisp swirls with soft edges.
If you like, set the paper aside and repeat for more prints. - Pat the paper lightly with a paper towel to remove excess foam.
Avoid rubbing, which can smear the design.
Let the paper dry flat for a few hours or overnight. - If you want heart shapes, place a cookie cutter on the dry print and trace.
Cut with sharp scissors following the pencil line, making slow, steady snips.
Edge the hearts with gentle trimming for a clean silhouette. - Clean the tray and tools right after use with soap and warm water.
Wipe surfaces with vinegar if any color stains remain.
Store any extra foam in its container for a next time. - Arrange your hearts to dry completely before displaying or gifting.
Pair them with a hand-written note or tuck them between book pages.
Savor the quiet of the finished pieces and the small ritual of making.
Bringing Shaving Foam Marbled Hearts ❤️ Into Your Space
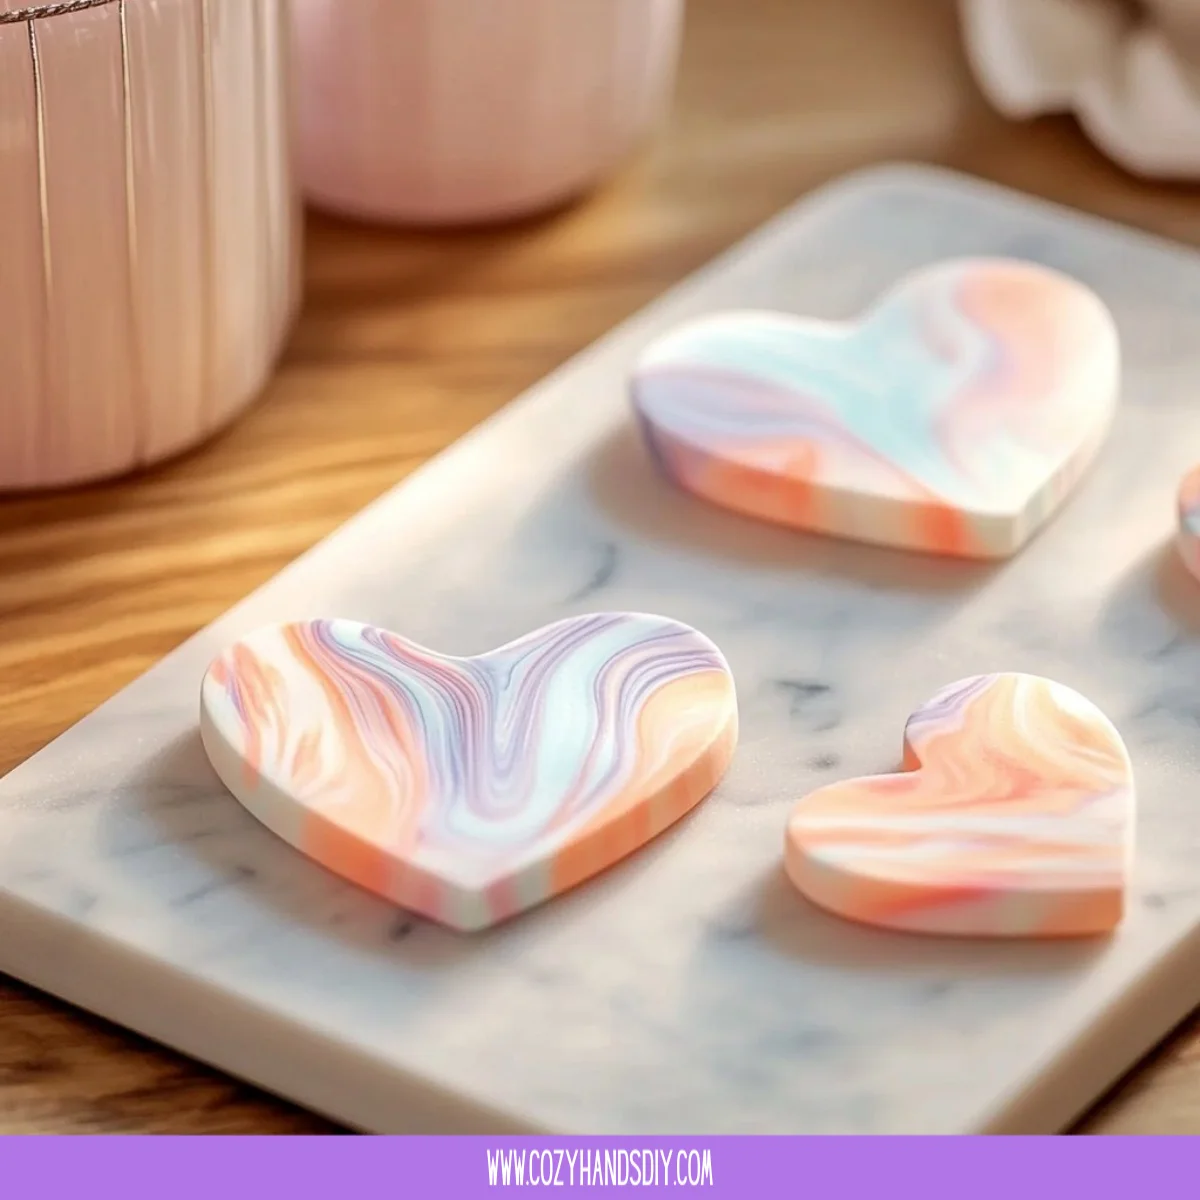
Once dry, these hearts find their own gentle roles around the house. They look lovely strung along a thin ribbon and hung in a small window where morning light can pass through faintly pigmented paper. They also make soft garlands for a cozy corner, spaced with dried eucalyptus or tiny beads. A few hearts in a shallow bowl on a bedside table add color without demanding attention.
You can use marbled hearts as gift toppers. Slip one under twine on a wrapped book or tie a tiny cluster to a mason jar. For a tactile element, glue a small heart onto a notecard and press it into the card for a layered feel. If you prefer practical uses, laminate a set and use them as drink coasters for a slow afternoon tea. The lamination will protect the paper and keep colors vibrant.
I often place a single marbled heart on my desk as a breathing prompt. When I glance at it, I slow my shoulders and take three soft breaths. The heart sits as a small, handmade anchor an object that remembers a calm making time and asks me to return to that pace.
Keeping It for Later
Paper marbling can fade slightly over time if exposed to bright light, so store finished hearts away from direct sunlight. Stack them flat between clean sheets of tissue paper inside a shallow box to prevent edge wear. Adding a piece of waxed paper between prints helps if you plan to keep a full set, because it stops slight transfer of pigment.
If you want to reuse a partially used foam tray, cover it with plastic wrap and press gently to maintain the pattern for a few more prints later the same day. For long-term storage of patterns themselves, press each print in a book with a weight on top. The paper will flatten and dry evenly, and the print will feel more finished.
For small hearts that serve as ornaments, punch a hole near the top and thread a ribbon. Store them on a flat surface with soft padding between layers during the months when you do not display them. This gentle care keeps edges crisp and the colors true.
What I’ve Learned While Making This
I learned to trust surprises. Early attempts taught me that overworking the foam makes muddier patterns, while a light touch keeps the colors bright. Pausing between adding drops and dragging the skewer let the colors bloom more beautifully. I now listen to the project, letting it tell me when to move quickly and when to wait.
I also found that different papers shift the outcome subtly. Watercolor paper gives soft edges and deeper color absorption, while thinner paper gives more delicate, transparent washes. This knowledge helps me pick the right paper for the mood I want bold and saturated or whisper-light and translucent.
Safety and comfort matter. I keep a small bowl of water for my hands nearby, and I wear thin gloves when I know the colors will stain. I work with unscented foam when I want a calm atmosphere, and I save scented options for playful sessions. These small choices keep the making gentle and pleasant.
Try treating small mistakes as new textures. A spot that seems too heavy can become the focal point when you cut a small heart from that area. Expecting perfection slows the hands; allowing playful edits keeps the hands moving and the mind relaxed.
Gentle Tips & Variations
- Invite texture by sprinkling a tiny pinch of salt on the foam before the color dries; it creates soft, starburst marks. Think of this as a gentle experiment, not a rule.
- Try a monochrome palette for a soothing set that reads like a quiet study in tone. Using one color in different saturations creates cohesive pieces for display.
- For a cloth transfer, use fabric-safe dyes and press the damp print onto plain cotton. Test a scrap first. This transforms the pattern into a soft, wearable keepsake.
- Make tiny cards by cutting narrow strips and folding them in half; these become lovely notes or bookmarks. The small format emphasizes pattern over scale and feels intimate.
- Use metallic liquid watercolor drops sparingly to add a hint of shimmer. A single gold or silver drop lifts the design without overwhelming it.
Each of these ideas welcomes your touch. Try one or two and observe how the change in material or scale alters your pace and attention.
FAQs About Shaving Foam Marbled Hearts ❤️:
Will the shaving foam stain my hands or clothes?
Colors can transfer, especially vivid liquid watercolors. Wear gloves or apron if you prefer. Keep a bowl of warm water and mild soap nearby to rinse any color off skin. Test a small scrap first to know how staining the specific color tends to be.
Can I use any type of shaving foam?
Unscented, regular shaving foam works best because it creates a stable, airy surface for color to float on. Gel formulas sit differently and can make colors sink. Unscented foam is also gentler on sensitive noses and creates a calmer work environment.
How long should I let the prints dry?
Drying time depends on paper thickness and humidity. Thin paper may dry within an hour, while heavier watercolor paper may need several hours or overnight. Lay them flat to keep shapes crisp and avoid stacking until fully dry.
Are these safe for kids to make?
Yes, with supervision. Use non-toxic liquid watercolors or food coloring, and have a clean work surface. Gloves are optional. Talk through each step slowly and encourage gentle motions. If you want child-friendly step-by-step for a group, pair this with large trays and fewer colors.
What if the colors mix into a muddy brown?
That happens when colors sit too close or when you drag the skewer through the foam too often. Use fewer drops, space them out, and drag once or twice in smooth motions. If muddiness appears, embrace it as a subtle, watercolor-like marbling or try a new sheet.
A Gentle Note Before You Go
As you tuck your finished hearts away or string them to dry in the window, take a slow moment to cup one in your palm. Feel the edge, notice the paper grain, and remember the quiet sequence that made it. These simple objects keep a small memory of your hands moving gently.
If you want to keep exploring heart projects, try blending this marbling practice with other cozy crafts. Consider pairing a few marbled hearts with a glue gem heart on a card, or save a set to press into a journal page. The making matters as much as the result; each heart remembers a calm hour.
Conclusion
If you want more step-by-step inspiration that pairs well with this sensory technique, I recommend the clear, kid-friendly marbling guide in Shaving Cream Art Kids Love – Valentine Marbled Hearts for …. For a playful seasonal twist that uses similar marbling ideas on Easter themes, see the thoughtful approach in Easter Egg Bunting Banner Shaving Cream Marbled Paper.
A few final notes: keep the space tidy while you craft, listen to the pace the materials set, and allow each heart to be its own small discovery. Thank you for sharing a quiet making time with these Shaving Foam Marbled Hearts ❤️.
PrintShaving Foam Marbled Hearts

Create beautiful marbled hearts using shaving foam and liquid colors for a calming and creative crafting experience.
- Prep Time: 10 minutes
- Cook Time: 30 minutes
- Total Time: 40 minutes
- Yield: 10 marbled hearts
- Category: Craft
- Method: Crafting
- Cuisine: N/A
- Diet: N/A
Ingredients
- Shaving foam (regular, unscented)
- Liquid watercolors or food coloring
- A shallow tray or baking sheet
- Stiff paper or watercolor paper
- Droppers, pipettes, or small craft brushes
- A skewer, toothpick, or bamboo stick
- Heart-shaped cookie cutter or paper pattern (optional)
- Paper towels
- A ruler and pencil (optional)
- A small spatula or spoon
- Gloves (optional)
- Vinegar and soap for cleanup
Instructions
- Shake and dispense a generous puddle of shaving foam into your tray.
- Press it down gently with a spatula until it forms a smooth, even layer.
- Flatten the foam to about a half-inch depth, smoothing with long strokes.
- Using droppers, add a few small drops of color across the foam.
- Drag a skewer or toothpick through the drops in gentle S or spiral motions.
- Once you love the marbling pattern, place a sheet of paper over the foam.
- Lift the paper straight up to reveal the marbled print beneath.
- Pat the paper lightly with a paper towel to remove excess foam.
- If you want heart shapes, place a cookie cutter on the dry print and trace.
- Clean the tray and tools right after use with soap and warm water.
- Arrange your hearts to dry completely before displaying or gifting.
Notes
You can substitute liquid watercolors for thinned acrylic or fabric dyes if you plan to transfer patterns to cloth. Keep the workspace well-ventilated if you use scented foam.