

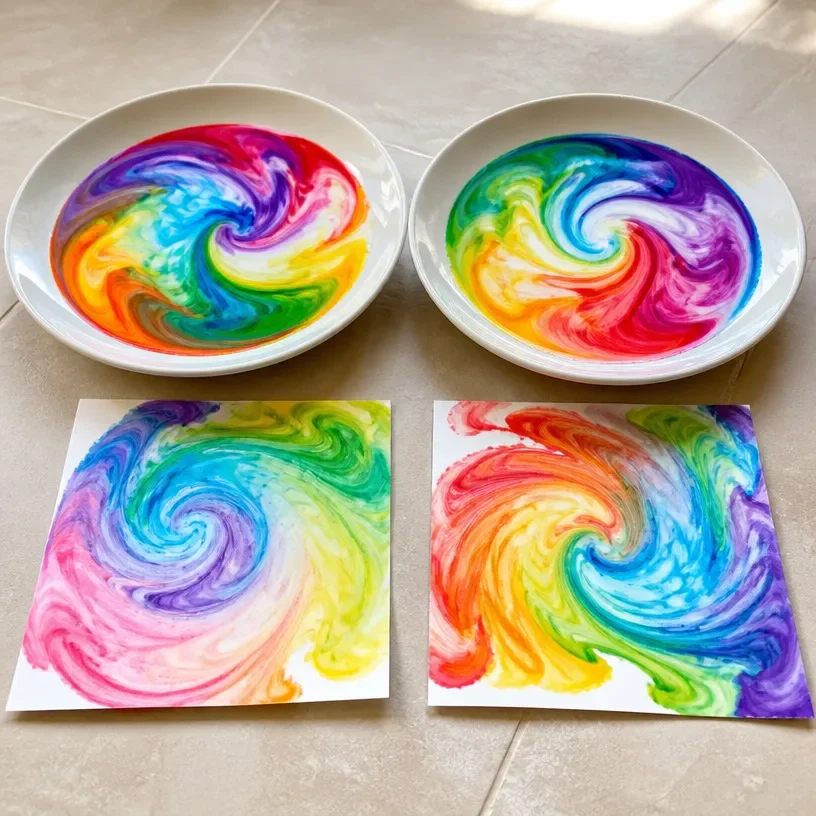
It starts with a soft swirl of color dancing across a smooth surface, where colors blend effortlessly, creating a mesmerizing pattern. This is the beauty of Rainbow Milk Swirl Art, a gentle reminder of creative moments that invite calm and mindfulness. As the vivid hues mingle in a delicate embrace, the world around fades, allowing a tranquil focus on the simple pleasure of art. You may also find Rainbow Milk Swirl Recipe Transforms Mood useful.
The Heart Behind This DIY
Creating Rainbow Milk Swirl Art is more than just mixing colors; it’s about nurturing a calm mindset and enjoying the creative process. This DIY project encourages you to slow down and immerse yourself in a sensory experience. As you watch the colors flow and blend, the concerns of the day melt away. The act of swirling and blending provides a meditative quality, enabling you to focus entirely on the moment. You may also find Diy Rainbow Pencil Shavings Butterfly Art useful.
A Gentle Look at the Process
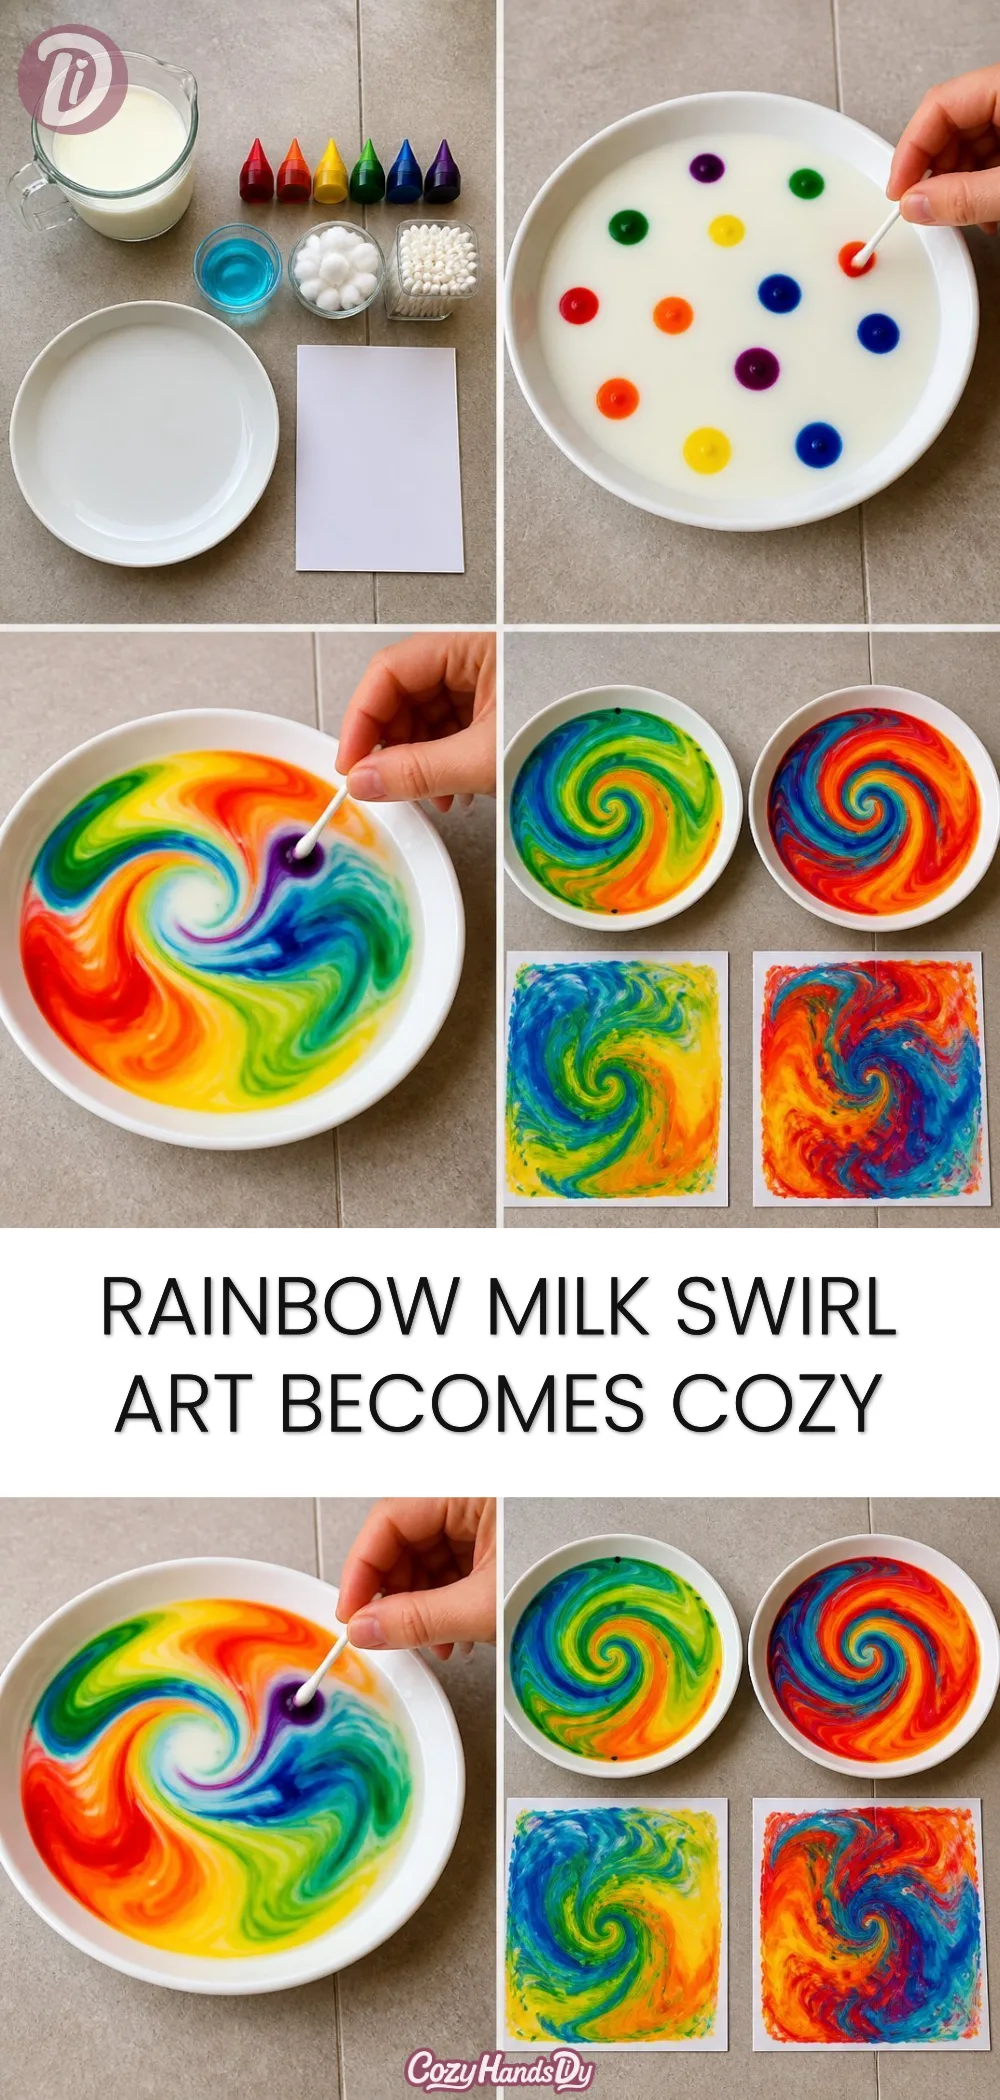
Before diving into the hands-on portion, imagine the smooth, flowing textures and bright visuals you’ll experience. Pouring the milk, adding colors, and seeing them swirl together is a delightful rhythm. It brings about a satisfying sound and visual joy that supports relaxation. You will find that the act of creating this art is as enjoyable as the finished piece itself.
Materials You’ll Need
- Whole milk (or any milk alternative)
- Food coloring (variety of colors)
- Dish soap
- Shallow dish or tray
- Cotton swabs or toothpicks
- Paper (preferably heavy or cardstock for the final art)
- Optional: Glitter for a touch of sparkle
Most of these materials are easy to find and should be accessible in your kitchen or local store. If you’re looking for more creative projects, explore other DIY crafts that use familiar supplies.
Step-by-Step Directions
Begin by pouring the milk into the shallow dish. Aim for a depth that allows for swirls without spilling. The milk should cover the bottom but not be too deep.
Once the milk is settled, drop a small amount of food coloring into different areas of the milk. Allow your creativity to guide you; clusters or random spots work well.
Using a cotton swab or toothpick, gently swirl the colors. You will notice the colors dancing and mingling, creating beautiful patterns.
To intensify the colors and create more depth, add a drop of dish soap directly onto the swirled colors. Watch as they burst and bloom, a joyful surprise in the process.
Dip the paper gently onto the surface of the milk to capture the colors. Lift it carefully to avoid smudging.
Allow the paper to dry fully on a flat surface. This may take some time but will result in stunning art that reflects your moment of creativity.
Enjoying the Finished Piece
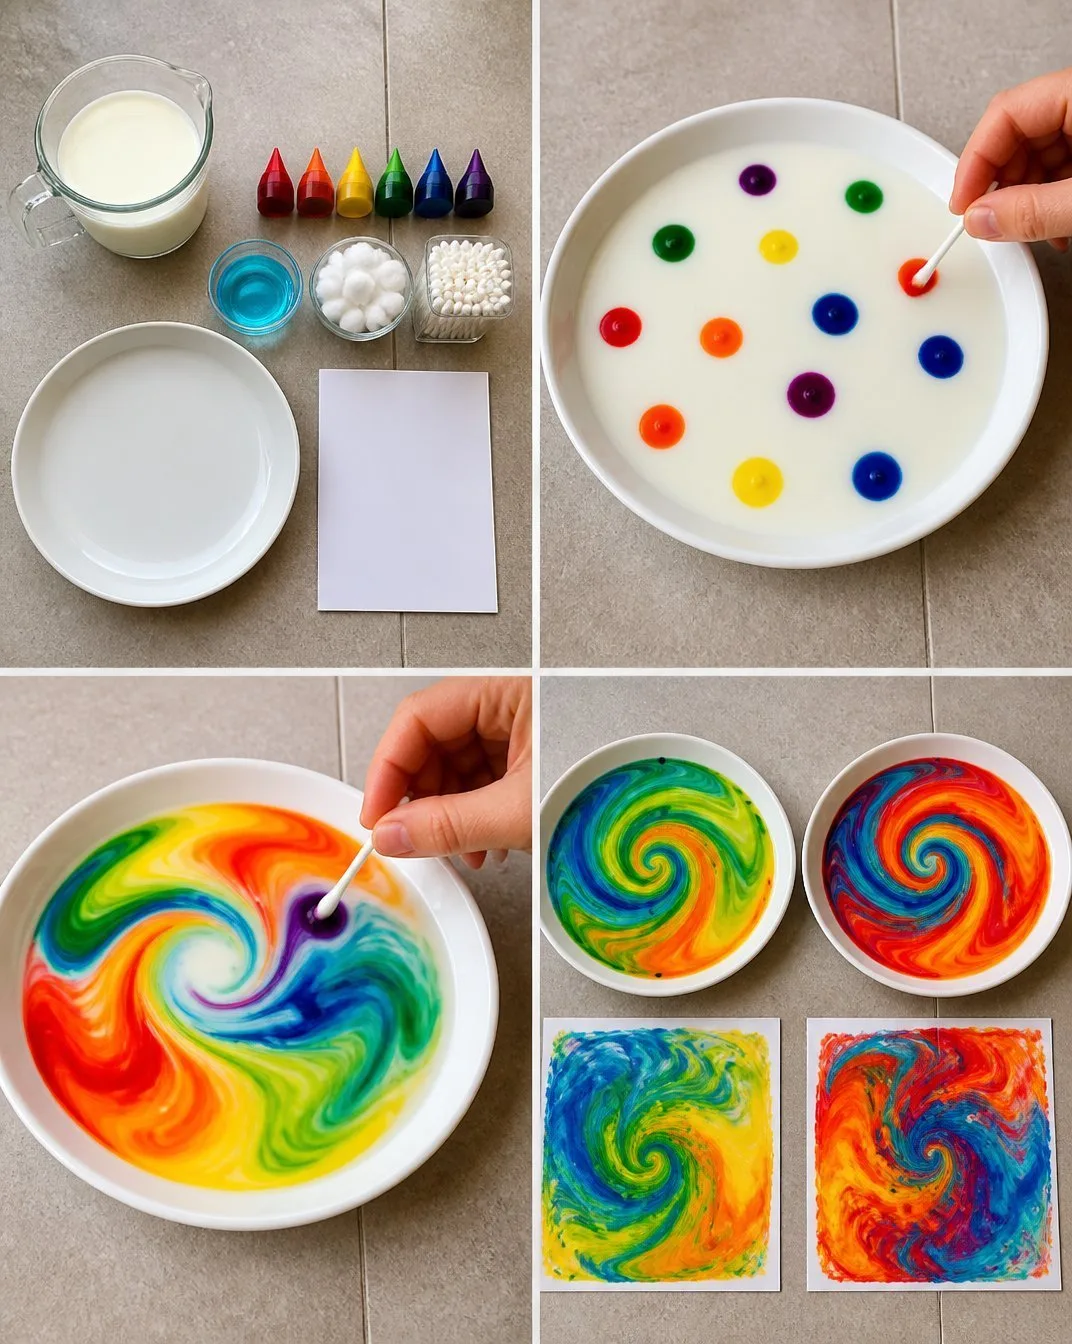
Once fully dry, your Rainbow Milk Swirl Art can find a special place in your space. Use it as personalized wall art, a gift, or even as a unique card for a friend. The act of displaying your work invites conversations and inspires others to slow down and create as well. Consider how lovely these pieces can complement your home, serving as reminders of creativity and calm.
How to Store or Reuse Rainbow Milk Swirl Art
If you find that you want to keep your artwork longer or reuse the materials, consider storing your Rainbow Milk Swirl Art in a portfolio or frame to protect it from deterioration. This way, the colors remain vibrant, and you can revisit the calming feelings created during its making. If you’re interested in exploring more artistic creations, look into other colorful projects to add warmth to your routine.
Gentle Tips & Variations
- Experiment with different types of milk to see how they affect the swirls. Each kind has a unique way of reacting to the food coloring.
- Consider adding essential oils or scented water to the milk for an additional sensory experience while creating.
- Try using a larger or different shaped container to alter the swirling patterns.
- If you have children, let them choose a theme for their colors such as seasons or favorite colors transforming the project into a personal experience.
FAQs About Rainbow Milk Swirl Art
What if I don’t have dish soap?
Dish soap is crucial for creating those beautiful swirls and bursts of color. If you must, look for alternatives like shampoo, but the results may vary.
How long will my art last?
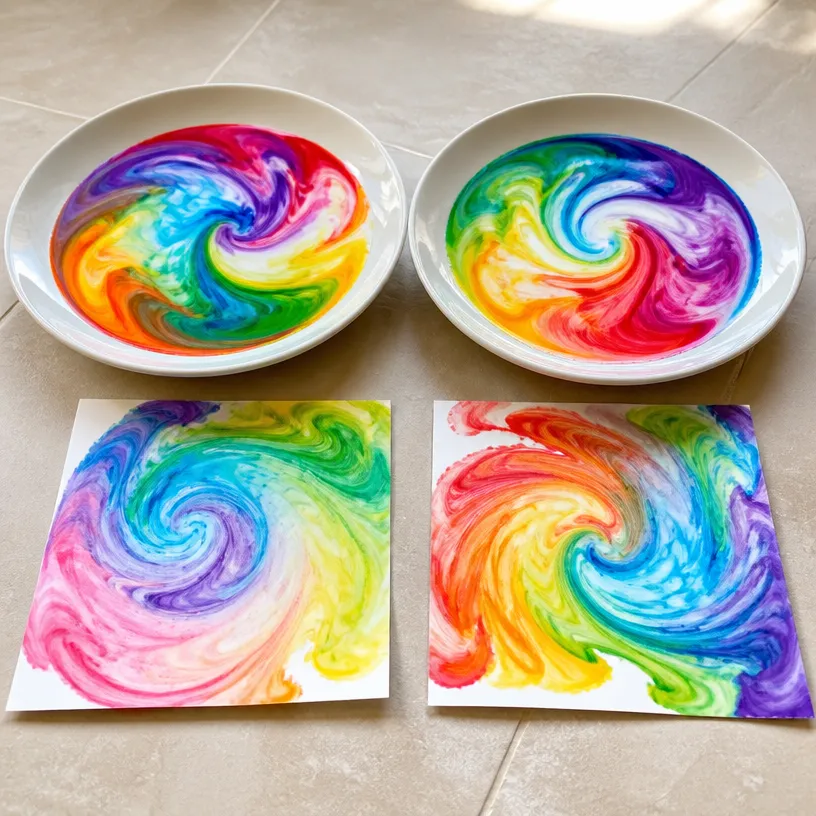
When stored properly, the colors can last for many months. Keep it away from direct sunlight to avoid fading.
Can I use this technique on other materials?
Absolutely! This technique can be adapted for fabric or canvas. Experiment with different surfaces for various effects.
Is this project safe for kids?
Yes, this project is generally safe. Just supervise younger children, particularly with the food coloring and any small items like cotton swabs.
Can I make this without milk?
While milk creates the best swirled effects, other liquids may work, but results may differ. It might be interesting to experiment with alternatives.
Conclusion
Rainbow Milk Swirl Art is not just a project; it’s an invitation to slow down and connect with your creative self. Embrace this gentle art-making process to foster mindfulness and tranquility in your daily life. If you want to explore more about this art form, you can view insights on Rainbow Milk Art or learn about making beautiful marbled paper with rainbow milk on this detailed guide about creating marbled art.
PrintRainbow Milk Swirl Art
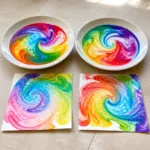
A calming and creative DIY project that invites mindfulness through the mesmerizing process of swirling colors in milk.
- Prep Time: 15 minutes
- Cook Time: 0 minutes
- Total Time: 15 minutes
- Yield: 1 artwork
- Category: Art and Crafts
- Method: Swirling
- Cuisine: N/A
- Diet: N/A
Ingredients
- Whole milk (or milk alternative)
- Food coloring (variety of colors)
- Dish soap
- Shallow dish or tray
- Cotton swabs or toothpicks
- Paper (preferably heavy or cardstock)
- Optional: Glitter for sparkle
Instructions
- Begin by pouring the milk into the shallow dish, covering the bottom without spilling.
- Once the milk is settled, drop small amounts of food coloring into different areas.
- Using a cotton swab or toothpick, gently swirl the colors to create patterns.
- To intensify the colors, add a drop of dish soap onto the swirled colors and watch them dance.
- Dip the paper gently onto the milk to capture the colors, lifting it carefully to avoid smudging.
- Allow the paper to dry fully on a flat surface before displaying your art.
Notes
Experiment with different types of milk, add scents, or use various container shapes for unique effects. Supervise children for safety during the process.