

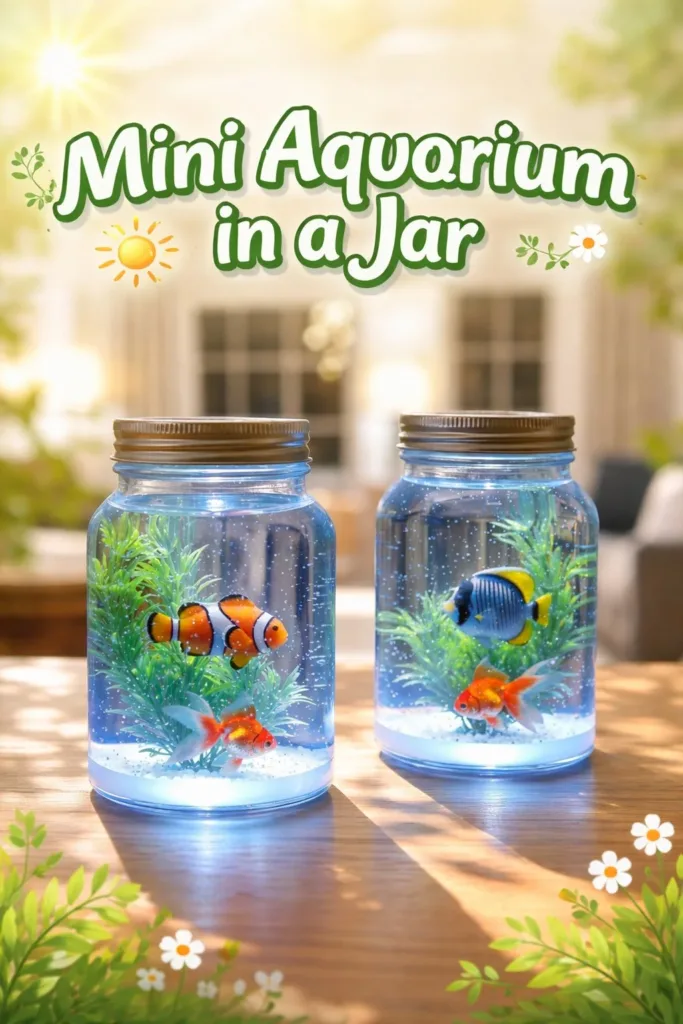
A single ray of afternoon sun slips across my worktable and lights the tiny world inside a jar. Water moves slow and bright, and the soft clink of glass and pebbles feels like a quiet metronome. I lift a shell with careful fingers and watch tiny bubbles release, each one a small, steady rhythm that helps me breathe slower. This Mini Aquarium in a Jar holds a hushable scene, something small and alive that invites gentle attention and calm.
Why Mini Aquarium in a Jar Feels Comforting to Create
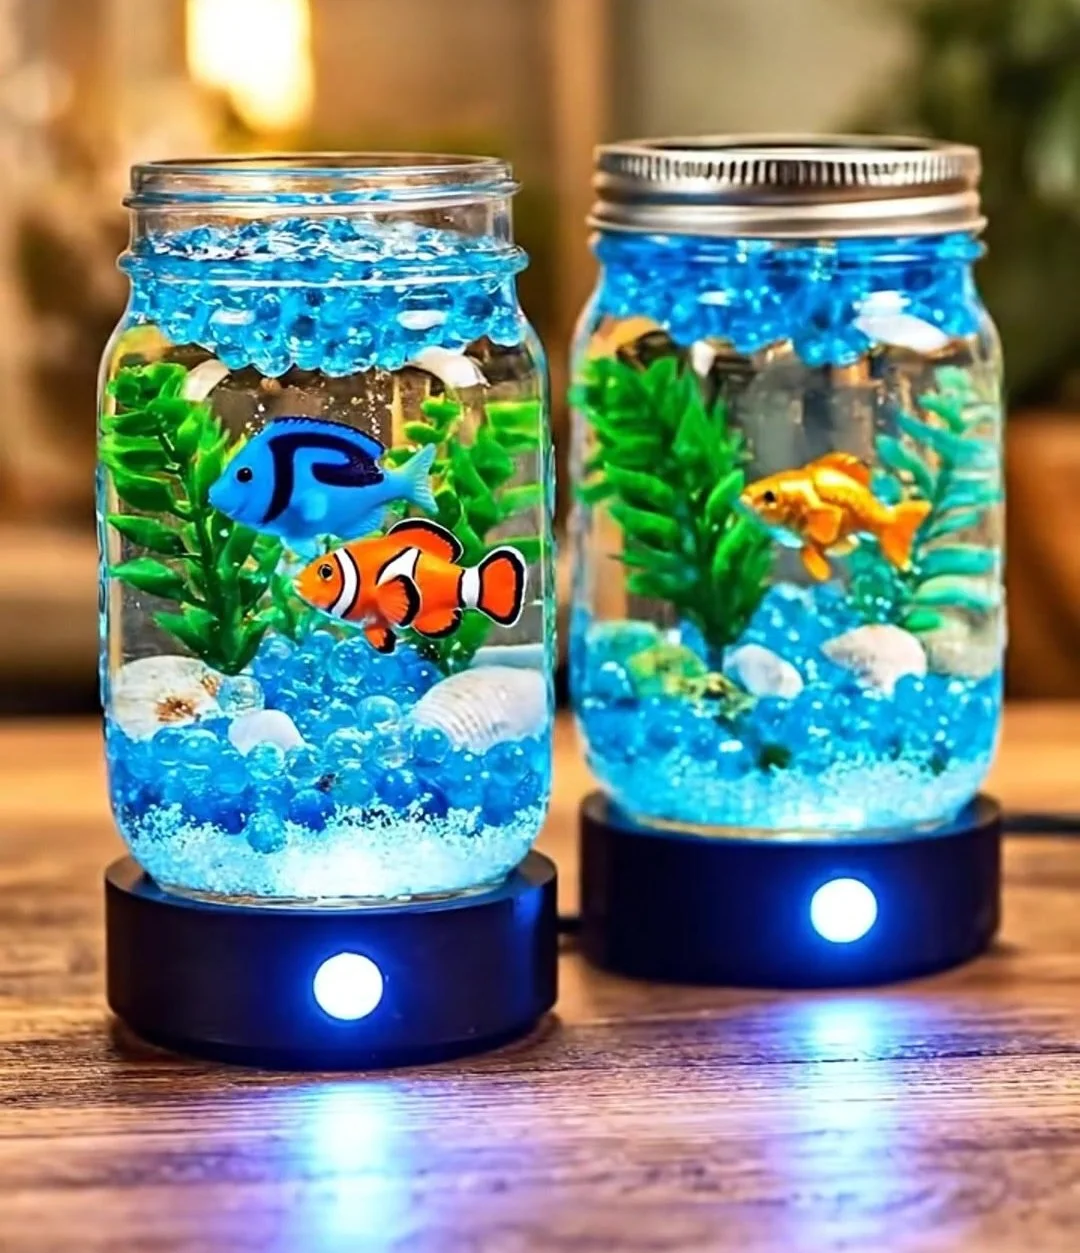
This project asks for slow hands and soft focus. You choose textures, colors, and tiny shapes and place them with care. That quiet intention turns making into a small ceremony. The glass acts like a frame that holds movement and light, and the water brings depth and a gentle sound when you tilt the jar.
Creating this little scene helps you slow down because the steps reward patience. Sand settles, shells shift, and the light plays differently across curved glass. You move with an even pace to tuck a piece of sea glass or a toy fish in place. Each small action centers your attention and gives your senses a soft task. If you have made jars like a lightning storm jar or a layered density jar before, you will find a familiar, soothing rhythm here. The Mini Aquarium in a Jar does not aim for perfection; it asks for presence.
A Gentle Look at the Process Before you gather anything, imagine the flow. You will layer a base, select a few tiny decorations, and add water slowly. You will spoon in sand, nestle small items into place, and then watch how the light changes the scene. Your hands will feel the grain of sand, the cool slickness of glass, and the gentle weight of pebbles.
The process moves in a few calm motions. You scoop, place, adjust, and finally seal. You will hear soft clinks and the low whisper of water as you pour. Work at a table by a window if you can; the light will make the jar shimmer and reward your careful choices. If you enjoy other jar projects, you may find the same soothing loop here that appears in a cheerful rainbow density jar project, but with a quieter palette and a slower mood.
Materials You’ll Need
- A clear glass jar with a wide mouth (easy to find; a small mason jar works well)
- Fine sand or aquarium sand (optional: shell-safe play sand)
- Small pebbles or aquarium gravel (rinsed and smooth)
- Tiny shells, sea glass, or small plastic plants (optional, gentle on texture)
- Small waterproof figurines like miniature fish or sea creatures (optional)
- Distilled water or filtered water (helps reduce cloudiness)
- Clear glue or aquarium-safe glue (for securing pieces if you plan to seal)
- Tweezers or a chopstick for precise placement (helps with small movements)
- A small funnel or a strip of paper to guide sand and water
- A lid with a tight seal or silicone to close the jar (if you plan to prevent spills)
- Optional: a few drops of mineral oil for surface shimmer, or blue food coloring very diluted for tint
Materials notes Choose smooth items that feel pleasant in your hands when you sort them. Rinse sand and gravel until the water runs clear to avoid cloudiness. If you use small figurines, pick non-toxic, waterproof ones. I favor distilled water; it keeps the little scene bright longer. If you want light that glows, select a jar shape that catches the sun at an angle.
Step-by-Step Directions
Prepare your jar and workspace. Clean the jar with warm water and gentle soap. Lay down a towel so you can feel the soft surface and catch any spills.
Rinse your sand and gravel. Place sand and gravel in a sieve and run water until it clears. Let them dry slightly so they do not clump.
Create a base layer of sand. Use a small funnel or a folded paper strip to pour sand slowly. Feel the grain settle as you tap the jar gently to level it.
Add a thin layer of pebbles. Drop pebbles in to create texture and depth. Let one or two pebbles rest against the glass so they catch the light.
Position small decorations with tweezers. Pick up shells, sea glass, or tiny figurines with tweezers. Place them slowly, one at a time, and adjust until the arrangement feels balanced.
Secure delicate pieces if needed. If something feels loose, dab a touch of aquarium-safe glue to the bottom and press it gently. Allow glue to set before adding water.
Fill with distilled water slowly. Tilt the jar slightly and pour water down the glass to avoid disturbing the base. Listen for the soft, steady sound as the water pools.
Add a tiny tint or oil for effect. If you want a faint blue, add one or two drops of food coloring and stir gently with a chopstick. For a soft shimmer, add a drop of mineral oil to the top and let it settle.
Seal the jar if you wish. Screw on the lid or seal the rim with silicone for a watertight finish. Wipe the glass clean and let it rest upright for a few hours.
Place and enjoy slowly. Set your jar in a quiet corner where you can watch the light move across it. Tilt it gently, listen, and breathe.
Enjoying the Finished Piece
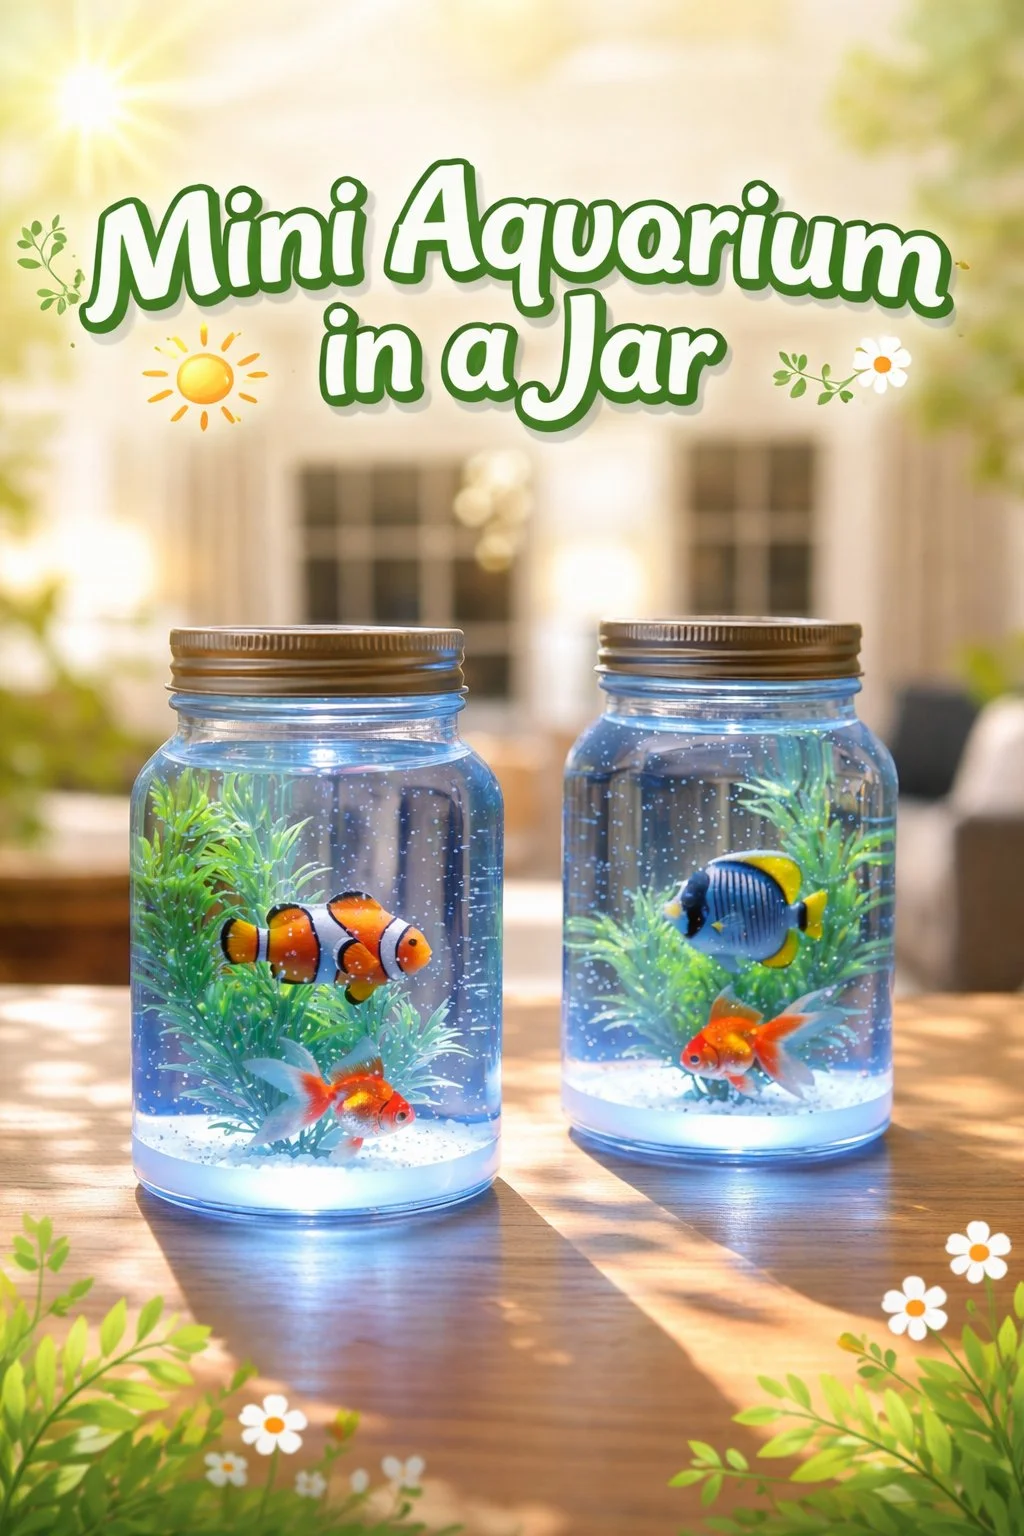
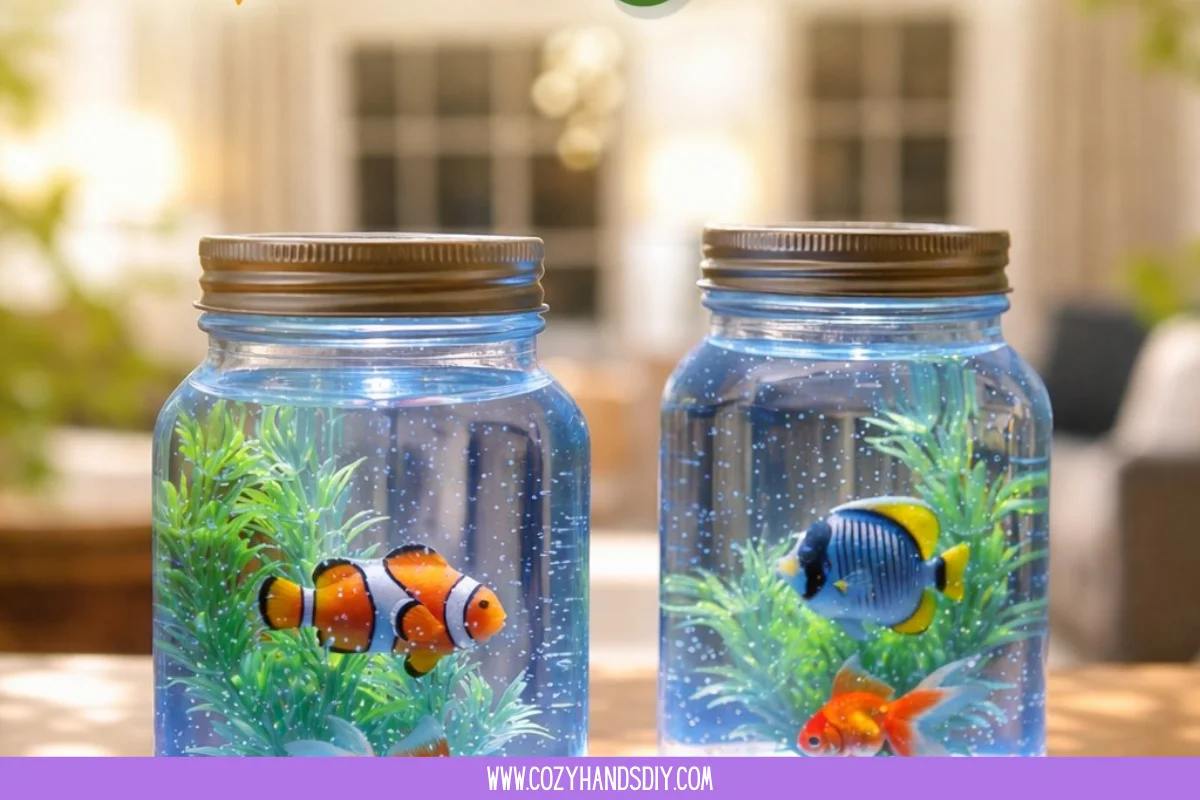
A small jar sits like a pocket of calm. Place your Mini Aquarium in a Jar on a windowsill where the sun can trace tiny paths across the water. Turn the jar to watch ripples reflect and shift. If you keep it on a bedside table, let it be the place you gently rest your gaze while winding down.
Use soft surfaces around it. A small wooden tray or a padded coaster protects the surface beneath and muffles sound when you move the jar. If you like, include a little mirror behind the jar to double the light and make the scene feel deeper. The finished piece invites slow attention; you do not need to do anything active to enjoy it. Just watch and breathe.
Caring for Your Finished DIY Treat the jar with the same soft care you would give a small plant. Keep it in a place free from direct drafts if you used a loose lid, and avoid very hot sun that can heat the water quickly. If cloudiness develops, empty the jar into a bowl, rinse the stones and decorations, and refill with fresh distilled water.
If you sealed the lid tightly, the scene may remain stable for a long time. If you left the lid off, check for dust and top the water up occasionally. Use a gentle touch when moving the jar. Always lift it from the base to protect your fingers and avoid tipping.
Gentle Tips & Variations
Invite small shells gathered on quiet walks. Place tiny shells you collect with kind hands into the jar. Each shell carries memory and a simple texture.
Try a nightlight version with a small battery LED beneath the jar. Set a flat LED tea light under a low jar to warm the color palette. Keep it cool and check batteries rarely for leaks.
Use tiny glass marbles for extra light play. Marbles catch the sun in a way that creates little bright points. Rinse them first for clarity.
Swap materials by season. Use cool blues and white sand in winter months and warmer tones with tiny cork floats in summer. These shifts change the mood gently.
Consider a sealed keepsake jar. If you add a meaningful tiny object, secure it with glue and seal the jar so it becomes a little time capsule.
What I’ve Learned While Making This Small projects reward slow attention. I once made a jar late at night after a long day. I placed a tiny toy fish, adjusted its angle twice, and then sat back to watch it move with the water. The small scene gave my hands something calm to do and my eyes something gentle to follow. Over time, I learned to trust small adjustments rather than large changes. A little shift in angle, a different shell, or a new pebble can change the entire feeling.
I also learned to respect materials. Plastic figurines age differently than glass, and some sands discolor if they contain organic bits. Distilled water keeps things clear. If you want longevity, choose inert materials and rinse them well. When you work with glue, let everything dry fully before moving the jar. These small habits keep the jar looking and feeling tranquil.
FAQs About Mini Aquarium in a Jar Q: Will the jar support real fish or plants? A: This jar suits decorative scenes only. It does not provide the space, filtration, or oxygen needed for live fish. If you want living plants, choose hardy aquatic plants in a larger, properly filtered tank with guidance from experienced aquarists.
Q: How do I prevent the water from clouding? A: Rinse sand and gravel well until the rinse water runs clear. Use distilled water to reduce minerals that cloud over time. If cloudiness appears, empty and rinse components, then refill slowly.
Q: Can I use colored water? A: You can tint the water slightly with a drop or two of food coloring. Use very small amounts and stir gently. Strong color can mask details and give an artificial look. Consider using a light tint if you prefer subtle color.
Q: Is it safe to seal the jar? A: Yes, you can seal the jar if you use a lid or an aquarium-safe silicone sealant. Make sure glue and sealants are fully cured before handling. Keep sealed jars away from very hot places and avoid freezing temperatures.
Q: How often should I refresh the jar? A: For sealed jars, you likely will not need to refresh often. For open jars, check every few weeks for dust or cloudiness and top up with distilled water as needed.
A Gentle Note Before You Go Sit with the jar for a few moments after you finish. Turn it slowly and notice how the light shifts. Let your breathing match the small movements you see. Making this Mini Aquarium in a Jar gave you a tiny refuge you can return to any time. Keep it simple, keep it kind to your hands and the materials, and let the jar remind you that small acts of care can make room for quiet.
Conclusion
If you want another mason jar idea with a playful aquarium feel, you can explore a thoughtful tutorial at hello, Wonderful mason jar aquarium tutorial for inspiration and variations. For a different creative take on jars and clear crafts, see the step-by-step inspiration from Design Dazzle DIY Glass Mason Jar Aquarium.
PrintMini Aquarium in a Jar
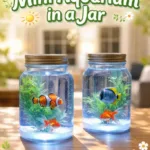
Create a calming mini aquarium in a jar as a soothing decorative piece.
- Prep Time: 15 minutes
- Cook Time: 30 minutes
- Total Time: 45 minutes
- Yield: 1 jar
- Category: Craft
- Method: DIY
- Cuisine: N/A
- Diet: N/A
Ingredients
- A clear glass jar with a wide mouth
- Fine sand or aquarium sand
- Small pebbles or aquarium gravel
- Tiny shells, sea glass, or small plastic plants
- Small waterproof figurines like miniature fish
- Distilled water or filtered water
- Clear glue or aquarium-safe glue
- Tweezers or a chopstick
- A small funnel or paper strip
- A lid with a tight seal or silicone
- Optional: mineral oil or blue food coloring
Instructions
- Prepare your jar and workspace.
- Rinse your sand and gravel.
- Create a base layer of sand.
- Add a thin layer of pebbles.
- Position small decorations with tweezers.
- Secure delicate pieces if needed.
- Fill with distilled water slowly.
- Add a tiny tint or oil for effect.
- Seal the jar if you wish.
- Place and enjoy slowly.
Notes
Use smooth items for better texture and aesthetic. Rinse all materials to avoid cloudiness.