

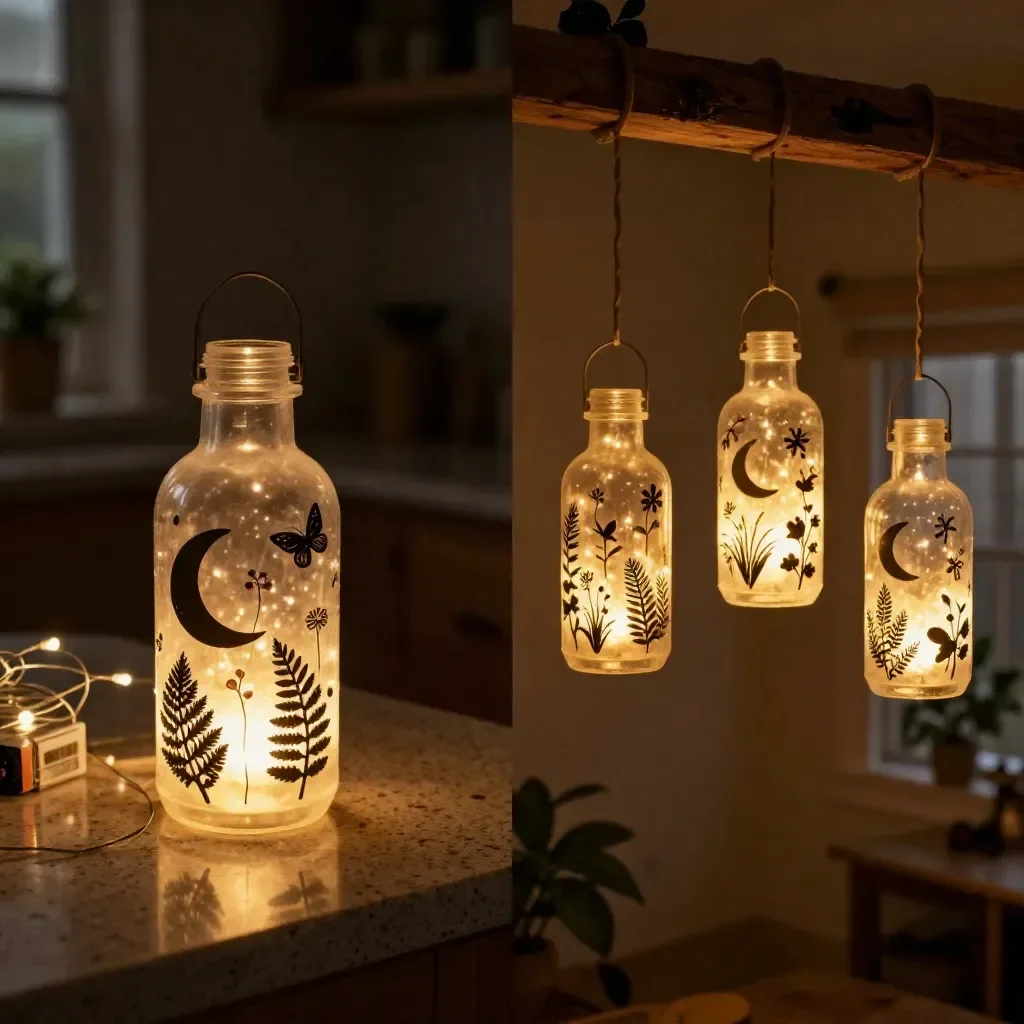
As daylight fades and the world around us turns a gentle shade of twilight, the soft glow of candlelight transforms our space. Milk Jug Fairy Lanterns capture this ethereal moment, inviting us to appreciate the serene beauty of light play. Creating these charming lanterns is not just about crafting; it’s a deliberate pause where we can connect with the calming textures and harmonious rhythms of making something beautiful with our hands. The process becomes a journey of mindfulness, resulting in delightful illumination that soothes both the eye and the spirit. If you are looking for other creative ways to incorporate light into your projects, consider exploring pink glow fairy lanterns as another delightful option.
The Heart Behind This DIY
Making Milk Jug Fairy Lanterns is more than just a fun project; it’s an opportunity to slow down and engage with our surroundings. The world can often feel overwhelming, and crafting offers a moment of peace, allowing us to reconnect with our senses. Feeling the smoothness of plastic milk jugs, listening to the quiet sound of cutting, and witnessing the transformation of ordinary materials into cozy art brings a sense of satisfaction. This activity draws us into a serene focus, where we can appreciate the simple act of creation. You may also find Fairy Dust Bouncy Balls useful.
A Gentle Look at the Process
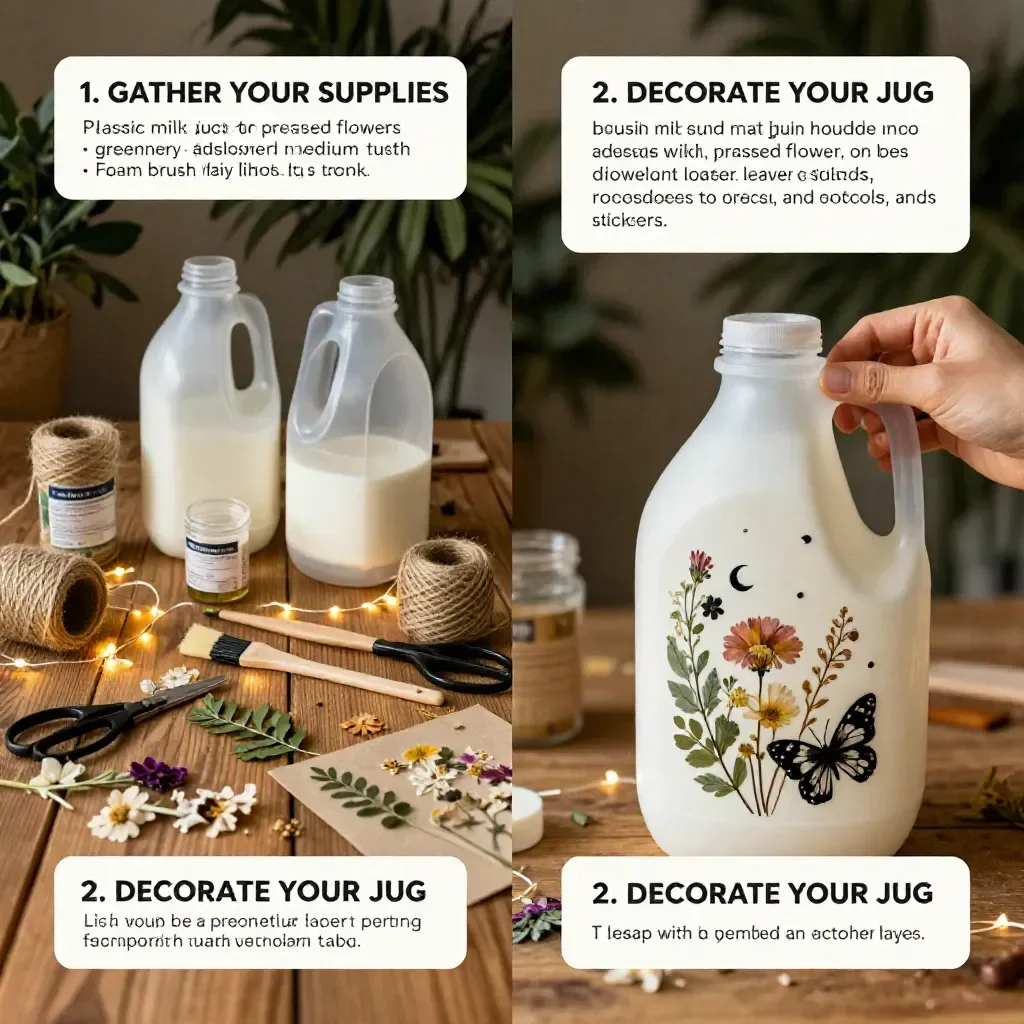
Before diving into the steps of making these lanterns, it’s helpful to understand the gentle flow of the creative process. Imagine the soft sounds of scissors gliding through the plastic, the quiet rustle of decorative elements, and the visually pleasing patterns you’ll create. The act of transforming a mundane object into a glowing piece of art taps into our natural desire for creativity. When you allow yourself to feel the materials and witness their transformation, each moment becomes a meditative experience that nourishes the soul. You may also find Fairy Glow Jars useful.
Materials You’ll Need
Gathering your materials is the first calming step in this creative journey. Here’s what you’ll need to make your Milk Jug Fairy Lanterns:
- Clean milk jugs (one for each lantern)
- Craft scissors (for cutting)
- Acrylic paint or markers (for decoration)
- Paintbrushes (if using paint)
- LED tea lights (to ensure safety)
- Twine or ribbon (for hanging)
- Optional: glitter or other decorative embellishments (for added magic)
All these materials are easy to find and affordable, making this project accessible to everyone.
Step-by-Step Directions
Prepare Your Workspace
Begin by laying out all your materials on a clean, flat surface. Take a moment to enjoy the sight of your supplies, and let the anticipation of creating fill you with joy.Cut the Jug
Carefully take your clean milk jug and use the scissors to cut off the top. Leave enough space at the bottom so that the LED tea light can fit inside securely.Create Your Design
Now is the time to unleash your creativity! Use acrylic paint or markers to design lovely patterns or scenes on the outside of the jug. The beauty of this step lies in personal expression; embrace whatever comes to mind.Add Decorative Twine
If you like, wrap twine or ribbon around the neck of the jug. This adds a rustic touch and gives you a handle to hang your lantern. Don’t worry about it being perfect; the beauty is in the handmade quality.Insert the LED Light
After letting the paint dry completely, place the LED tea light inside the jug. Make sure it fits snugly. If needed, you can add a bit of soft material to keep it stable.Light Up Your Creation
Finally, turn on the LED light and watch as your milk jug turns into a glowing fairy lantern, casting soft, beautiful light across the room.
Where This DIY Fits Into a Calm Routine
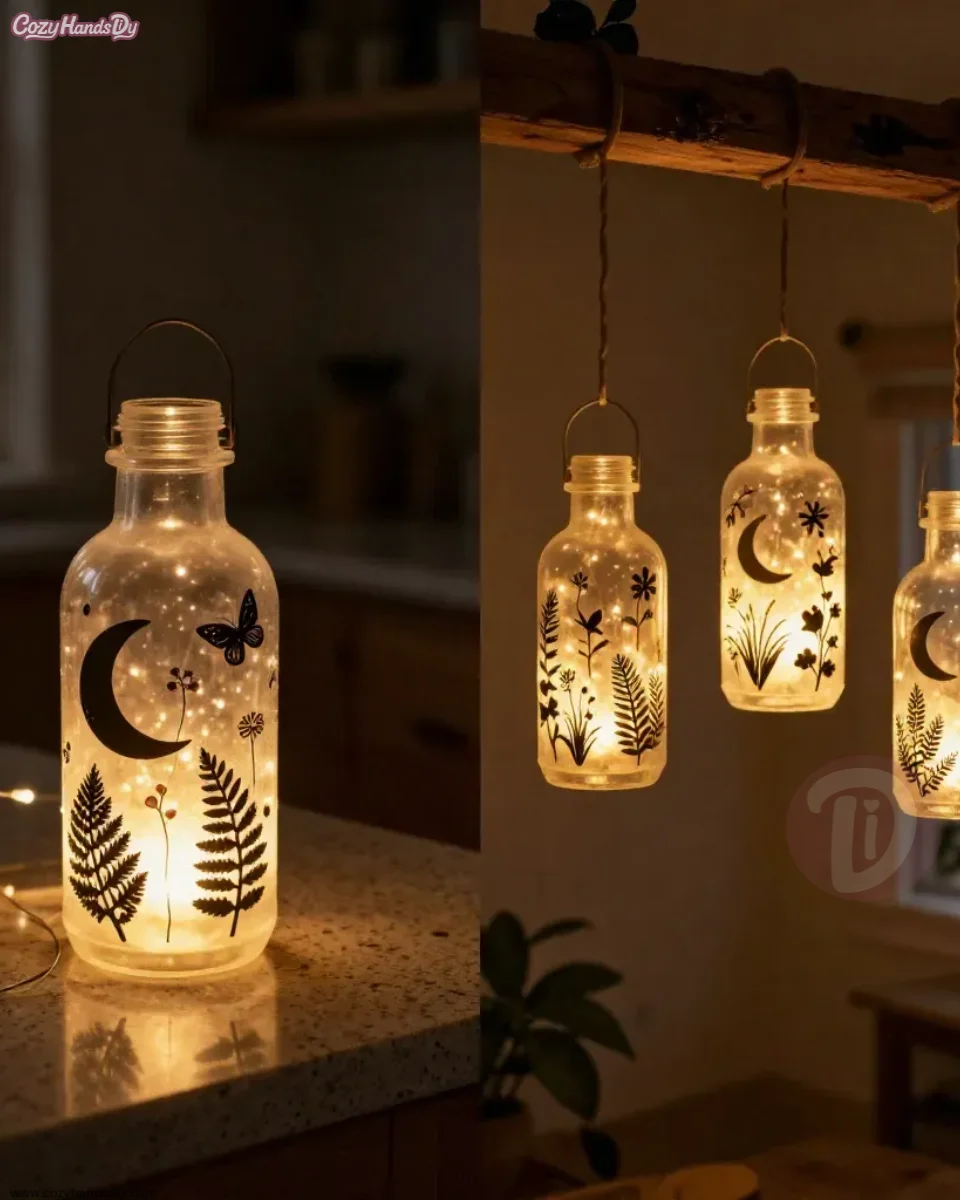
Once your Milk Jug Fairy Lanterns are completed, they can be a wonderful addition to your home. Place them on windowsills, tables, or the cozy corners of your space. Their warm light invites a sense of calm and can enhance moments of relaxation, whether you are reading a book, enjoying a quiet evening, or sharing stories with family. They aren’t just decorative pieces; they become part of your atmosphere, creating a peaceful glow that soothes the soul.
How to Store or Reuse Milk Jug Fairy Lanterns
After enjoying your lanterns, you may wonder how best to store or reuse them. If you wish to keep them safe, store them in a cool, dry place away from direct sunlight. Since they are made from plastic, they can also be safely repurposed year after year. Each season, take them out, perhaps redo their decorations, or even turn them into other creative projects. Keep their light shining in new ways, inviting joy and creativity into your life continuously.
Small Ways to Make It Your Own
Here are a few gentle tips to personalize your Milk Jug Fairy Lanterns further:
- Experiment with Colors: Feel free to mix and match paint colors or textures. You could create an ombre effect by blending two colors gently.
- Add Nature Elements: Incorporate natural materials such as leaves or small flowers into your designs for a more organic feel.
- Try Different Shapes: Consider cutting the jug into different shapes or sizes for a unique set of lanterns. Each one can tell a different story.
- Themed Lanterns: Make lanterns that fit the seasons or holidays. Think warm autumn colors or festive winter designs for a cozy touch.
FAQs About Milk Jug Fairy Lanterns
Can I make these lanterns with my kids?
Absolutely! This project is perfect for fostering creativity and can be a fun family activity. Just supervise the use of scissors and paint.
What kinds of LED lights are safe?
Always use LED tea lights for safety. They don’t produce heat and are safe to use inside the jars.
How long will my lanterns last?
With proper care and storage, your lanterns can last for many seasons. The plastic holds up well if kept out of direct sunlight.
Can I use different materials instead of milk jugs?
Yes, feel free to explore using other materials like mason jars or even larger plastic bottles. Each will yield a different look.
What if I want to make a larger gathering of lanterns?
Creating a cluster of lanterns makes for an enchanting scene. Consider varying heights and designs for added visual interest.
Conclusion
Creating Milk Jug Fairy Lanterns invites a sense of calm and presence into our lives. As you engage in this artful process, you can enjoy every step, from selecting materials to illuminating your space with gentle light. If you’re interested in exploring related projects, you may want to check out this milk jug flower lights tutorial for another creative approach. Additionally, visit Lightning Cloud for more inspiring DIY projects that foster creativity and mindfulness. Engage with your space, breathe deeply, and let the light of your creations fill your home with joy.
PrintMilk Jug Fairy Lanterns
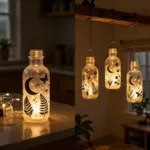
Create enchanting Milk Jug Fairy Lanterns to add a warm glow to your home, combining creativity and mindfulness.
- Prep Time: 10 minutes
- Cook Time: 0 minutes
- Total Time: 10 minutes
- Yield: 1 lantern per jug used
- Category: Craft
- Method: DIY
- Cuisine: N/A
- Diet: N/A
Ingredients
- Clean milk jugs (one for each lantern)
- Craft scissors (for cutting)
- Acrylic paint or markers (for decoration)
- Paintbrushes (if using paint)
- LED tea lights (to ensure safety)
- Twine or ribbon (for hanging)
- Optional: glitter or other decorative embellishments (for added magic)
Instructions
- Prepare your workspace by laying out all your materials on a clean, flat surface.
- Cut the jug, carefully removing the top while leaving enough space for the LED light.
- Create your design using acrylic paint or markers to decorate the jug.
- Add decorative twine or ribbon around the neck of the jug.
- Insert the LED light inside the jug once the paint is dry.
- Light up your creation and enjoy the beautiful glow of your fairy lantern.
Notes
This project is great for all ages, but adult supervision is recommended when using scissors and paint.