

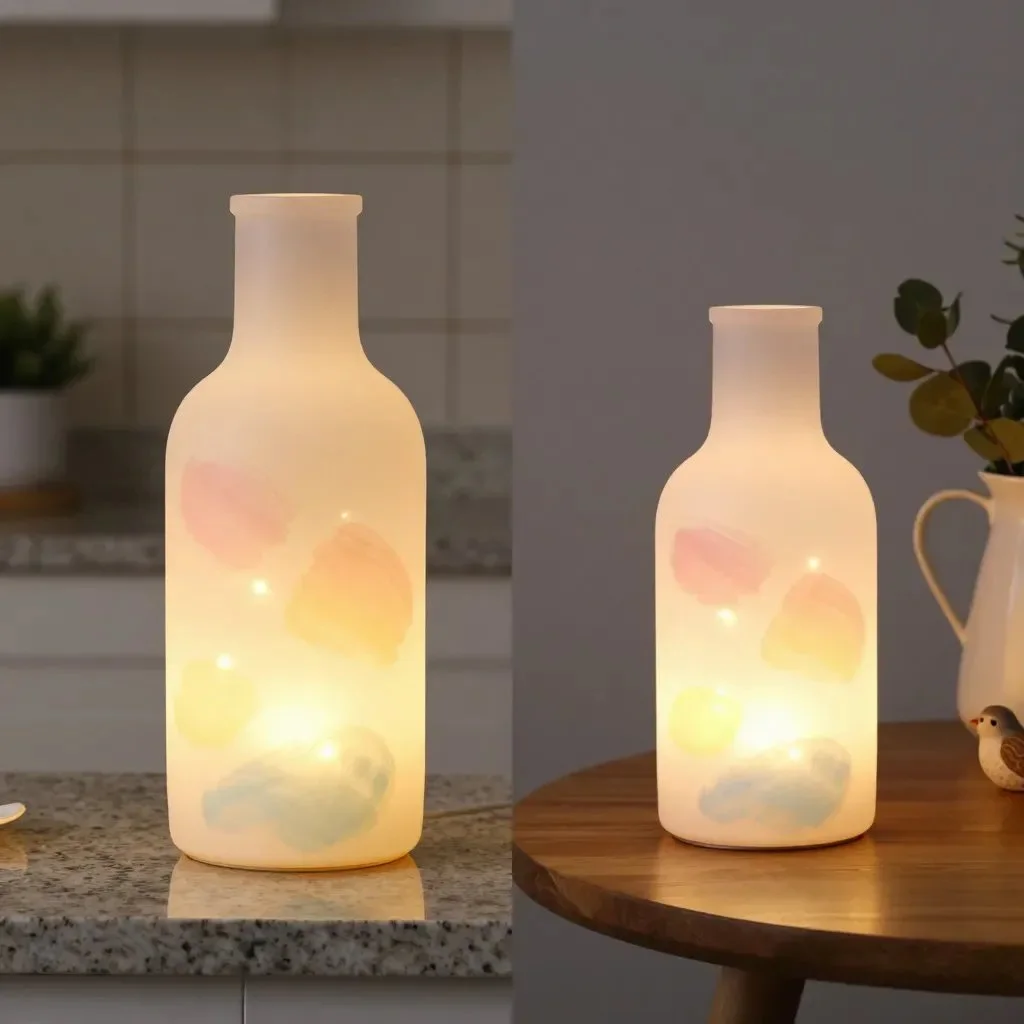
Creating a Milk Jug Fairy Lantern invites a sense of calmness and creativity into the room. As the soft glow flickers through the translucent surface, it evokes memories of warm evenings spent chatting by candlelight. The gentle interplay of light and shadow can enhance the cozy ambience in your space, making it an ideal project to nurture mindfulness and craft. You may also find Milk Jug Fairy Lanterns Cozy useful.
Why Make This Milk Jug Fairy Lantern
Making a Milk Jug Fairy Lantern offers more than just a craft to display; it creates an emotional connection through the act of creation. The rhythmic movements of cutting, decorating, and assembling help ground thoughts and foster a sense of presence. This project encourages you to slow down and savor each step, allowing your mind to wander gently, just like the twinkling light that the lantern will eventually cast. Creating with familiar materials instills a sense of nostalgia, which can be incredibly comforting. This DIY is especially soothing when infused with intent and creativity. You might also find inspiration in other milk jug lantern ideas that can add a delightful touch to your home.
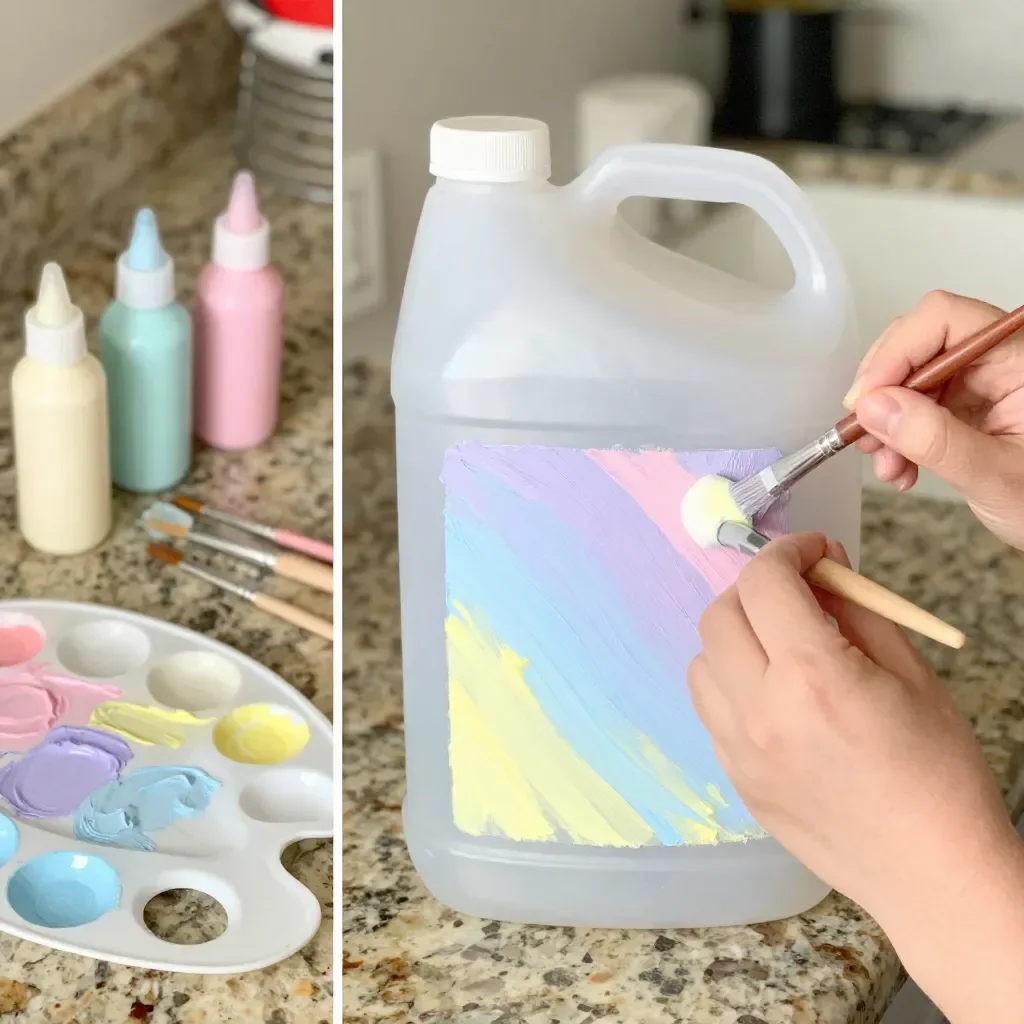
A Gentle Look at the Process
The beauty of crafting a Milk Jug Fairy Lantern lies in its simplicity and sensory richness. You will engage not only your hands but also your eyes and heart as you move through the steps. The soft crunch of plastic as you cut, the flicker of your crafting tape as you adhere decorations, and the sparkling effect of embellishments work together to create a calming experience. Just imagine the lantern’s light dancing across walls, creating a whimsical atmosphere perfect for quiet evenings. You may also find Pink Glow Fairy Lanterns useful.
Before you begin, it’s helpful to gather all the materials in a serene space, allowing the experience to flow smoothly and gently.
Materials You’ll Need
- Empty milk jug (cleaned and dried)
- Craft knife or scissors (be cautious)
- Paint or permanent markers (for decorating)
- String lights or a small LED tea light
- Craft glue or double-sided tape
- Decorative elements (like ribbons, stickers, or lace)
These materials are easy to find, and you might even have some on hand, lending to a cozy crafting session without too much preparation. Consider adding items that reflect your personal style or memories, making the lantern uniquely yours.
Step-by-Step Directions
Begin by carefully rinsing and drying an empty milk jug. Ensure it’s completely clean, as this makes decorating easier.
Use a craft knife or scissors to cut a circle on one side of the milk jug. Ensure the opening is large enough for your lights but small enough to prevent too much light from escaping.
Decorate the exterior of the jug, using paint or markers to express your creativity. You could create stars, flowers, or any other designs that inspire you.
Once dry, attach any decorative elements like ribbons or stickers using craft glue or tape for an added touch of charm.
Finally, place your string lights or LED tea light inside the jug. Make sure to position the light source so it shines through the opening beautifully.
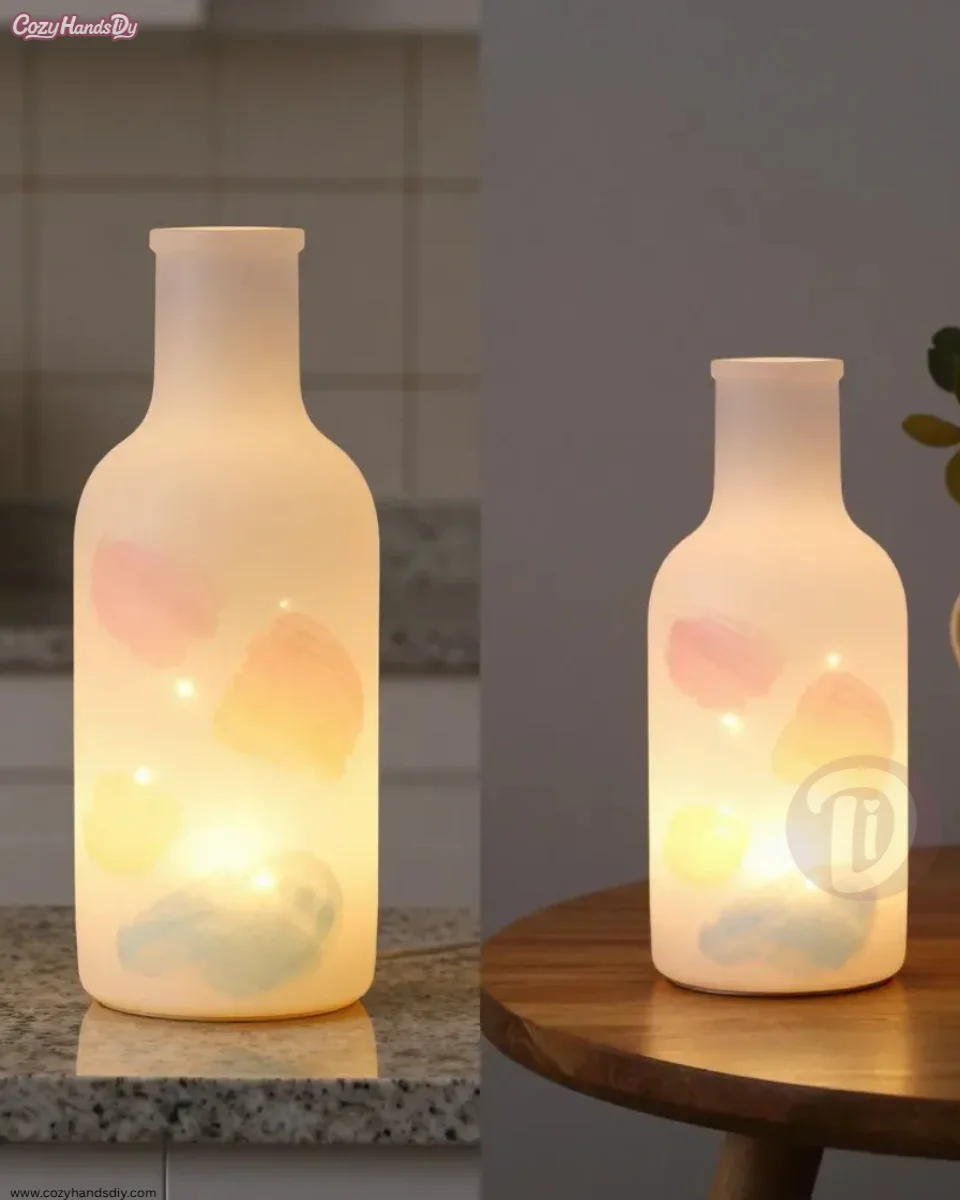
Enjoying the Finished Piece
Once you have completed your Milk Jug Fairy Lantern, take a moment to admire your work. Place it in a favorite spot, such as a window sill or table, where its glow can softly light up the area. This lantern isn’t just a decoration; it becomes a focal point for family time, perhaps during storytelling or sharing moments of stillness. Watching the lights dance can inspire a sense of tranquility and invite children and adults alike to reflect and enjoy the moment together.
Keeping It for Later
To extend the life of your Milk Jug Fairy Lantern, consider storing it in a safe space when not in use, away from direct sunlight or moisture that could affect its appearance. If you decide to change its placement or style, simply re-decorate it according to the season or your mood. The beauty of this DIY is its adaptability; you can even craft a themed lantern for different occasions.
Gentle Tips & Variations
Invite family members or friends to personalize their own lanterns for a shared crafting experience. This can deepen connections while making memories.
Experiment with varying sizes and colors of lights. This could transform the lantern into a seasonal decoration or a multi-color display for celebrations.
Try using translucent materials like tissue paper or fabric instead of paint, allowing the light to glow softly through them, creating a different ambiance.
Consider incorporating natural elements like twigs or dried flowers to enhance the organic feel of your lantern.
Explore ideas from DIY mosaic milk jug lanterns for another creative direction with similar materials.
FAQs About Milk Jug Fairy Lantern
Can I use other kinds of containers for this project?
Yes, many containers can work, like glass jars or plastic bottles. Just ensure that they are safe for use with lighting.
What kind of lights are safe to use in the lantern?
LED tea lights are an excellent choice as they are safe and won’t heat up. You can also use string lights made for indoor use.
How can I clean the lantern if it gets dusty?
Gently wipe it with a soft cloth. Avoid using harsh chemicals that could damage the decorations.
Can children participate in making this lantern?
Yes! Just supervise any cutting tasks. Children can help with decorating and placing the lights.
How long will my lantern last?
With proper care, your Milk Jug Fairy Lantern can last for a long time. The LED lights will last even longer, making it a lasting piece of creativity.
Conclusion
Creating a Milk Jug Fairy Lantern is an opportunity to slow down and embrace the calm rhythm of crafting. As you watch the gentle glow fill the space, it serves as a reminder of the joy found in mindful making. If you’re looking for more inspiration, you can explore craft ideas that may guide you to new adventures. Also, if you’re seeking craft ideas for an age group, consider the fairy lantern toy designed for kids. Enjoy this journey of creativity and light as you make your very own lantern!
PrintMilk Jug Fairy Lantern
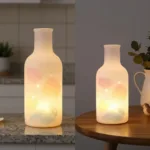
Create a soothing Milk Jug Fairy Lantern that adds a warm ambiance to any space.
- Prep Time: 15 minutes
- Cook Time: 0 minutes
- Total Time: 15 minutes
- Yield: 1 lantern
- Category: Crafts
- Method: DIY
- Cuisine: N/A
- Diet: N/A
Ingredients
- Empty milk jug (cleaned and dried)
- Craft knife or scissors (be cautious)
- Paint or permanent markers (for decorating)
- String lights or a small LED tea light
- Craft glue or double-sided tape
- Decorative elements (like ribbons, stickers, or lace)
Instructions
- Begin by carefully rinsing and drying an empty milk jug. Ensure it’s completely clean, as this makes decorating easier.
- Use a craft knife or scissors to cut a circle on one side of the milk jug. Ensure the opening is large enough for your lights but small enough to prevent too much light from escaping.
- Decorate the exterior of the jug, using paint or markers to express your creativity. You could create stars, flowers, or any other designs that inspire you.
- Once dry, attach any decorative elements like ribbons or stickers using craft glue or tape for an added touch of charm.
- Finally, place your string lights or LED tea light inside the jug. Make sure to position the light source so it shines through the opening beautifully.
Notes
Encourage family members or friends to create their own lanterns for a fun shared experience.