

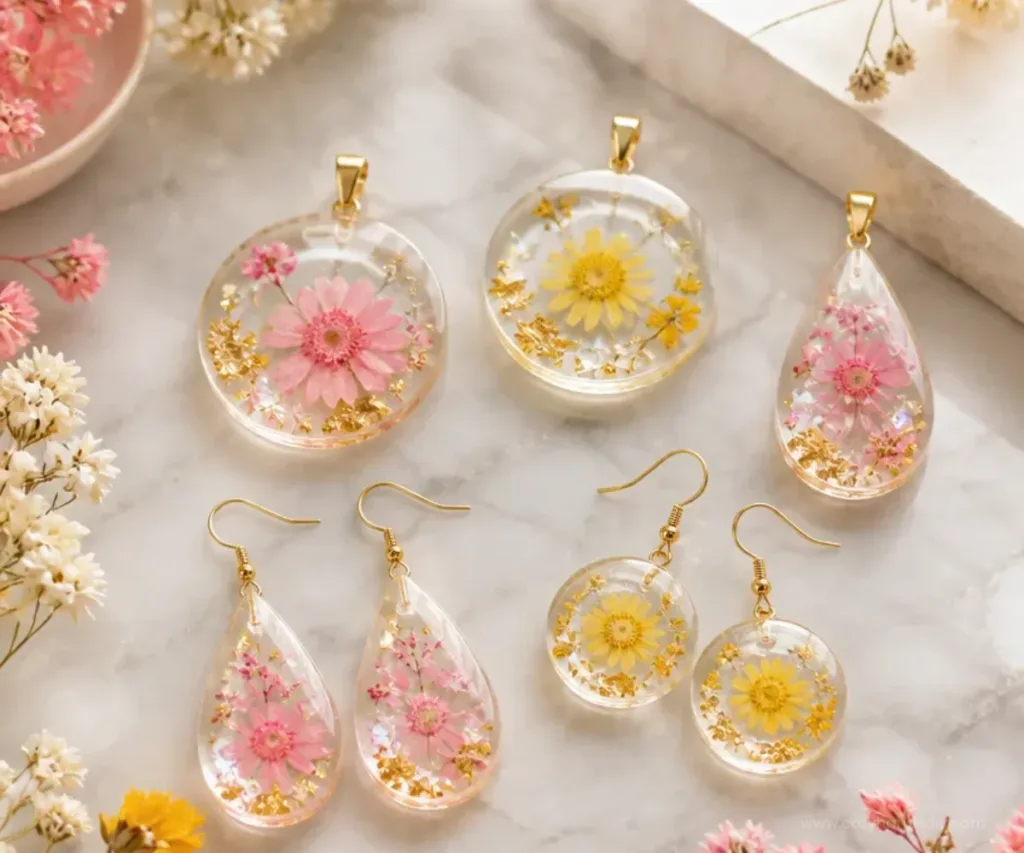
The scent of fresh resin hangs in the air, reminiscent of a warm summer morning, even as you prepare to embark on the creative journey of making liquid resin jewelry. Each rise and fall of the liquid as it glimmers in the light invites you to connect with texture and color. This DIY activity captivates the senses, encouraging you to explore your creativity while grounding you in the present moment. As you blend hues and shapes, you will find that the process of creating becomes a beautiful balance of intention and pleasure. If you’re looking for a gentle crafting experience, you may enjoy the process of making jewelry that soothes not just your hands but also your mind. You may also find How To Make A Bottle Butterfly useful.
Why Make This How to Make Liquid Resin Jewelry | Creativity
Creating your own resin jewelry offers more than just the thrill of crafting; it immerses you in an experience of focus and tranquility. Working with resin embodies a tactile energy that feels both playful and meditative. The act of pouring, mixing, and manipulating the resin itself provides a rhythm, drawing you deeper into the moment. This DIY invites you to embrace stillness as you choose your colors, envision your designs, and pour them into molds. It can be a welcome retreat from daily distractions, allowing you to slow down, breathe, and appreciate the small details. You may also find How To Make A Bouncy Ball Cozy useful.
You may also find How To Make A Bouncy Ball useful.
A Gentle Look at the Process
Before diving into materials and steps, it’s important to appreciate the flow of creating resin jewelry. The journey begins with simple preparations, often accompanied by the soft sounds of mixing tools and the gentle clinking of molds. As you transition between stages mixing resin with pigment and pouring it delicately into molds each action becomes an opportunity to connect with your creativity. The visual dance of color reveals new possibilities with shifts in perspective, while the smoothness of the resin gliding through your fingers invites delight in its texture.
Materials You’ll Need
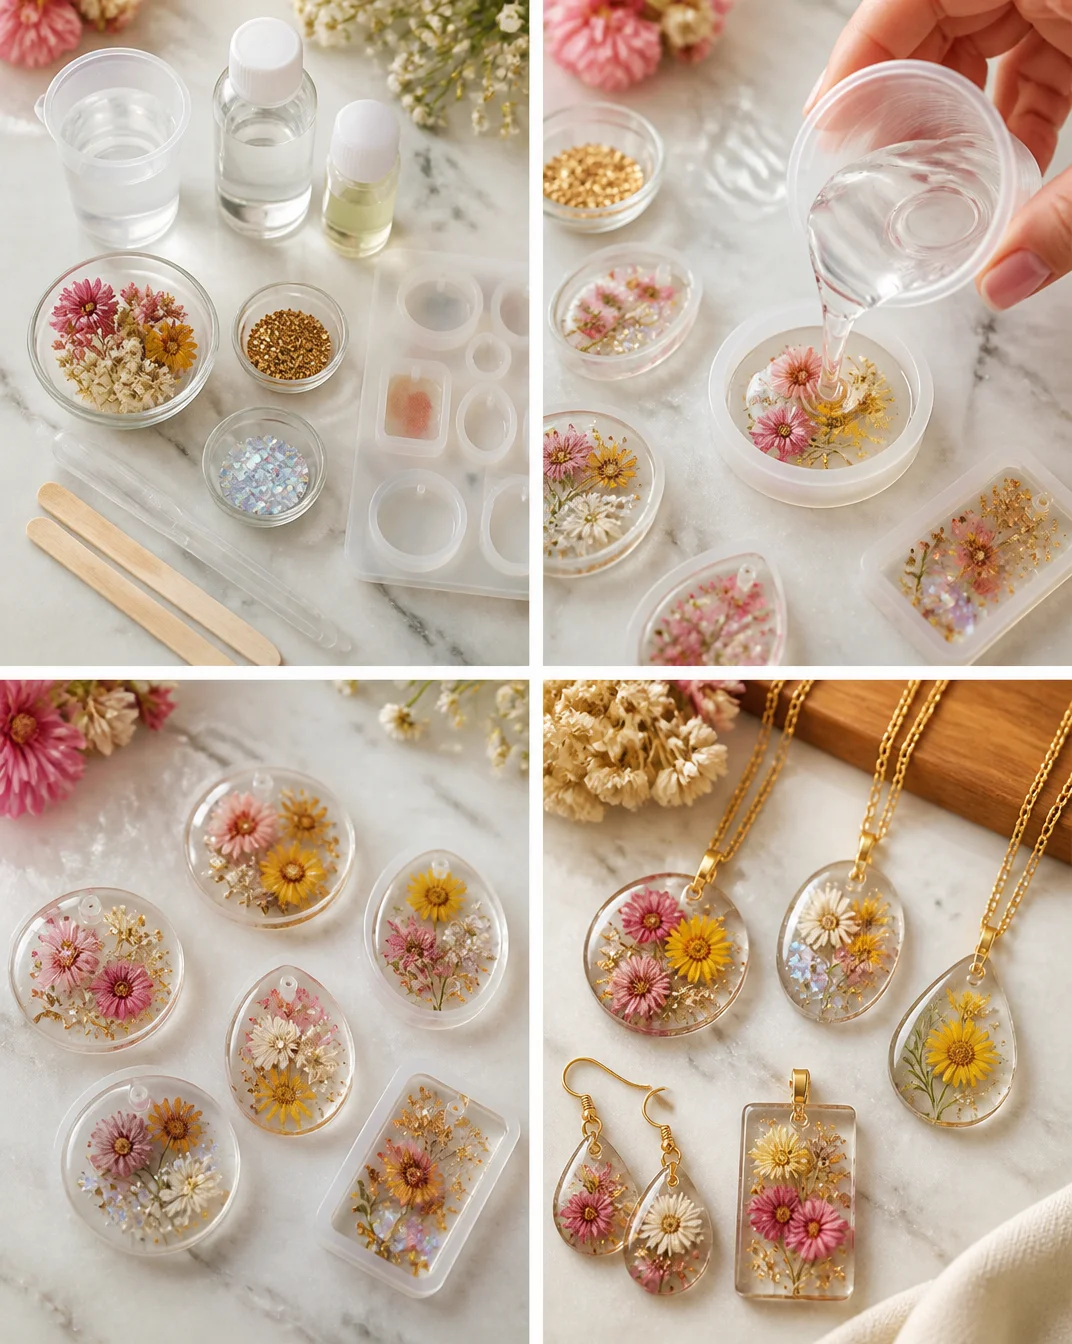
Gathering your supplies is a calming prelude to your creative endeavor. Here’s a gentle list of what you will need:
- Liquid resin
- Hardener
- Mixing cups
- Stir sticks
- Molds (silicone is ideal for easy release)
- Glitter, dried flowers, or other decorative elements (optional but fun)
- Safety gloves (for protection)
- Mask (to avoid inhaling fumes in an unventilated area)
- Colorants (resin dyes or pigments)
Choose materials that resonate with you and feel comforting to handle. Many of these items are easy to find, especially now that crafting supplies are more accessible than ever. If you’re interested in exploring more unique projects, consider reading about how to make a botanical heart ornament for added inspiration.
Step-by-Step Directions
Prepare Your Workspace: Choose a clean, flat area to work. Lay out all tools and materials within easy reach. A calm environment encourages a focused mindset.
Mix the Resin and Hardener: In a mixing cup, combine the resin and hardener per the manufacturer’s instructions. Stir slowly to avoid creating bubbles. Take a moment to appreciate the smoothness as you mix.
Add Color: Incorporate your chosen colorants slowly, watching how the hues blend. Feel free to experiment with different shades to find what speaks to you.
Pour into Molds: Once your mix is uniform, pour it into the molds. Do this gently, allowing the resin to flow in an even layer. This is where you can start to feel excited about how your piece will take shape.
Add Decorative Elements: If desired, add glitter, dried flowers, or other decorations into the resin. Watch how they float and settle, creating beautiful layers.
Let It Cure: Allow the resin to cure fully, as recommended on the packaging. This is a perfect time to enjoy some relaxed breathing or engage in another calming activity.
Demold Your Creation: Once set, gently remove your jewelry from the mold. Enjoy the coolness of the smooth surface against your skin as you feel the warmth of your accomplishment.
Finish Your Piece: If needed, sand any rough edges carefully and apply a final coat of resin for a glossy finish.
Enjoying the Finished Piece
Your completed resin jewelry can serve as a beautiful accessory or a meaningful gift. Consider how wearing your handmade piece uplifts your mood or complements your outfits. Display your creations in a special place where they can catch light and reflect their beauty back to you. Each unique piece tells a story of your creative journey, becoming part of your everyday routine.
Keeping It for Later
To preserve the beauty of your resin jewelry, store it in a cool, dry place. Avoid exposing it to direct sunlight for prolonged periods, as this can lead to discoloration. If you find your jewelry becoming dull, you can gently polish it using a soft cloth. For future projects, crafting with resin can be sustained by maintaining your materials and tools in good condition, ensuring they are safely stowed for your calm crafting moments.
Gentle Tips & Variations
Here are a few ideas to inspire your creativity further:
- Experiment with Layering: Pour different colors layer by layer to create stunning visual depth in your pieces.
- Include Sentimental Items: Consider casting small mementos or messages into the resin for a personal touch.
- Mix Up Your Shapes: Use various molds, not just for jewelry but also for coasters or decorations to expand your craft repertoire.
- Texture Play: Try incorporating sand, fabric, or other materials to add intriguing textures to your designs.
FAQs About How to Make Liquid Resin Jewelry | Creativity
What safety precautions should I take while working with resin?
Always wear gloves and a mask while handling resin to minimize exposure to fumes. Work in a well-ventilated area.
Can I use any molds for resin?
Silicone molds are ideal as they allow for easy release once the resin has cured. Plastic molds can also work but might be harder to remove from the resin.How long does resin take to cure? Curing times can vary based on the type of resin and environmental conditions. Typically, it can take anywhere from 24 hours to several days for a full cure, so always refer to the instructions.
What should I do if my resin has bubbles?
You can use a small heat gun or torch held at a distance to gently pop surface bubbles right after pouring.
Conclusion
Creating resin jewelry is not just about the end product; it is about embracing the process and finding joy in the small details. As you pour and mix, take time to fully engage in each moment, allowing the colors and textures to inspire your creativity. If you wish to dive deeper into the world of resin crafts, exploring resources like this Skillshare guide on making resin jewelry can be beneficial. For those looking to enhance their color palette, check out the LET’S Resin 18 Colors Opaque Liquid Resin Dye. Embrace the calm that comes with each new creation and let your artistry blossom with each project you undertake.