

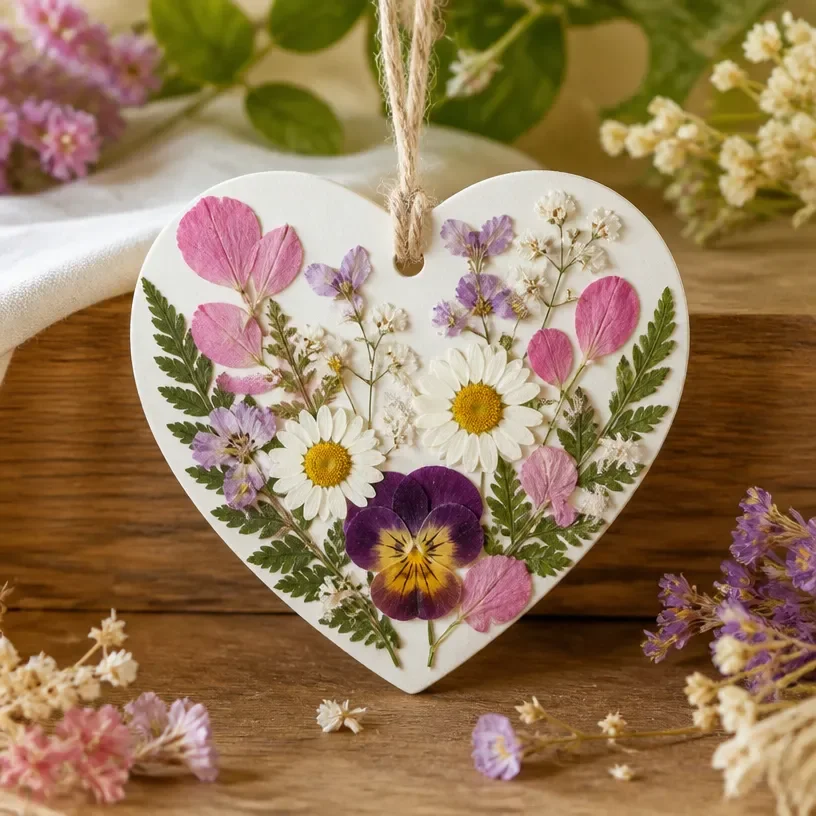
From the moment you begin working with clay, a calming presence envelops you. The cool, smooth texture flows through your fingers like a gentle stream. Each press and roll invites creativity, encouraging a quiet focus that allows your mind to wander peacefully. Making your own botanical heart ornament is a delightful way to channel this serene energy into a beautiful keepsake. This project not only celebrates your creativity but also connects you to nature and the joy of crafting. You may also find How To Make Growing Crystal Ornaments Heart useful.
The Heart Behind This DIY
Creating a botanical heart ornament allows you to slow down and truly experience the act of making. As you choose leaves, flowers, or other natural elements, you engage in a sensory exploration, selecting colors and textures that resonate with you. The rhythm of rolling, pressing, and shaping the clay feels grounding, drawing your attention inward. The warmth of the sun streaming through your window as you work adds a gentle glow, enhancing the feeling of comfort and tranquility. Crafting this ornament fosters a deep connection to the beauty of nature and your artistic instincts, offering a moment of reflection amid our busy lives. You may also find How To Make Pink Crystal Heart Ornaments useful.
You may also find Easy How To Baking Soda Crystal Heart Growth useful.
A Gentle Look at the Process
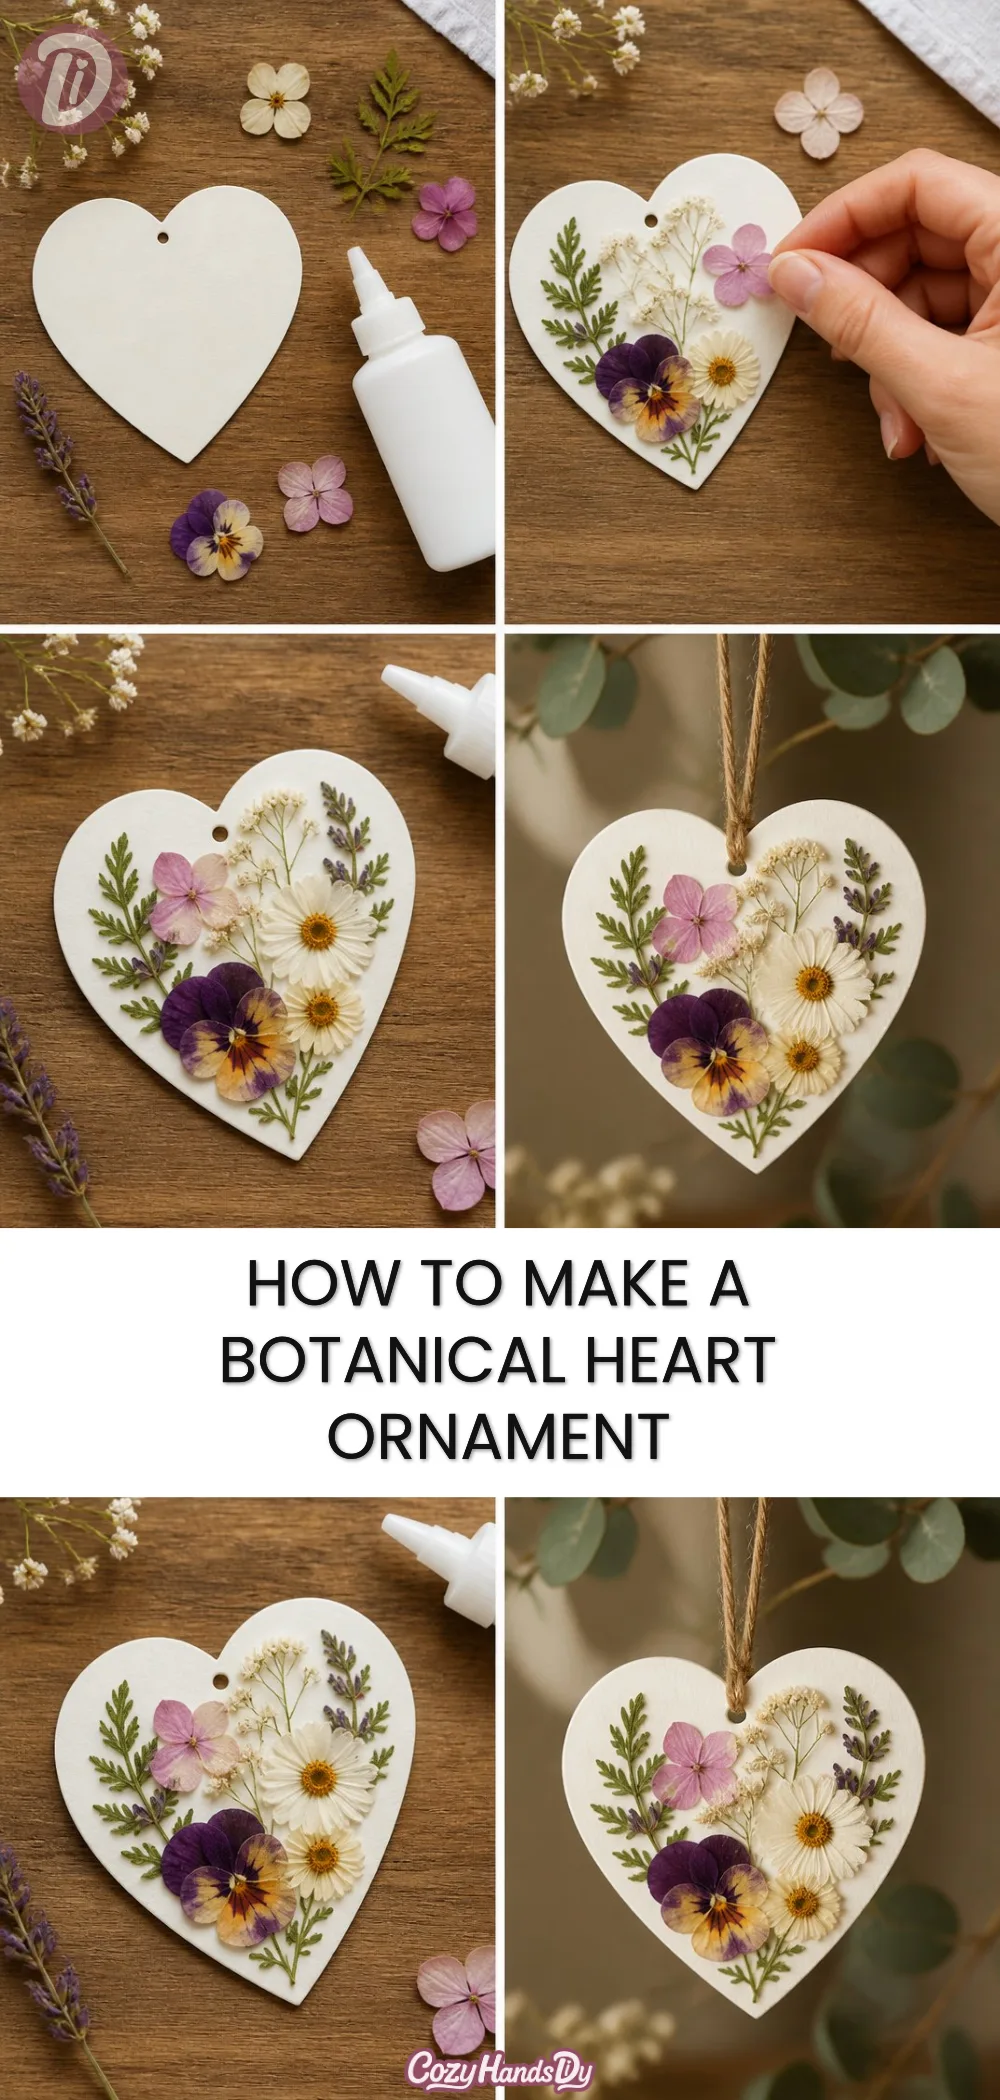
Before you dive into making your botanical heart ornament, it helps to visualize the journey. The process unfolds like a gentle dance, where each movement feels intentional and soothing. As you gather your materials, listen for the soft sounds of clay squishing or the rustle of leaves. This project flows seamlessly from one step to the next, allowing waves of creativity to wash over you. Pay attention to the textures before diving into the materials list for a delightful experience that nourishes your soul. You may also find How To Growing Crystal Ornaments useful.
Materials You’ll Need
- Air-dry clay (easy to find at craft stores)
- Fresh flowers and leaves (choose your favorites)
- Rolling pin (to flatten the clay)
- Heart-shaped cookie cutter (for shaping)
- Craft knife or scissors (optional for detailing)
- Acrylic paint (optional for decorating)
- Paintbrush (if using paint)
Most of these materials are readily available, and you can easily substitute items based on what you have at home or what resonates with your project.
Step-by-Step Directions
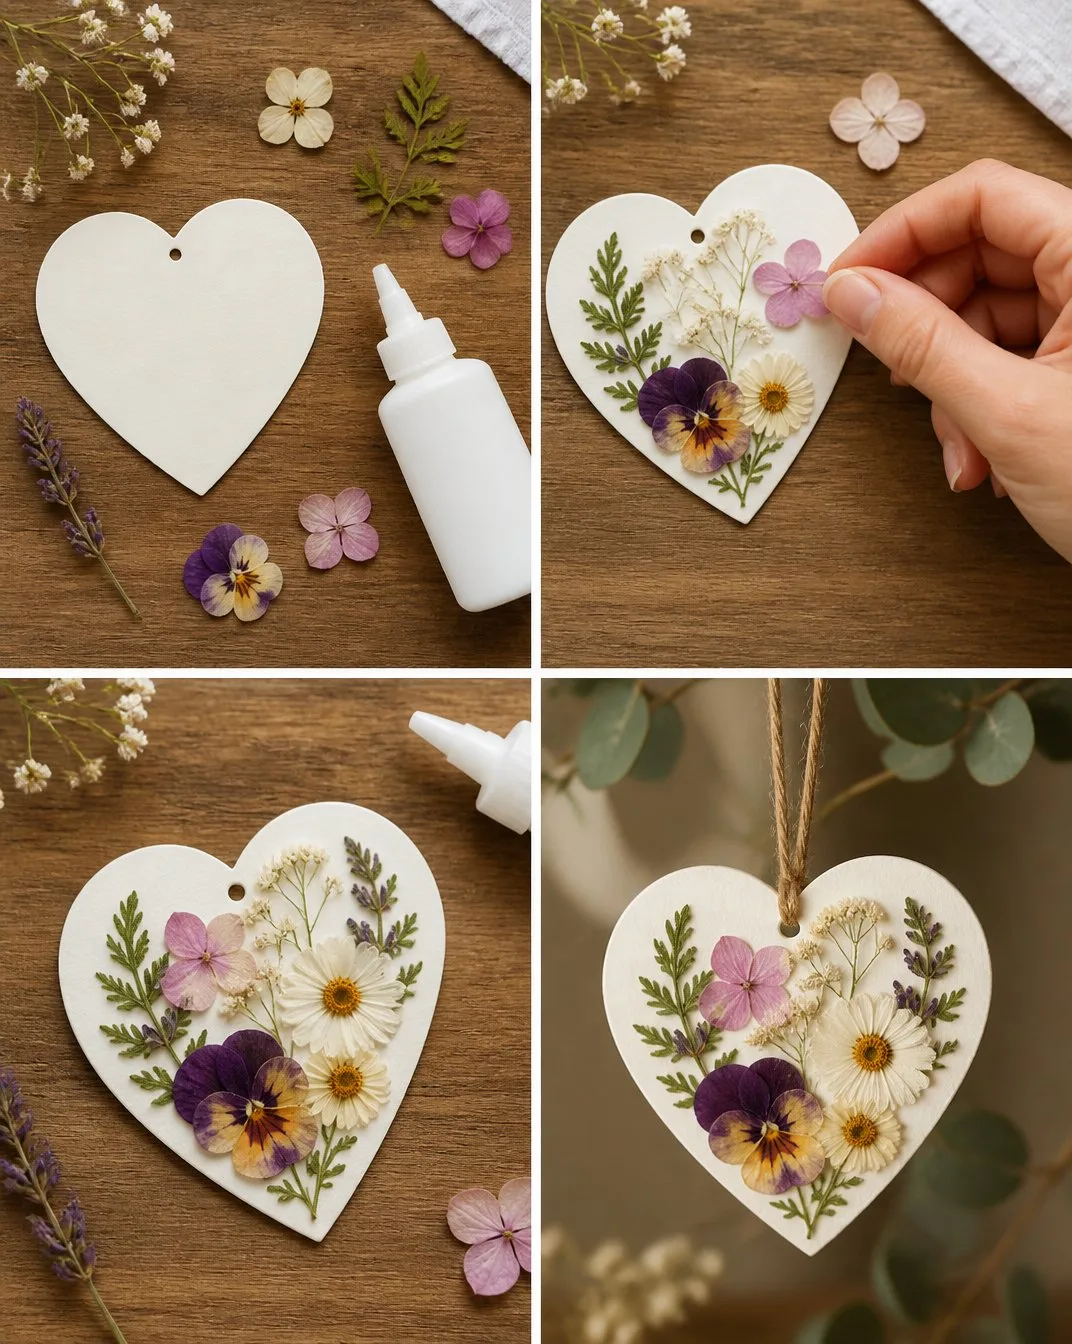
- Begin by preparing your work surface, covering it with parchment paper to prevent the clay from sticking.
- Roll out a portion of the air-dry clay until it’s about 1/4 inch thick, creating a smooth, even surface.
- Use the heart-shaped cookie cutter to cut out one or more heart shapes from the clay.
- Select your fresh leaves and flowers, pressing them gently but firmly onto the surface of the clay.
- Carefully remove the botanical elements to reveal their imprints in the clay.
- If desired, use a craft knife to add decorative edges or shapes to the heart.
- Allow your creation to dry according to the clay manufacturer’s instructions until it’s completely hard.
- Once dry, you can paint your ornament to enhance its beauty or leave it as is for a natural look.
- Finally, thread a string or ribbon through the top for hanging.
Enjoying the Finished Piece
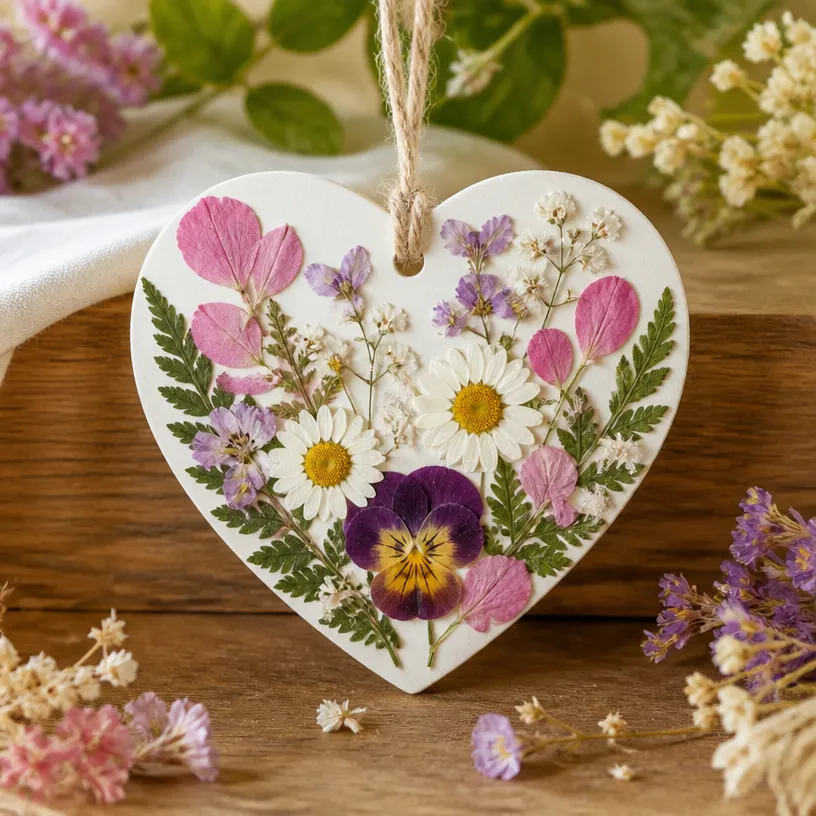
The botanical heart ornament becomes more than just a decorative item; it transforms into a cherished memory tied to the moments spent creating it. You can hang it in your home as a reminder of the beauty of nature or gift it to a loved one, sharing a piece of your creative journey. It serves as a quiet charm, bringing warmth and personality to any space. Whether placed on a windowsill or used as a part of a thoughtful display, this ornament can brighten your surroundings and evoke a sense of peace.
Keeping It for Later
To maintain your botanical heart ornament, store it in a cool, dry place, away from direct sunlight. If you used air-dry clay, it is important to keep it dry to prevent any damage. If you wish to reuse the ornament in another project or season, consider carefully removing the flowers and leaves, allowing you to create new styles or combinations.
Gentle Tips & Variations
- Consider layering different types of leaves and flowers for a more textured look. You can also try pressing other natural elements like twigs or seeds.
- If you want to add color but aren’t keen on paint, consider using natural dyes from fruits or vegetables to stain your clay.
- Experiment with different shapes beyond hearts; circles or even stars can work exceptionally well for varied pieces.
- Use the opportunity to create matching sets of ornaments, perhaps for seasonal decor or gifts for friends and family.
FAQs About How to Make a Botanical Heart Ornament
Can I use dried flowers instead of fresh ones?
Yes! Dried flowers and leaves can create beautiful impressions as well. Just be cautious with their fragility during the pressing phase.
How long does the ornament take to dry?
Depending on the manufacturer’s instructions, it typically takes 24 hours for air-dry clay to fully harden. Ensure the ornament is placed in a well-ventilated area.
Can the ornament be painted?
Absolutely! You can paint your ornament once it’s dry for a pop of color or to add personalized designs that resonate with you.
What if the clay starts cracking during drying?
This can happen if the clay is too thick or drying too quickly. If you notice cracks, you can gently patch them with a bit of fresh clay and allow it to dry further.
Conclusion
Creating a botanical heart ornament is a delightful way of intertwining crafting and nature, encouraging mindfulness and a calming sense of presence. This project not only leaves you with a beautiful piece of art but also connects you deeper to the serenity of nature’s textures and colors. If you’d like to explore more about crafting with natural elements, consider checking out Easy DIY Botanical Imprint Clay Heart Ornaments. For those interested in a more playful twist, you might find joy in this WIDELAND Heart Ornament Building Toy Kit.
PrintBotanical Heart Ornament
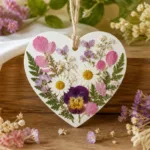
Create a beautiful botanical heart ornament using air-dry clay and fresh flowers and leaves, perfect for adding a personal touch to your home decor.
- Prep Time: 15 minutes
- Cook Time: 0 minutes
- Total Time: 45 minutes
- Yield: 1 ornament
- Category: Craft
- Method: Crafting
- Cuisine: N/A
- Diet: N/A
Ingredients
- Air-dry clay
- Fresh flowers and leaves
- Rolling pin
- Heart-shaped cookie cutter
- Craft knife or scissors (optional)
- Acrylic paint (optional)
- Paintbrush (if using paint)
Instructions
- Prepare your work surface, covering it with parchment paper.
- Roll out a portion of the air-dry clay to about 1/4 inch thick.
- Cut heart shapes from the clay using a cookie cutter.
- Select fresh leaves and flowers, pressing them firmly onto the clay.
- Remove the botanical elements to reveal imprints in the clay.
- Add decorative edges with a craft knife if desired.
- Allow the creation to dry according to manufacturer’s instructions.
- Paint the ornament if you wish, then thread a string or ribbon for hanging.
Notes
To maintain your ornament, store it in a cool, dry place away from direct sunlight.