

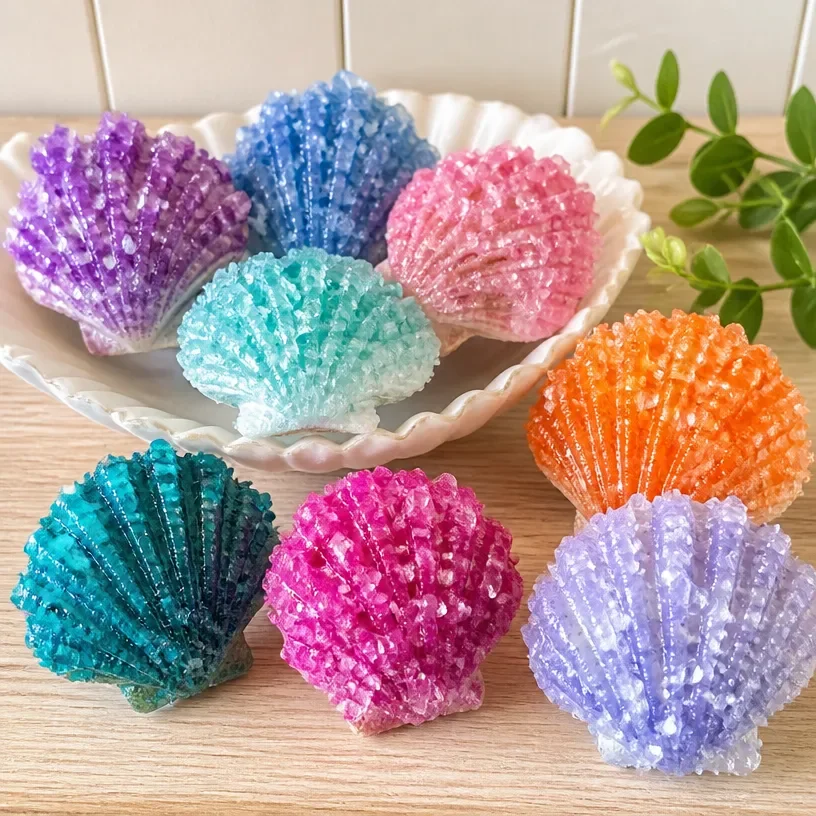
Creating a calming crafting experience can often stir a deep sensory engagement within us. Picture this: you’re gently holding a smooth, cool seashell, tracing your fingers along its curves as soft sunlight filters through the room. This warmth invites a moment of mindfulness, setting the perfect backdrop for an enchanting craft project making crystal seashells. This DIY approach not only awakens your creativity but also offers a soothing activity that allows you to connect with nature and your own peaceful rhythm. In this guide on how to make crystal seashells, every step will help you embrace a tranquil focus while enjoying one of nature’s simple treasures. You may also find Diy Rainbow Leaf Hedgehog Craft Tutorial useful.
The Heart Behind This DIY
Creating crystal seashells goes beyond mere aesthetics; it’s a deliberate act of nurturing creativity and mindfulness. This DIY tutorial invites you to slow down, breathe deeply, and immerse yourself in the process. As you combine the materials, each texture and scent can remind you of a serene beach visit, creating a sensory link between the craft and nature. You may also find How To Make Crystal Growing Flower Diy useful.
The repetitive movements involved in this project can also provide a meditative quality, allowing your mind to quiet down as you focus on the tasks at hand. As you watch the crystals grow, a sense of anticipation builds, mirroring the quiet joy of watching nature unfold in front of your eyes. This gentle crafting session can become a cherished part of your routine, enhancing your space with beauty and intention. You may also find How To Make Diy Crystal Seashells Easy useful.
You may also find How To Make Diy Crystal Seashells useful.
A Gentle Look at the Process
Before diving into the materials, it’s nice to reflect on the serene flow of making these crystal seashells. Imagine the soft sound of water mixing with the gentle clinks of containers, creating a calming background for your work. The anticipation of seeing the crystals develop over time adds a touch of thrill to the process. By taking your time with each step, you create an inviting atmosphere that not only produces lovely outcomes but cultivates a sense of peace within.
Materials You’ll Need
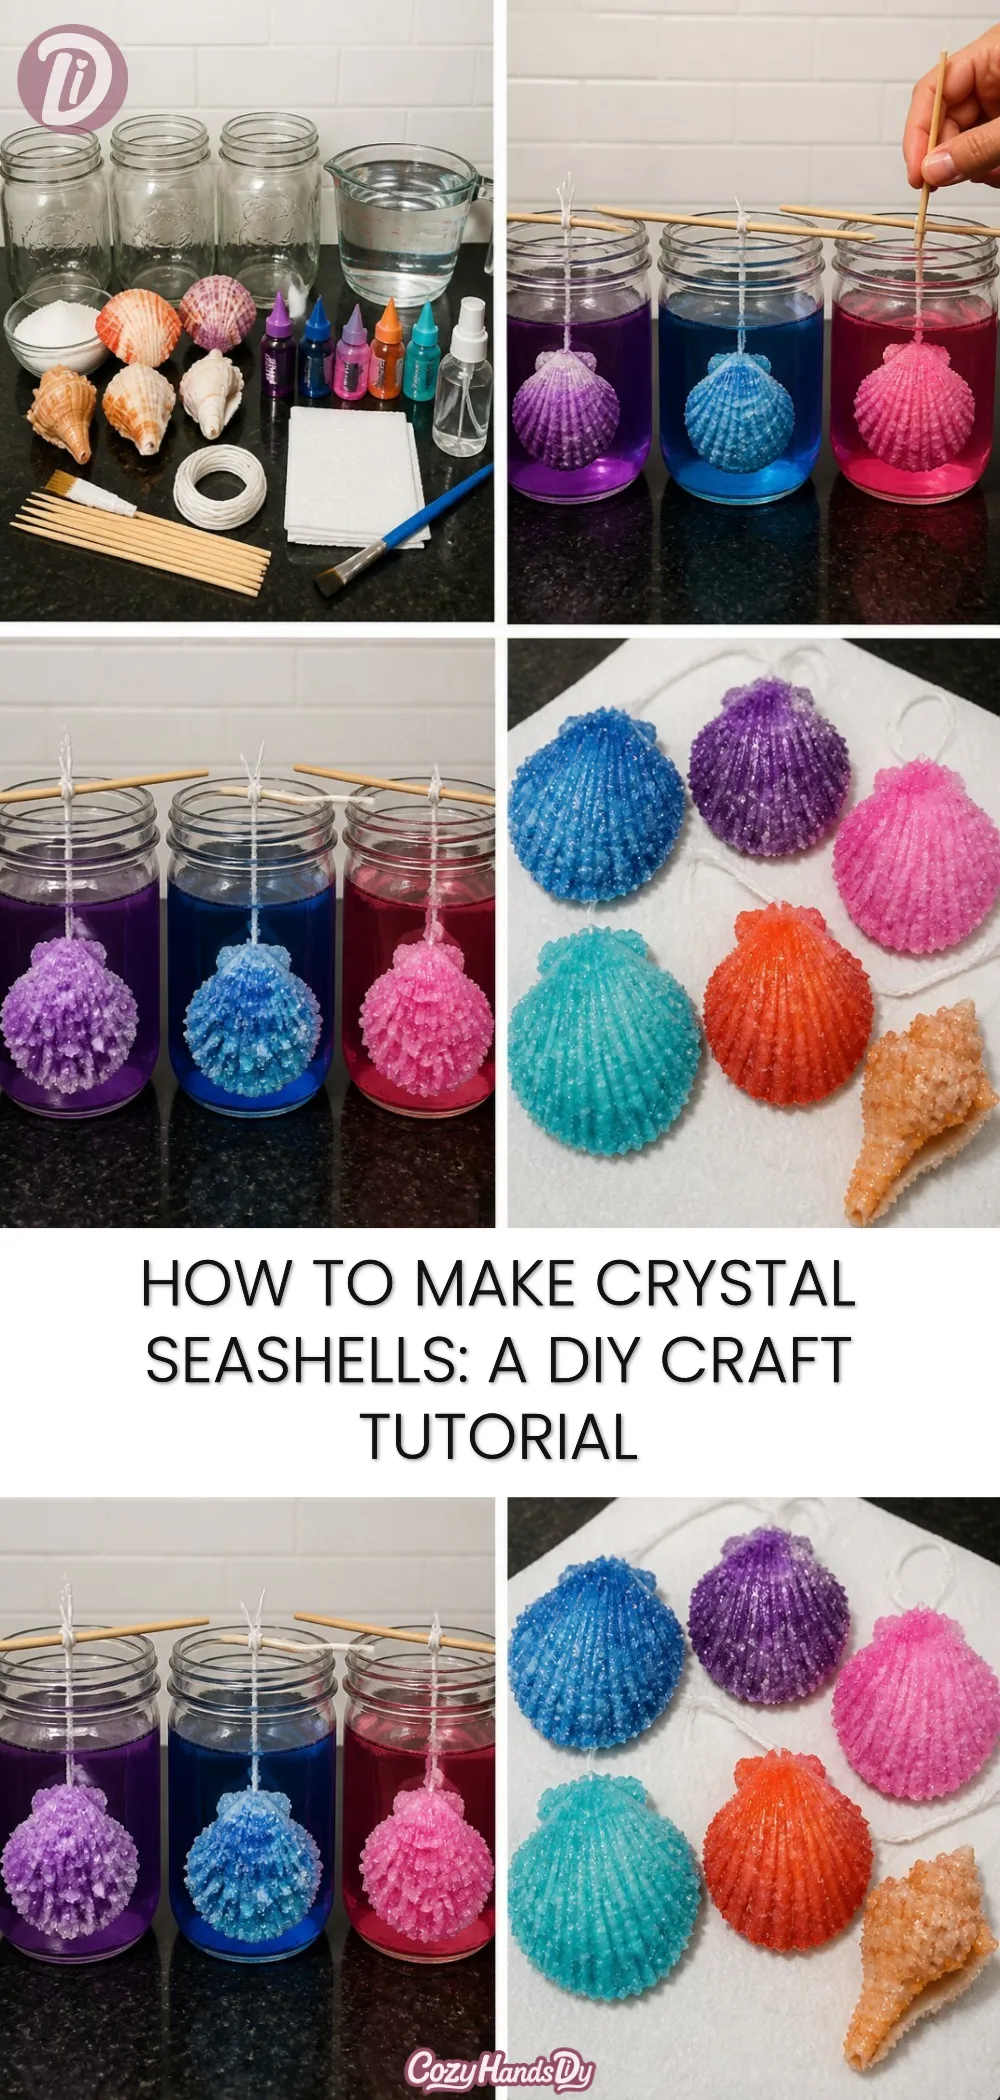
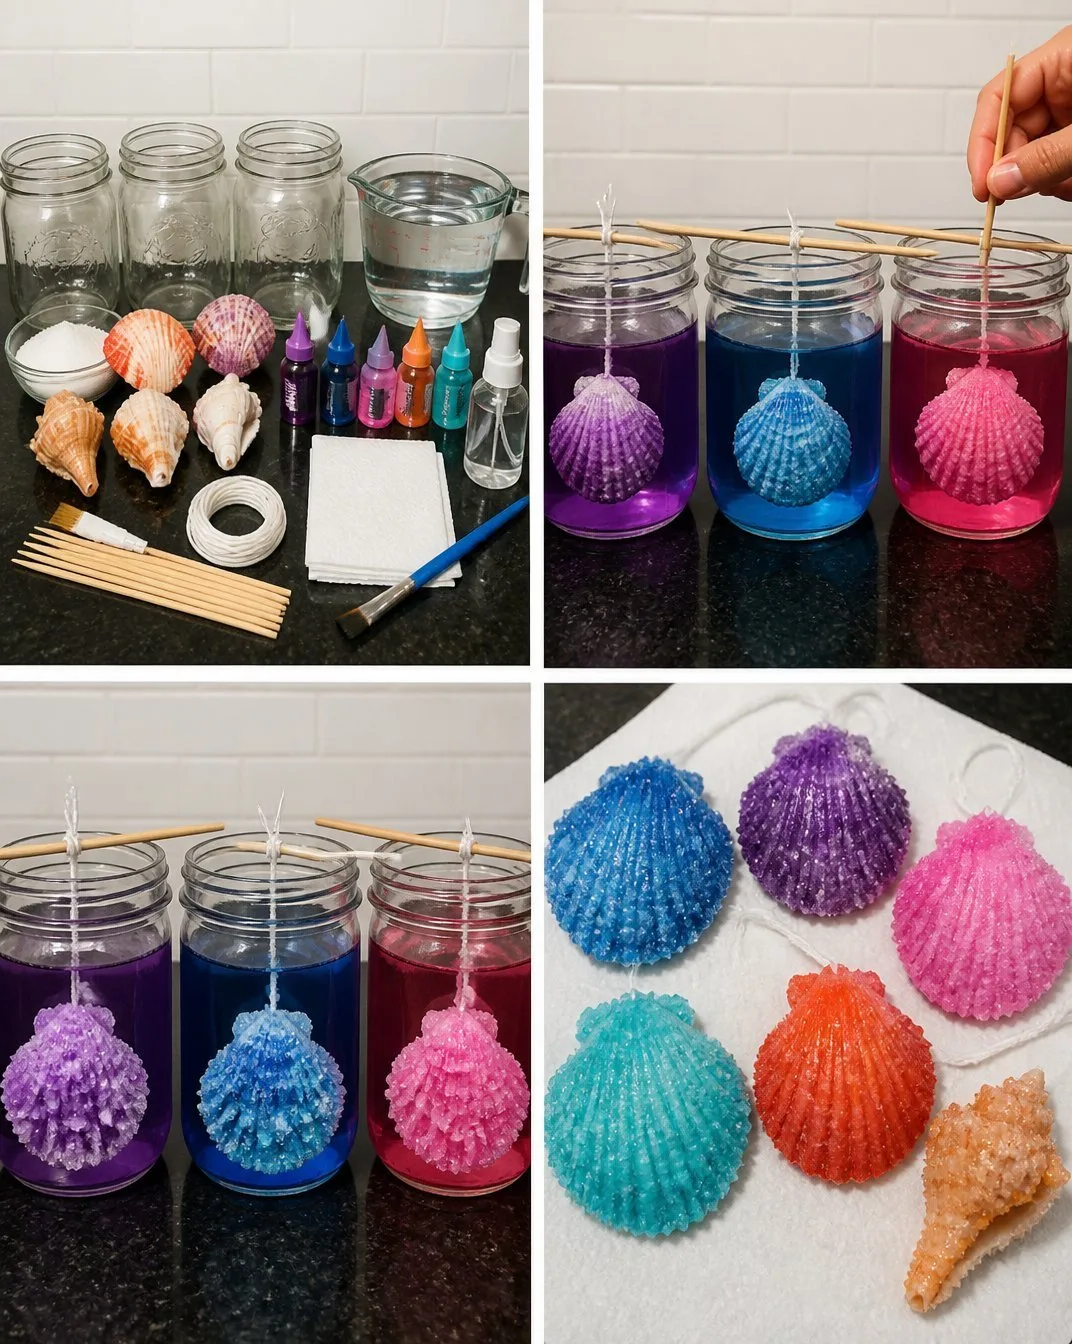
Gather the following materials to get started:
- Natural seashells (collect from the beach or buy at a craft store)
- Borax (easy to find in most grocery stores)
- Water
- A heat-safe jar or glass container
- A stirring utensil (like a spoon)
- A baking tray (to catch any drips)
Feel free to substitute materials as needed; for example, if Borax is hard to find, there are alternatives for crystal growth that can still provide similar joy.
Step-by-Step Directions
- Start by preparing your workspace. It’s helpful to clear a flat surface where you can work comfortably and keep your materials within reach.
- In a heat-safe jar, measure 1 cup of water. Heat this water until it reaches a boiling point, either on the stove or in the microwave.
- Carefully stir in 3 tablespoons of Borax into the boiling water. Mix slowly until the Borax dissolves completely.
- Once dissolved, add your natural seashells into the mixture. Arrange them carefully to avoid clustering.
- After your seashells are submerged, leave them in the Borax solution. Let them sit undisturbed for about 24 hours.
- As the mixture cools, crystals will begin to form on the shell. You can check in after several hours to marvel at the growth, but try to limit disturbances as they develop.
- Once a full day has passed, remove the seashells from the solution. Rinse them gently under cool water and let them dry on a baking tray.
Enjoying the Finished Piece
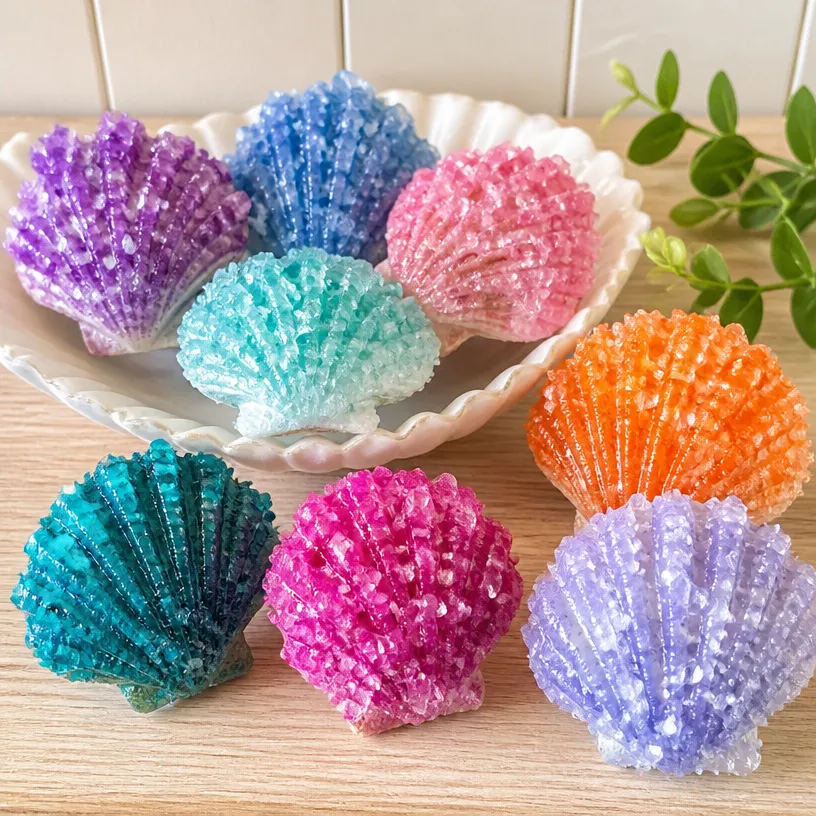
Your crystal seashells make unique decorations for your home. They can be placed in bowls, on shelves, or even given as thoughtful gifts to share the joy of your creation. Each shell, sparkling with crystals, not only serves as a beautiful piece but also carries the calming experience of its making. Displaying them in natural light can further enhance their beauty, inviting warmth and tranquility into your space.
Keeping It for Later
To prolong the life of your crystal creations, consider storing them in a cool, dry place when not on display. If you want to reuse or refresh their look in the future, you can gently rinse them with lukewarm water and let them dry, ready to be incorporated into new arrangements or gifts.
Gentle Tips & Variations
- Try creating a variety of colored crystals by using food coloring in your Borax solution. This little touch can add a personal flair to your project.
- Experiment with different sizes and types of shells. Each type captures the crystals differently, leading to unique outcomes.
- Make this a shared activity; invite friends or family to join in the crafting process for added joy and bonding moments.
- Allow your crystals to form longer for larger growth, observing how patience can yield beautiful results.
FAQs About How to Make Crystal Seashells: A DIY Craft Tutorial
Can I use other types of shells?
Yes, you can experiment with different shell types! Each shell offers a unique surface for crystal growth.
How long do the crystals last?
If stored properly, your crystal seashells can last indefinitely, retaining their beauty for years.
Is this project safe for children?
Yes, but it’s best for older children with adult supervision, especially when using boiling water.
Conclusion
Making crystal seashells can be a gently rewarding experience that invites creativity and mindfulness. By engaging in this DIY project, you can foster a deeper connection with the simple beauty of nature. If you’d like to explore more about crystal creation, check out this resource from KiwiCo. Additionally, for further inspiration on crystal projects, consider visiting Little Bins for Little Hands. Allow the meditative processes of crafting to linger in your day, and happy creating!
PrintDIY Crystal Seashells
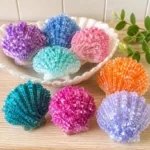
A calming and creative DIY project to make beautiful crystal seashells using simple materials.
- Prep Time: 15 minutes
- Cook Time: 1440 minutes
- Total Time: 1455 minutes
- Yield: 5 unique crystal seashells
- Category: Craft
- Method: DIY Crafting
- Cuisine: N/A
- Diet: N/A
Ingredients
- Natural seashells (collect or buy)
- 3 tablespoons of Borax
- 1 cup of water
- A heat-safe jar or glass container
- A stirring utensil (e.g., spoon)
- A baking tray (for drying)
Instructions
- Prepare your workspace by clearing a flat surface.
- Measure 1 cup of water into a heat-safe jar and heat until boiling.
- Stir in 3 tablespoons of Borax into the boiling water until dissolved.
- Add the natural seashells into the mixture, arranging them carefully.
- Leave the seashells in the Borax solution undisturbed for about 24 hours.
- Remove the seashells from the solution after a day and rinse them gently under cool water.
- Let them dry on a baking tray.
Notes
You can use food coloring in the Borax solution for colored crystal variations. Store in a cool, dry place when not on display.