

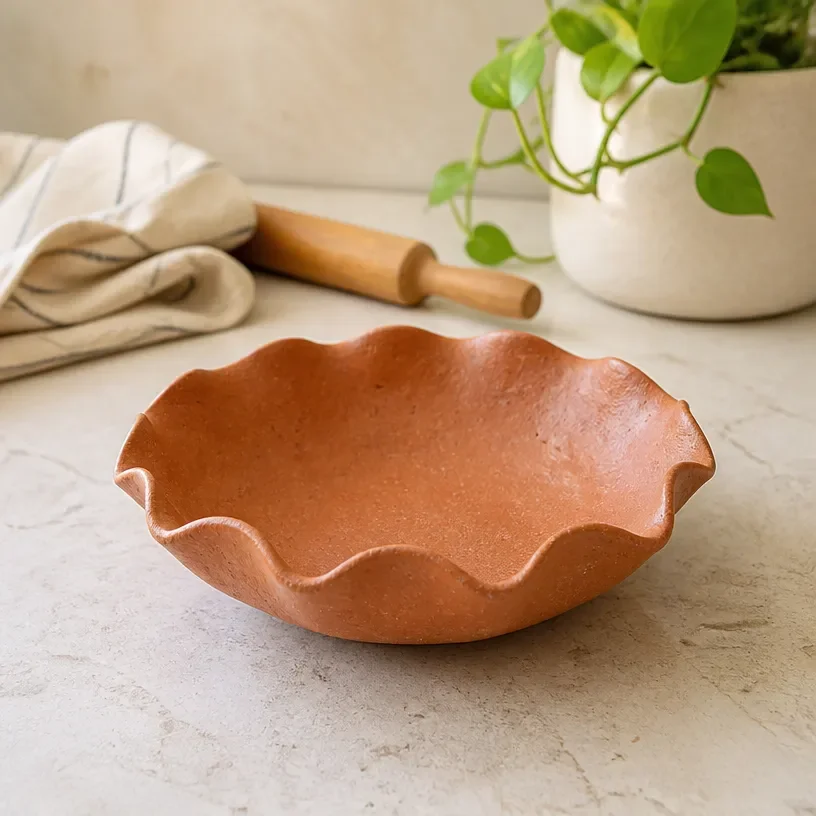
Creating a scalloped bowl with air-dry clay is not merely a crafting task but a journey into mindful making. You can feel the texture of the clay as it slips through your fingers, cool and firm yet pliable. With each delicate press, the scent of the earthiness envelops you, transforming the space around you into a cocoon of creativity and quiet exploration. Crafting this bowl offers a moment to slow down, to breathe in deeply, and to revel in the simple joy of creation. In learning how to create a scalloped bowl with air-dry clay, you invite both serenity and beauty into your surroundings. You may also find How To Make A Suncatcher With Glass Beads useful.
The Heart Behind This DIY
Engaging in the process of making a scalloped bowl can offer us a gentle reminder to reconnect with our senses. Kneading air-dry clay is a fulfilling tactile experience, grounding us in the moment. As we manipulate the clay, shaping it into a bowl that echoes the soft, flowing lines of natural forms, we embrace creativity as a form of self-care. This activity nurtures our inner calm and provides a welcomed pause in our often-busy lives. Moreover, the finished bowl serves as a beautiful piece that can hold cherished memories or simple treasures, fostering a sense of calm and beauty in our day-to-day routines. You may also find How To Make Sea Glass Candle Bowl useful.
You may also find Diy Clay Bowls 2 useful.
A Gentle Look at the Process
Understanding how to create a scalloped bowl involves flowing through various stages, each inviting you to immerse yourself fully. Picture the coolness of the clay beneath your hands as you establish the shape, followed by the satisfying sounds of gently tapping and folding. The rhythm of your movements mimics the natural waves of water or the soft flutter of leaves in the wind. Allow yourself to shift gears and embrace this journey as a rhythmic exchange between mind, body, and material. You may also find Diy Clay Bowls useful.
Materials You’ll Need
Gathering the right materials is essential for a smooth crafting experience:
- Air-dry clay (easy to find in craft stores)
- A rolling pin (or any cylindrical object)
- A sharp knife or clay cutter
- A bowl for shaping (opt for one with a pleasant curve)
- Sandpaper (for smoothing edges)
- An optional acrylic paint (for finishing touches)
With these supplies, you’re well on your way to creating a lovely scalloped bowl.
Step-by-Step Directions
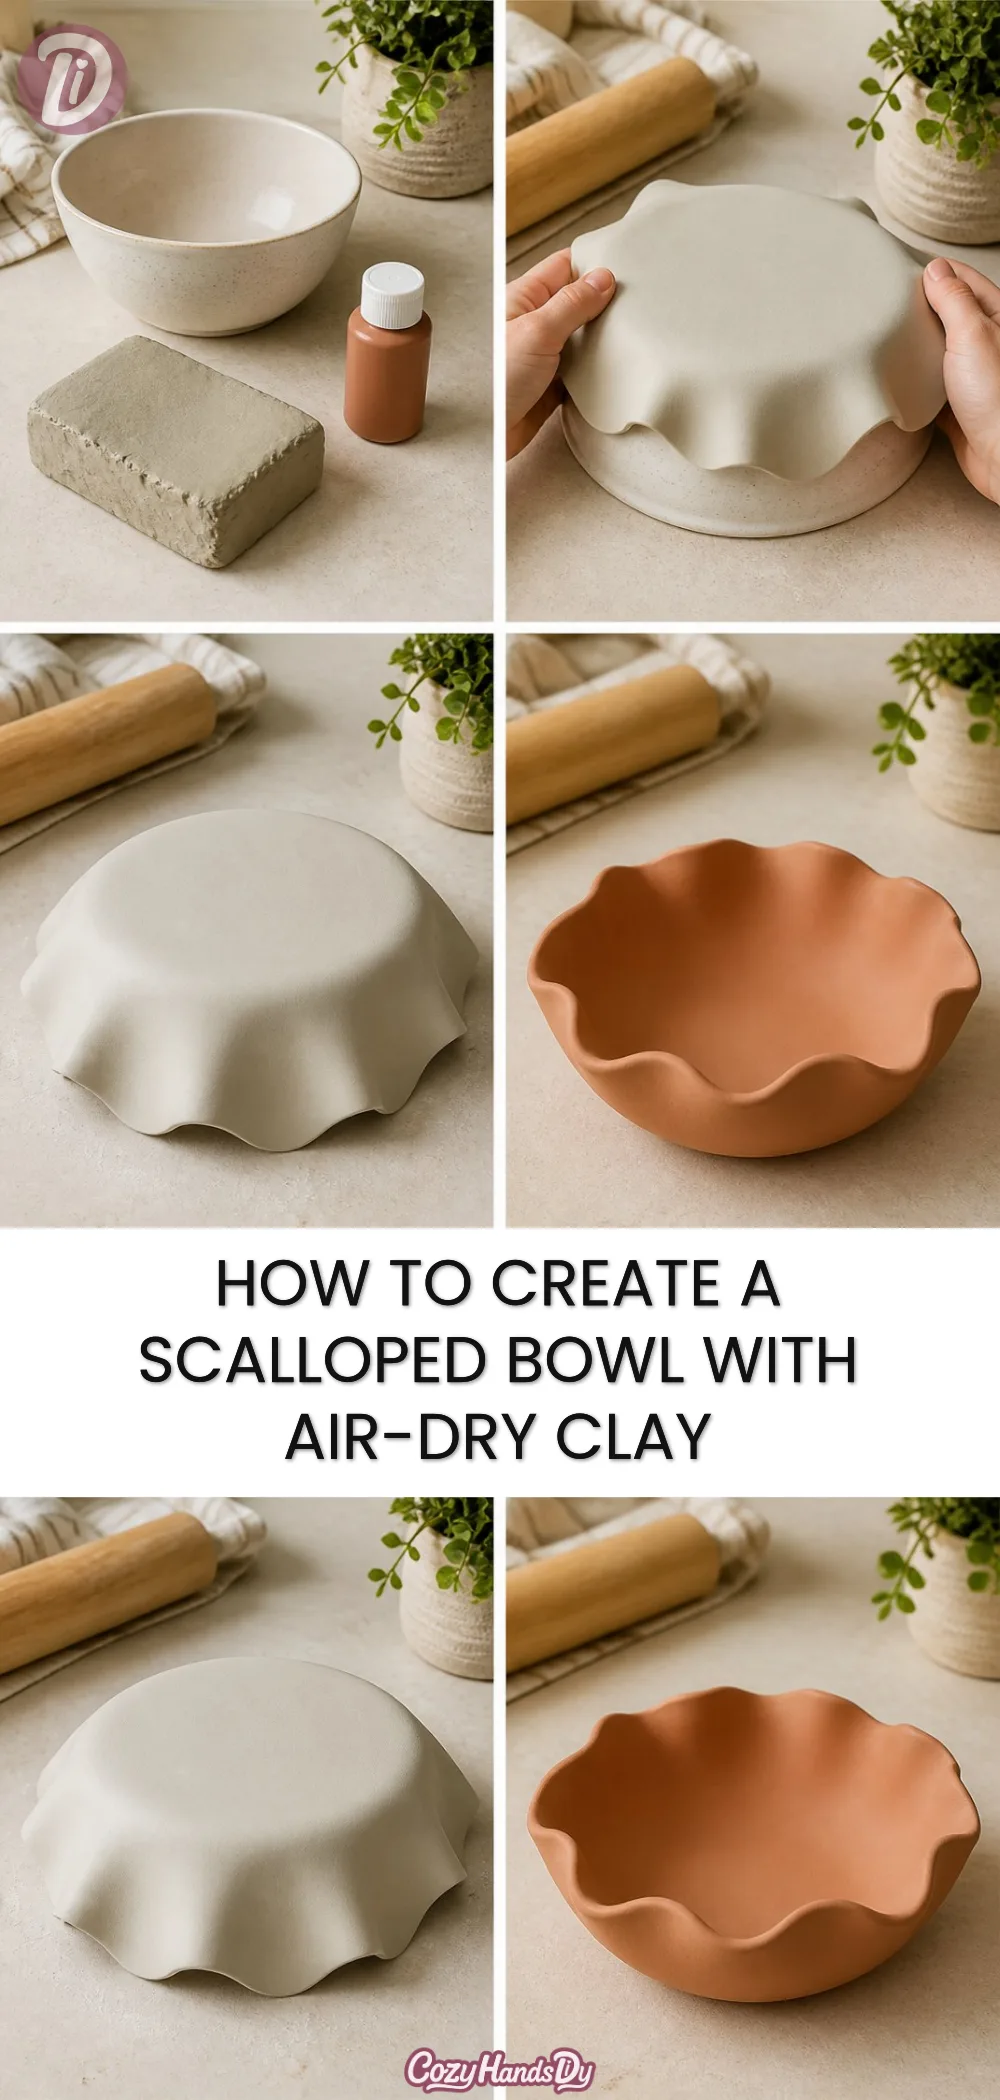
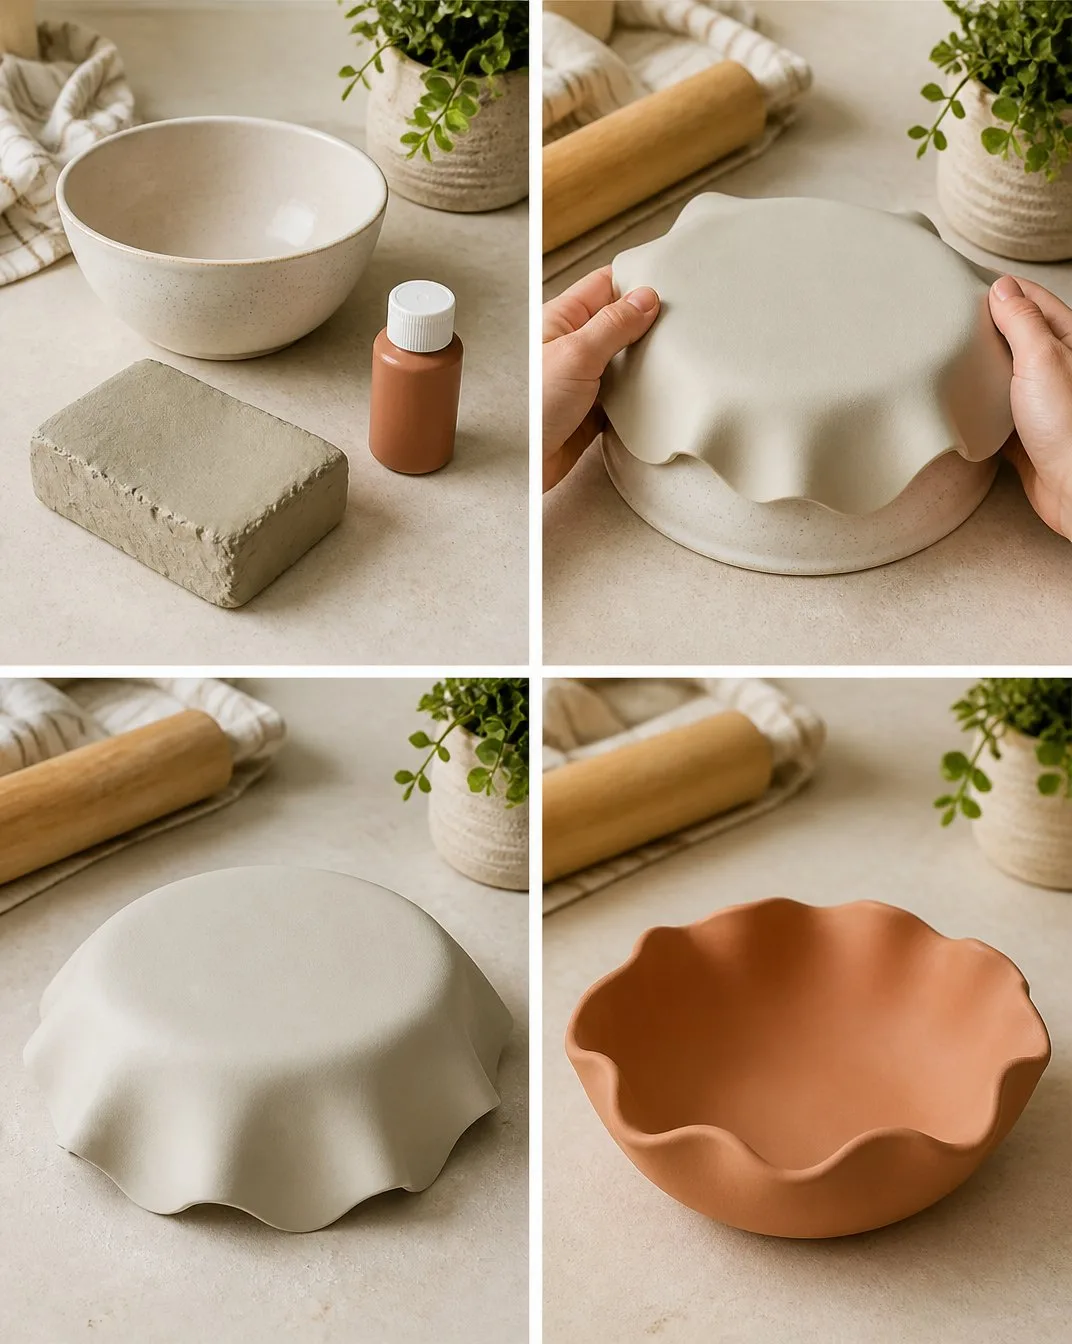
- Begin by kneading the air-dry clay in your hands until it becomes smooth and pliable. This softening is a vital step to ensure even shaping.
- Roll out the clay to your desired thickness, typically about 1/4 inch. The texture should feel soft and just a bit resilient.
- Cut out a circular shape using either a knife or clay cutter. You can use a bowl as a guide. The size determines your bowl’s radius.
- With your fingers or a bowl, gently bend the edges upwards to create the scalloped shape. Reflect on your natural surroundings, allowing inspiration from soft curves.
- Once your edges are shaped, use sandpaper to refine and smooth any rough sections. The process of smoothing the edges feels satisfying and calming.
- Allow the bowl to dry completely, per the clay’s instructions. This may take a few hours to a couple of days, depending on humidity.
- If desired, finish your bowl with acrylic paint to enhance its beauty. As you paint, think about where this creation might find its home.
Enjoying the Finished Piece
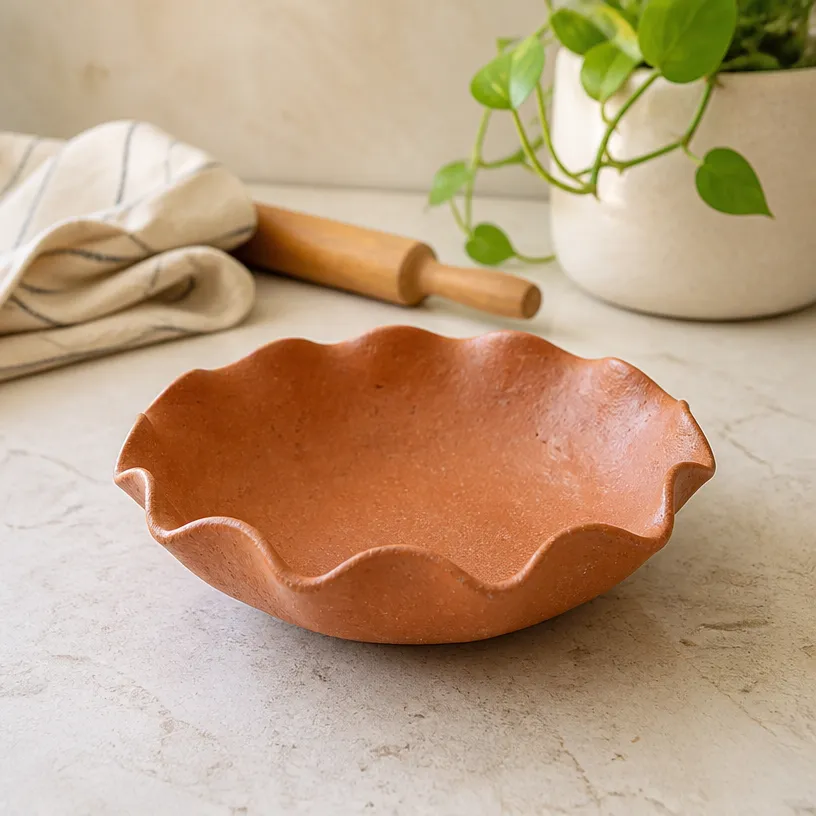
The beauty of your scalloped bowl extends beyond its appearance. It becomes a versatile piece within your space, a haven for small items like keys, jewelry, or even as a centerpiece. Placing it in a spot where you can see it daily reminds you of the calming process of making it. With a personal touch, this bowl finds its unique purpose, reflecting the love and care embedded within its creation.
Keeping It for Later
Once your bowl is complete, think about how to care for it. Since air-dry clay is sturdy but not waterproof, keeping it away from excess moisture is crucial. You may find it helpful to showcase your bowl in a dry area, ensuring it remains a cherished piece in your home. If you ever want to refresh its look, consider repainting or reimagining its role in your space.
Gentle Tips & Variations
To further personalize your scalloped bowl, consider these gentle tips:
- Experiment with different shapes when cutting. Altering roundness can lead to unique designs.
- Layer paint colors to create depth and texture, allowing the beauty of the materials to shine through.
- Add small decorations, such as using stamps or imprinting natural items like leaves into the clay for added interest.
- For a softer finish, seal your bowl with a water-based varnish after the paint dries.
FAQs About How to Create a Scalloped Bowl with Air-Dry Clay
Can I use regular clay instead of air-dry clay?
Air-dry clay is ideal for this project as it dries without the need for a kiln, making it accessible for home crafters.
How long does the clay take to dry?
Drying time can vary based on the thickness of your bowl and the humidity in your environment; generally, it takes between a few hours to two days.
Can I use my scalloped bowl for food items?
While air-dry clay bowls look lovely for decorative use, they are not typically food-safe. It’s best used for items like jewelry or keys.
Is it possible to fix cracks in air-dry clay?
You can fill in small cracks with additional clay or a bit of glue and then smooth over the top for a seamless finish.
Can children participate in making this bowl?
Yes! Supervised crafting with air-dry clay is a fantastic activity for children, fostering creativity and fine motor skills.
Conclusion
Creating a scalloped bowl with air-dry clay is not just a rewarding project but an experience in mindfulness and creativity. The act of shaping this bowl allows you to reflect on the beauty of your surroundings and the process itself. For more inspiration on different clay projects, consider exploring this Air Dry Clay DIY Ruffle Bowl or the Stamped Air-Dry Clay Scalloped Bowls Art Kit. Embrace the calm and let your creativity flourish as you immerse yourself in the world of clay crafting.
PrintScalloped Bowl with Air-Dry Clay
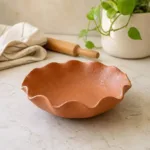
A mindful crafting experience to create a beautiful scalloped bowl using air-dry clay.
- Prep Time: 15 minutes
- Cook Time: 0 minutes
- Total Time: 180 minutes
- Yield: 1 bowl
- Category: Crafts
- Method: Crafting
- Cuisine: N/A
- Diet: N/A
Ingredients
- Air-dry clay
- A rolling pin (or any cylindrical object)
- A sharp knife or clay cutter
- A bowl for shaping (opt for one with a pleasant curve)
- Sandpaper
- Acrylic paint (optional, for finishing touches)
Instructions
- Knead the air-dry clay in your hands until it becomes smooth and pliable.
- Roll out the clay to your desired thickness, typically about 1/4 inch.
- Cut out a circular shape using a knife or clay cutter, using a bowl as a guide.
- Bend the edges upwards to create the scalloped shape.
- Use sandpaper to refine and smooth any rough sections.
- Allow the bowl to dry completely, according to the clay’s instructions.
- Finish your bowl with acrylic paint to enhance its beauty, if desired.
Notes
Keep the bowl away from excess moisture, as air-dry clay is not waterproof.