

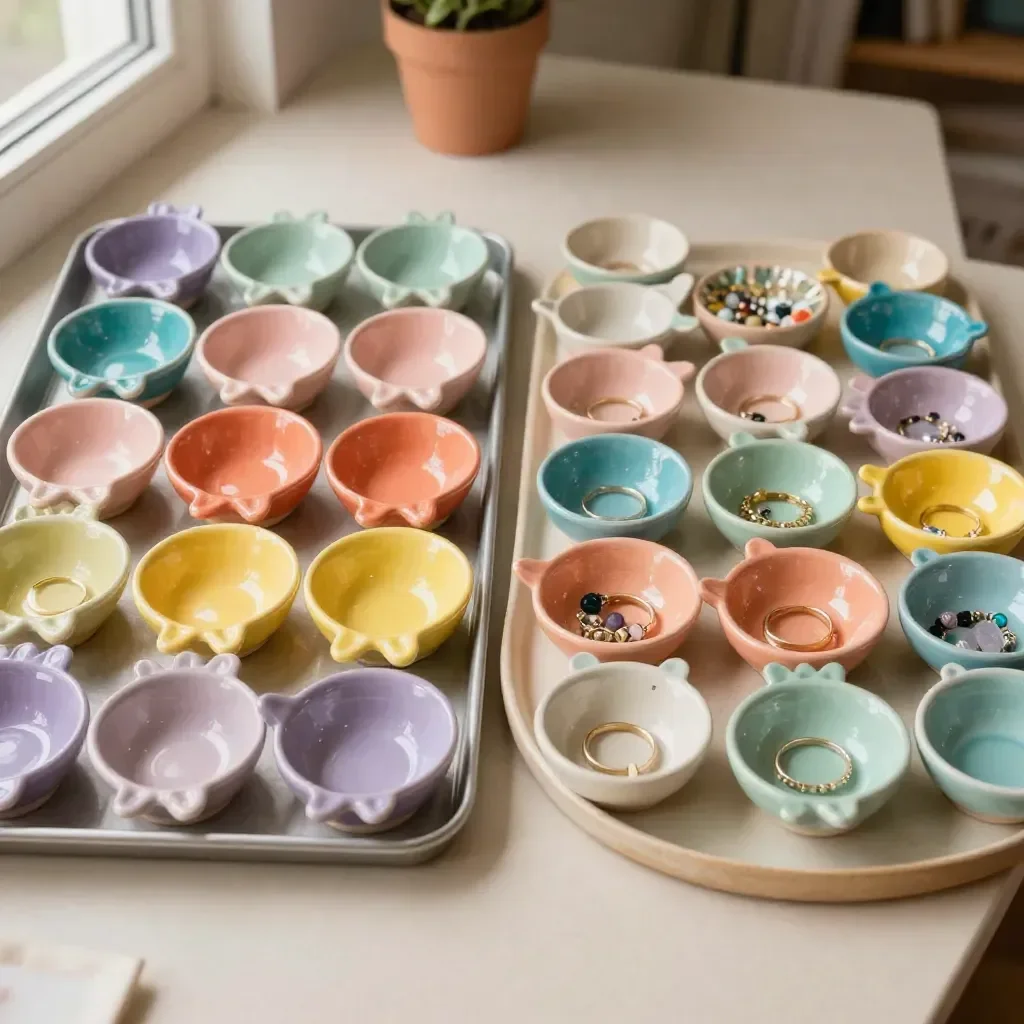
Creating DIY clay bowls unfolds like a gentle touch on soft clay, the earthy scent of the material grounding you in the present. As your fingers mold and shape, there’s a soothing rhythm to the process. Each turn and press grounds you in the moment, drawing you into a peaceful space where creativity flows. You can feel the cool, smooth surface of the clay that transforms into something uniquely yours. You may also find Adorable Diy Easter Bunny Cups useful.
Why Make This DIY Clay Bowls
The experience of creating DIY clay bowls can be deeply comforting. It invites you to slow down and immerse yourself completely in the tactile world around you. As you knead the clay, the resilience it offers encourages mindfulness, allowing thoughts to settle and your breath to soften. This simple act of creation fosters a sense of accomplishment and tranquility that can brighten your day. You may also find Crispy Diy Coffee Filter Tie Dye Flowers useful.
The act of crafting your own bowls nurtures creativity while also serving as a practical way to express your personality. Each piece you create holds memories and feelings, transforming your space into something more meaningful. If you’re looking for more comforting projects, consider exploring handprint dough keepsakes for another engaging way to connect with your creative side.
The Flow of Making DIY Clay Bowls
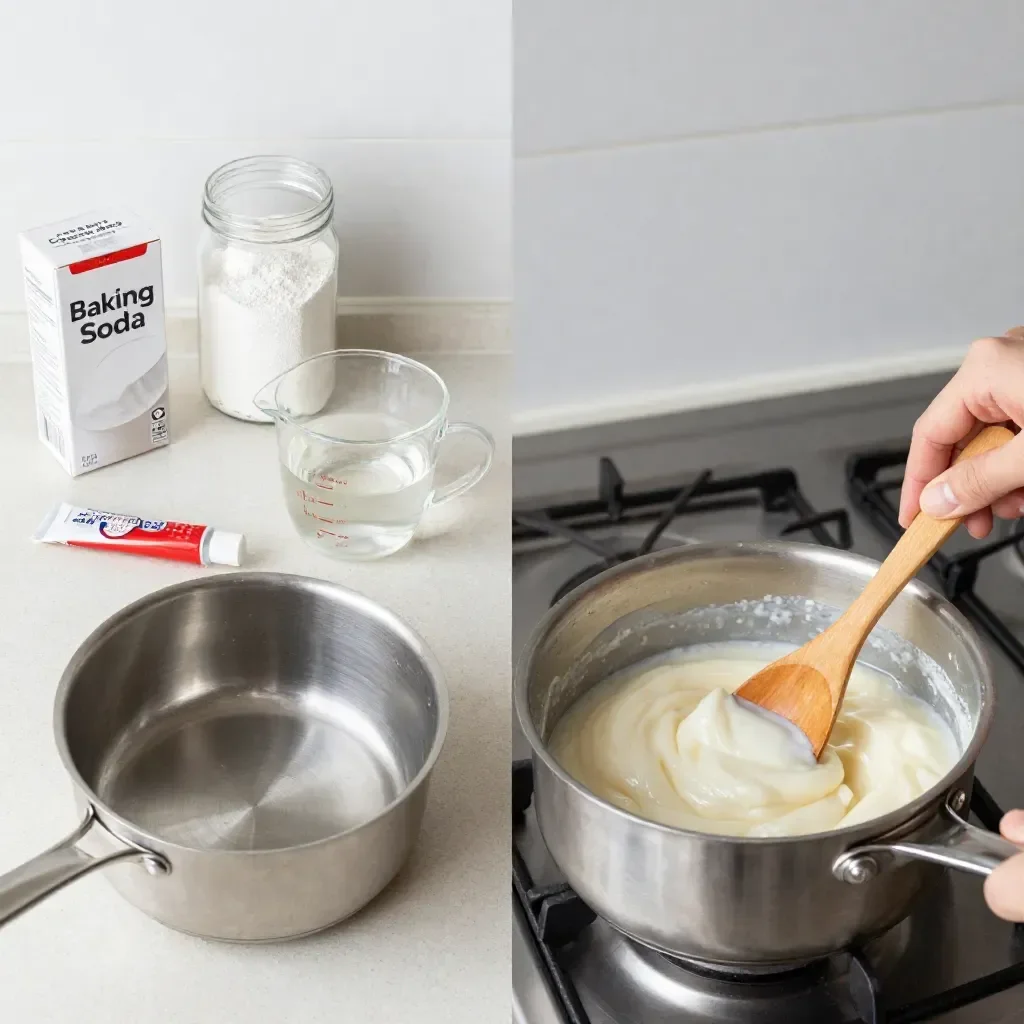
Before you dive into the materials, let’s take a moment to appreciate the flow of making DIY clay bowls. Picture the calm environment around you as you start mixing and shaping your clay. The sound of your hands working through the soft material is almost meditative, a pleasant squishing and patting that enhances focus. You might enjoy incorporating calming background music or simply listening to the sounds of your surroundings.
This project can unfold at your own pace, allowing creativity and intuition to lead the way. There is no rush; each moment can be savored as you knead, roll, and shape your clay into beautiful bowls under your gentle guidance.
Materials You’ll Need
- Air-dry clay (easy to find at craft stores)
- Rolling pin or smooth bottle (for flattening)
- Bowl or mold (to guide the shape)
- Water (for smoothing edges)
- Acrylic or natural paint (for decorating, optional)
- Paintbrush (if using paint)
Each of these materials works together harmoniously to help you mold the clay into delightful shapes. Feel free to substitute with what you have on hand, as creativity often thrives in flexibility.
Step-by-Step Directions
- Start by kneading your air-dry clay. Feel its consistency change as you work, warming it with your hands.
- Roll out the clay to about 1/4 inch thick using your rolling pin or smooth bottle. The texture should feel smooth and pliable.
- Choose a bowl or mold to use as a guide. Drape the rolled-out clay over it gently, allowing it to hug the shape.
- Smooth the edges of the clay with your fingers dipped in water. This step makes the surface feel soft and polished.
- Allow the bowl to dry completely according to the package instructions. This usually takes several hours.
Bringing DIY Clay Bowls Into Your Space
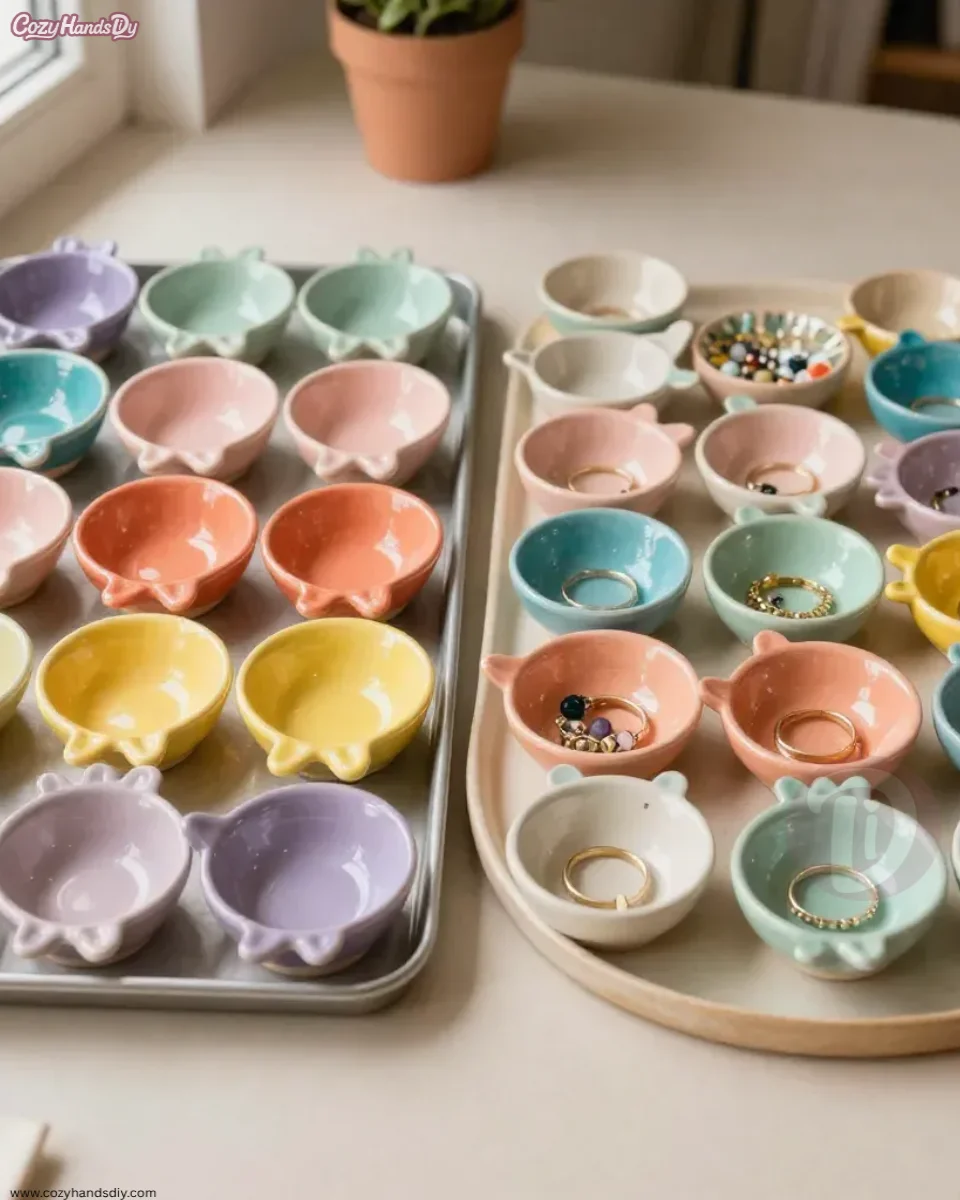
The beauty of your finished clay bowls extends past their functionality. They can brighten a shelf or serve as a catch-all for trinkets around your home. Their earthy tones and smooth textures bring a natural warmth to whatever space they occupy. You can place them on a dining table to hold fruits or use them as decorative elements in your entryway to hold keys or small notes.
Consider also grouping several clay bowls of different sizes together for a delightful display. Mixing and matching colors can add personality to a room and help create a cozy atmosphere. Your bowls become not just decorative items but reminders of the care and creativity you’ve poured into crafting them. For more ideas on using handmade pieces in daily life, check out colorful bioplastic suncatchers for an additional uplifting craft.
How to Store or Reuse DIY Clay Bowls
Once your bowls are finished, it’s essential to think about their longevity. Store them in a cool, dry place to keep them in the best condition. If you’re creating these bowls for food items, ensure they are sealed or painted with food-safe finishes.
You can also repurpose these bowls over time; consider using them for other decorative purposes or as gift packaging for small items. Each piece holds potential for new uses and stories.
Gentle Tips & Variations
- Experiment with different techniques. Try adding texture by pressing leaves or fabric into the clay before shaping.
- Play with colors by mixing in natural dyes or paints for a unique twist.
- Share the process with loved ones. Inviting friends or family to join in turns the experience into a cherished memory.
- Let kids join in the fun, as this craft can encourage their creativity and sensory exploration.
FAQs About DIY Clay Bowls
Can I use regular oven-bake clay instead of air-dry clay?
Absolutely! Just remember to follow the baking instructions carefully to avoid any mishaps.
How long do DIY clay bowls last?
With proper care, your clay bowls can last for years as decorative items. Their longevity as functional pieces depends on how they are used and stored.
Can I wash my clay bowls?
If painted, it’s best to hand wash them gently and avoid soaking them to maintain their beauty. If unpainted, they can be wiped clean but should not be submerged in water.
Conclusion
The process of crafting DIY clay bowls invites you to explore creativity and mindfulness together. Each piece provides a reminder of the calming effects of hands-on making. For more delightful projects involving clay, consider checking out how to make air dry clay bowls, or explore DIY clay leaf bowls for another inspiring project. Each crafting experience can be a joyful journey, bringing moments of tranquility along the way.
PrintDIY Clay Bowls
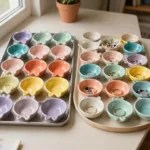
A soothing and creative project to make your own clay bowls using air-dry clay.
- Prep Time: 15 minutes
- Cook Time: 240 minutes
- Total Time: 255 minutes
- Yield: 2 bowls
- Category: Craft
- Method: Crafting
- Cuisine: N/A
- Diet: N/A
Ingredients
- Air-dry clay
- Rolling pin or smooth bottle
- Bowl or mold
- Water
- Acrylic or natural paint (optional)
- Paintbrush (optional)
Instructions
- Knead your air-dry clay until it feels warm and pliable.
- Roll out the clay to about 1/4 inch thick.
- Choose a bowl or mold to guide the shape and drape the clay over it.
- Smooth the edges of the clay with your fingers dipped in water.
- Allow the bowl to dry completely according to package instructions.
Notes
Store finished bowls in a cool, dry place. Use food-safe finishes if using for food items.
1 thought on “DIY Clay Bowls”