

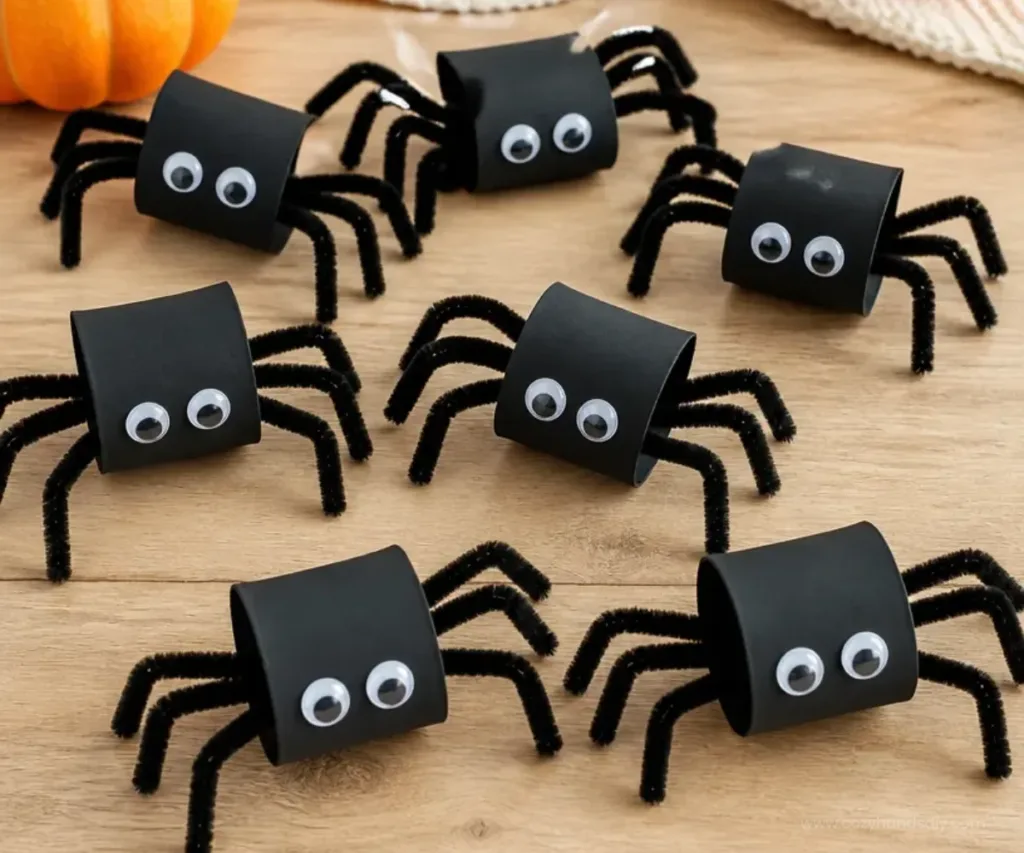
The air turns crisp as Halloween approaches, and a sense of playful excitement fills the spaces where shadows dance. There’s a calmness in gathering materials, letting soft textures and vibrant colors stir the imagination. The tactile experience of creating Halloween spider crafts for kids with toilet paper rolls feels invigorating yet soothing, transforming ordinary items into delightful decorations. Embracing the tranquility of making together, families can bond over the process while sparking creativity and joy. You may also find Colorful Rainbow Ghost Window Suncatcher Garland For Kids useful.
The Heart Behind This DIY
Creating Halloween crafts offers a wonderful opportunity to experience a combination of joy and relaxation. Each movement that comes with preparation sets a gentle tone, allowing participants to feel connected not only to their materials but also to one another. As kids cut, glue, and assemble their spider crafts, they discover that art is as much about the journey as it is about the finished piece. This soothing blend of focus and creativity inspires a sense of calm, encouraging mindful making. The anticipation builds as each crafted spider brings Halloween’s enchanting spirit into the home.
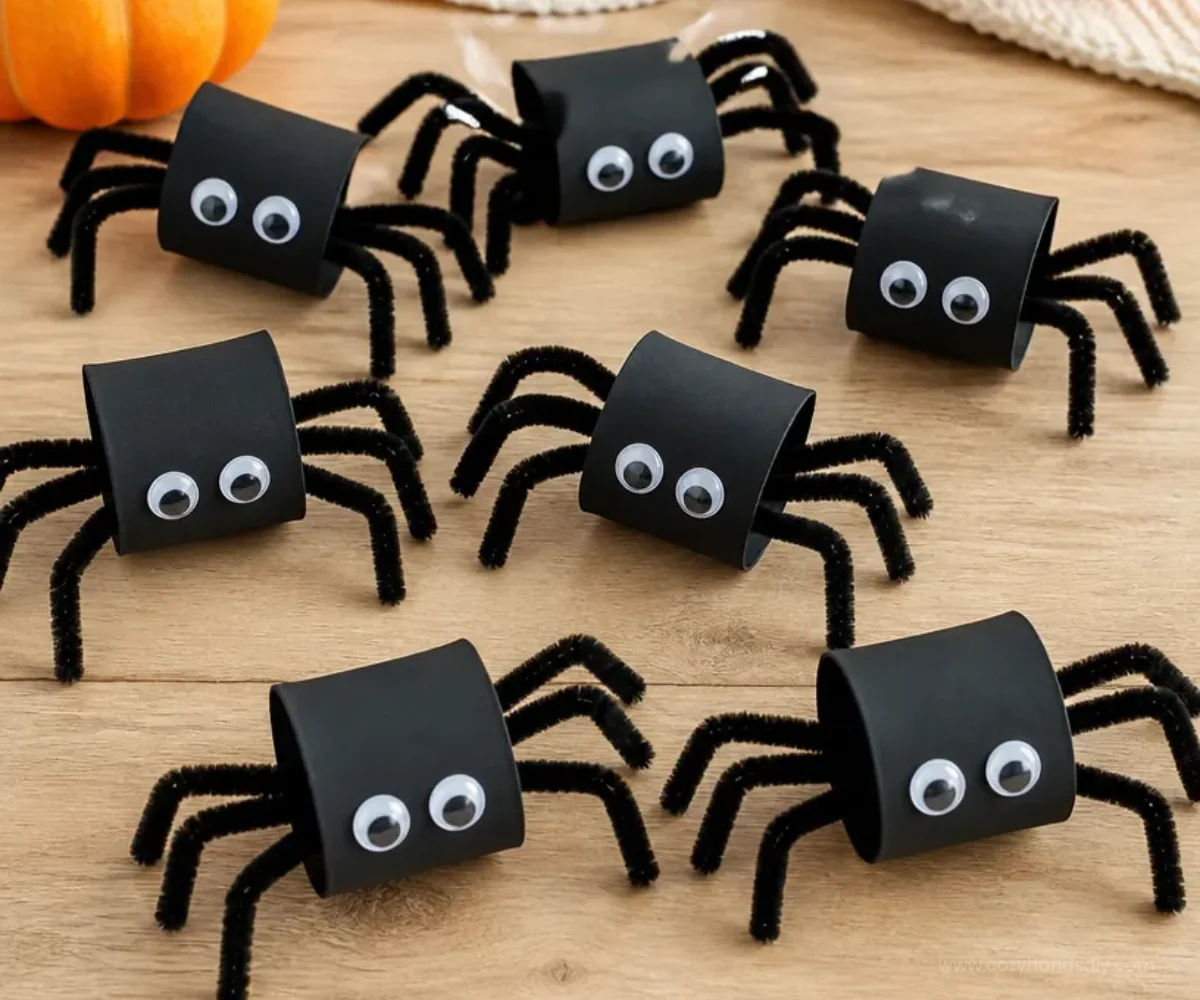
A Gentle Look at the Process
Before diving into the fun, let’s take a moment to appreciate the beautiful flow of making. Picture smooth cardboard tubes in your hands, the sound of scissors gliding through paper, and the gentle rustle of glue. Each step unfolds naturally, guiding you through the creative process. Gathering materials for Halloween spider crafts with toilet paper rolls lends a rhythm to your day, and the sensations involved like the weight of materials and the colors that spring to life help ground the creative experience.
Materials You’ll Need
- Empty toilet paper rolls
- Black paint (or markers for easy application)
- Googly eyes
- Craft glue (or a hot glue gun for older kids)
- Pipe cleaners (black or colorful for variation)
- Scissors
- Optional: glitter, fabric scraps, or stickers for decoration
Gathering these materials can be a mindful activity in itself, allowing everyone to select their favorites while chatting about what spooky fun awaits. It’s a gentle reminder that even simple items can hold huge potential in crafting joyful memories.
Step-by-Step Directions
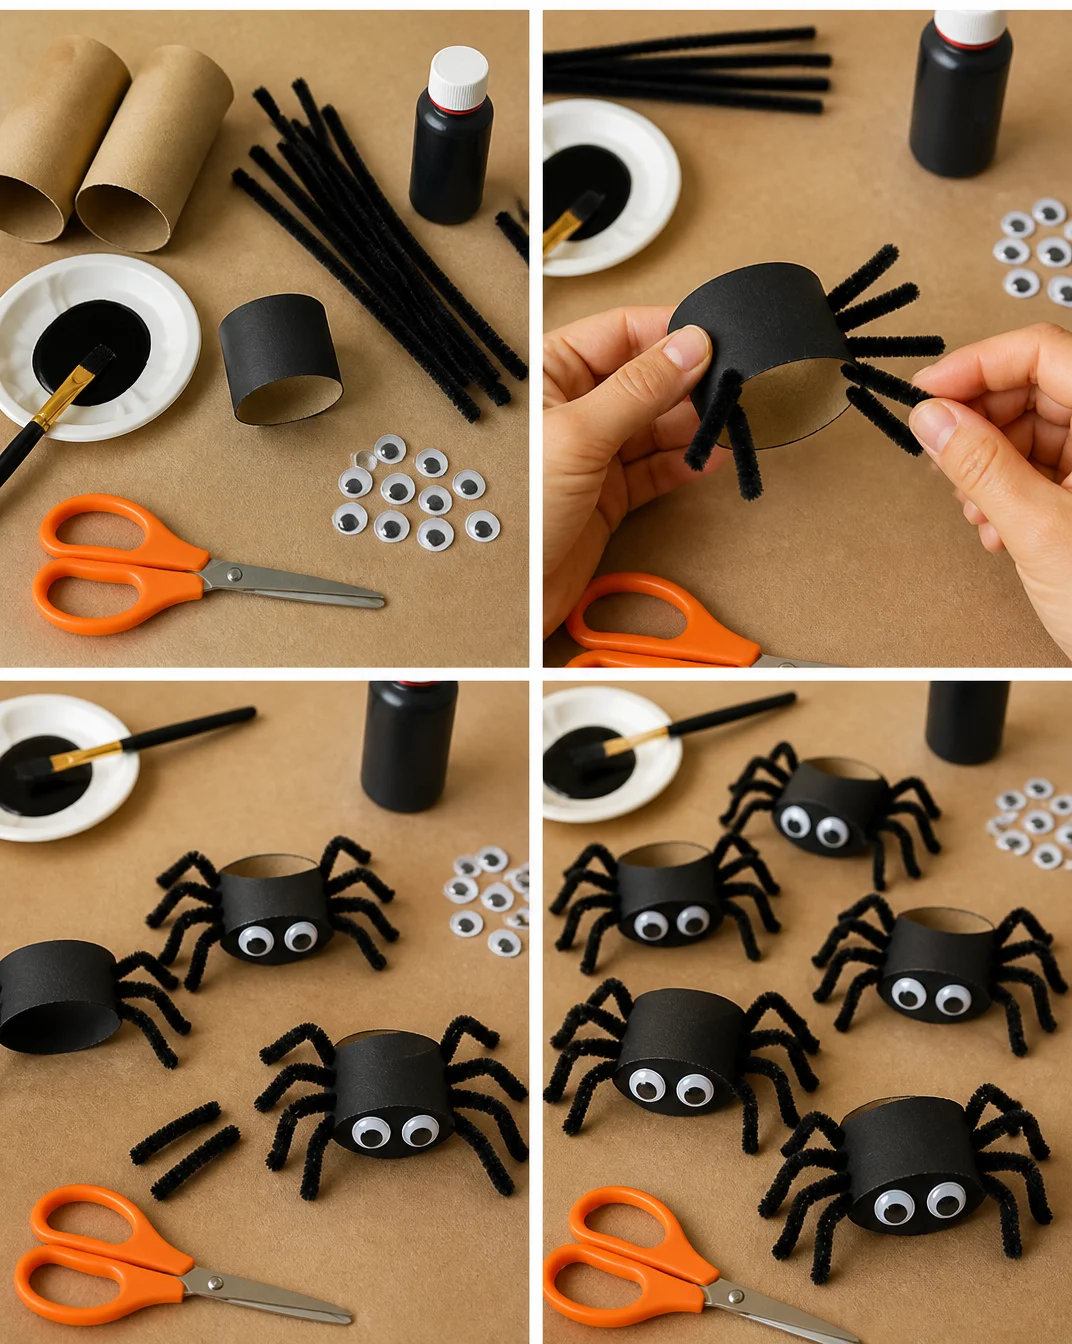
Start by painting the toilet paper rolls black. This will serve as the spider’s body. Allow them to dry completely before moving to the next step.
While the paint dries, cut pipe cleaners into 4 equal lengths for the spider’s legs. If you want fluffy spiders, consider twisting two pipe cleaners together for extra bulk.
Once the rolls are dry, use a sharp tool to make small holes on opposite sides of the roll, about halfway down.
Insert a pipe cleaner leg through each hole, bending it at the bottom to secure it and keep the spider standing.
Grab a few googly eyes and glue them on the top of the roll. Allow the glue to set for a moment to ensure they stick.
If you desire, add extra decorations using glitter or stickers to give your spider a unique personality.
Once all parts are dry and set, find a cozy space to display your little critters, letting the Halloween spirit fill your home.
Enjoying the Finished Piece
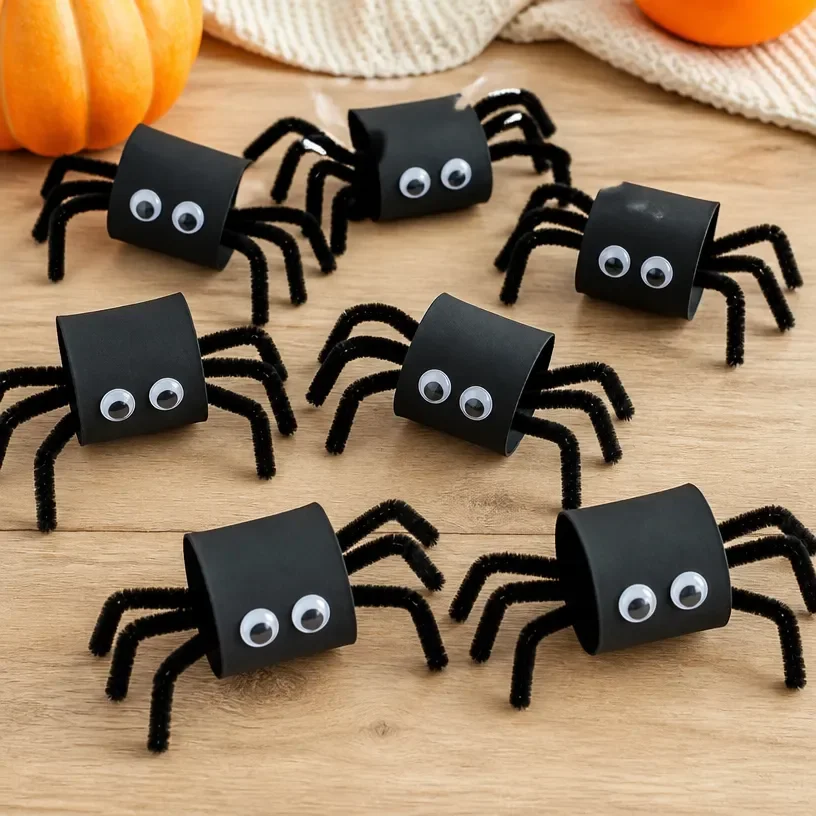
These charming spider crafts are perfect for brightening up any Halloween decor. You can hang them from door frames, set them on dining tables, or place them in windows where they can greet passersby. Each carefully crafted spider becomes not just a decoration but a lovely reminder of shared moments of creativity and laughter. The act of making these DIYs together cultivates a cozy atmosphere that enhances the spirit of the season.
Keeping It for Later
Storing your completed spider crafts doesn’t have to be complicated. If you want to preserve them for future Halloweens, it’s excellent to keep them in a dry, cool area, ensuring they won’t get crushed. Alternatively, you could allow them a special place in your home decor leading up to Halloween each year, turning it into a delightful tradition that ignites excitement and creativity.
Gentle Tips & Variations
- Consider using different colors for your spiders, like purple or orange, to mix up the feel from traditional decorations.
- If working with small children, you might cut the pipe cleaners and use pre-made eyes to ease the process this allows for more focus on decorating.
- Explore adding to the spider theme by making a spider garland as a complementary decoration.
- Encourage kids to create a full Halloween scene by making other crafts like bats and witch hats together.
FAQs About Halloween Spider Crafts for Kids with Toilet Paper Rolls
What age group is this craft suitable for?
This DIY craft is great for children of all ages, but it’s best with adult supervision for young kids, especially when using scissors and glue.
How can I make the process easier for younger children?
You can prepare the materials in advance, such as cutting the pipe cleaners and painting the rolls, allowing kids to focus on assembling and decorating.
Can I use different types of paint?
Absolutely! Acrylic paint works wonderfully, but markers or even fabric paint can provide cool textures and colors.
What other creatures can I make using the same technique?
Feel free to experiment with different insects or spooky characters, using the same base of a paper roll.
Is this project easy to clean up?
Yes, since it primarily involves painting, glue, and crafted materials, cleanup can be simple. Just lay down some newspaper or a drop cloth to catch any drips.
Conclusion
The calming ritual of creating Halloween decorations brings warmth to the chilly autumn nights. As you finish your spider crafts, remember that the real magic lies in the moments shared during the process. For more fun inspiration on Halloween crafts, explore the collection of Toilet Tube Halloween Crafts for Kids, or consider adding a delightful twist to your decor with a Halloween Toilet Paper Roll Black Cat. Enjoy the cozy atmosphere crafted by your efforts, and let your creativity flow!
PrintHalloween Spider Crafts for Kids with Toilet Paper Rolls
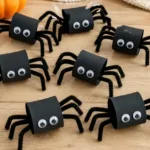
A fun and engaging Halloween craft for kids using everyday toilet paper rolls to create charming spider decorations.
- Prep Time: 15 minutes
- Cook Time: 0 minutes
- Total Time: 15 minutes
- Yield: 1 spider
- Category: Crafts
- Method: Crafting
- Cuisine: N/A
- Diet: N/A
Ingredients
- Empty toilet paper rolls
- Black paint (or markers)
- Googly eyes
- Craft glue (or hot glue gun)
- Pipe cleaners (black or colorful)
- Scissors
- Optional: glitter, fabric scraps, or stickers for decoration
Instructions
- Start by painting the toilet paper rolls black. Allow them to dry completely.
- While the paint dries, cut pipe cleaners into 4 equal lengths for the spider’s legs.
- Once the rolls are dry, make small holes on opposite sides of the roll, about halfway down.
- Insert a pipe cleaner leg through each hole, bending it at the bottom to secure it.
- Grab a few googly eyes and glue them on the top of the roll.
- If desired, add extra decorations using glitter or stickers.
- Once all parts are dry, find a cozy space to display your spiders.
Notes
Consider using different colors for your spiders and include other Halloween crafts to create a themed display.