

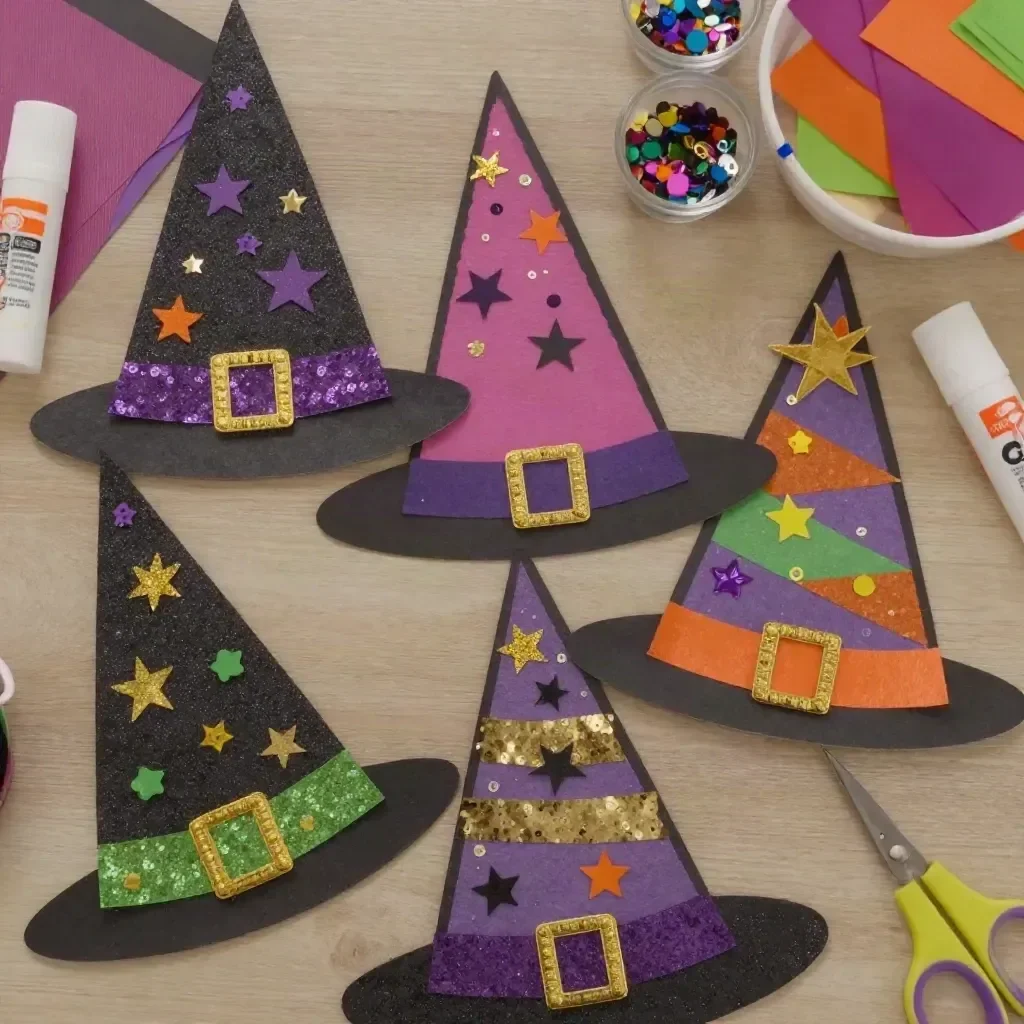
Witch hats have a magical presence about them. The shape, the colors, and the stories they tell invite curiosity and playfulness. Creating a witch hat collage is not just an engaging craft activity; it becomes a sensory experience where paper, glue, and imagination come together. As you watch the colors blend and the textures unfold, you can embrace a calm, creative flow that welcomes the spirit of Halloween. You may also find Egg Carton Chicks Diy Craft Ideas For Kids useful.
The Heart Behind This DIY
Making witch hat collages offers a delightful opportunity to connect with the spirit of creativity. The process itself fosters a sense of calm and focus, as choosing and arranging colorful materials can feel both meditative and freeing. The tactile aspect of gluing and placing items adds a sensory layer that allows for a full engagement of the hands and mind. This craft can encourage children to express their individuality; each collage tells its own story with unique components, enabling artistic exploration.
A Gentle Look at the Process
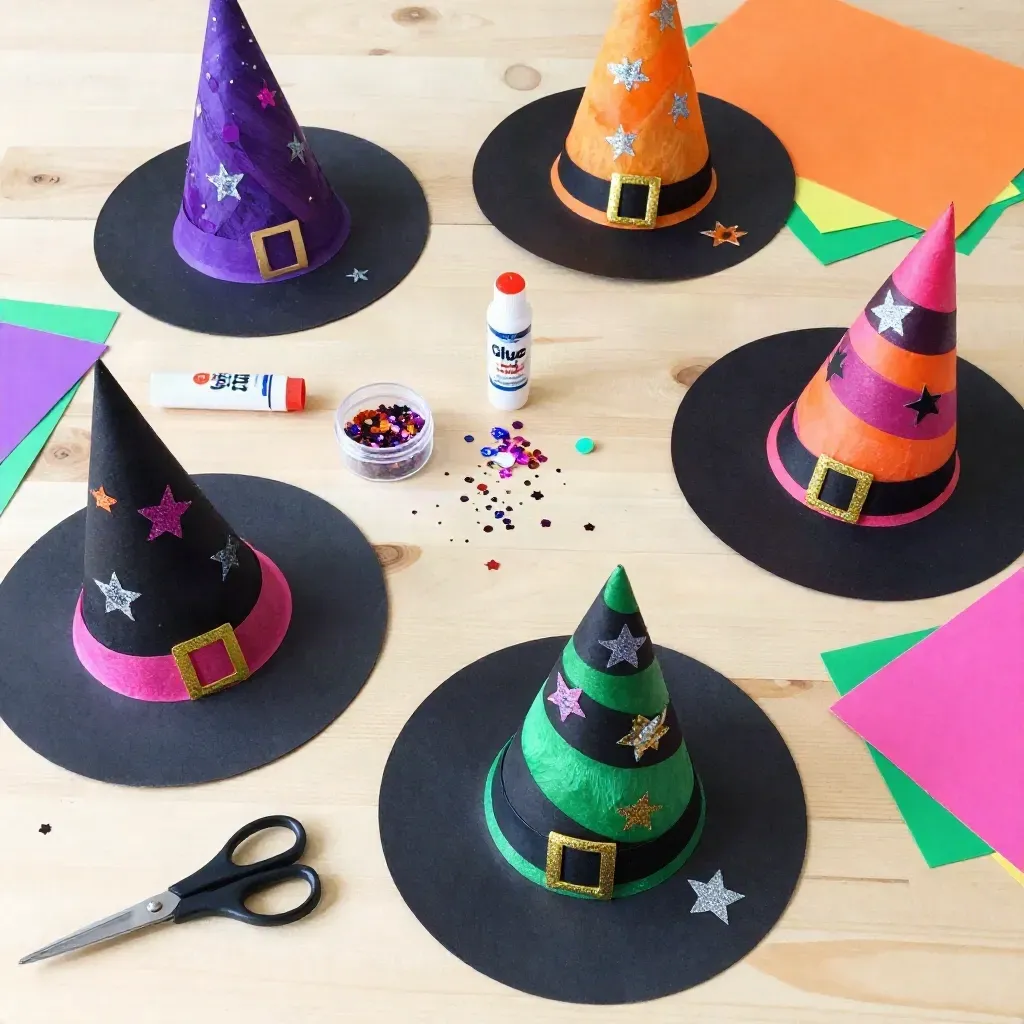
Creating witch hat collages is a gentle journey where visual and physical elements come alive. Feel the soft paper texture under your fingertips and hear the faint sound of scissors cutting through. As you gather materials, there’s a pleasant rhythm in the movement. Think of the colors chosen and the ways they can harmonize together. Each aspect of this craft encourages mindfulness, inviting you to slow down and truly appreciate the act of creating, much like the soothing experiences found in fizzy painting.
Materials You’ll Need
To create your witch hat collages, gather the following materials:
- Black construction paper (easy to find)
- Colorful cardstock or patterned paper (substitute-friendly)
- Scissors
- Glue stick
- Optional: stickers, glitter, or markers for decoration
These items can often be found in your craft drawer, making this project readily accessible.
Step-by-Step Directions
Begin by cutting a triangle out of the black construction paper for the witch hat’s main shape. It’s okay if it isn’t perfect; each hat will have its own charm.
Cut a strip for the hat’s band from the colorful cardstock. This strip can be any width you like, depending on how bold you want the band to appear.
Once the pieces are cut, it’s time to start assembling. Use a glue stick to attach the band to the base of the triangle hat. Feel the smoothness as you press the paper together gently.
If you’d like to add embellishments, now is the perfect moment. Think about how your bubble snake craft used simple materials to enhance creativity. Use stickers, markers, or even a sprinkle of glitter to make your witch hat unique.
Allow the glue to dry completely. While waiting, take a moment to enjoy the colors and the process you just created. Notice how calming this moment is.
Enjoying the Finished Piece
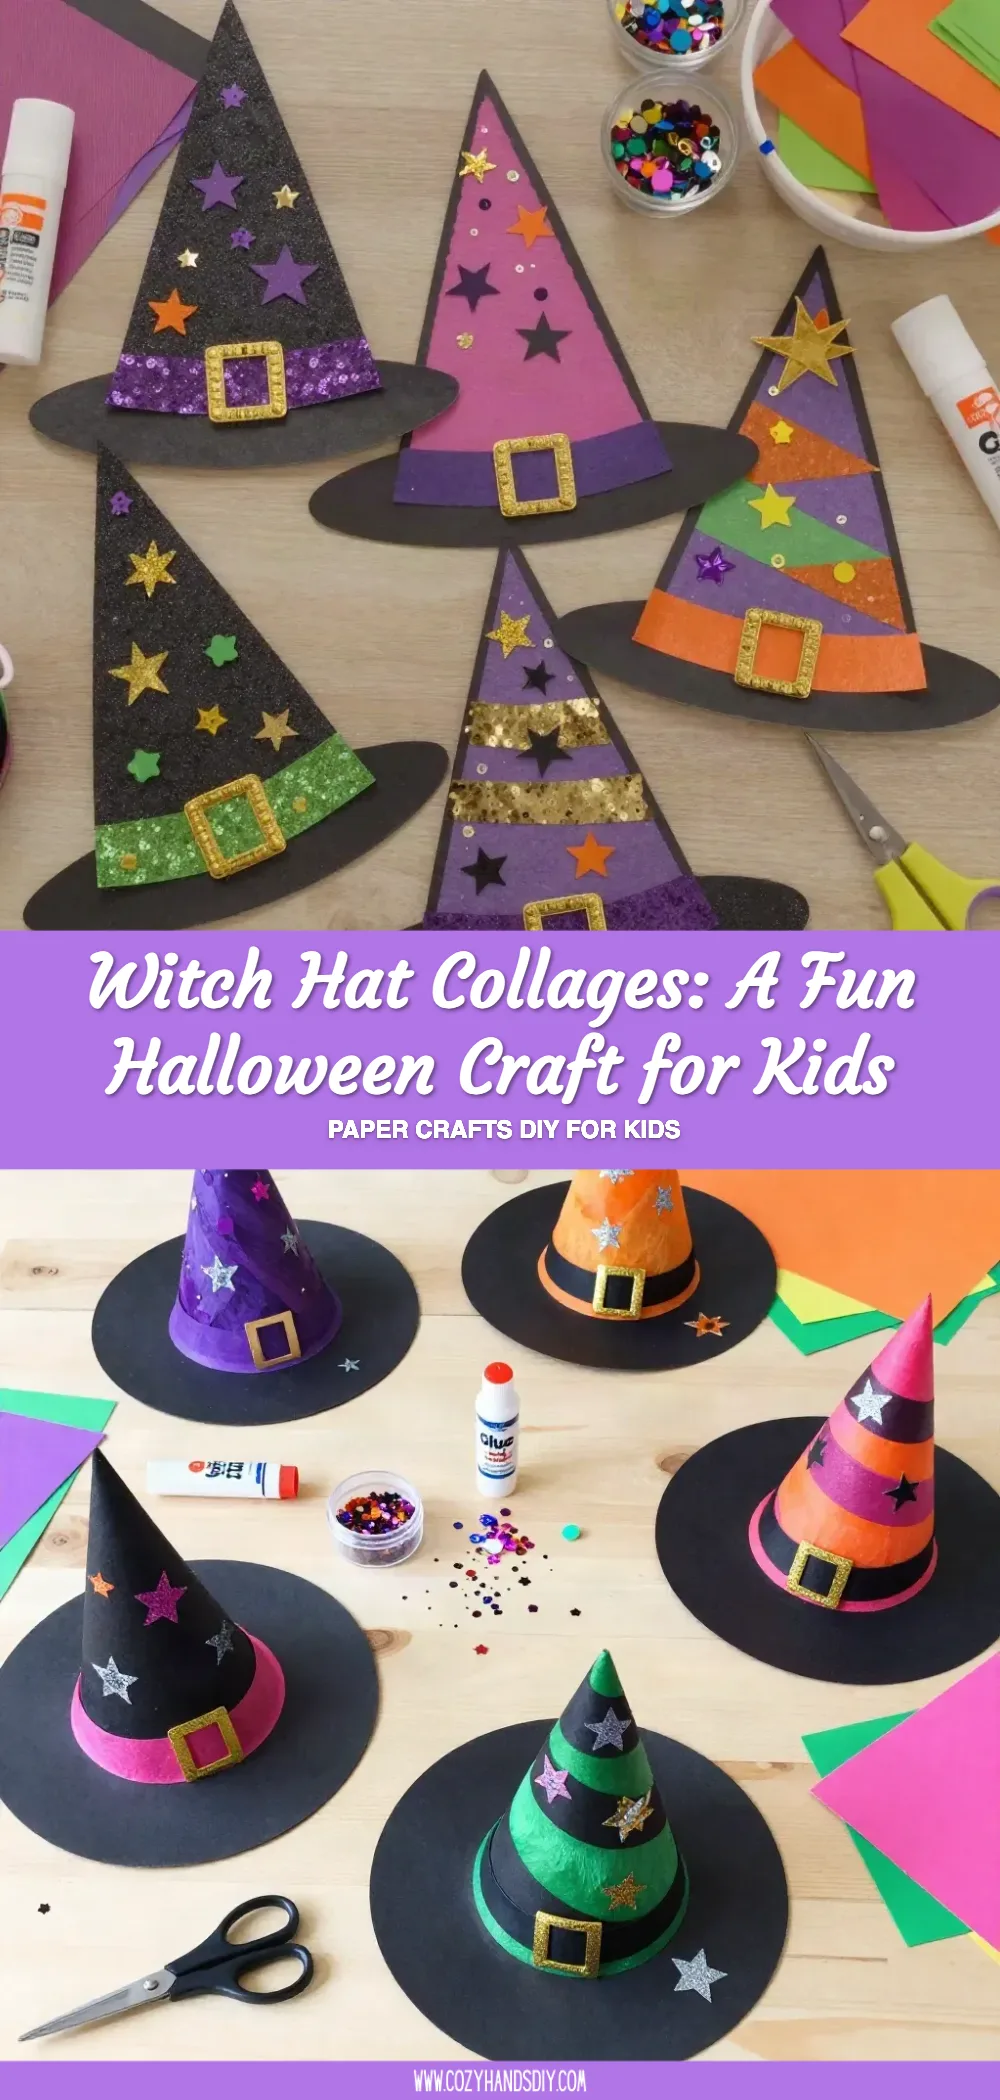
Once your collage is done, you can display it proudly. Consider hanging the finished witch hat on a door or wall to bring a touch of whimsy to your space. You could also use the collages as part of a Halloween storytelling night, where each creation inspires tales of adventure and mystery. By incorporating the craft into seasonal decor, you welcome a cozy atmosphere that feels both festive and heartfelt.
Keeping It for Later
To ensure your witch hat collages remain in good condition, store them flat in a folder or display them in a designated space. If you’re feeling particularly creative, reuse them next Halloween by re-decorating or incorporating new elements. The fact that these creations can be revisited speaks to the beauty of the crafting process, much like the cherished memories made through Mother’s Day crafts.
Gentle Tips & Variations
- Consider using recycled materials to give your witch hat a unique twist. Old magazines or wrapping paper can bring unexpected beauty.
- Try making mini witch hats for fun decorations in your home or as party favors.
- Encourage children to think of their own character while crafting. Ask them questions about what kind of witch their hat belongs to.
- Host a crafting day with friends, exploring each person’s interpretation of the witch hat.
FAQs About Witch Hat Collages: A Fun Halloween Craft for Kids
What age group is this craft suitable for?
This project is ideal for young children, typically ages 4 and older, with adult supervision during cutting.
Can I use other colors instead of black?
Absolutely! Feel free to experiment with different colors to create a variety of witch hats, depending on your style.
How long does this project take to complete?
Generally, this craft can take about 30-60 minutes, including drying time, but it can be extended for more creative exploration.
What if I don’t have cardstock?
You can use any kind of paper that you have on hand. The beauty of crafting lies in the creativity of using what you have.
Conclusion
Embracing the spirit of Halloween through crafts can be a calming and creative activity. As you engage in projects like these, allow the act of creating to wrap you in warmth. You may find inspiration in other seasonal crafts, such as exploring witch crafts for kids and trying out easy Halloween crafts for toddlers and preschoolers. Each project invites you to express your unique creativity and enjoy meaningful moments with loved ones.
PrintWitch Hat Collage
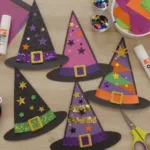
Engage in the spirit of Halloween by creating delightful witch hat collages using simple materials, fostering creativity and mindfulness.
- Prep Time: 10 minutes
- Cook Time: 20 minutes
- Total Time: 30 minutes
- Yield: 1 collage
- Category: Craft
- Method: Crafting
- Cuisine: N/A
- Diet: N/A
Ingredients
- Black construction paper
- Colorful cardstock or patterned paper
- Scissors
- Glue stick
- Optional: stickers, glitter, or markers for decoration
Instructions
- Begin by cutting a triangle out of the black construction paper for the witch hat’s main shape.
- Cut a strip for the hat’s band from the colorful cardstock.
- Once the pieces are cut, attach the band to the base of the triangle hat using a glue stick.
- If you’d like to add embellishments, use stickers, markers, or glitter to make your witch hat unique.
- Allow the glue to dry completely.
- Once your collage is done, display it proudly on a door or wall.
Notes
This craft is ideal for young children (ages 4+) with adult supervision during cutting. Feel free to experiment with colors and materials!