

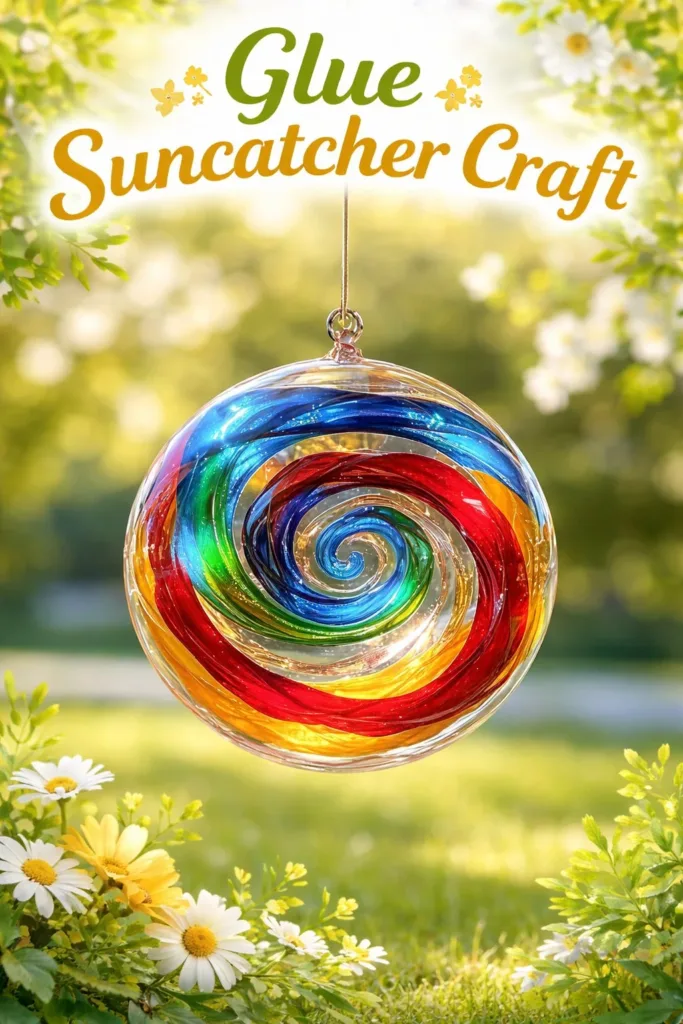
A thin ribbon of light slides across my work table as I touch a bead of clear glue with a toothpick. The glue pools, glossy and slow, then catches the sun and becomes a tiny window. My hands move in quiet rhythms. I breathe with the pace of the glue as it settles. This is the simple pleasure of Glue Suncatcher Craft, a slow, sensory way to shape light and make a small, warm keepsake that changes with the day. I sometimes pair this with other gentle suncatcher ideas like my take on homemade bioplastic suncatchers to explore different textures and finishes.
Why Glue Suncatcher Craft Feels Comforting to Create
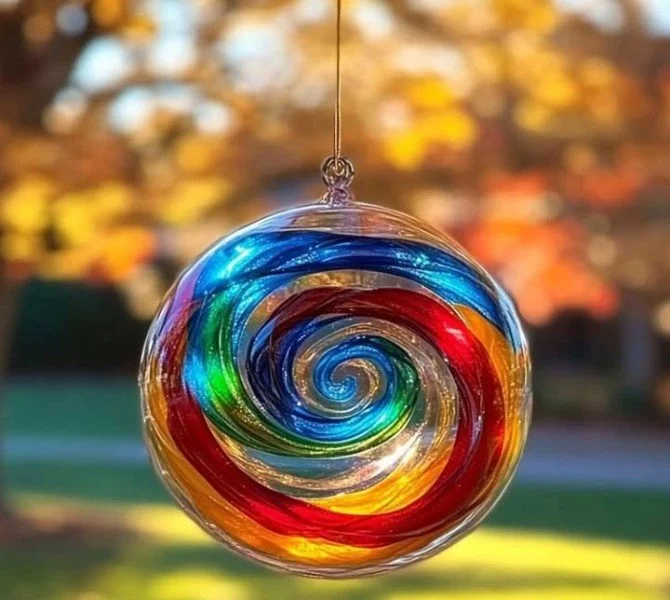
Glue suncatchers feel comforting because they ask for calm focus and offer immediate, quiet rewards. When you drag a drop of glue across a small plastic mold, you notice the soft sound it makes, the way it stretches like warm honey, and the glossy skin that forms as it cools. These little sensory details invite slow attention.
The craft aligns with simple rhythms. You place and shape, then wait as the glue loses its wet sheen and hardens. Light on the finished piece becomes a changing companion. On cloudy days the colors whisper, and on bright days they dance. This gentle variability helps you stay present and notice small changes in your space.
Many people find comfort in repetitive, tactile work. This project gives that repetition but with creative choice. You pick colors, add bits of tissue, or press a tiny leaf into the surface. The process rewards small, mindful choices. It can weave into quiet routines, like a tea break or a morning light ritual, and help steady a scattered day.
A Gentle Look at the Process
Working with glue for suncatchers has a soft, visual flow. You trace shapes with a bottle tip or a toothpick, layer color slowly, and listen to the nearly silent pauses as the glue settles. The movement stays close to your hands. You do not rush; you watch the touch of light on the surface and adjust your next mark.
The materials behave simply, with clear glue giving a glass-like finish and colored glue or ink adding depth. If you like a diffused look, sprinkle bits of tissue paper so the light feels warm rather than sharp. If you prefer crisp color, use thin layers and let each one dry before adding the next. I often recall a quiet afternoon when I layered three thin rings of glue, warming my palms in between, and the finished circle held a glow that felt like a small lamp.
If you enjoy exploring other clear-glue techniques, you might like tips from my post on valentine heart suncatchers for ideas about shape and transparency and how different additives change the light.
Materials You’ll Need
- Clear white school glue (easy to find, the classic choice)
- Food coloring or liquid watercolors (small amounts add color)
- Plastic lids or silicone molds (smooth surfaces work best)
- Wax paper or a nonstick mat (keeps pieces from sticking)
- Toothpicks or a sewing needle (for gentle shaping and stirring)
- Small pieces of tissue paper, glitter, or dried flower bits (optional)
- A fine-tip squeeze bottle or a well-fitting glue nozzle (for control)
- Thin fishing line or ribbon and small eyelet hooks (for hanging)
- A shallow dish with warm water and mild soap for cleanup (safety and ease)
- Paper towels and a small tray for drying (keeps your space tidy)
What I reach for most is a plain, small silicone muffin liner because it forms a soft lip that holds the glue. If you do not have colored liquid, a tiny dab of acrylic paint thinned with water also works in small amounts.
Step-by-Step Directions
Prepare your surface and tools. Lay wax paper or a nonstick mat on a flat table. Place your molds or lids on top so they do not wobble. Have your toothpicks and color drops within easy reach.
Pour a base layer of clear glue. Gently squeeze a small puddle of clear glue into the center of a mold. Aim for a thickness that feels sturdy but not too heavy. The glue should spread slowly and hold a glossy surface.
Add color and texture. Drop one or two tiny drops of food coloring or liquid watercolor into the glue. Use a toothpick to swirl the color gently. Work slowly so pigments blend without overmixing.
Press in small inclusions. If you want tissue flecks, dried flowers, or glitter, press them lightly into the glue. Keep items flat and thin so light can pass through easily. These touches create interesting shadows.
Shape the edges and form a hanging point. Use a toothpick to tidy the edge into a neat circle or your chosen shape. Make a small loop of glue or leave a thin protrusion where you will attach fishing line later. Ensure it connects well to the main piece.
Let the glue skin over naturally. Leave the pieces to dry in a warm, dust-free spot. You will notice the surface become less glossy as a thin skin forms. This step takes patience; resist moving them too soon.
Cure fully overnight. After the skin forms, let the suncatcher rest undisturbed overnight. The center continues to cure and harden. By morning the piece will feel firm and slightly cool to the touch.
Remove from the mold and trim. Gently lift the suncatcher from the mold. If edges feel delicate, trim with small scissors. Smooth any tiny rough spots with a fingertip dipped in warm water.
Attach hanging hardware. Screw in a tiny eyelet or tie fishing line through the loop you made. Test the balance so the piece hangs flat and catches light evenly.
Hang and enjoy the changing light. Place the suncatcher near a window or under a soft lamp. Watch how the color and texture shift through the day. If a piece feels too heavy, consider using a lighter thread or reducing inclusions on the next one.
Enjoying the Finished Piece
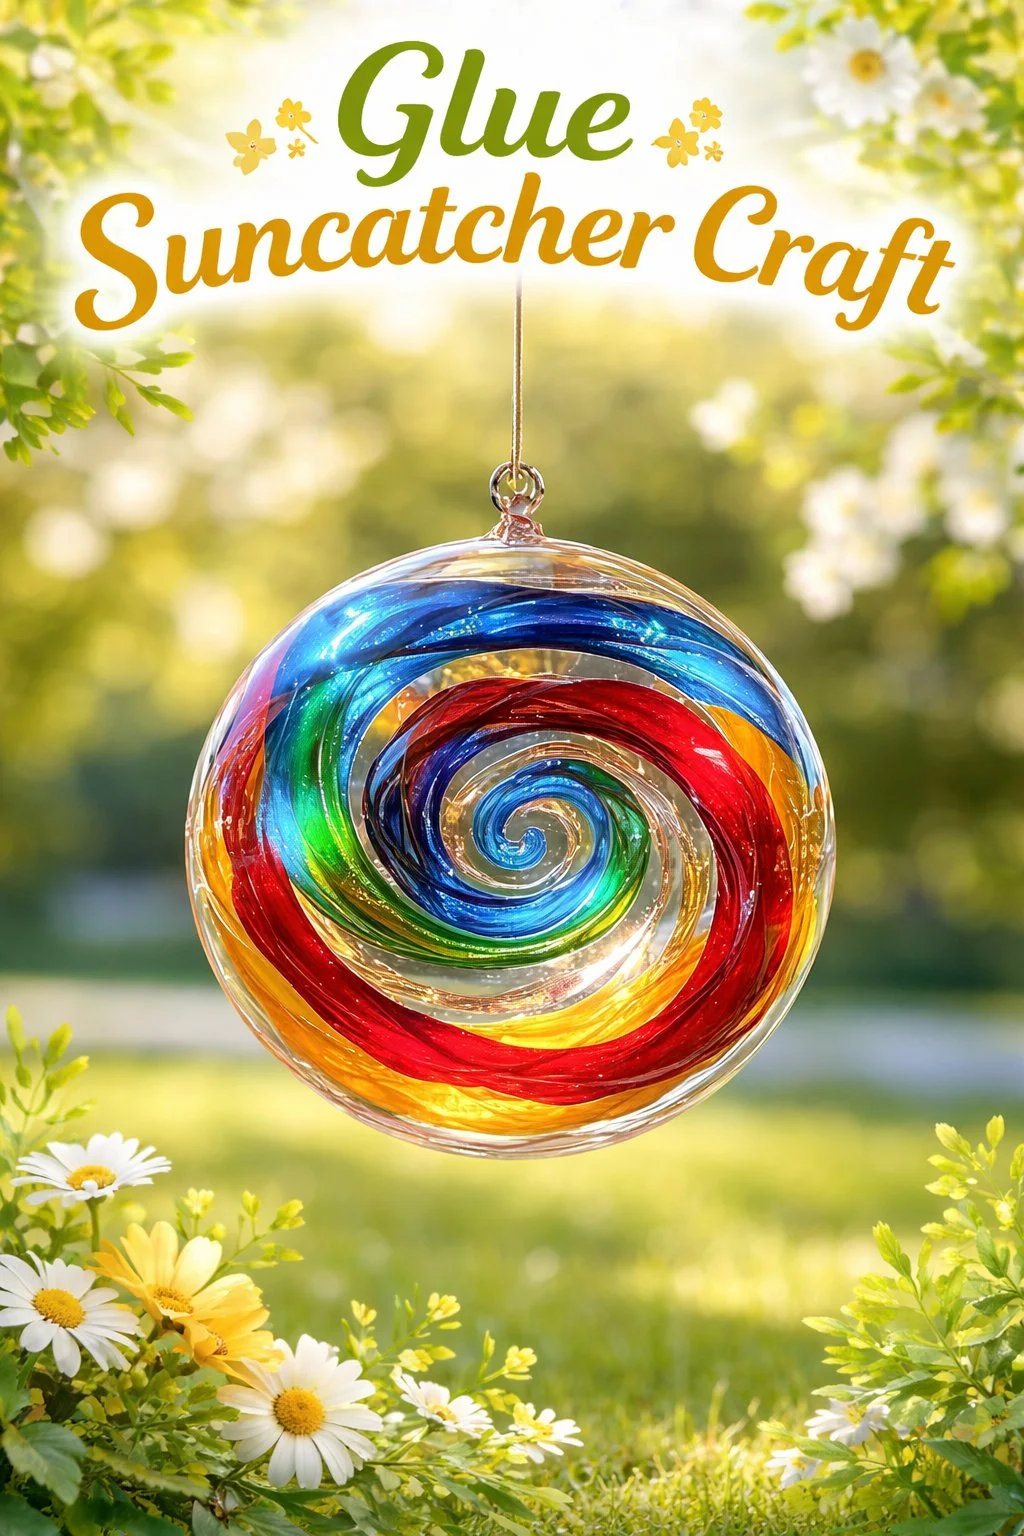
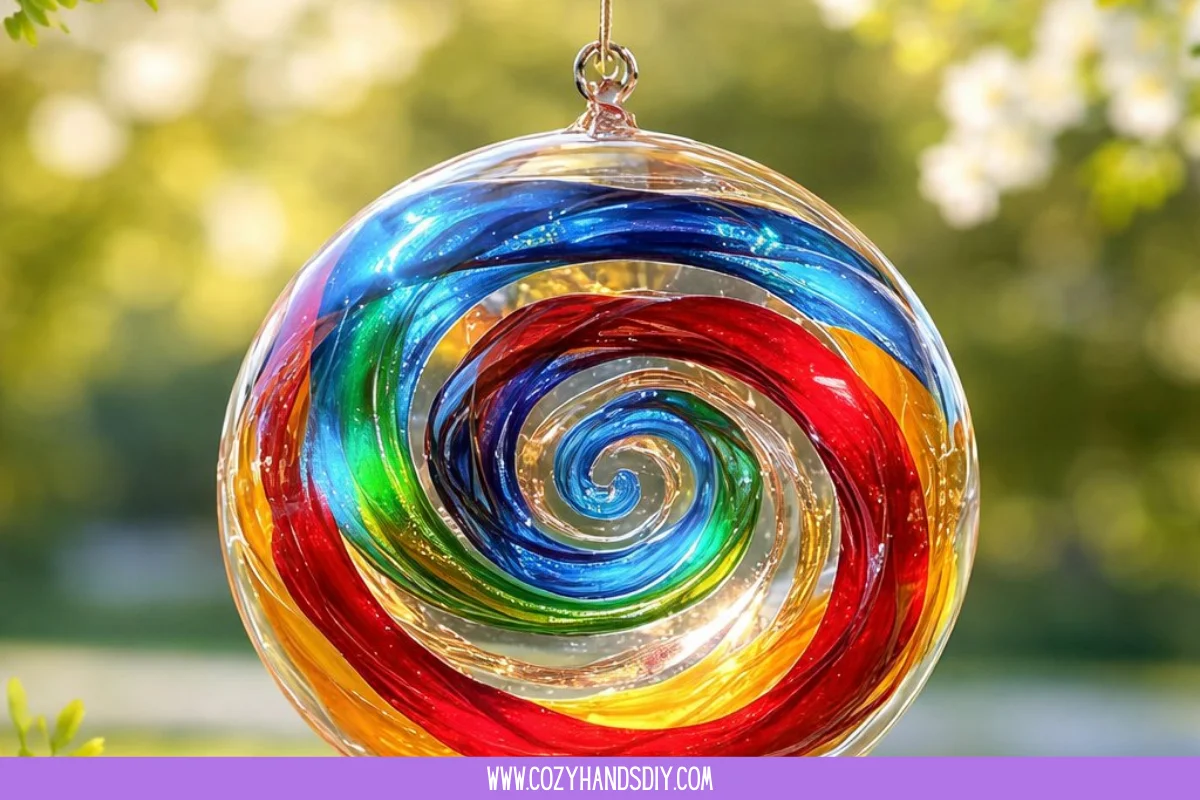
Hang a glue suncatcher where the light can move across it. A south-facing window gives strong color on bright days. An east-facing window offers soft morning warmth. I like to hang a small collection of suncatchers at varying heights so they nudge each other when a draft passes and create a quiet, shimmering chorus.
Use a suncatcher as a mindful bookmark when you take a moment to pause. Let the piece sit on a small hook by your tea cup to watch how steam and light mingle. You can also place one on a lampshade in the evening. A small LED lamp behind a suncatcher makes the color glow without heat, letting you enjoy it safely at night.
If you give a suncatcher as a gift, wrap it in tissue and include a small note about where it might hang. I once made three tiny suncatchers for a friend and labeled each with a time of day I thought it would shine best. The idea of intentional placement makes the object feel more like a ritual than a decoration.
How to Store or Reuse Glue Suncatcher Craft
Store finished suncatchers flat, separated by tissue paper, in a shallow box. Keep them in a cool, dry place away from direct heat. Clear glue can soften if left too close to a heater for long periods.
If a suncatcher gets dusty, wipe it gently with a soft cloth dampened with warm water. Do not use strong cleaners; they can cloud the finish. For stubborn spots, a tiny drop of mild soap on the cloth works, followed by a clean water wipe.
If you make an experiment that did not cure well, you can repurpose it. Warm a small area with gentle, low heat (a sunny window for a brief moment, not a direct heat source) to soften the glue, then peel and press the material onto a new base. You can also grind fragments to use as texture in future pieces. These small acts feel resourceful and keep the process gentle on your materials.
Gentle Tips & Variations
- Try layered translucency. Make a thin clear base and add a second, smaller colored circle on top after the first layer cures. This creates depth, like a tiny stained-glass window.
- Use natural dyes for soft, earth-toned color. Steep tea or beet juice very strongly and add only a drop to thin glue to avoid weakening the bond. This yields muted, cozy hues.
- Make tiny embedded stories. Press a sliver of pressed leaf or a tiny handwritten word into the glue as it sets. These miniature narratives make the piece personal and tactile.
- Experiment with textured molds. A shallow silicone mold with a leaf or wave pattern will imprint the back, catching light differently and giving the front a soft, frosted look.
- Mix finishes. Combine a clear central area with a colored border. The clear center keeps a window-like view, while the border frames it like a little portrait.
I like to think of these variations as invitations. Try one, notice how it changes the way the light moves, and let that guide your next choice. If a variation does not please you, file it into learning and try again with a fresh, warm cup of tea.
What I’ve Learned While Making This
I learned that patience often matters more than precision. The first glue suncatcher I attempted had too many inclusions and stayed tacky for days. I let it rest on a warm windowsill and returned to find a soft, glassy charm. That gentle waiting felt like a lesson in trust.
I learned how temperature changes the finish. Cooler rooms slow the curing process, while a cozy, dry room helps the glue set evenly. If you live in a humid climate, allow extra drying time and consider a small dehumidifier in the room where you craft.
I learned that small tools make a big difference. A fine-tipped squeeze bottle or a trimmed glue nozzle gives control and reduces the need for scraping. I use a toothpick for the tiny details; it feels like drawing with light.
What I find most rewarding is how this craft centers a handful of minutes into a meaningful object. The finished suncatcher holds both the warmth of your hands and the way you chose to let light through.
FAQs About Glue Suncatcher Craft
Q: Will the glue yellow over time? A: Clear school glue can yellow if exposed to strong, direct sunlight for many years or if it contains additives that oxidize. Using small amounts of color and keeping suncatchers away from constant intense heat helps preserve clarity. If you want long-term clarity, consider testing one piece and monitoring it for a few weeks in your light conditions.
Q: Is the glue safe for small children to use? A: Many clear school glues are non-toxic and safe for children under supervision. Always check the product label for age recommendations. Keep small inclusions like beads or glitter away from very young children who might put objects in their mouths. Supervised, this makes a gentle sensory activity for older children.
Q: What if my suncatcher stays tacky? A: Tacky suncatchers usually need more time to cure or had too much liquid added. Move the piece to a warm, dry spot and leave it undisturbed overnight or longer. If it remains tacky after a couple of days, consider adding a very thin top layer of glue and letting that cure fully. Thin layers dry more reliably than a single thick one.
Q: Can I hang suncatchers outside? A: I suggest indoor display. Clear glue can become brittle or soften with repeated outdoor temperature swings. If you want an outdoor piece, make a small, protected mobile under a porch or awning so it avoids direct rain and strong sun.
Q: How do I clean off fingerprints or smudges? A: Wipe gently with a soft cloth dampened with warm water. For stubborn smudges, use a tiny bit of mild dish soap on the cloth and rinse with a clean damp cloth. Avoid alcohol or solvent cleaners; they can dull the finish.
A Gentle Note Before You Go
As you make, pause often to notice the small changes: the way a droplet rounds and holds, the whisper of a dried petal pressed into gloss, the slant of sunlight that makes a color glow. This craft gives you a chance to slow the hands and steady the breath. Each piece becomes a record of a quiet moment, and the act of making it can be as meaningful as where you choose to hang it.
If you like, try making a set of suncatchers with a small range of colors and hang them in a line by a window. Watch how they trade light with each other. Keep a small notebook to jot down which combinations felt warm or which textures softened the light. Over time you will find patterns that comfort you and materials that sing with your space.
Conclusion
If you would like a colorful inspiration guide, this simple tutorial links beautifully with a wider Colorful DIY Glue Suncatcher Craft – Mombrite that shows playful color arrangements and easy techniques. For product-focused tips and safety notes about glue types and application, see the helpful overview at Elmer’s Glue Sun Catcher which explains product options and recommended uses.
PrintGlue Suncatcher Craft

Create beautiful suncatchers using simple materials like clear glue and food coloring, perfect for adding a touch of color to your space.
- Prep Time: 10 minutes
- Cook Time: 0 minutes
- Total Time: 600 minutes
- Yield: 1 suncatcher
- Category: Craft
- Method: Crafting
- Cuisine: N/A
- Diet: N/A
Ingredients
- Clear white school glue
- Food coloring or liquid watercolors
- Plastic lids or silicone molds
- Wax paper or a nonstick mat
- Toothpicks or a sewing needle
- Small pieces of tissue paper, glitter, or dried flower bits (optional)
- A fine-tip squeeze bottle or glue nozzle
- Thin fishing line or ribbon
- Small eyelet hooks
- A shallow dish with warm water and mild soap for cleanup
- Paper towels and a small tray for drying
Instructions
- Prepare your surface and tools.
- Pour a base layer of clear glue.
- Add color and texture.
- Press in small inclusions.
- Shape the edges and form a hanging point.
- Let the glue skin over naturally.
- Cure fully overnight.
- Remove from the mold and trim.
- Attach hanging hardware.
- Hang and enjoy the changing light.
Notes
For best results, ensure each layer of glue is thin and allow adequate drying time. Experiment with colors and shapes to create unique pieces.